How to Defeat a Horde
You’ll have several run-ins with hordes in different missions. Most of time, the best way to survive is to escape. You’ll also be required to clear three hordes as part of late-game story missions. Attempting to clear the marked hordes in the Map should be done later in the game, when you have access to better Weapons, better skills, and more explosive options such as proximity bombs, attractor bombs, napalm molotovs, etc.
When facing a horde, you’ll see a health bar on the top. This represents the number of individual freakers making up the group. As you kill individual freakers from the horde, this gauge will slowly deplete. Kill all members of the horde to Defeat it completely.
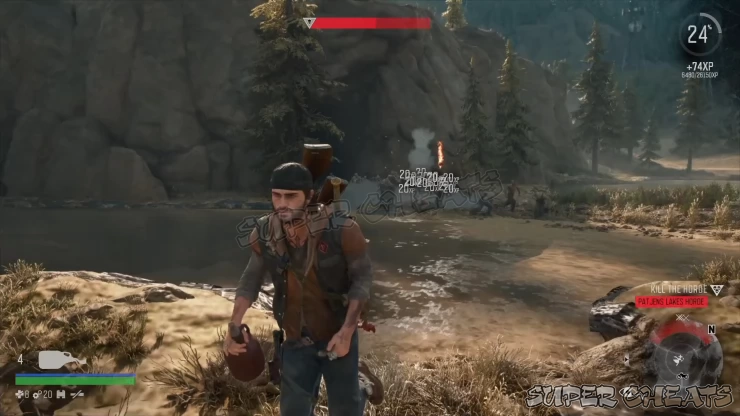
Here are some Tips that will help you prepare to face a horde.
Preparations
Before taking on a horde, you have to make sure you have the correct Weapons equipped, all ammo fully replenished, your Bike’s Saddlebag ammo fully supplied, ample supply of throwables and crafting materials to replenish them, healing items crafted and supplied, and more.
Skills Matter
Since you’ll be relying heavily on your Guns to deal with a horde, make sure to have the following skills.
(Melee)
Lightning Reflexes (Grants ability to recover quickly from a knockdown by rolling)
Just Roll With It (Drastically reduces stamina cost from rolling)
(Ranged)
Fight and Flight (Have more precision while moving and aiming your Weapon)
Suppressing Fire (When in focus, ranged Weapons will have increased stopping power against weaker enemies)
Crowd Control (Reduces focus cooldown period)
Hyper focus (Improves focus Cocktail’s initial recovery and duration)
On the Move (Reload ranged Weapons while sprinting)
Iron Grip (Significantly reduces ranged Weapon recoil)
Under focus (Focus is no longer consumed when reloading a ranged Weapon)
Quick Reload (Ranged Weapons’ reload time reduced)
Deadshot (Ranged Weapons’ accuracy increased)
Up the Ante (Increases ammo capacity for all ranged Weapons)
Two Birds, One Bullet (Projectile penetration increased for ranged Weapons)
(Survival)
Carry that weight (Increases inventory space for crafting components, traps, and throwables)
Shape Up (stamina regeneration increased significantly)
Weapons Matter
When choosing a Weapon to fight a horde, machine Guns and automatic Weapons are the prime choice because of the following factors:
* High rate of fire
* Clip/ Magazine Size
* Penetration
* Damage
Hordes are mostly composed of swarmers and bleachers, all quite vulnerable to gunfire. These Weapons can easily mow them down and with a large clip, you can sustain longer gunfire before you need to move and reload. With the help of skills like Suppressing Fire and Two Birds, One Bullet, your automatic weapons can stagger charging freakers and your bullets can pass through them and hit more freakers behind.
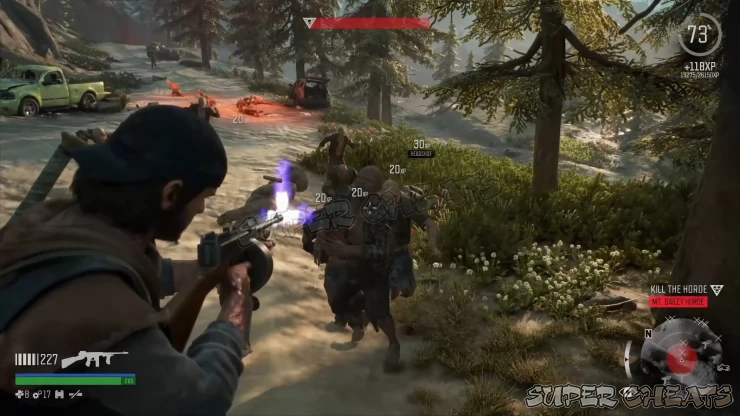
You don’t need high-damage Weapons with low clips since freakers from the horde aren’t necessarily tough; you just have to deal with their huge numbers. This is the loadout that seems to be really effective when fighting hordes.
* Primary: Chicago Chopper (Wizard Island Merchant, Trust LV2, 3000 Credits)
* Sidearm: SMP9 (Lost Lake Merchant, Trust LV3, 1250 Credits)
* Special: RPD (Wizard Island Merchant, Trust LV1, 1500 Credits)
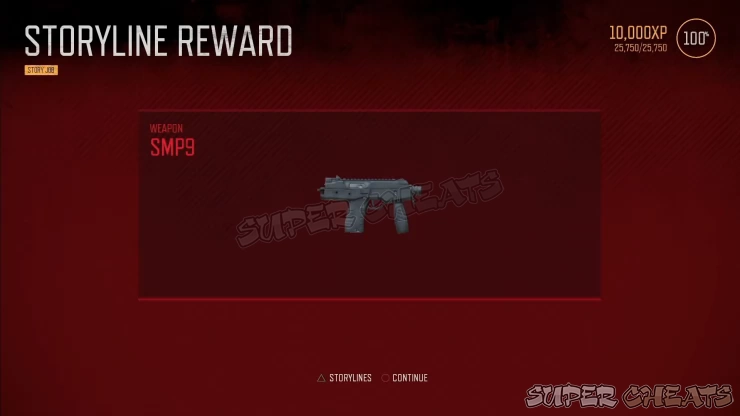
You can also get the SMP9 for free as a reward for achieving a 10% progression in the Horde Killer Storyline. On top of the three horde encounters in the main storyline, you also have to kill one non-story horde to achieve 10% progression.
Terrain Matters
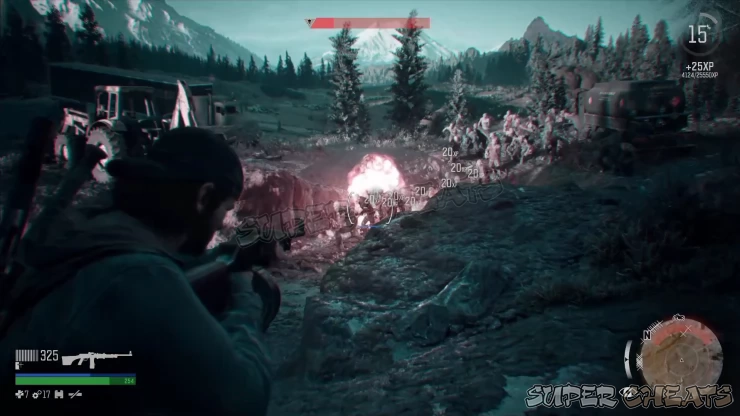
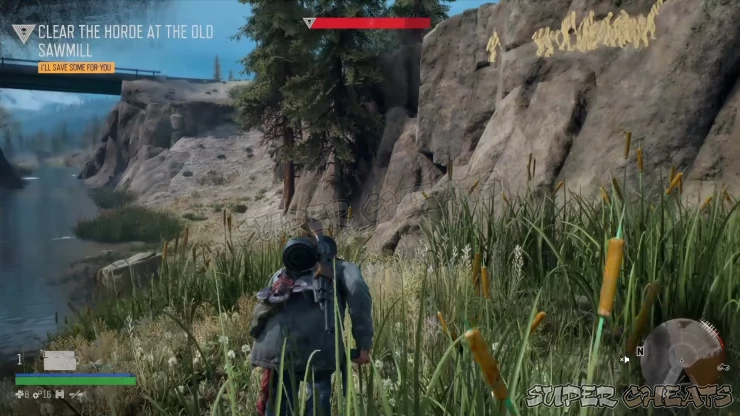
When fighting a horde, it’s important to use the terrain to your advantage. Scout the terrain where a horde is hanging around, and prioritize planning escape routes. The last thing you want is getting trapped when you want to escape.
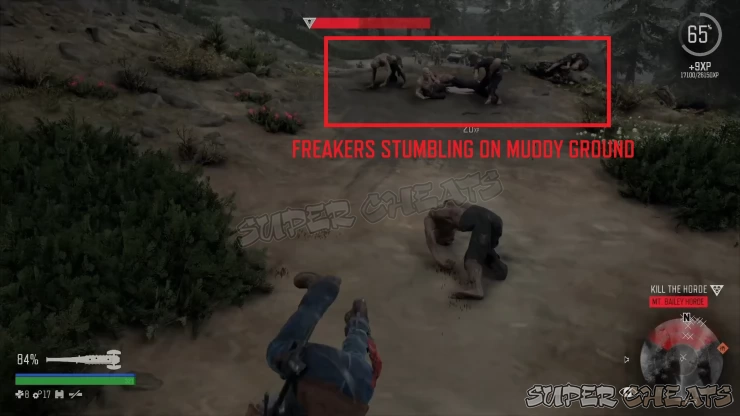
Once you get detected, freakers will just mindlessly charge towards you so having obstacles between you and them will help slow them down. Muddy soil can slow them down significantly, high cliffs and narrow entrance will stop most of them from following you, etc.
There are also some areas where you can find explosive barrels, gas cans, and other environmental hazards. Luring the horde and shooting them at the right time will allow you to kill several freakers at once. Narrow spaces like corridors, Cave tunnels, bridges, trenches are best spots to plant proximity bombs. Since the freakers will converge in these tight spaces, you’ll get a brief window to mow them down especially if your bullets can penetrate through them.
Your bike’s position
Keep your Bike at the end of your planned escape route for a quick escape or if you need to replenish your ammo. It’s recommended to have your bike positioned “outward” so as soon as you get on it, you can just ride away without turning.
Use Stealth
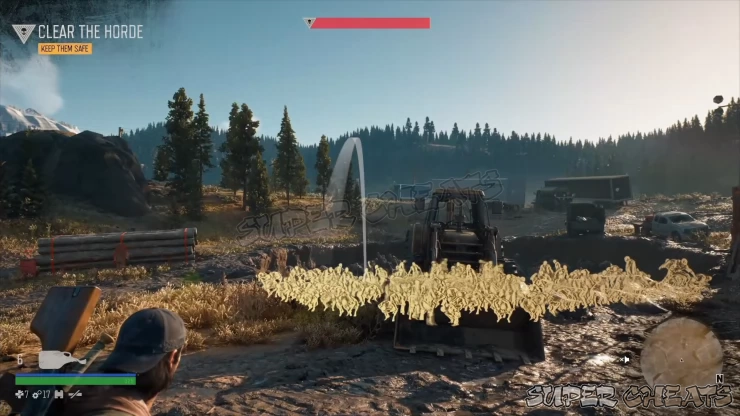
It’s possible to soften up the horde before they can even detect you if you manage to get close enough while in cover. The Napalm Molotov (you’ll learn the recipe to create this as part of the main story) is the best one for this Job since it has a large area of effect, can burn longer, and its lingering flames can even set fires to any freakers who walk into the burning zone. Make sure not to stay in the same position when lobbing your throwables since freakers will be able to detect where it came from.
Using your Throwables
Your throwables can effectively deal splash or area damage when used properly. If you’re able to sneak close or you have a clear shot, use your Napalm Molotov in the middle of the horde crowd to take out most of them.
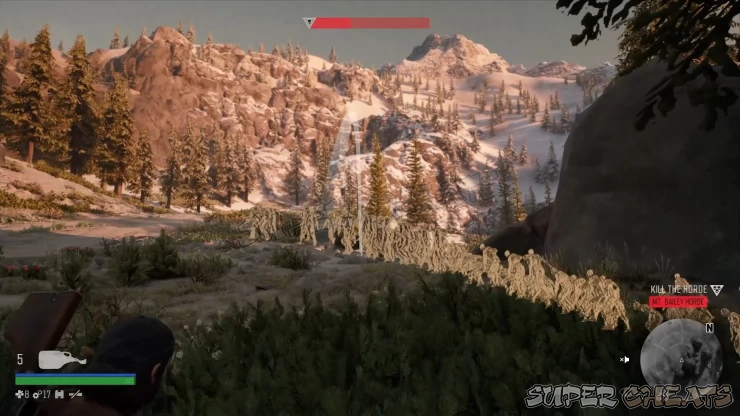
When actively running away/ luring the horde, throwing an Attractor Bomb will allow you to lessen the number of freakers chasing you, while also killing several of them once the bomb detonates. You can throw a normal Attractor to an explosive barrel or gas can to lure the freaks there then shoot it once a lot of them has converged in the spot. If there’s none, you can use an attractor to lure a group of freaks then follow it up with a molotov, pipe bomb, or grenade.
Hit and Run
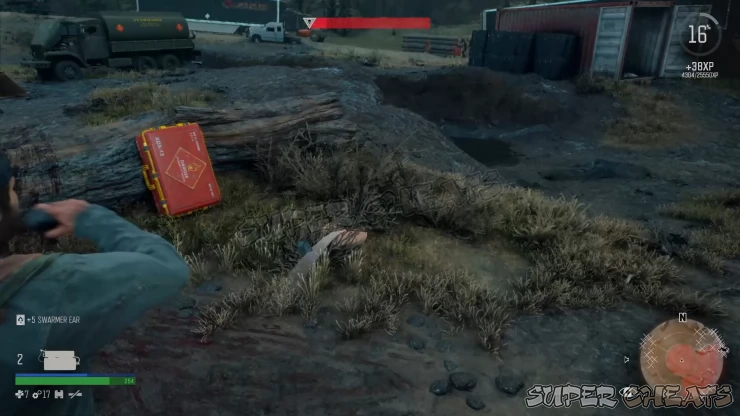
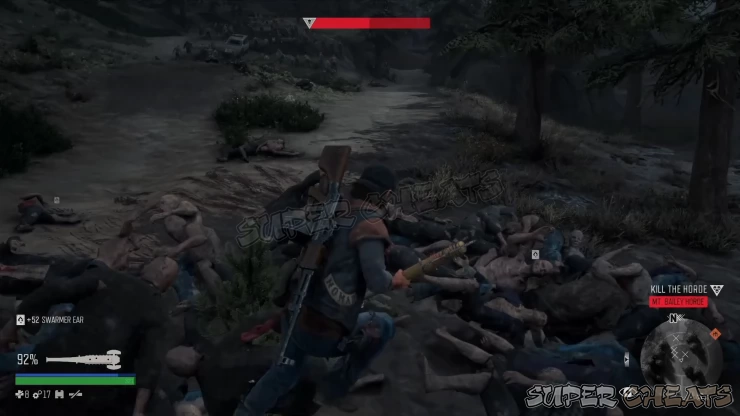
You don’t necessarily need to fight the entire horde at once. A very effective tactic against them is employing a hit-and-run tactic. Lure a part of the horde, run away while taking care of the stragglers, go back and repeat. The reason for this is that the outer part of the horde can easily lose interest once you break line of sight or if you’re too far from them. You can even execute the stragglers walking back to the group. Just make sure not to go too far from the horde like fast-traveling to another location since they’ll replenish their strength and you have to start again from scratch.
Hordes are not stationary
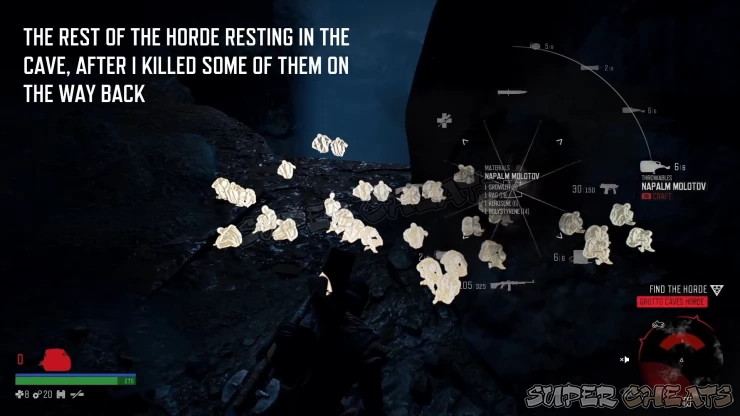
A horde’s location will vary depending on the time of day. During the day, they’ll be resting in an enclosed or shaded place, like caves, buildings etc. At early evening, the horde will start to move towards their feeding ground and will stay in that location until dawn. Before or as the sun rises, the horde will then starting heading back to their lair to hibernate. This cycle repeats so you can use this to your advantage.
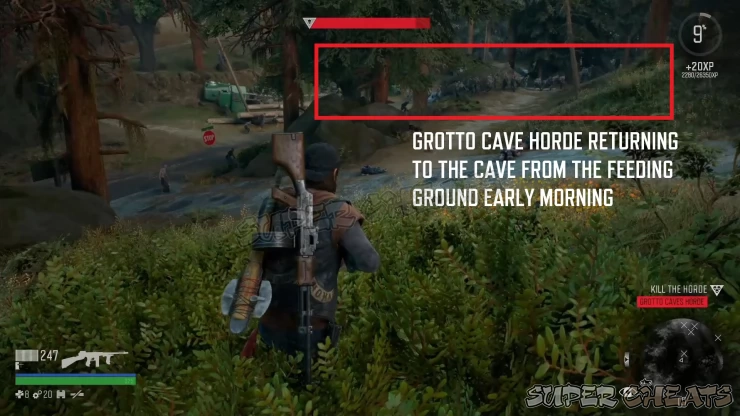
Generally, dealing with the horde during the day is recommended since you can conveniently set up traps in front of their lair and you don’t have to worry about the increased number of random roaming freakers at night.
Save your Cocktails
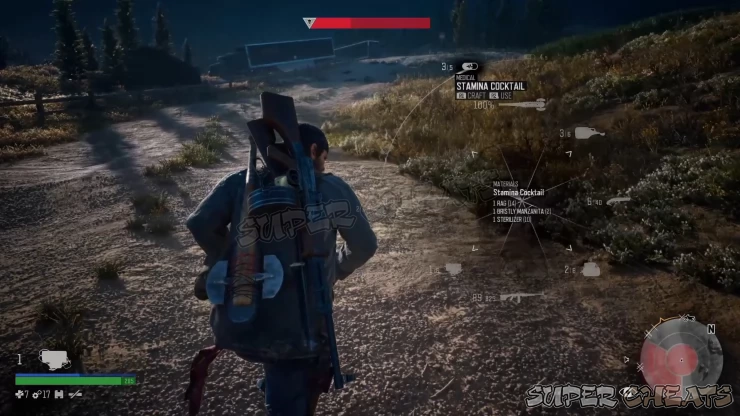
Your health, stamina, and focus cocktails are the best recovery items, giving the chance to replenish your gauges while also making them temporarily infinite. These can be crafted on the fly as long as you have the necessary components.
Expect unwanted guests
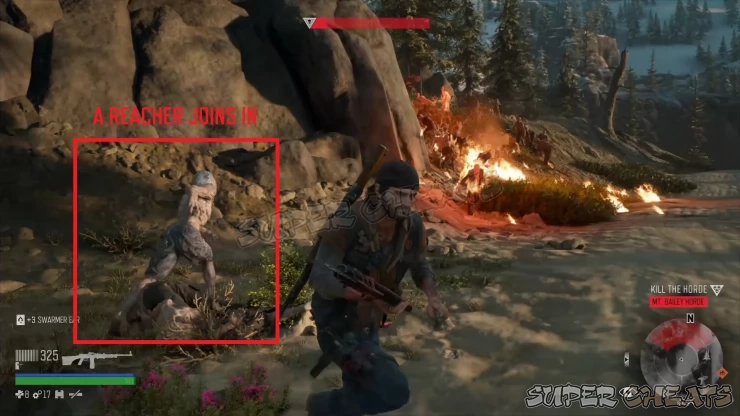
When fighting a horde, it’s always still possible for unwanted guests like special freaks or animals to join. Fortunately, they are also hostile to each other so if you seem fighting each other, let them do the Job for you while you catch a breather (reload, heal, or Repair). If you’re lucky (or unlucky), strong freakers like Reachers and Breakers can help kill some members of the horde with ease. After killing the horde, don’t let your guard down and always keep an eye out of other threats such as hostile drifters, random freakers, or animals as you collect the bounties and replenish your supplies.
We have questions and answers related to this topic which may also help you:
Comments for How to Defeat a Horde
- Basics - Gameplay
- Basics - Exploration
- Basics - Combat
- Basics - Deacon's Motorcycle
- Mechanics
- Merchants
- Skills
- Story Missions
- Camp Jobs - Copeland's Camp
- Camp Jobs - Hot Springs
- Camp Jobs - Lost Lake
- NERO Checkpoints
- NERO Research Sites
- Infestation Zones
- Ambush Camps
- Hordes
 Join us on Discord
