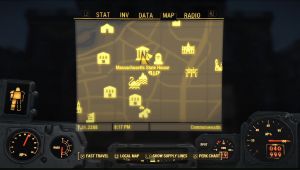
Massachusetts State House
Thank you for printing this page from www.SuperCheats.com.
Remember to come back to check for updates to this guide and much more content for Fallout 4
Follow this guide to hear about updates
Added:
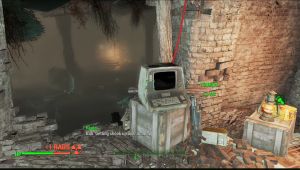
The place is infested with Mirelurks for some reason. The first floor doesn’t have anything so go up the broken floor to the NE to reach the second floor. In the 2nd floor, the room to the NE has a cooking station and a terminal.
Follow the path around to the main hall, then go downstairs then continue west in the ground floor. The room to the NW has a mattress and terminal, so head to the SW then up the ramp back to the second floor. Follow the corridors until you see a massive hole on the floor.

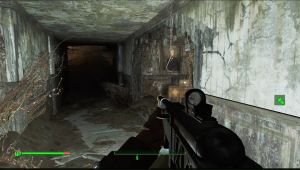
Drop down and kill the mirelurk hunter that will burst out from the floor. You have to go through the highly irradiated archives storage. Follow the Hole in the Wall full of mirelurk eggs until you reach the room with a terminal connected to the emergency door. Open the door then drop down the floor below.
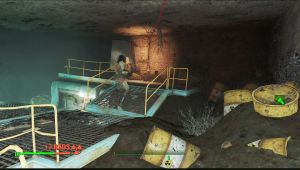
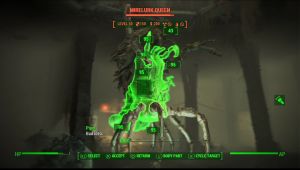
A mirelurk queen will burst from the pond in the middle. You can run away from it or defeat it. Go through the door and the corridor will split to the two. The real path is to the left while the dead-end room with little valuable is found to the right containing an armed Bottlecap Mine and First Aid kit.
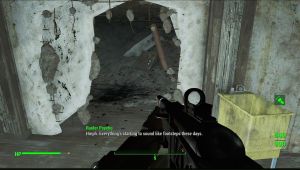
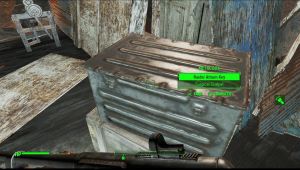
Along the main path, you’ll find an Expert Safe. Continue following the path and you’ll encounter raiders along the way. You’ll find a weapons workbench in the second floor, then an armor workbench in the top floor. The metal crate beside it has the Raider Atrium Key.
Take the path to the north and use the Raider Atrium Key to open the red locked door. Cross the atrium and kill the Power-armored raider. You can equip its power armor if you want. There’s a mini-nuke on the shelf, and green steamer trunk where the raider is located as well. From there, you can take the lift down and leave the area.
Anything missing from this guide?
ASK A QUESTION for Fallout 4
Comments for Massachusetts State House
Add a comment
Please log in above or sign up for free to post commentsNo comments yet. Tell us what you think to be the first.
Table of ContentsClose
- Tips and Tricks
- Act I Quests
- Act II Quests
- Act III - Minutemen Main Quests
- Act III - BoS Main Quests
- Act III - Railroad Main Quests
- Act III - The Institute
- Side Quests
- Minutemen Sidequests
- Brotherhood of Steel Sidequests
- Railroad Sidequests
- Institute Sidequests
- Companions
- Companion Quests
- Perks
- Bobbleheads
- Magazines
- Major Locations
- Locations
- Workshop Locations
- Other Locations
- Workshops
- Crafting
- Crafting Components
- Legendaries
- Trophies
- Misc
Guide Updates
Get notified of updates to this guide
Many of our guides get updated with additional information. To get an email when this guide is updated click below.
 Join us on Discord
Click to close