14: The Helpless Army
The Elder Scrolls IV: Oblivion Walkthrough and Guide
The Elder Scrolls IV: Oblivion Guide - Shivering Isles
Quest 14: The Helpless Army
Depending on which House you decided to take over, either a Dark Seducer or a Golden Saint Messenger will arrive at New Sheoth Palace after you have spoken to him. The two quests are a bit different: if you chose Mania, you're headed for Pinnacle Rock to assist the Dark Seducers, and if you chose Dementia, you're headed to Brellach to aid the Golden Saints.
Duke of Mania
Make your way to Pinnacle Rock, which is at the end of the Madgod's Boot at the south end of the island. Fast travel to Xedilian and travel south down the road to join the Mazkens. Adeo tells you that the Knights of Order have captured the Dark Seducer commander and are holding here somewhere in Pinnacle Rock. With that, enter the Hall of Honor.
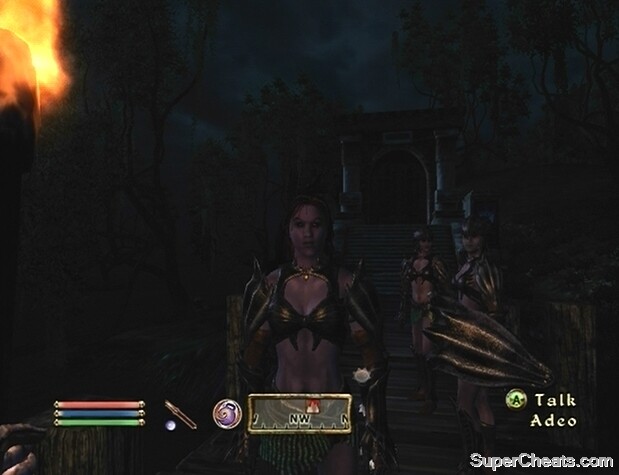 Meet the Mazkens at Pinnacle Rock, or the Aureals at Brellach, and help them rescue their commander. |
There are plenty of Knights of Order in the opening area. Start cutting them down—taking care not to accidently slash one of your allies—and then continue through the Metal Door at the bottom of the steps. Once in the next area, start following the arrow on your compass. Take to attacking any Knights of Order encountered along the way, and continue following the arrow to the door to the Halls of Reverence. You'll encounter more Knights of Order in this area, so remain vigilant. Continue following the arrow on your compass and you'll come to a remote locked gate. Head up the steps across from the gate and turn left when you reach the circular rug along the walkway. Hit the Push Button on the pedestal here and then head back down the steps and through the now open Metal Gate.
Once through the Metal Gate, continue following the arrow on your compass. When you reach Dylora's prison, activate the Chime at the top the steps on the west side of the room to shatter the walls. After freeing Dylora, chat with her, and then proceed through the Metal Door on the south side of the room. Enter the Hall of Devotion to trigger an event. Afterwards, activate the Chime on the right to shatter the crystal wall blocking your path. Then, follow the arrow on your compass until you reach a locked Metal Gate. Activate the Push Button next to the gate to open it, and then push on through the Knights of Order to reach the door to the Font of Rebirth.
In the Font of Rebirth, walk along to the other end of the corridor and hit the Push Button by the Metal Gate to open it. Cross the stone bridge and follow the arrow on your compass to another locked Metal Gate. Activate the Push Block next to the gate and proceed through the Wellspring of the Mazken.
 Dylora is being held in the Halls of Reverence. |
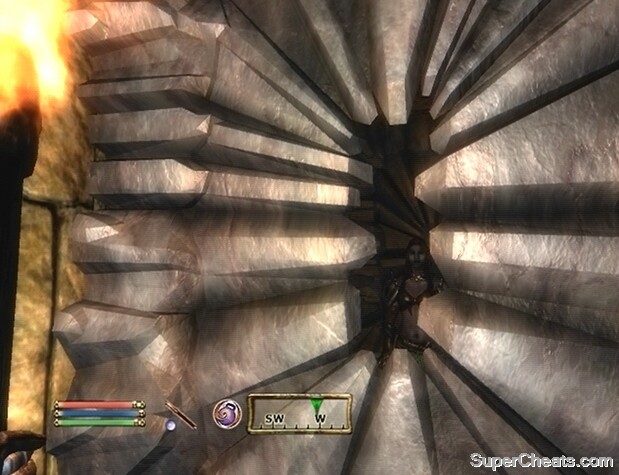
The Wellspring is guarded by a number of Knights of Order; you'll have to kill them all before you can continue. There is a chime in each of the four corners of this room. Your goal is to ring them all, which you must do fairly quickly. Start in one corner, activate the chime there, and then run from chime to chime until you have activated all four.
With the Wellspring of Mazken restored, find and speak to Dylora. You'll be given the Summon Dark Seducer greater power, as well a set of Dark Seducer armour. No need to travel through all of Pinnacle Rock again; exit the Font of Rebirth through the west passage in the room with the Wellspring of Mazken, activate the Push Button by the Metal Gate in the Hall of Honor, and follow the arrow on your compass back to the entrance.
Duke of Dementia
Brellach has been marked on your map, so make your way there. A trail through the hills can be taken directly up to Brellach, so if you are being misled by the compass, ignore it and instead walk along the hillside until you find an opening. Up the steps you'll find Issmi, one of the Golden Saints. According to Issmi, Staada, the Golden Saint captain, has been imprisoned within Brellach. Issmi believes that Staada can be found by following the Wellspring inside of Brellach. The few remaining Golden Saints will soon join you. Up the steps, enter the door marked 'Brellach, Hall of Honor.'
 The Knights of Order have taken Brellach. |
You'll meet some resistance in Brellach in the form of Knights of Order. As always, try your best not to hurt your allies while fighting, though this can be difficult. Ignore the remote door on the initial level and instead take the stairs down to the lower level. There are many Knights of Order in the Hall of Honor, so you'll likely have to take on more than one at a time on several occasions. Fortunately the Golden Saints will be by your side to help. Move through the Halls of Honor and enter the 'Brellach, Hall of Reverence' area.
Plow through the Knights of Order in the Hall of Reverence. You will soon reach a door that must be opened remotely, though the Push Button that will open it is quite far from the actual door. While facing the door, turn around, run to the end of this area, and then climb up the stairs to your left. At the top of the stairs, turn left, and then left again into a small area with a couple of urns. The switch is on the side of the pedestal in the top right corner of this area. Activate the Push Button, and press on.
Through the door, wipe out the Knights of Order in this room and then speak to Staada who is locked in the crystal cell. Staada tells you to ring the nearby chime, which should shatter the crystal. The chime is in the area directly behind the crystal prism. Climb down the stairs, approach the shrine, and activate it. The ringing of the chime will indeed shatter the crystal prison, freeing Staada.
 Activate Chimes to shatter the crystal walls in Pinnacle Rock or Brellach. |
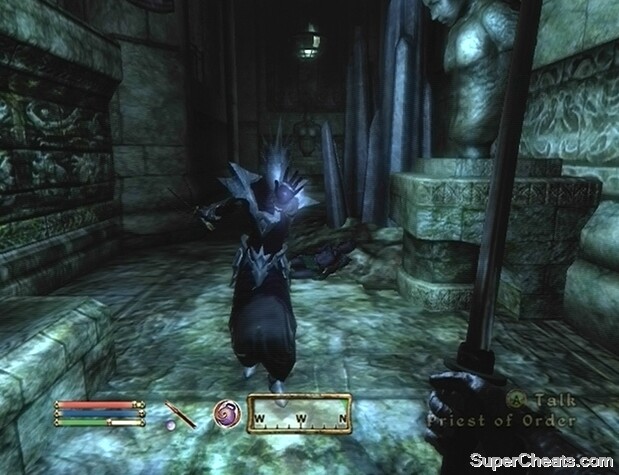
Staada explains that you must get to the Wellspring of the Aureal next. If the Order is permitted to destroy the Wellspring unhindered, the Golden Saints will be banished from Sheogorath's Realm. The previously locked door can now be opened, so proceed into the 'Brellach, Hall of Devotion' area. A crystal barrier blocks your path here, but it can be destroyed. While facing the barrier, turn right to spot is another chime. There are more Order Knights and Priests in these halls, but the Golden Saints should still be with you. Continue through the Hall of Devotion and into the 'Brellach, Font of Rebirth' area.
Follow the arrow on your compass to the Wellspring of Aureal. The Wellspring is being guarded by a number of Knights of Order; and you'll have to kill them all before you can continue. There is a chime in each of the four corners of this room. Your goal is to ring them all, which you must do fairly quickly. Start in one corner, activate the chime there, and then run from chime to chime until you have activated all four.
With the Wellspring of Aureal restored, find and speak to Staada. You'll be given the Summon Golden Saint greater power, as well a set of Golden Saint armour. No need to travel through all of Brellach again; exit the Font of Rebirth through the west passage in the room with the Wellspring of Aureal, and a series of remotely opened gates in the Hall of Honor will permit you to return to Sheogorath's Realm easily.
No comments yet. Tell us what you think to be the first.