15: Symbols of Office
The Elder Scrolls IV: Oblivion Walkthrough and Guide
The Elder Scrolls IV: Oblivion Guide - Shivering Isles
Quest 15: Symbols of Office
Speak to Sheogorath at New Sheoth Palace. After the event, Haskill explains that, if the Throne of Madness remains empty while Jyggalag is loose, the realm doesn't stand a chance. However, Sheogorath's Staff, the symbol of power in the Shivering Isles, can be used to stop Jyggalag. With Sheogorath gone, the staff's power is gone as well. If the staff is remade, you can then take the Throne of Madness, allowing you to stop Jyggalag.
Knifepoint Hollow has been marked on your map, so make your way over there. Approach Knifepoint Hollow from above, as it sits on a hill and would be a chore to traverse if you were to approach it any other way. Once inside Knifepoint Hollow, follow the arrow on your compass to reach a door. Take extra care not to fall down to the lower level; if that happens, you will be forced to traverse through the 'Knifepoint Hollow, Chantry' area. The door can be opened using the Knifepoint Crystal Haskill gave you.
 Speak to Dyus in Knifepoint Hallow about rebuilding the Staff of Sheogorath. |
Beyond the door in Knifepoint Hallow sits an odd fellow named Dyus. Speak to Dyus to learn the materials required to remake the Staff of Sheogorath. Dyus needs the Eye of Ciitra and a Branch from the Tree of Shades. For the eye, you'll need to see a woman named Ciitra in the Howling Halls. The Tree of Shades is an ancient tree that grows in the Grove of Reflection, which is located in the ruins of Milchar. Both the Howling Halls and Milchar have been marked on your map.
Start with the Howling Halls. Located south of New Sheoth, you can easily reach the Howling Halls by traveling along the south road leaving Crucible. Enter the Howling Halls and start following the arrow on your compass. There are many Apostle in the Howling Halls; be careful, as they summon creatures with their magic, and after summoning they will usually recklessly attack. Take a Howling Chamber Key from a dead Adept, which will come in handy if your character does not have a high Security skill level.
Continue following the arrow on your compass to the door into the 'Howling Halls, Congregation Chambers' area. In the Congregation Chambers, Look for a Khajiit named Ra'kheran to your left as you enter. Ra'kheran will help you slay Ciitra, provided you supply him with three Apostle Daggers so he can properly outfit himself and his allies. He explains that you must wear an Apostle Robe while in the Congregation Chambers, otherwise you'll be attacked by the Apostles. If you don't have Apostle Robes, return to the previous area and take one from a slain Apostle.
Taking Ra'kheran up on his offer is not entirely necessary, as the Apostles and Cittra herself are rather weak. Nevertheless, making an ally won't hurt. Locate the door to the 'Howling Halls, Antechamber.' To the right of this door, look on the table in the corner of the room there. The display case here holds the Pelvis of Pelagius; unlock the display case and take it while you're here, as it is part of a side quest and can net you some gold.
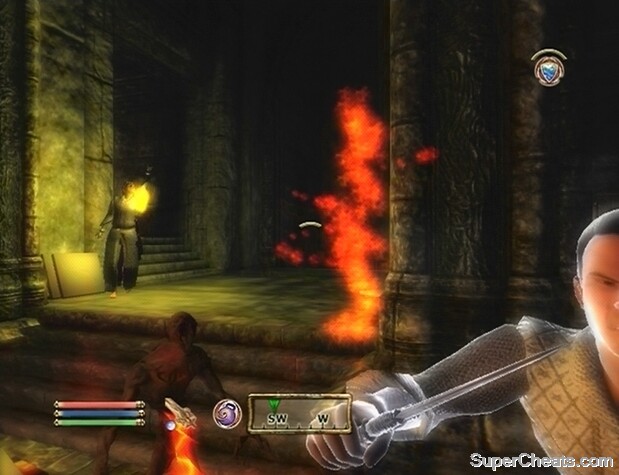 Enter the Howling Halls Antechamber, kill Ciitra, and pluck out her eye. |
Ciitra can be found in the Antechamber. Ciitra is a very powerful mage; she is very fast and has summoning spells, healing spells, and elemental spells. Luminary Kaz is also in the Antechamber, and you'll have to deal with him too. It'll be a simple battle if you took Ra'kheran up on his offer. If not, summon a Flesh Atronach, Dark Seducer, or a Golden Saint to help you out. Once Cittra is dead, remove the eye from her corpse.
Next stop is Milchar for a branch from the Tree of Shades. The dungeon is near the northwest corner of the Shivering Isles; fast traveling to Cylarne and traveling down the road from there would be a short trek. Locate the entrance (a slopping tunnel in the side of the tree) and enter the Nexus. The Grove of Reflection is through the door straight ahead. Enter the Grove, drop down the hole, and follow the arrow on your compass to the Tree of Shades. Stand near the statue, and shadow version of your character will manifest. You're facing the toughest enemy of all—your own character!
The Shadow will be equipped with the best armour in your character's inventory, and has access to all of the spells that you do. The shadow is as strong as you, but aside from stats, this battle shouldn't be too much of a struggle. Hopefully none of the armour in your inventory had any particularly nasty enchantments (like Reflect Damage). Once your shadow-self has been bested, pick up the Shadowrend weapon that it drops. This is the strongest weapon in the game (its form will differ depending on your character's highest melee weapon skill level), so be sure not to miss it, as you won't be able to enter the Grove again once you leave.
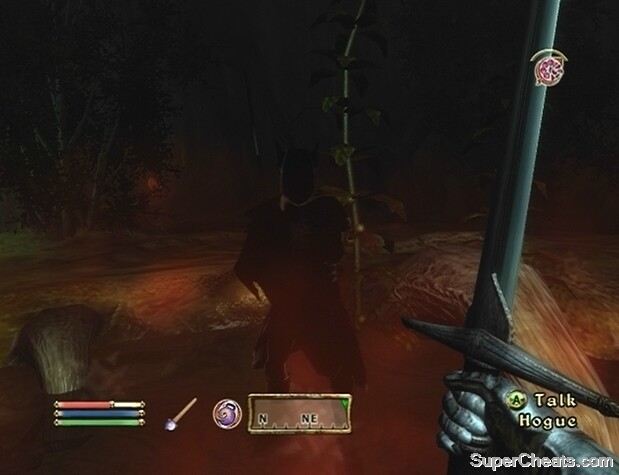 In the Grove of Reflection, face the toughest enemy of all—your own character! |
Remove a Screaming Branch from the Tree of Shades. On the stone wall in this area is a Push Button; activating it will reveal a teleportation pad back to the Nexus area. With both Ciitra's Eye and the Screaming Branch in your inventory, return to Dyus in Knifepoint Hollow. There, he will create the staff right before your eyes. With the Staff of Sheogorath in your possession, return to New Sheoth Palace and activate the Font of Madness behind the throne.
No comments yet. Tell us what you think to be the first.