The Mountain that Fell
If you cleared the machines during your attempt to get the vantage point here, they’ll not respawn during your second visit. Also, you can just use the campfire one area before the bunker’s entrance instead of climbing all the way from the base of the mountain. If this is your first time visiting the area, you’ll have to pass through two areas with heavy machine presence and a mandatory battle with a stormbird before reaching the bunker itself.
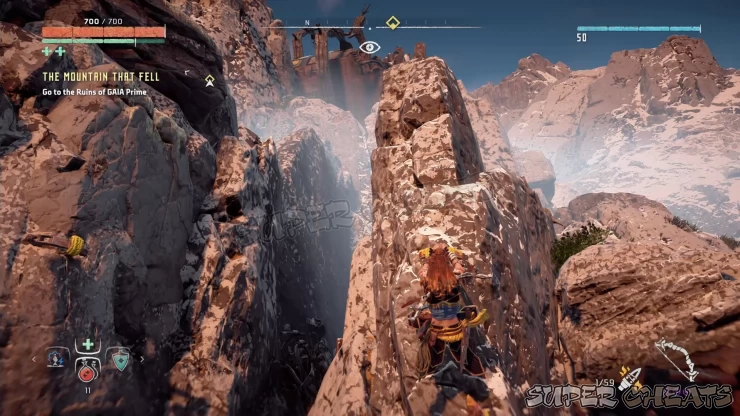
The first part has stalkers with a path filled with flare tripmines so you’ll have no choice but to engage them before you can safely pass through. In the following path, you don’t have to fight the machines but you can pass by them by moving along the tall grass. Just make sure to watch out for the roving watchers since they hang out near the patches of tall grass. Make your way towards the waterfall and you’ll find climbing holds there. Use it to reach the next area.
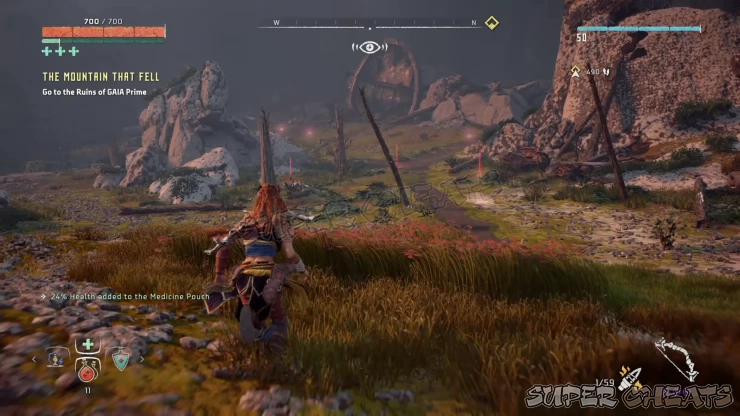
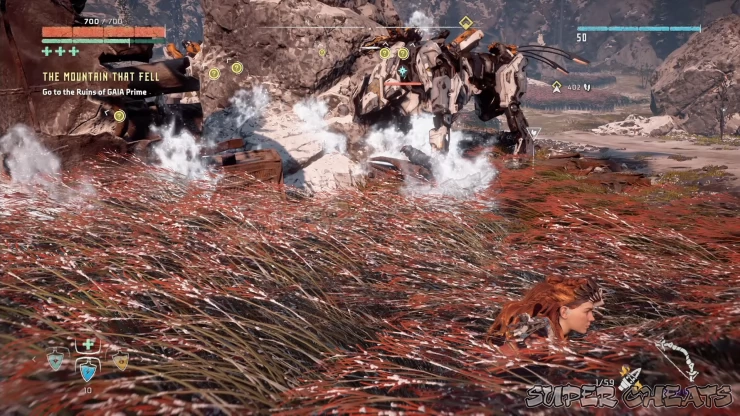
Like I mentioned above, if this is the first time you’ll be visiting the area, a short cutscene will play and a stormbird will arrive on the scene. This battle will be a lot easier if you have a rare ropecaster to bring the bird down; otherwise, you’ll have to rely on the large wreckages in the area for cover.
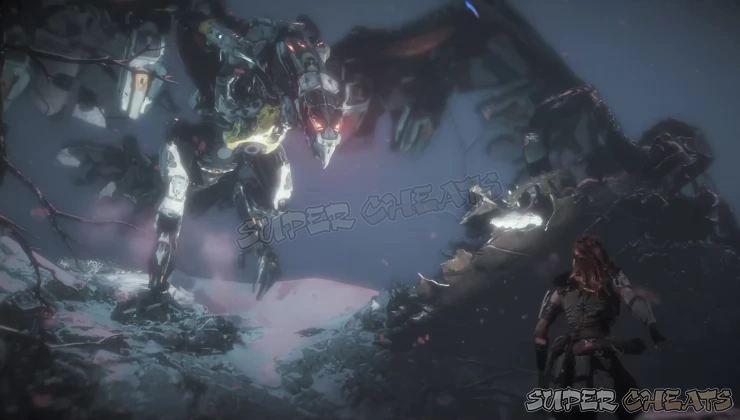
Once done, continue north and you’ll find the large, ominous hole on the side of the mountain and a light beaming from the wreck inside it. Continue there for a brief cutscene. There are no hostiles in this area so take your time exploring and scanning data points if you want. To continue, follow the path to the left leading to the rock outcrop.
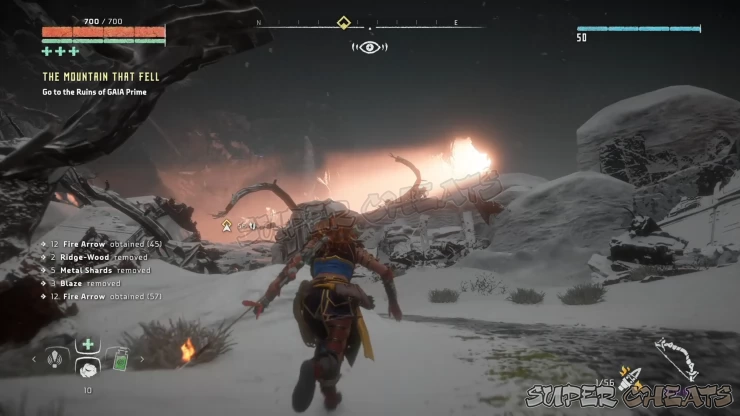
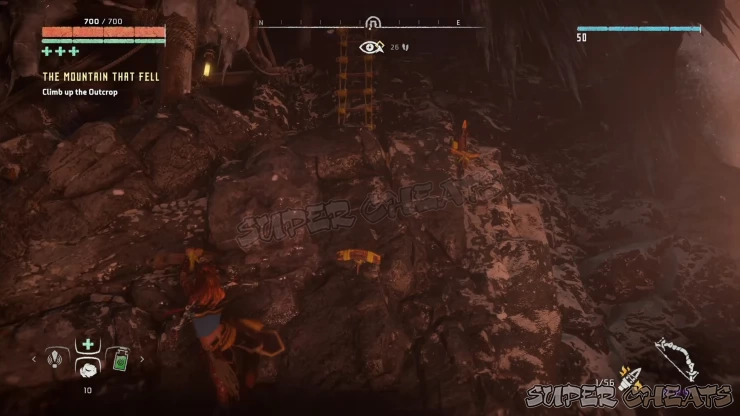
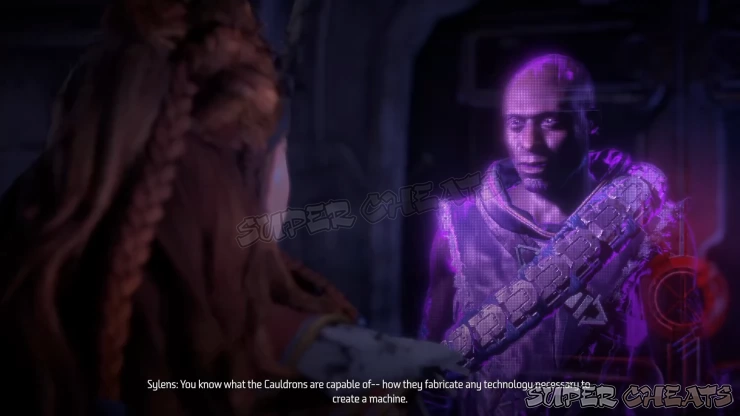
Use the climbing holds to reach the upper ledge. Use the ladder there to reach the entrance to the bunker. Head inside and talk to Sylens through his hologram projection.
Open the door and head straight past the elevator shaft to find a supply crate and a data point on the shelf. Backtrack to the elevator shaft and use it to go down. Follow the corridor then exit. Rappel down using the rappel point.
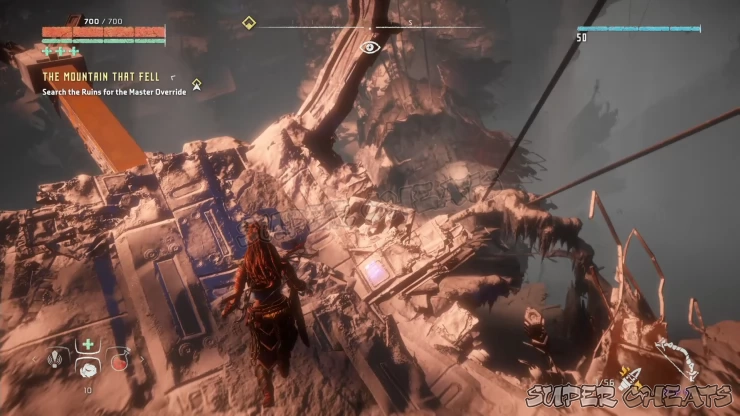
After going down, head to the collapsed walkway/bridge and cross the other side by jumping or using the zipline. Continue inside the next corridor then enter another elevator shaft. You have to go up but if you check out the room at the bottom of the shaft, you’ll find another supply crate.
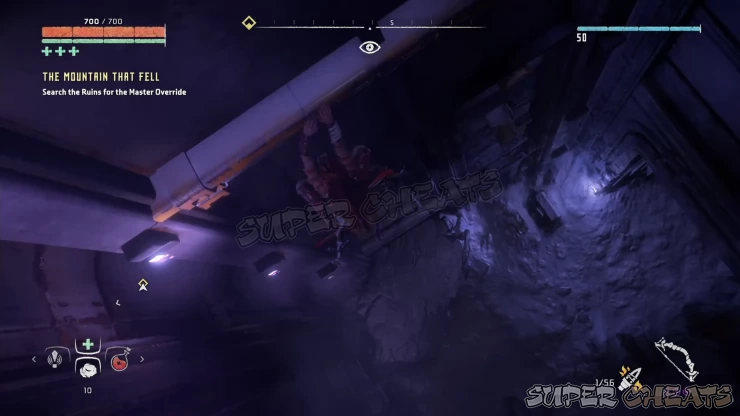
Continue to the top of the shaft and follow the path while scanning data points along the way. The objective marker will point you to a crevice so go through it and find the stairs that will eventually lead you to Elisabet’s room.
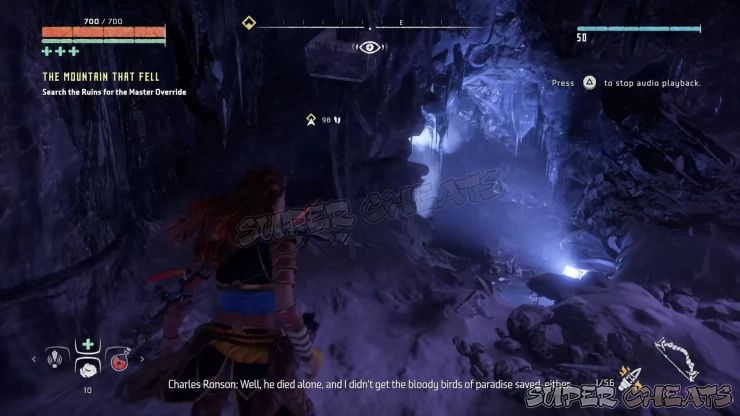
After the short cutscene, use the Focus to scan Elisabet’s damaged journals on the table. These will be “rebuilt” in the background and the five of them will be automatically added to your data point entries in your Notebook as time pass.
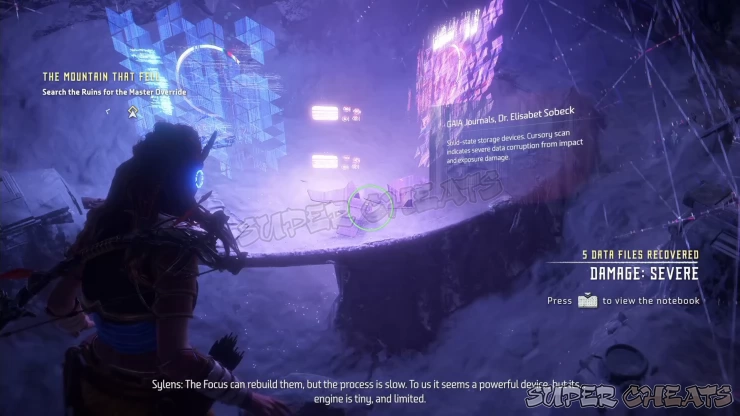
Once done, climb the ledges behind Elisabet’s table to reach the conference room. Interact with the console to view the hologram recording of the event. After that, talk to Sylens’s hologram. Next, more data points will become available.
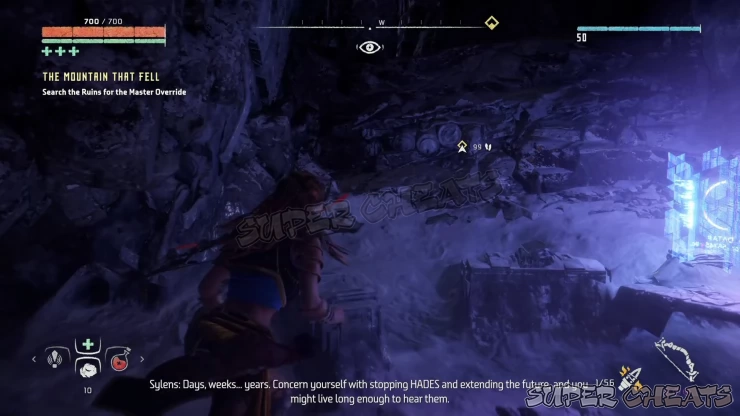
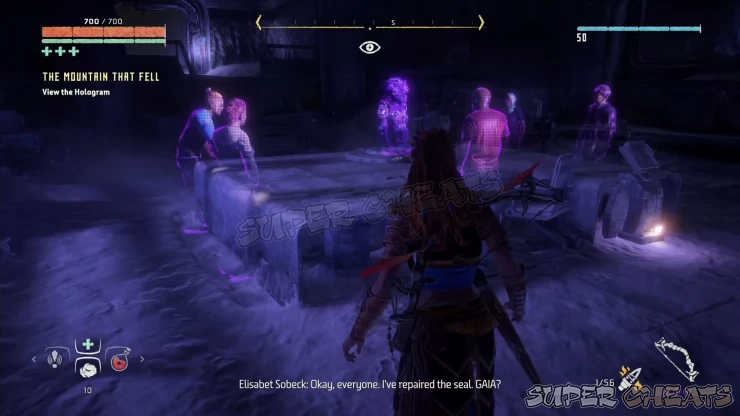
After scanning the data points on the table, go upstairs but before going through the hole on the rock wall, there’s a small vent where you can enter. This will lead you to two doors that you have to pry open to reach the supply crate inside as well as another data point. Backtrack and check out the adjacent room to the southeast of the conference room to find another data point on the table.
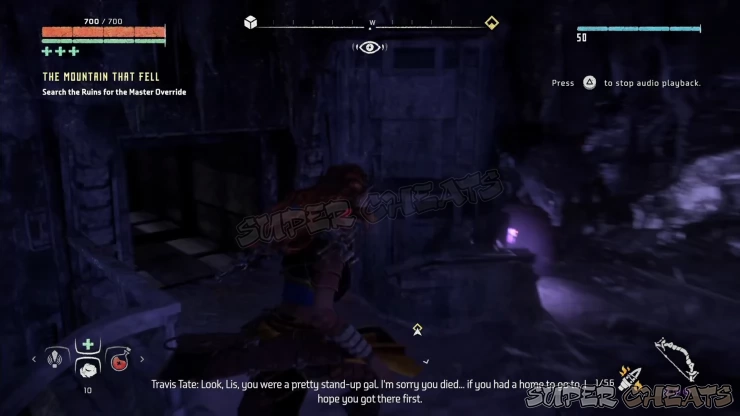
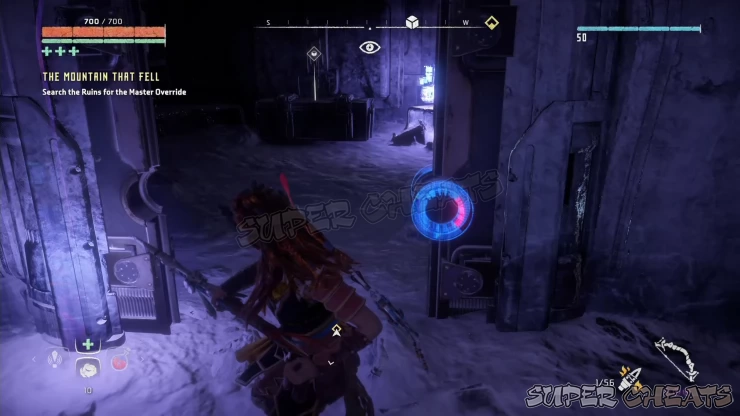
Follow the marker and exit through the door to the north. Continue following the only path and you’ll reach another elevator vent. Scan the data point on the floor before climbing up. Find the climbing holds and climb to the top ledge. Continue forth and you’ll reach the other side of the blast crater.
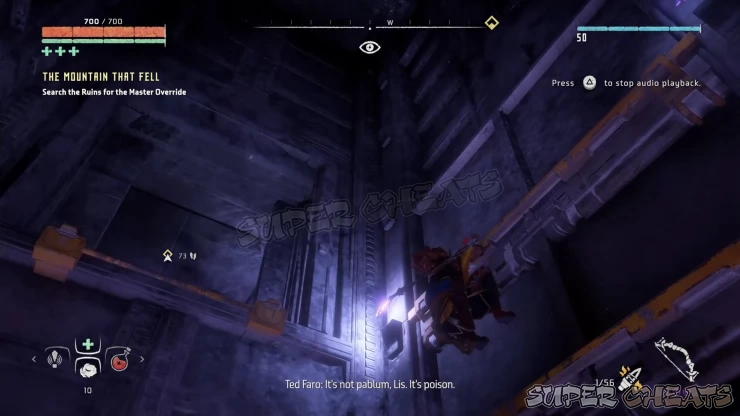
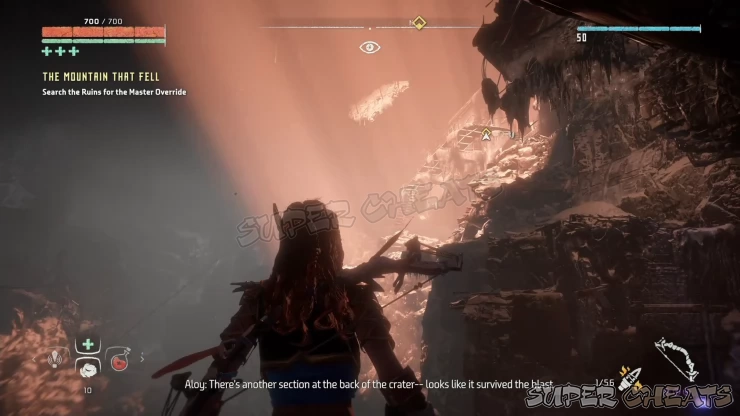
You have to head to the control room next. Follow the path but beware of the almost invisible gap along the way. Continue forth, using the climbing holds to reach the upper ledges. Scan another data point along the way and jump on the rocks to reach the stairs leading to the control room.
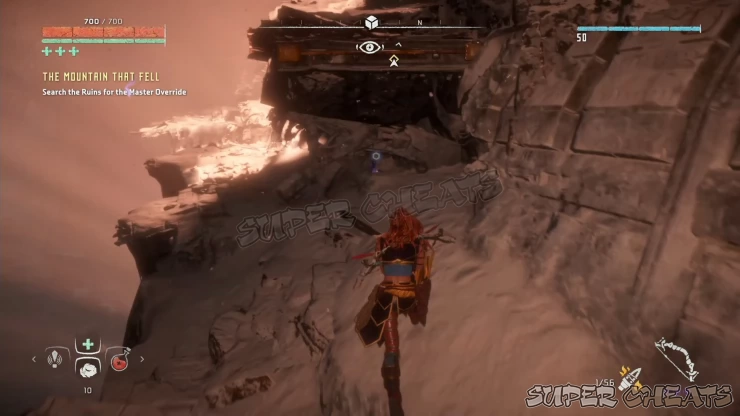
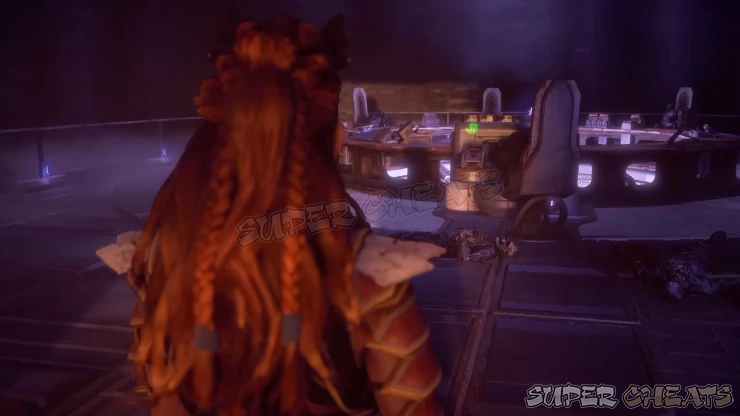
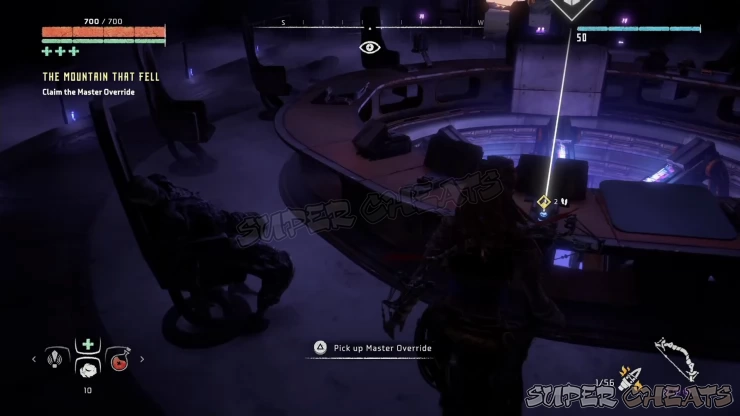
Enter the control room to trigger a short scene. Examine the console to view the hologram. After that, talk to Sylens again. Finally, pick up the master override on the table. Leave the control room and check out the opening on the wall to find another supply crate.
Go downstairs on the other side of the control room but before ziplining down, you can drop off from the nearby ledge and climb down to reach an off-path tunnel leading to a room with a Power Cell needed to unlock the ancient armor (Refer to the An Ancient Armory sidequest)
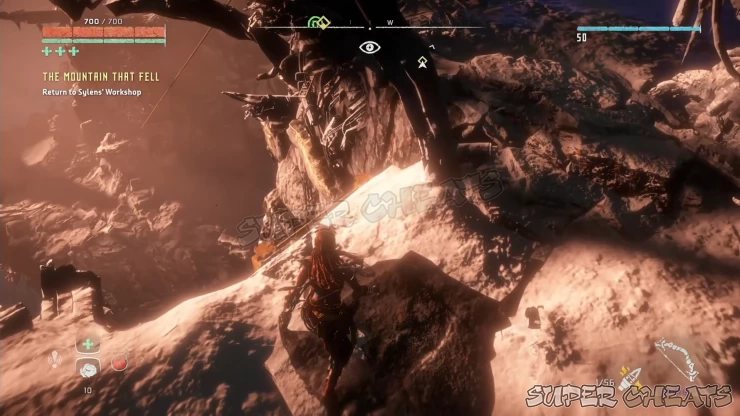

Once done, make your way back to Sylen’s workshop. Getting there should be straightforward. Upon reaching the workshop, you’ll find Sylens himself in person. After the conversation, you need to attach the Master Override to the lance on the workbench. You can scan more data points and finally, attach the override to your newly upgraded spear. The quest will be complete afterward.


Video Walkthrough
(Starting from Elisabet Sobeck's memorial in the conference room)


Anything missing from this guide?
ASK A QUESTION for Horizon Zero Dawn
Comments for The Mountain that Fell
Add a comment
Please log in above or sign up for free to post comments- Basics
- Main Quests
- Side Quests
- Errands
- Skills
- Collectibles - Ancient Vessels
- Collectibles - Banuk Figures
- Collectibles - Metal Flowers
- Collectibles - Vantage Points
- Tallnecks
- Bandit Camps
- Hunting Grounds
- Cauldrons
- Inventory and Crafting
- Machine Catalogue
- Extras
 Join us on Discord
