Revenge of the Nora
Sona and the rest of the hunting party will launch a counterattack to the cultists that are responsible to The Proving Massacre. Head further north of the Nora territory and head to the meeting up in Red Echoes, an unmarked rocky hill west of Devil’s Grief. You’ll strike at evening so you have to rest at the campfire.
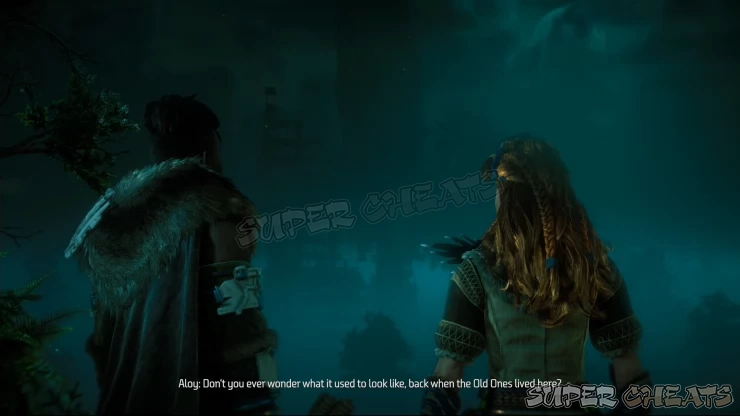
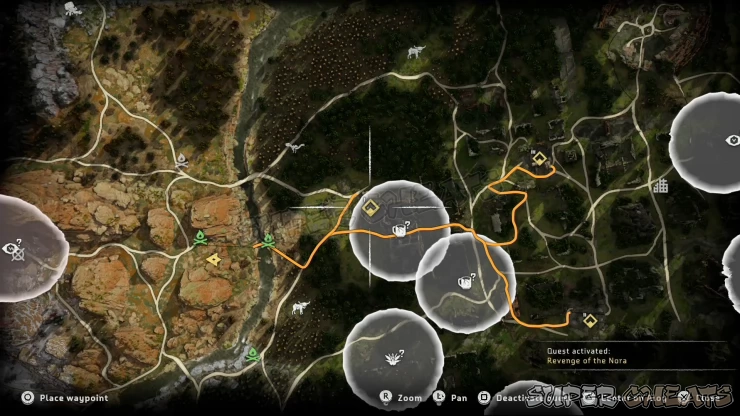
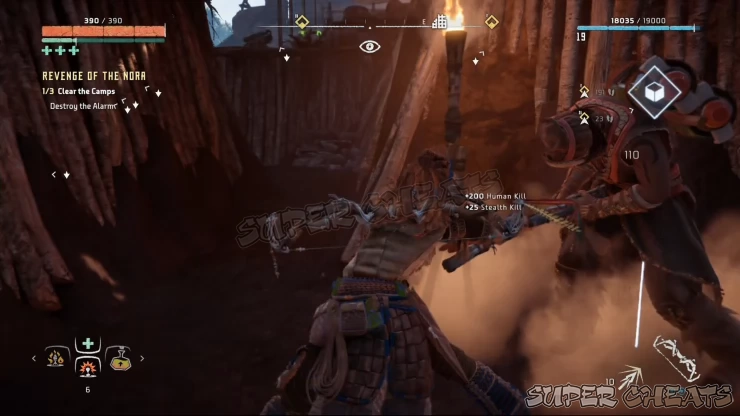
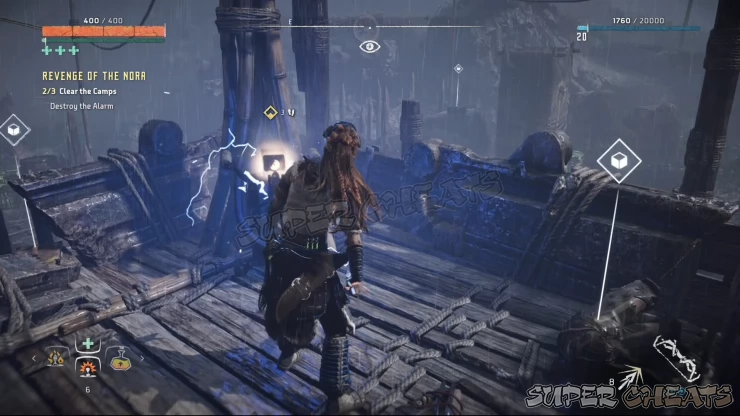
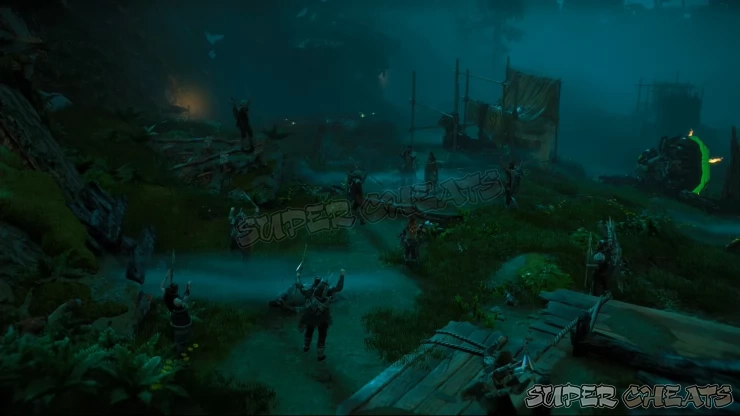
After the scene, the operation will start. Your objective is to clear three smaller cultist camps marked in the map before assaulting their main base in the Ring of Metal. You can clear these camps in any order you want. You have Nora allies with you as you clear the camps and they’ll only go out of hiding if ever you get discovered. Otherwise, I suggest employing stealth to maintain an advantage. Each camp has an alarm system that will call in reinforcements. Disabling it or killing anyone before they can activate it will maintain your stealthy approach on any of the camps.
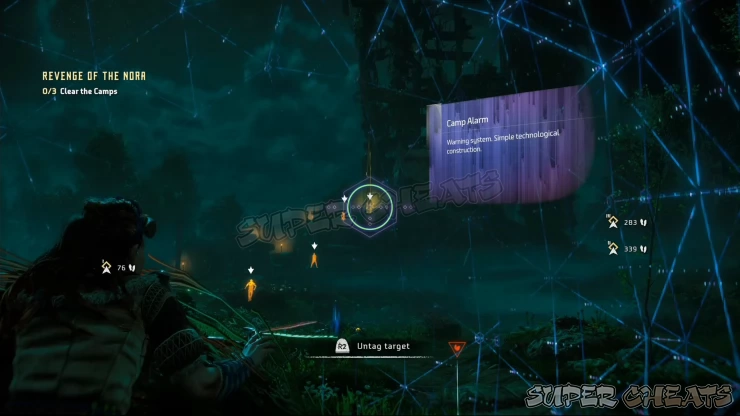
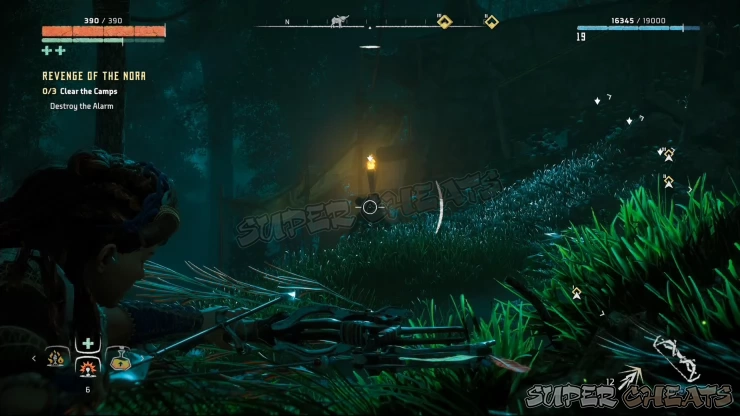
Headshots can kill humans at a distance while the Silent Strike skill can be utilized against human targets as well, usually when using it while in cover or sneaking behind your target. Make sure to use your Focus to tag enemies before entering the camps. If the alarm is within range, you just need to interact with it to destroy it. Killing the last enemy in each camp will clear them. Clear the camps in any order or method you want since there’s a lot of ways to deal with them.
After taking care of the camps, head to the marked location outside the stadium ruins to talk to Sona. After the final briefing, follow Varl to the part of the stadium wall where you can sneak into. Once inside, carefully move above the first two cultists. If you have the Strike from Above skill, you can execute that here. Otherwise, aim for the head of your assigned target. Varl will take out the other target in sync with your attack.

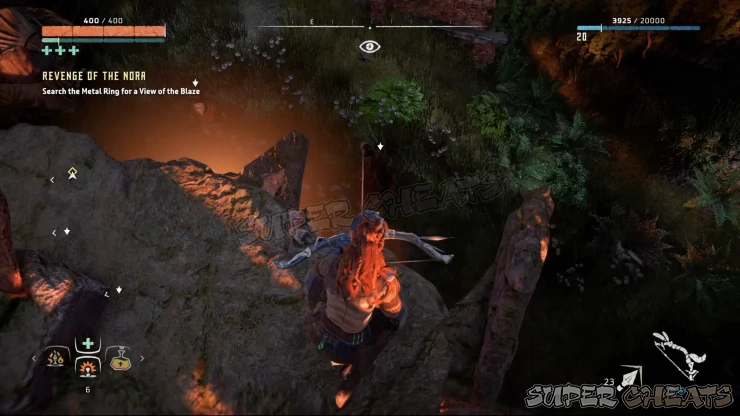
For the next pair of cultists, Aloy will need to take the one on the left. Enter the tall grass behind the concrete pillar and perform a silent strike on the cultist. Varl will flawlessly kill the other one. Loot the bodies and the supply crate nearby then follow Varl until you reach the third pair of cultists. Eliminate them and continue following Varl to trigger a scene.
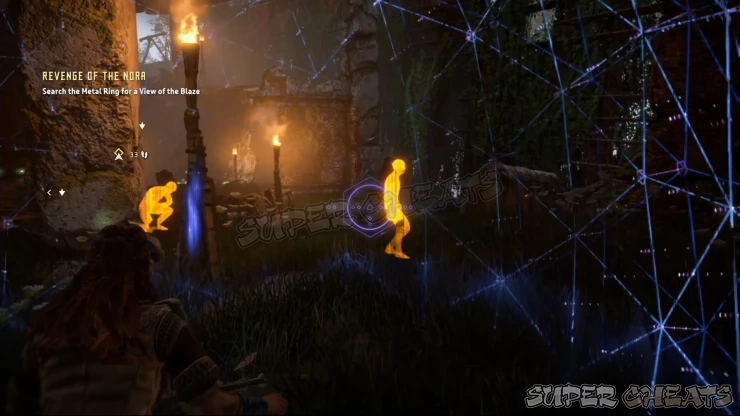
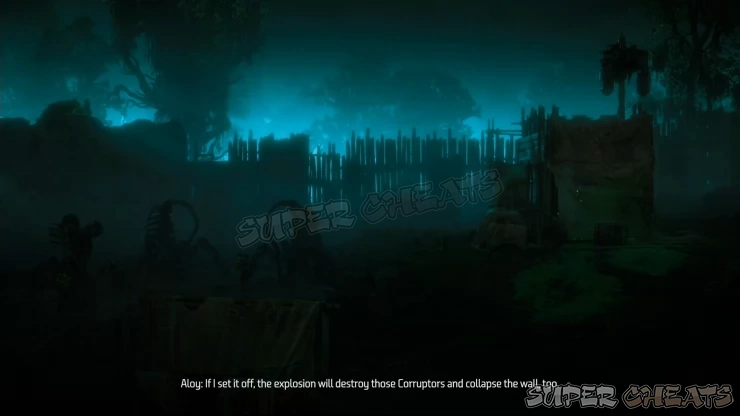
After the scene, Aloy needs to sneak alone and maker her way to the blaze depot. This part of the quest is purely stealth. Do not attack the hostiles unnecessarily to avoid blowing your cover. Remember to use your Focus often to tag hostiles and to track their movements. From your starting position, slide down the tall grass to the left and snipe the cultist that goes up and down the ramp. Next, take out the closest one with the pickaxe. Due to the ground’s elevation, you can’t perform a normal Silent Strike so shoot the head at point-blank range to kill him instantly.
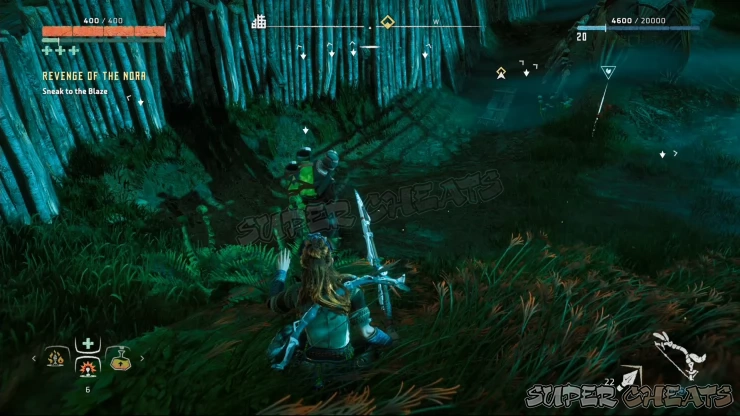
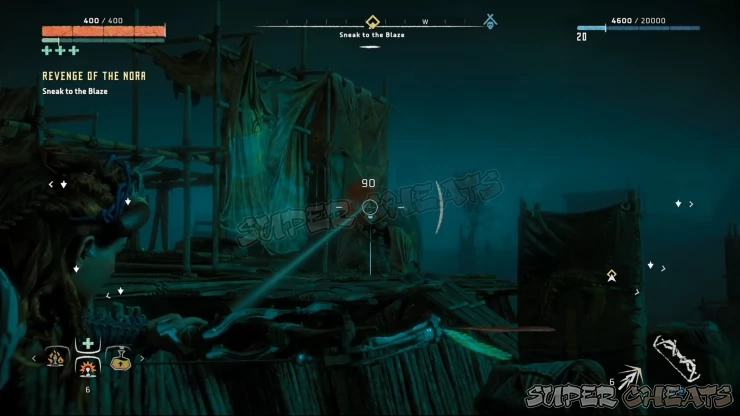
Next, slowly move along the trench while looking around to prevent the roving cultists from spotting you. There’s an exposed portion of the trench with minimal cover so you have to cross it while there are no nearby enemies that would detect you. When you reach the other side of the trench, take out the roving cultist that will be patrolling near the edge of the trench.
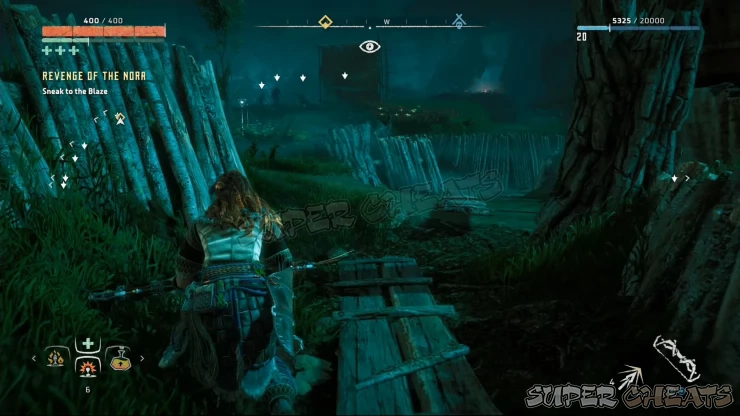
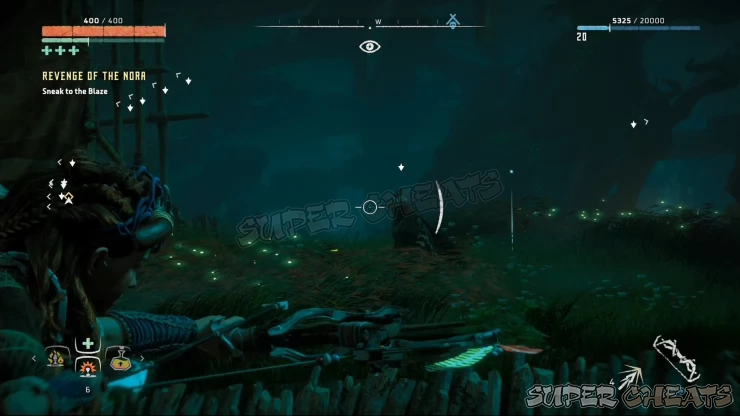
Next, carefully move up the ramp to the right and beeline to the tall grass ahead which will give you the clear view of the blaze container depot. Equip your fire arrow then shoot at the containers to create a huge explosion that will take out the corruptors and blow a hole on the walls, allowing your allies to pour in.
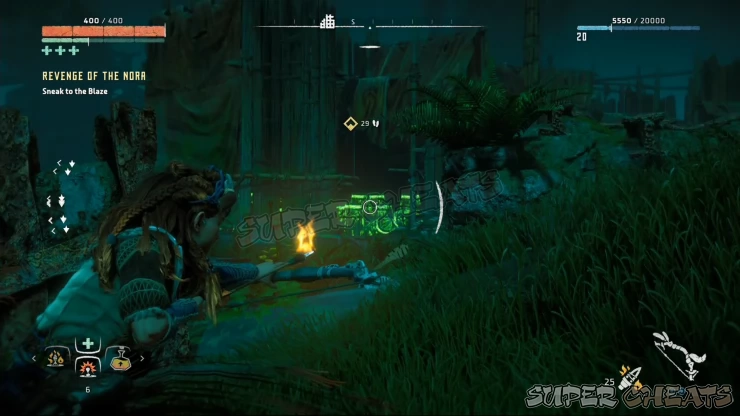
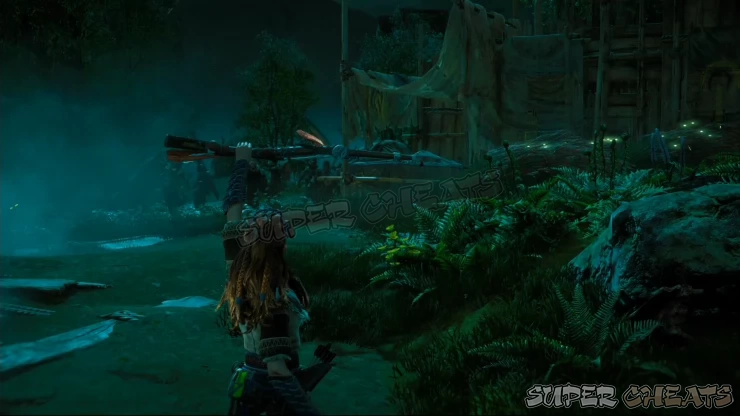
Refer to the video below for further information about the infiltration sequence of this quest:

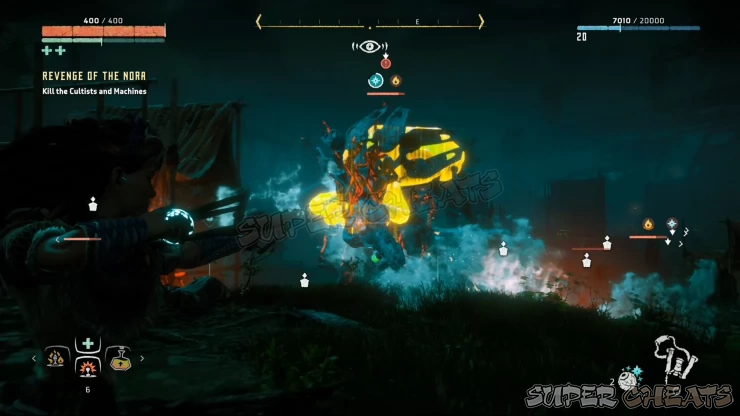
In this next part of the mission, you need to go all out and help your allies clearing the area of hostiles. The most dangerous machine at this point should be the bellowback. Use tripwires and explosives to set it on fire. Use your Focus once in a while to identify the hostile targets amidst the chaotic battle. After taking out the bellowback then sweeping up the remaining cultists should be easy. After the battle, a cutscene will play and the quest will be complete. Before leaving the stadium, make sure to loot the remains of the machines and enemies, as well as looting the supply crates in the area.

Anything missing from this guide?
ASK A QUESTION for Horizon Zero Dawn
Comments for Revenge of the Nora
Add a comment
Please log in above or sign up for free to post comments- Basics
- Main Quests
- Side Quests
- Errands
- Skills
- Collectibles - Ancient Vessels
- Collectibles - Banuk Figures
- Collectibles - Metal Flowers
- Collectibles - Vantage Points
- Tallnecks
- Bandit Camps
- Hunting Grounds
- Cauldrons
- Inventory and Crafting
- Machine Catalogue
- Extras
 Join us on Discord
