Cauldron RHO
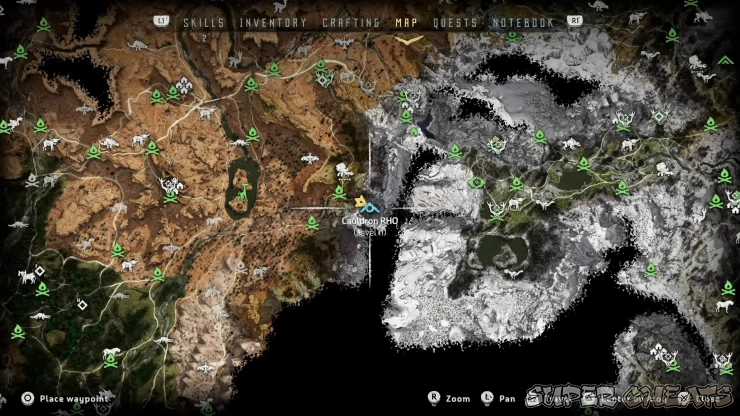
Override Unlocks:
- Trampler
- Shell-walkers
- Snapmaws
- Longlegs
- Ravagers
This cauldron has several watchers prowling outside. However, unlike Sigma, the entrance to the cauldron is separated by a deep chasm. You have to go down to find the alternate entrance of the cauldron. Also, take note that once you’ve gone down, you can’t get back up and fast-travel out of the place until you complete the cauldron.
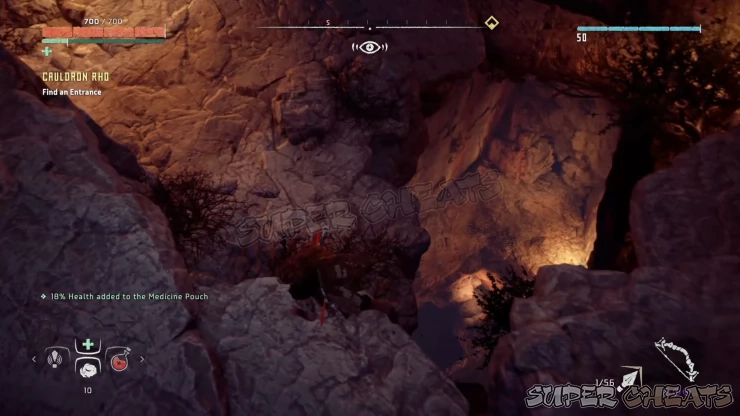
Make your way to the bottom and continue through the tunnel. You’ll find the cauldron’s alternate door further down. Override the node to open the door.
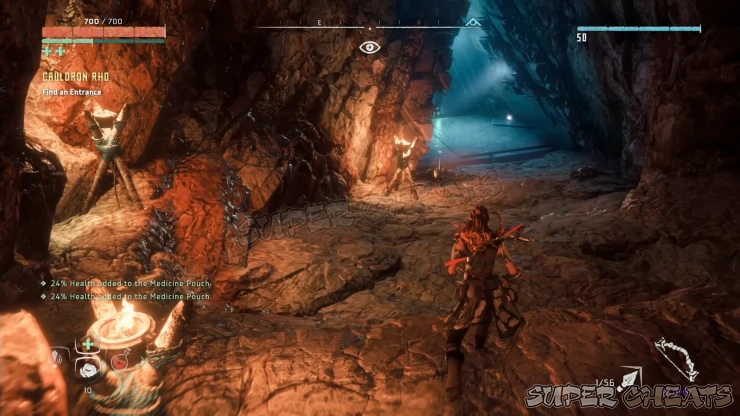
Take out the watcher in the corridor and after the corner you’ll find a rotating turbine. You can attack it to reverse its direction then grab the small cylinders to reach the other ledge. Continue forth and grab the medicinal plants and loot the containers along the way. Follow the path until you reach corridor leading back inside the cauldron. At the end of the corridor lies another door that you need to override.
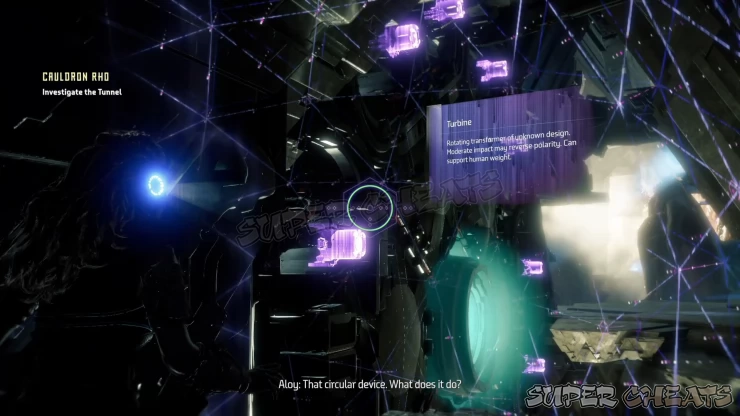
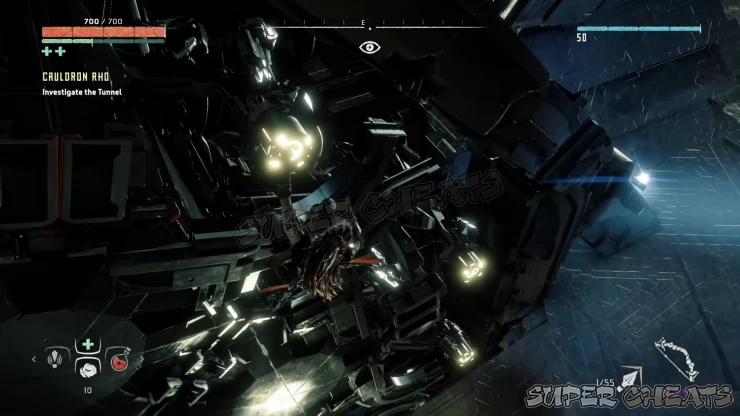

After opening the door, don’t go outside immediately; there are several machines right outside so use your Focus to detect them and tag them. Take out the watchers and ravager to clear the room. Check out the turbine to the left and attack it to reverse its direction. Next, grab hold on the cylinders on the turbine then jump and hang under the floating containers overhead.
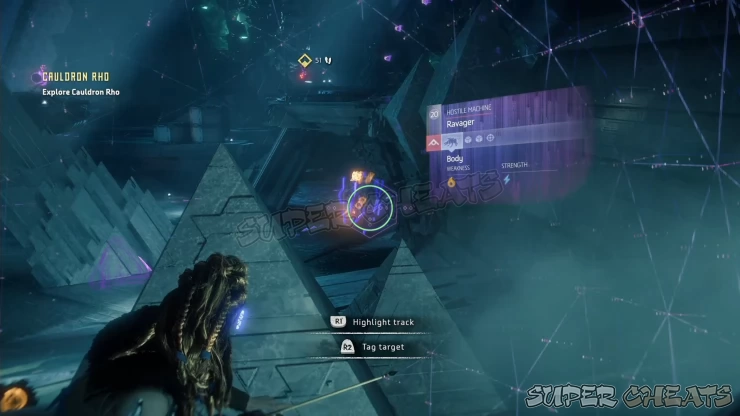
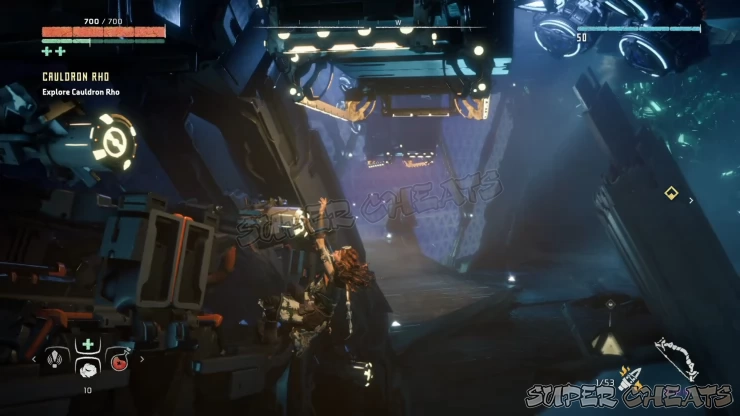
Drop off on the next ledge and override the nearby node to create a walkway. Cross to the next ledge and you’ll find another turbine. Don’t attack it then grab hold of it until you reach the next node. Override it to disable the lower barrier on the southern part of the hall. Before moving, check out the narrow corridor beside the node to reach a dead-end room with a container.
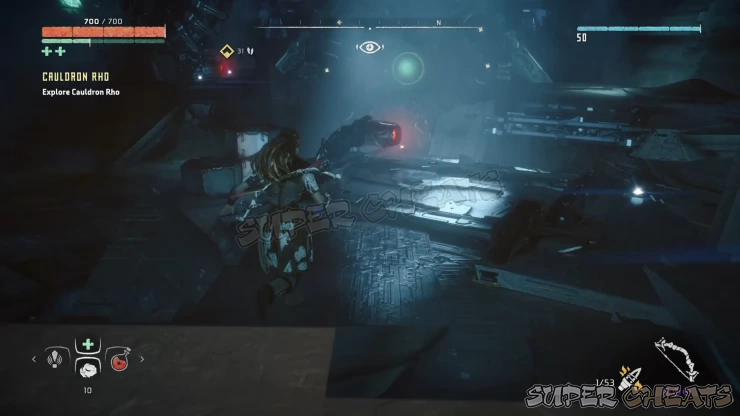
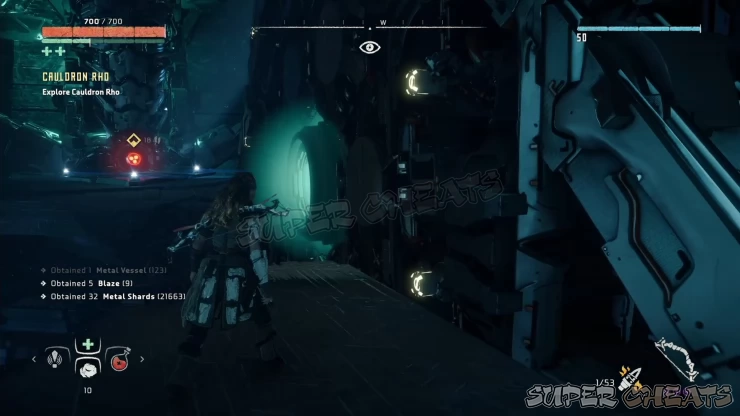
Backtrack and head back to the first turbine of the room and use it again to reach the floating containers above and use it to reach the upper ledge of the previously blocked room. You have to reach the other ledge. You can do this by either using the turbine above or simply run-jumping across the ledge.
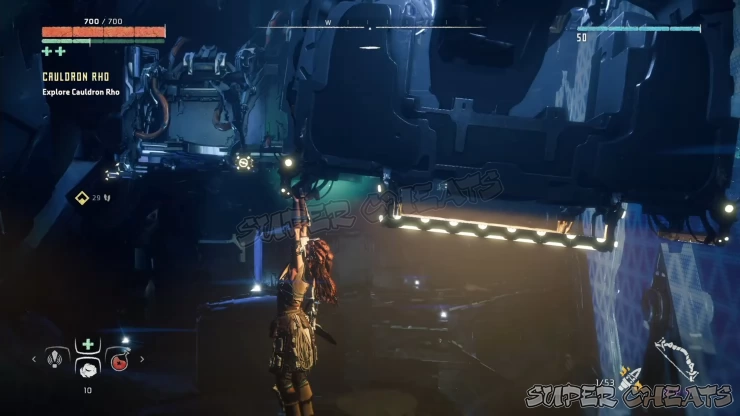
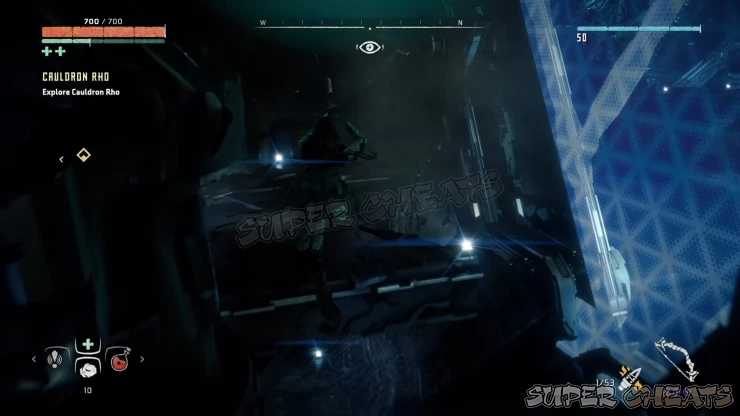

Continue through the corridor to find yet another hall with more machines inside. Take them out then proceed to the next door. Here lies the Blaze Processing Chamber. There are more enemies inside, including a couple of Longlegs and a Ravager. You can strike the steam vent and set traps by the doorway before sniping them off. It will be easier to explore the room with all machines defeated so clear the chamber before proceeding.
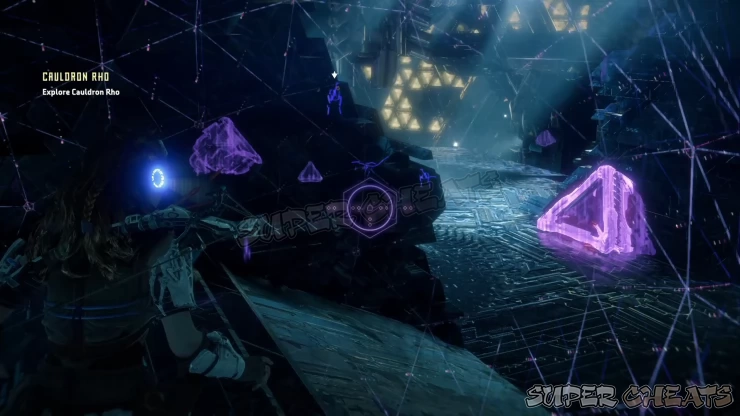
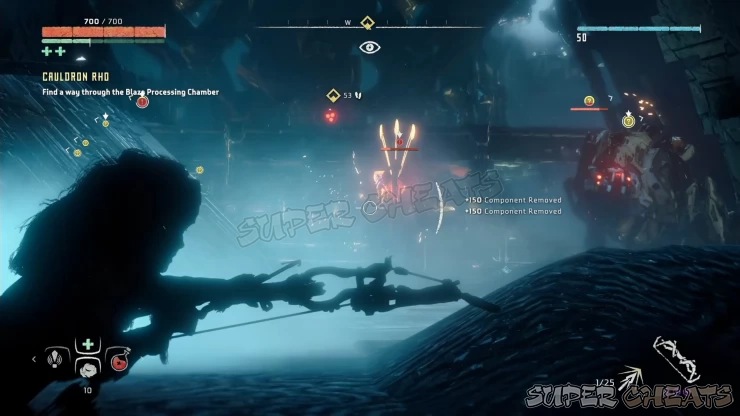
Once the chamber is clear, go to the upper walkway and find the network uplink node that will connect to the central processing machine. Override another node there to take down the barrier north of the processing chamber.
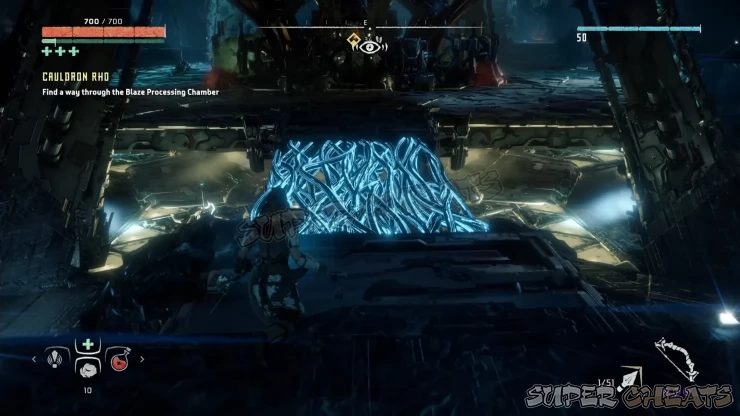
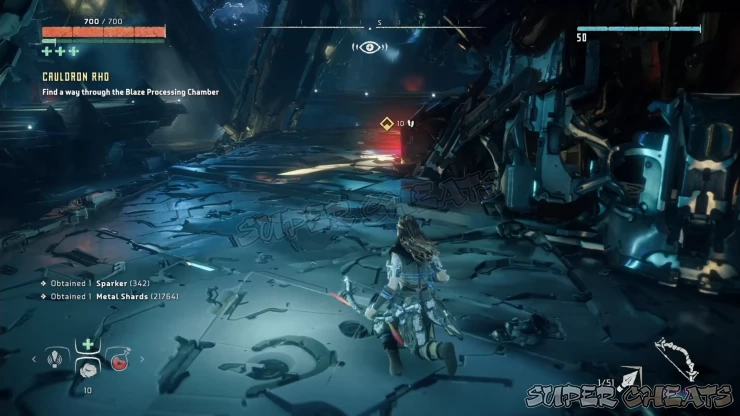
Head there but don’t go through the lower middle opening; instead, take the ramp to the right side which will lead you to two turbines. Hit the first turbine and grab hold to transfer to the adjacent turbine and reach the next ledge. Follow the straightforward path until you find another network uplink node. Activate it to create the bridge.
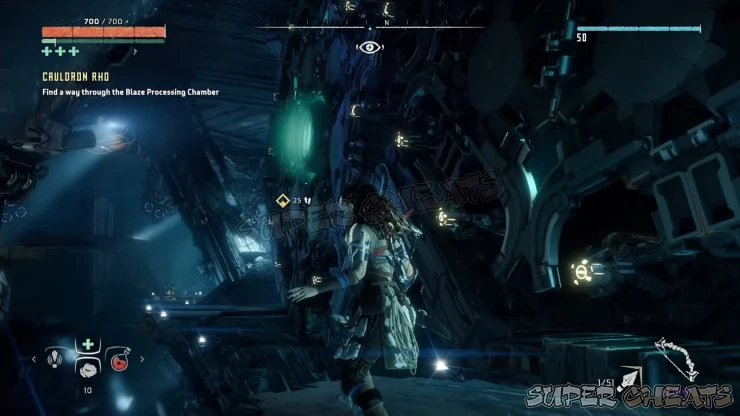
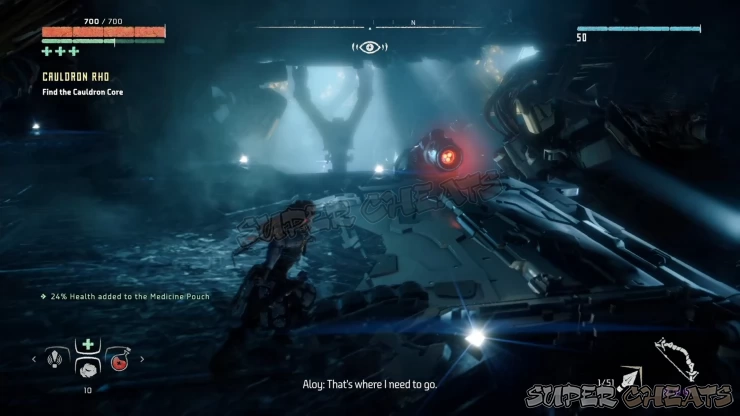
Follow the path again until you find a ledge where you can jump off to the flooded area below. Swim towards the next corridor and follow it to reach the cauldron’s core chamber.
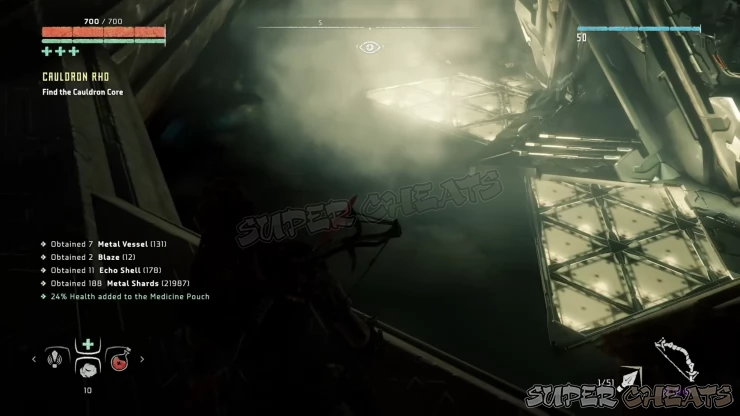

The machine in the middle is a snapmaw, which quite an agile attacker despite its size. Take out the two watchers first then lay down some tripwires and explosive traps around the place. Take note that a ravager will join the fray as soon as you disable the barrier so having the traps and tripwires will help a lot in softening them up. Once ready, climb one of the discharge pylons and override it. The snapmaw’s body is weak against fire so shoot it with fire arrows to set it on fire and cause it to panic. Use this chance to fire tearblast arrows or use the tearblaster to strip it off its components and deal more damage. Keep an eye for the attack indicator since the ravager is a bit more dangerous than the snapmaw, considering its mobility and speed.
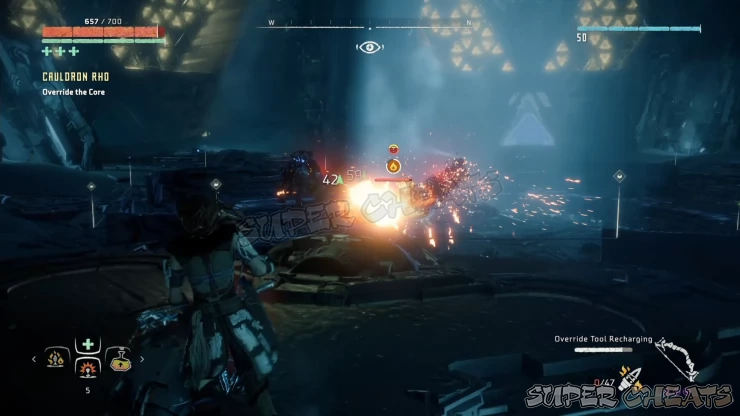
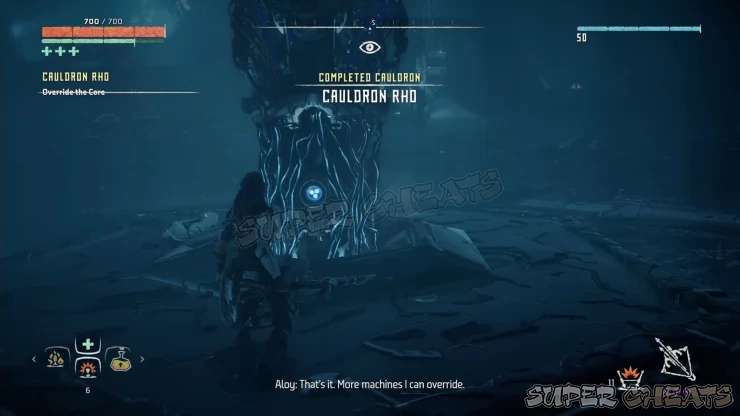
Once you successfully dealt with the two machines, the core will be revealed. Override it to clear the cauldron and obtain the capability to override Tramplers, Shell-walkers, Snapmaws, Longlegs, and Ravagers.

Anything missing from this guide?
ASK A QUESTION for Horizon Zero Dawn
Comments for Cauldron RHO
Add a comment
Please log in above or sign up for free to post comments- Basics
- Main Quests
- Side Quests
- Errands
- Skills
- Collectibles - Ancient Vessels
- Collectibles - Banuk Figures
- Collectibles - Metal Flowers
- Collectibles - Vantage Points
- Tallnecks
- Bandit Camps
- Hunting Grounds
- Cauldrons
- Inventory and Crafting
- Machine Catalogue
- Extras
 Join us on Discord
