Cauldron Sigma
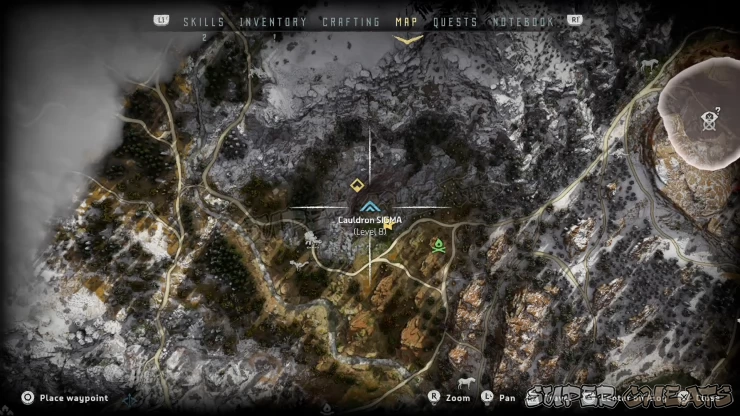
Override Unlocks: Sawtooth, Scrapper, Grazer, Lancehorn
This is the first cauldron that you can clear in Nora territory. The door is guarded by watchers only so you have to simply take out the watchers then use your spear to override the door to gain entrance.
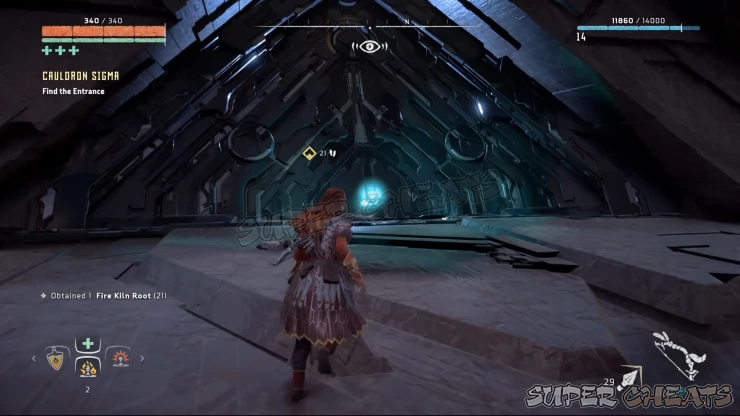
Once inside, rappel down and loot the supply crate inside a triangle container behind your landing point. Follow the narrow corridor. Use your Focus to identify the points of interest and tag enemies. The vents found along the way can be hit to make them produce smoke which could conceal your position. This is quite useful for maintaining stealth. Continue to the larger hall and take out the two watchers guarding the area.
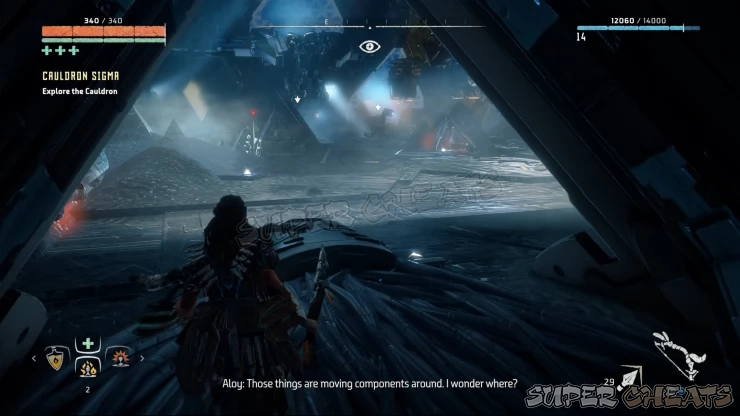
Continue through the narrow corridor until you reach outside. Enter through another opening leading back to the cauldron. Climb up the ladder at the end of the path using the climbing holds .
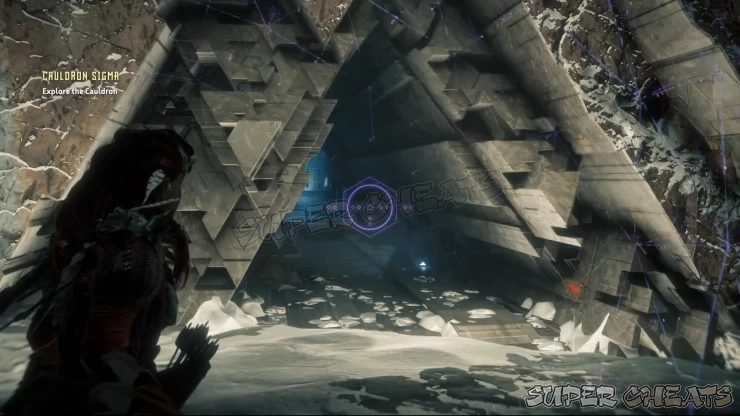
Continue along the corridor and you’ll run into another wide hallway.To be able to cross the gap, you have to override the red node to create an artificial bridge. Continue across then loot the container along the way.
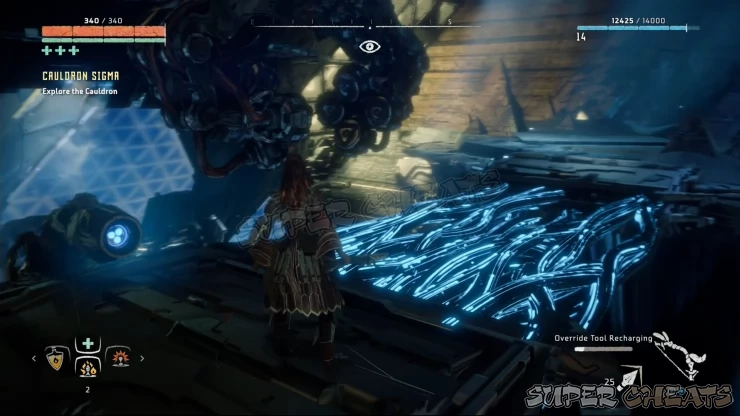
Proceed along the dark, narrow, straightforward corridor until you reach another door that needs overriding to open. Once done, you’ll find yourself in another large corridor with floating containers. Go underneath their path and jump to grab hold of the bards under them. Hang from the container as far as it can take you.
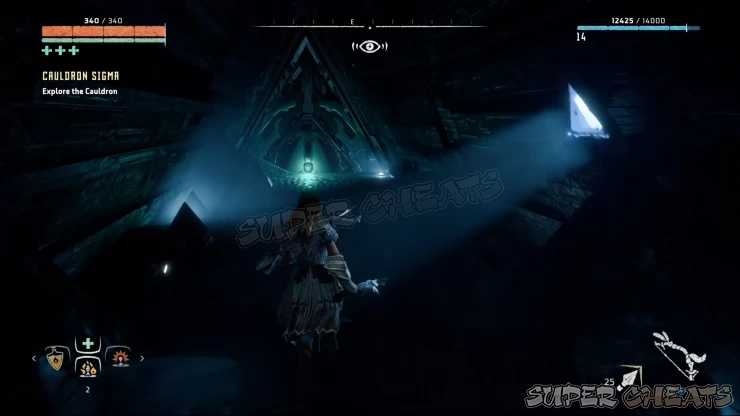
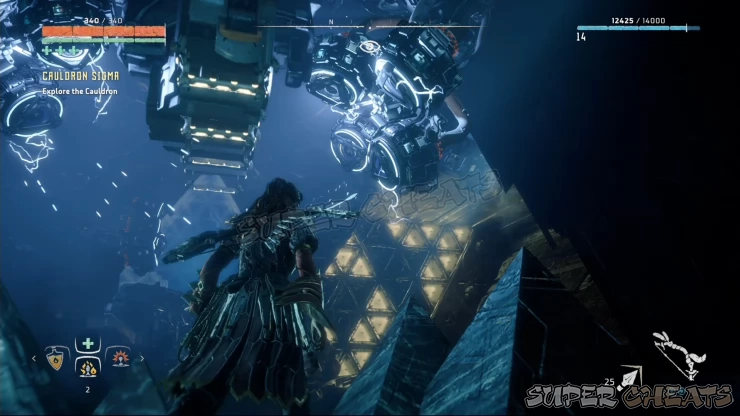
After getting dropped off to the end of the container line, you’ll have to follow the marker again. There are several watchers in this hallway as well. You can pick them off from a distance if you want. To reach the ledges across the gap, you have to hang from the floating container blocks with climbing holds at the sides.
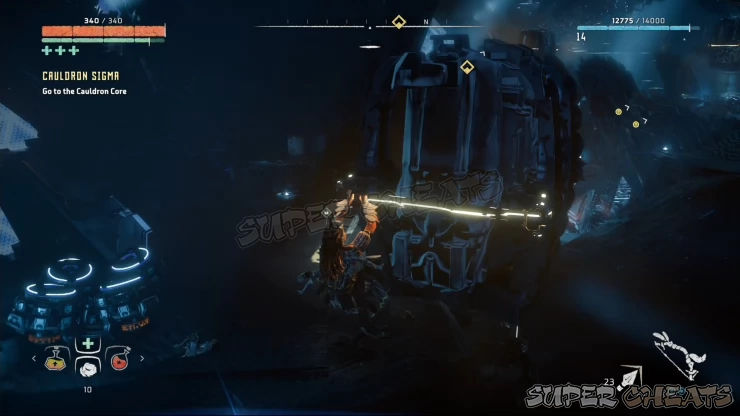
Continue forth and you’ll find more machines, including a shell-walker. Depending on what level you attempted this cauldron and what equipment you have, you may want to employ stealth and take out the watchers first before dealing with the shell-walker. Use the cooling vents to create additional cover and place traps and blast wires if you have them along ramps and other potential places where you’re planning to lure the shell-walker. After getting rid of the shell-walker and looting its contents, you can now proceed along the straightforward walkway.

Follow the ledges until you reach an override node. Use that to create a footbridge and continue forth. Loot the supply crates and pick up the medicinal plants along the way. At the end of that path, you’ll find a zipline. Use that to reach the next section of the area.
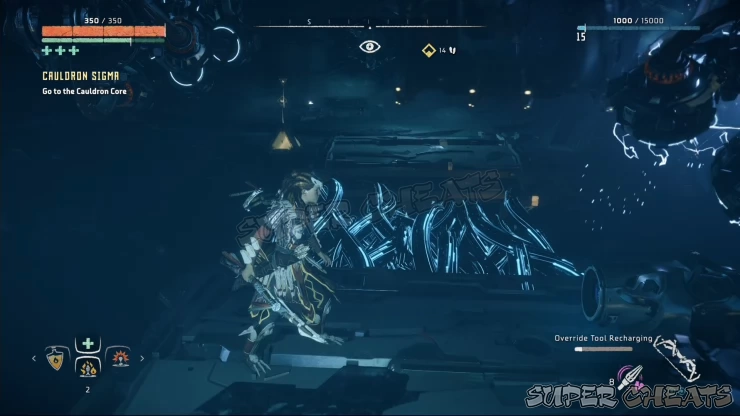
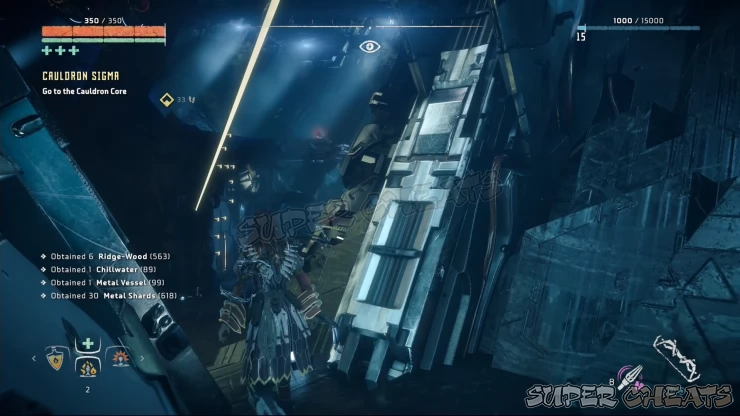
Climb up using the climbing holds then override the nearby node again to create a footbridge. Cross the gap and go through the narrow tunnel until you reach the exterior of the cauldron again, this time in a much bigger exterior. Drop down and collect all containers and medicinal plants as needed then jump across the gap, aiming for the climbing holds at the edge of the ledge.
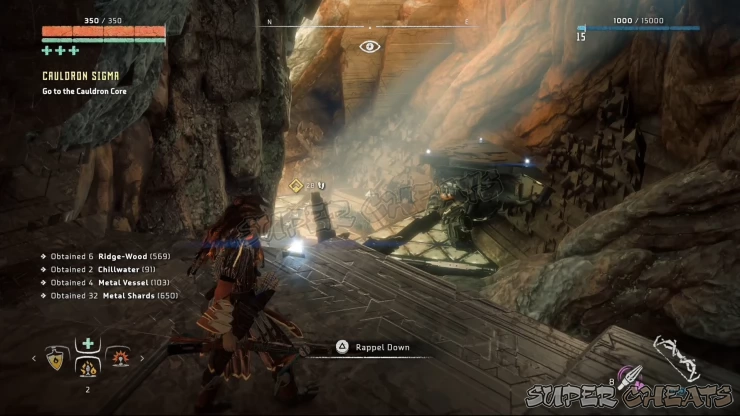
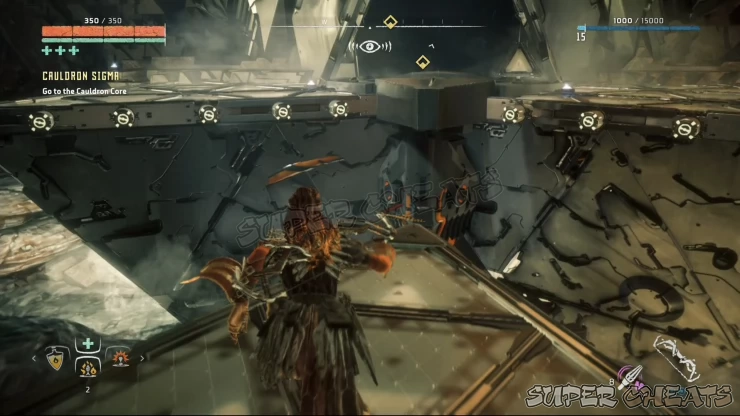
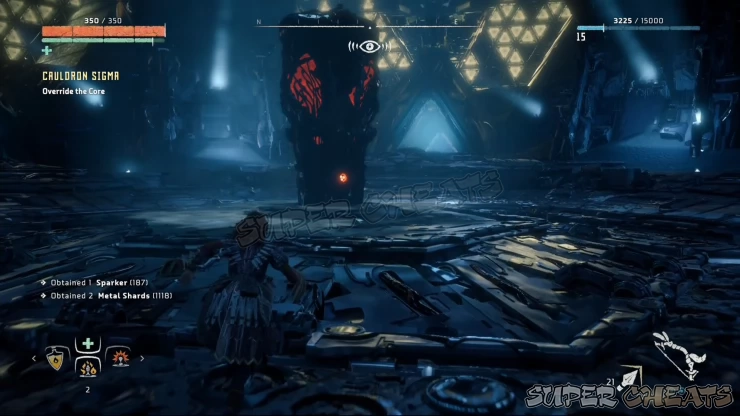
Pull yourself up and continue through a short corridor to reach the cauldron’s “core”, where the new machines are being built. There’s a bellowback in the center and two watchers patrolling around. The barrier will keep you separated from the bellowback so concentrate on taking out the watchers first then loot the containers, in hopes of finding better coils to mod your weapons. To expose the core itself, you have to take down the barrier climbing one of the elevated platforms called “discharge pylons” and overriding the node. Take note however that taking down the barrier will also free the machine inside, which you’ll also have to defeat in order to expose the core.
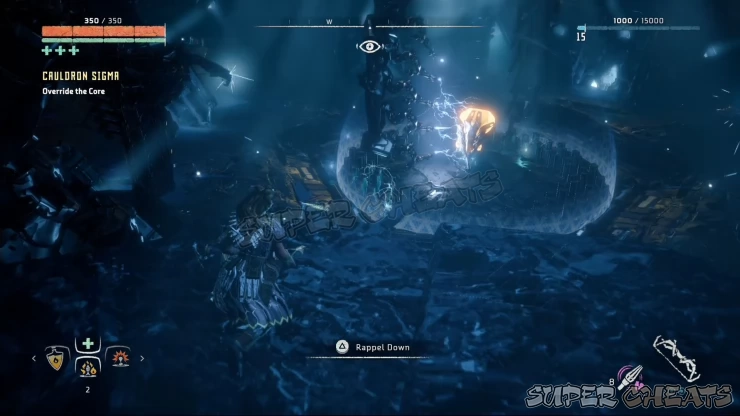
The bellowback is a tough machine at lower levels with a good mix of long range and close range attacks. The small metal barriers around it won’t help that much since it can demolish it with its charge attacks. One good preparation is by placing explosive traps and blast wires around the core. When ready, climb up a discharge pylon and override the node to free up the bellowback. Take note that three new watchers will join it, putting you immediately to another disadvantage.
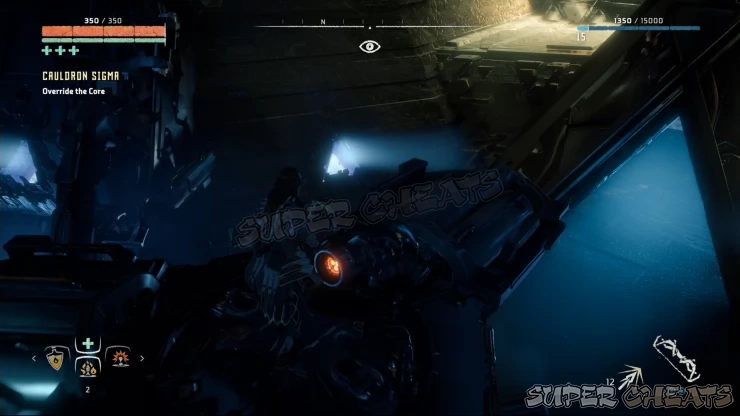
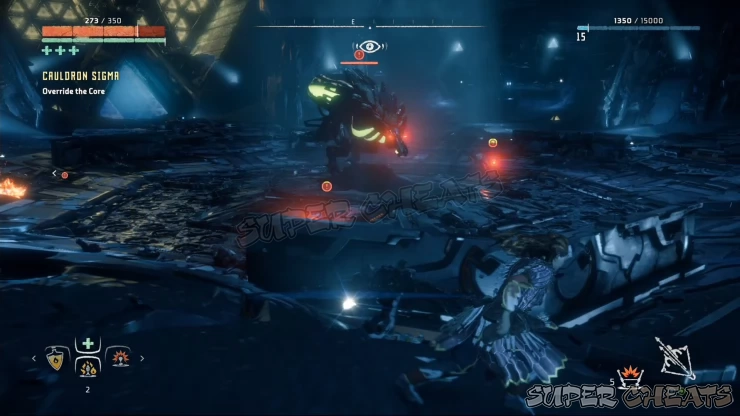
As usual, deal with the watchers first while moving and evading frequently to avoid getting directly hit by the bellowback’s charge attack. Always aim for its sac, particularly the one at the back first since it’s easier to target and making it explode deals a huge amount of damage to the bellowback while also setting it on fire. Keep on attacking its weak spot. Destroying the underbelly sac should be enough to take it down as well.
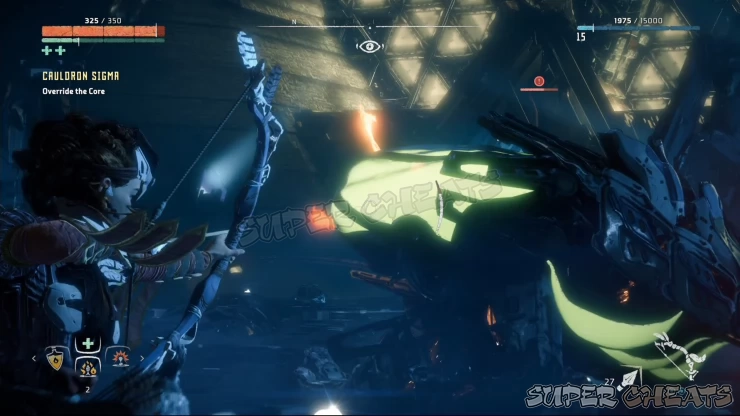

Once done, loot the machines and approach the exposed core. Interact with its node and override it to “clear” the cauldron and get the exp and skill point rewards as well as the ability to override a Sawtooth, Scrapper, Grazer, or Lancehorn. The core’s platform will also serve as an elevator and take you up back to the entrance.

Anything missing from this guide?
ASK A QUESTION for Horizon Zero Dawn
Comments for Cauldron Sigma
Add a comment
Please log in above or sign up for free to post comments- Basics
- Main Quests
- Side Quests
- Errands
- Skills
- Collectibles - Ancient Vessels
- Collectibles - Banuk Figures
- Collectibles - Metal Flowers
- Collectibles - Vantage Points
- Tallnecks
- Bandit Camps
- Hunting Grounds
- Cauldrons
- Inventory and Crafting
- Machine Catalogue
- Extras
 Join us on Discord
