The Heart of the Nora
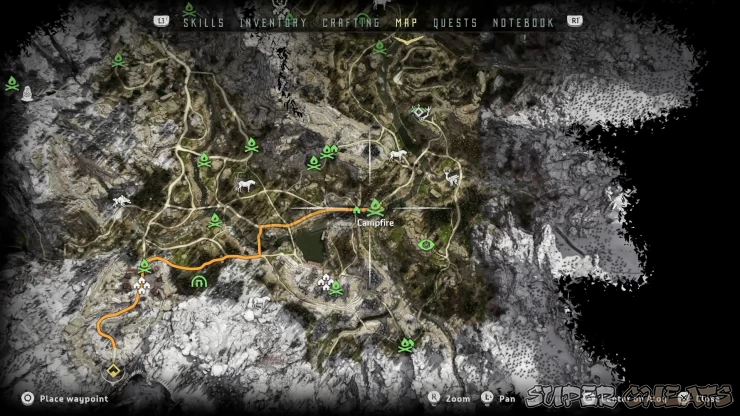
You can’t fast-travel to any campfires in the Embrace. The nearest you can travel is from the main gate. From there, you’ll encounter Corruptors, Deathbringers, and Eclipse cultists. You don’t have to engage them but take out the human targets and smaller corrupted machines first whenever you can.
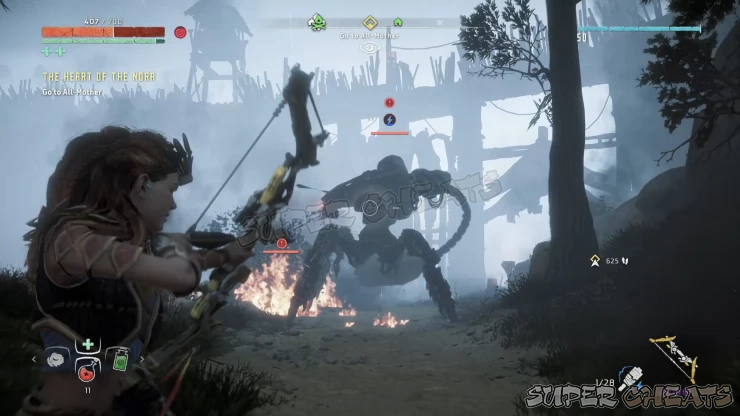
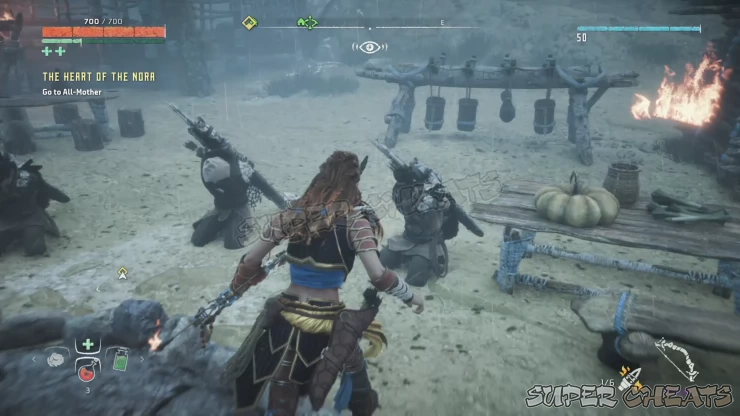
I suggest heading to Mother’s Cradle by following the southwestern road. The settlement is burned to the ground but you can kill some cultists and free some captive braves to help you on the way to Mother’s Cradle.
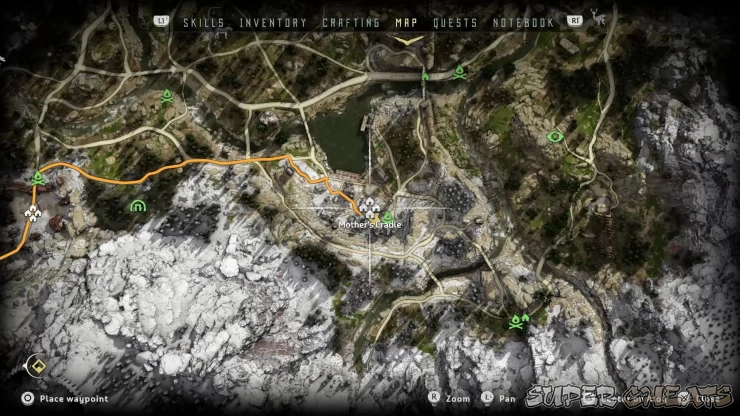
Defeat any Eclipse patrols you’ll encounter along the way until you reach the broken walls of Mother’s Watch. Take out the eclipse troops and corrupters roaming by the gate before you can proceed. After defeating them all, loot the bodies and continue uphill towards Mother’s Heart.
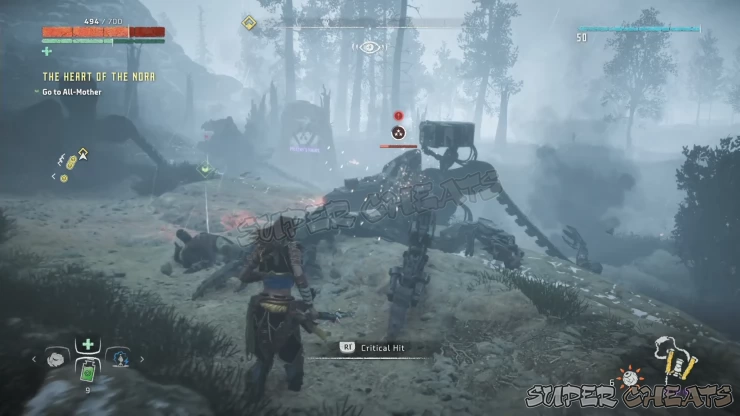
Upon arriving, you’ll find a corrupted thunderjaw and some cultists laying siege on the bunker where the other members of the tribe has taken refuge. Lay down some tripwires and traps then approach the bunker entrance a bit to rally up your tribesmen and get their help in engaging the invaders.
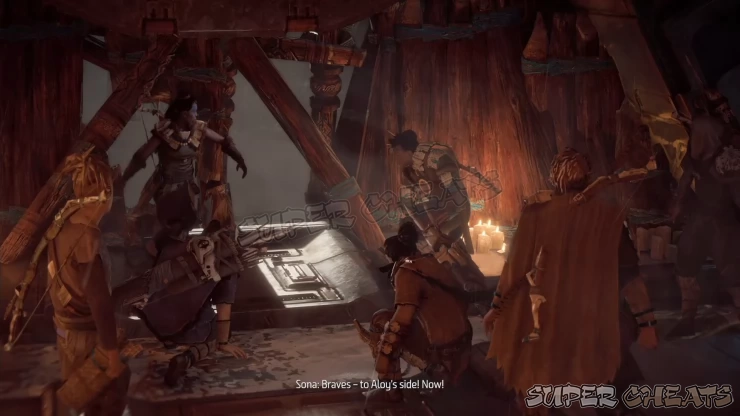
Concentrate on tying down the thunderjaw with the ropecaster for the meantime then deal with the cultists. Once the cultists are down, you can concentrate on the thunderjaw. Like before, blasting off the head cannons and disc launchers will be your main priority. Aside from the disc launchers, there’s also a deathbringer gun near the stairs that you can use to deal tremendous amount of damage. Your allies will also pelt it with fire arrows. At this point, taking down a thunderjaw shouldn’t be an ordeal anymore so tie it down, then use whatever is at your disposal to take down the dangerous machine.
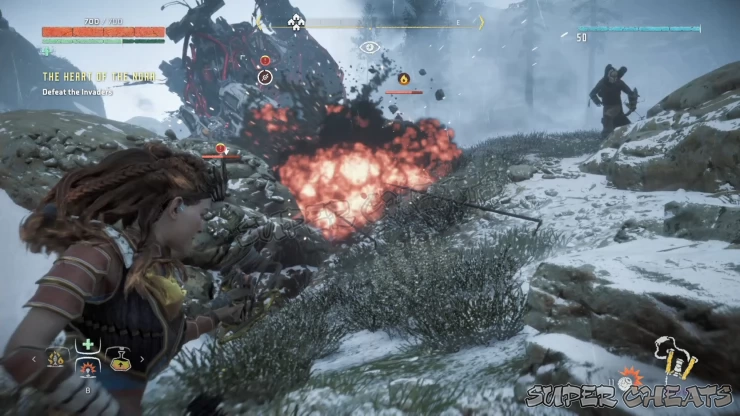
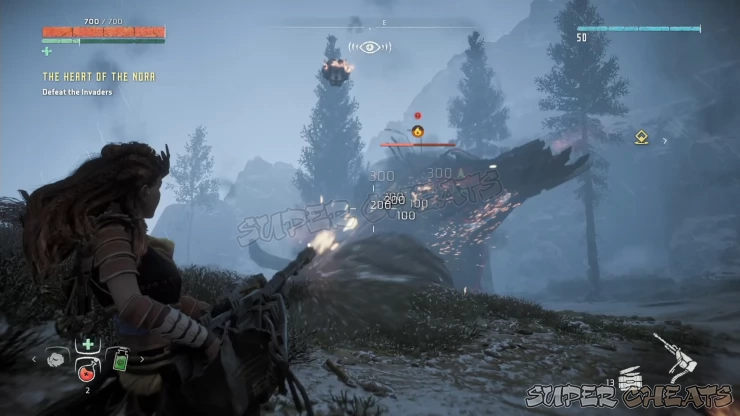

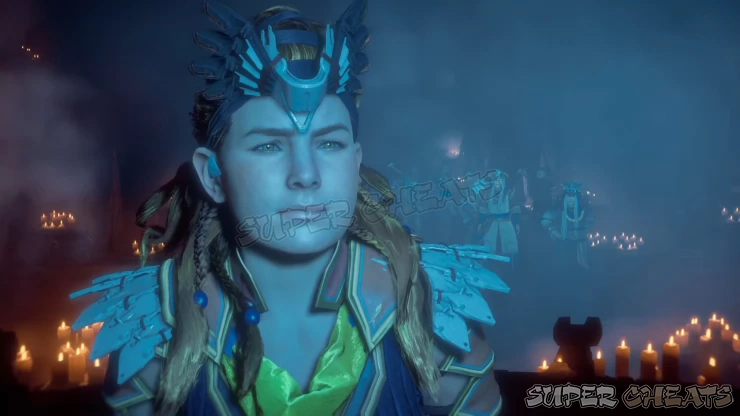
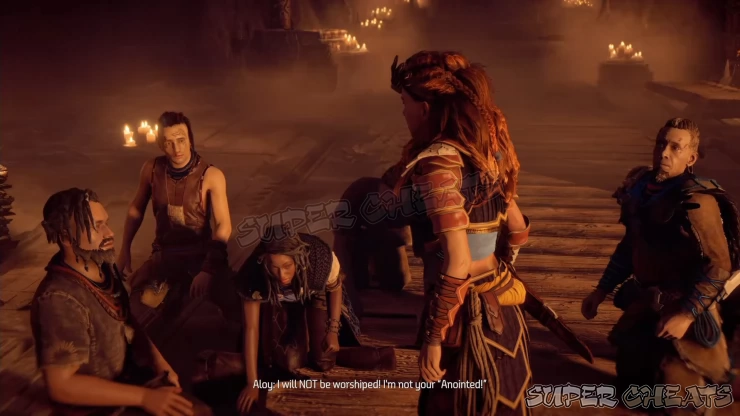
After the siege, head to the bunker entrance and talk to Varl. Next, you’ll have to speak with Teersa. You may talk to the other tribesmen you had interaction with before through quests if you want (like gloat at Resh); otherwise, there’s nothing else to do but talk to Teersa directly. After the cutscene, Aloy will be able to access the bunker door and explore the facility beyond.

There are no hostiles in this facility but only more datapoints to find and scan. From the entrance, go through the bunker door and downstairs. There’s a Stranded Figure beside the stairs that you can collect. This should complete the set by now.
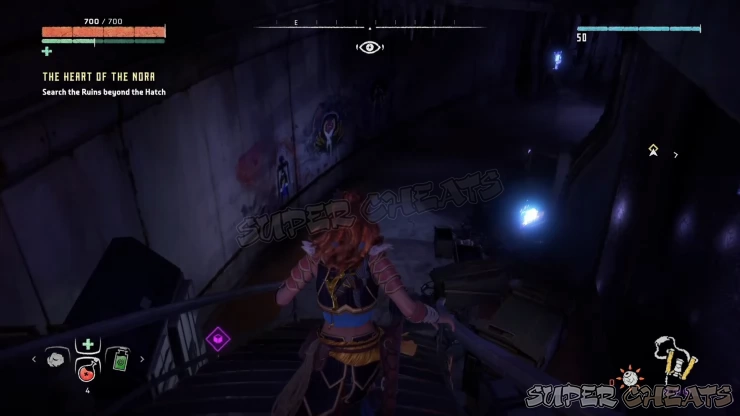
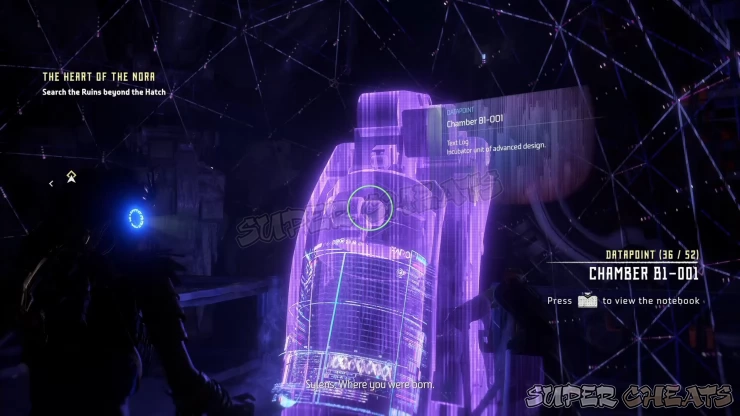
You’ll find Aloy’s incubation chamber on the first room to the left. Scan it to register the machine to your notebook. Continue following the mission markers, occasionally stopping by and checking the rooms should you wish to scan the datapoints. Continue to the locked door along the main hallway for another identiscan.
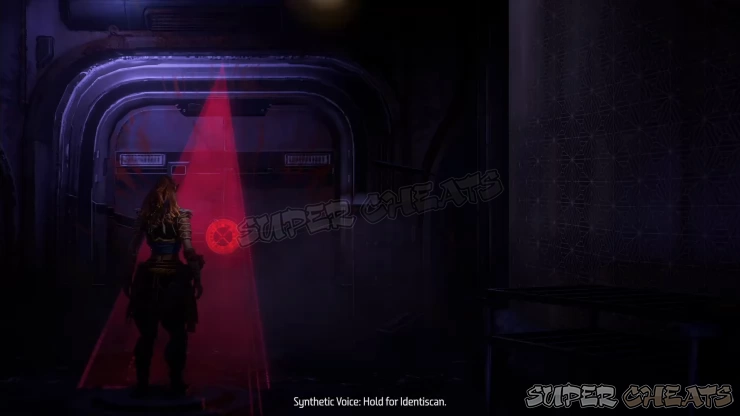
Once inside, you’ll be in some sort of classroom. Scan the first Focus there to register it to your Notebook. The other focuses will just contain the same recording. Continue following the mission marker until you reach the facility’s control room. There, scan the console in the middle to activate a pre-recorded message from GAIA.


After the message, exit through the next door and use the elevator shaft to reach the upper floor. From there, you’ll be back in the bunker’s entrance. Leave the bunker for a cutscene. The quest will be complete but if you want, you can talk to Teersa and ask her to tell you the story why Rost became an outcast. After completing the mission, you’ll be able to fast-travel normally now.

Anything missing from this guide?
ASK A QUESTION for Horizon Zero Dawn
Comments for The Heart of the Nora
Add a comment
Please log in above or sign up for free to post comments- Basics
- Main Quests
- Side Quests
- Errands
- Skills
- Collectibles - Ancient Vessels
- Collectibles - Banuk Figures
- Collectibles - Metal Flowers
- Collectibles - Vantage Points
- Tallnecks
- Bandit Camps
- Hunting Grounds
- Cauldrons
- Inventory and Crafting
- Machine Catalogue
- Extras
 Join us on Discord
