Maker’s End
This quest will become available after asking Olin about the woman who seems to be your mother during the main quest “City of the Sun”. For this, you have to venture off to the northern territories where there’s a massive ancient complex, north of the Shattered Kiln bandit camp. Clearing out the camp makes it a good starting point, provided that you haven’t explored that northern areas yet.
Save at the nearest campfire outside the buildings. As you head towards the first dig site, a mysterious voice will communicate with you via Focus and will point you to a hidden equipment stash west of the campfire. It’s only optional so its up to you if you want to open it or not.
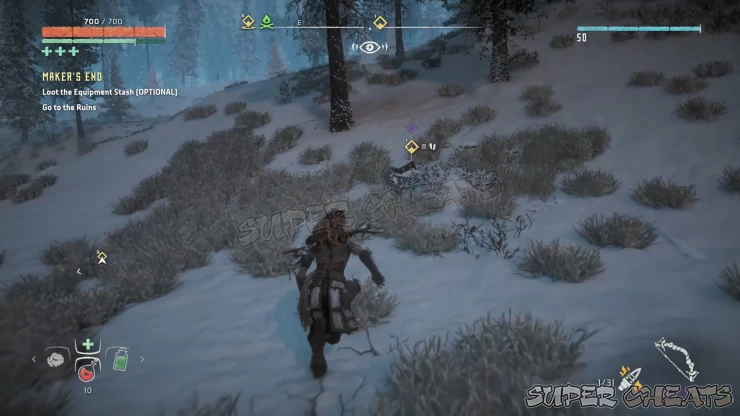
You have to get past two dig sites heavily occupied by cultists. I suggest completely clearing out the dig sites so you’ll be more safer in case you have to retreat. I previously cleared the dig sites on my attempt to collect the ancient vessel in the vicinity so I’ll just show you what the dig sites look like in the following screenshots. Apparently, enemies don’t respawn on these locations after clearing them the first time around.
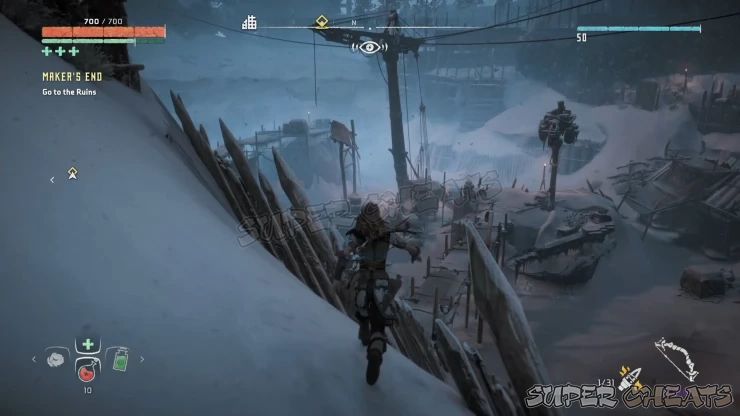
The second larger dig site has a corruptor and more cultists. Employing stealth will help a lot in reducing their numbers without getting overwhelmed. Once ready, take down the corrupter and continue forth. Follow the objective marker to find the ledge leading you deeper in the complex ruins.
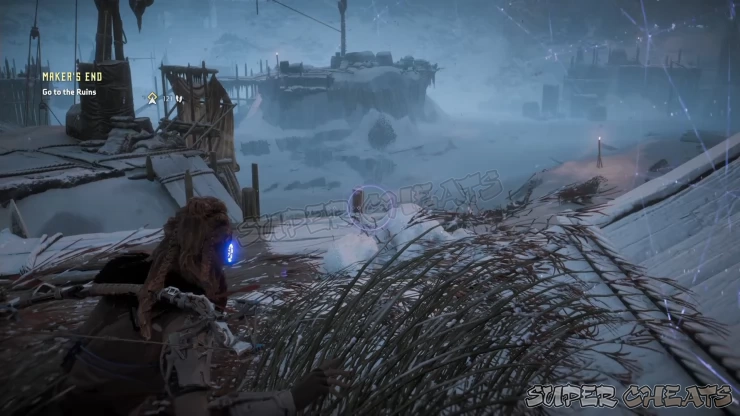
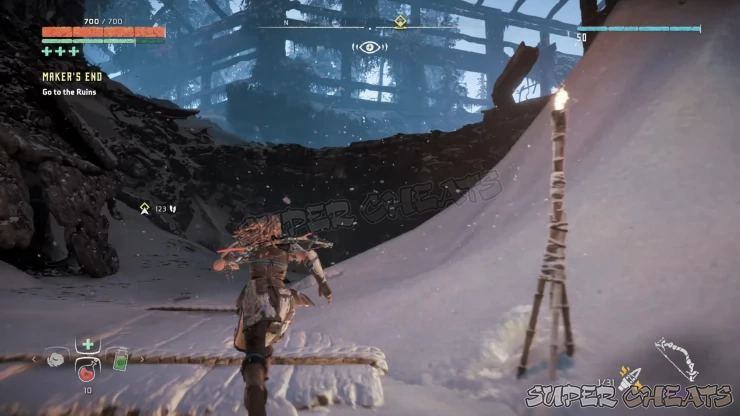
You should find an ancient vessel along the way. If you already collected it beforehand, continue forth to the next main dig site for a brief cutscene. Here, you’ll get introduced to the last heavy machine that will be registered to your machine catalogue - the Deathbringer. Scan it first so you can get a quick glimpse of its parts and weapons.


With its wide array of weapons, this hulking death-machine has two elemental weakness: fire and electricity (shock). However, fire is strongly recommended since most of its weak spots will only reveal if you make it overheat. While the deathbringer will eventually build up heat when firing its heavy weapons, using fire against it will make it overheat faster. When overheating, it will expose its cooling rods, core, and heat vents. These will usually glow bright-orange when cooling down and you’ll have this brief window of opportunity to attack these weak points with normal arrows. Destroying specific weak spots like heat vents and cooling rods will make the deathbringer overheat even faster. Take note that even when overheating, the deathbringer doesn’t deactivate; it can still attack while cooling down.
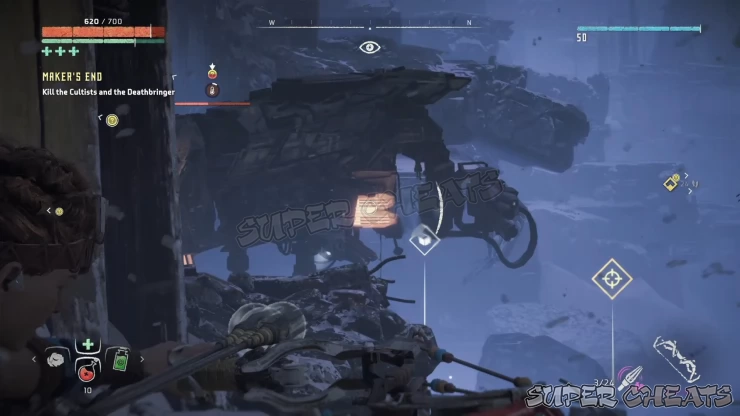
Problem is it has a lot of powerful ranged attacks so unless you have indestructible cover nearby, you won’t be able to reliably get near this monster and expose its weaknesses without getting shredded to pieces. Normally, deathbringers can march in a slow, steady pace but this particular one has its legs blown off and now function as a heavy automated turret. When dealing with normal, walking deathbringers, take note that you can’t secure it in place even when using the best ropecaster. Their components can’t be easily torn off with tearblaster as well.
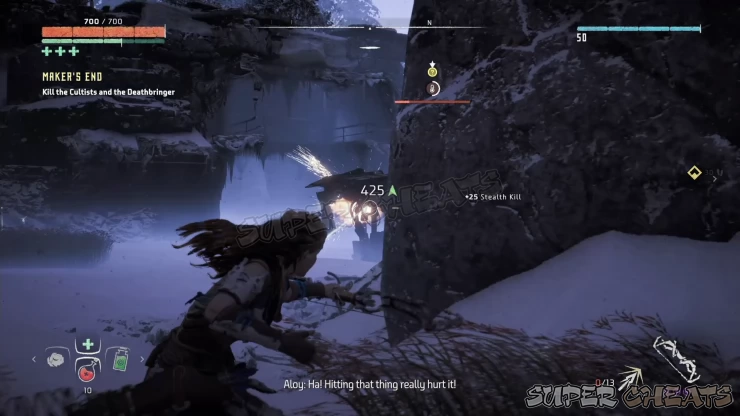
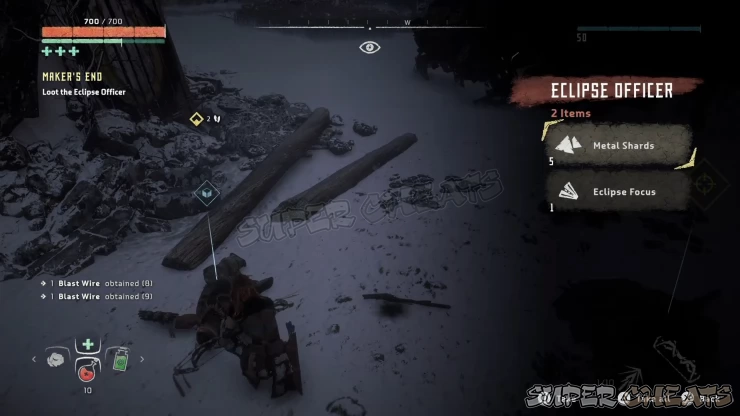
For this battle, get rid of the human enemies and watchers first by sniping them from cover. Next, move closer to the deathbringer and hide behind the solid rock/wooden scaffolding almost beside it so you’ll have an indestructible cover and a good shooting angle. Just target its weak spots and hide when it starts its barrage of weapons. After defeating it, you need to loot the marked cultist officer and obtain his Focus. After the cutscene, you should be able to continue further inside the ruins. Follow the marker and squeeze through the hole to access the Faro Automated Solutions bunker.

From hereon, this is just about exploration and finding your way to Faro’s office on the 35th floor. There are scattered datapoints that you can recover (refer to the square boxes that will appear in your compass to know their immediate direction) that will help build the backstory (not essential to your main gameplay) but will count towards the game progression percentage (for completionists). Make sure to occassionally scan the rooms you enter to see if there are hidden supply crates in corners.
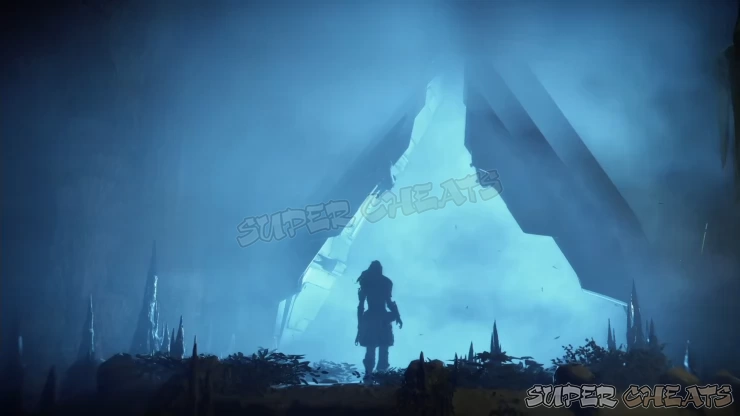
Follow the objective marker until you reach a holo-projector of an old FAS prototype then work your way through different office rooms. You’ll eventually reach the stairs so continue to the upper level and until the caved-in portion of the office. Continue forth and you’ll back in the holo-projector room but in the upper walkway.
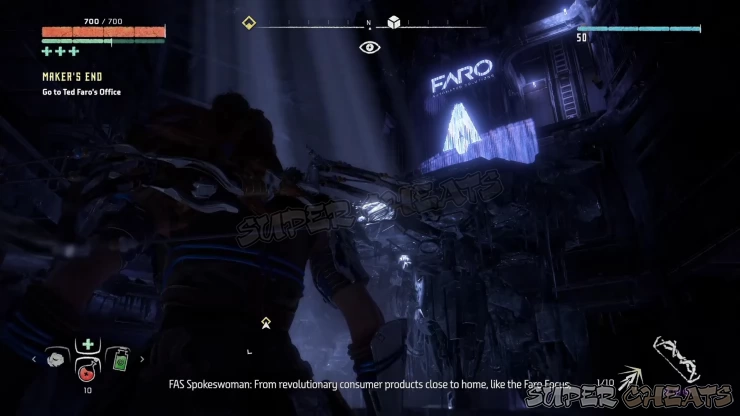
Upon stepping on that walkway, one end of it will collapse but will result in a useful ramp in case you fall down to the ground floor. The ledge where you have to get to is across the other side of the room and you have to use the orange-colored ladder and holds to reach it.
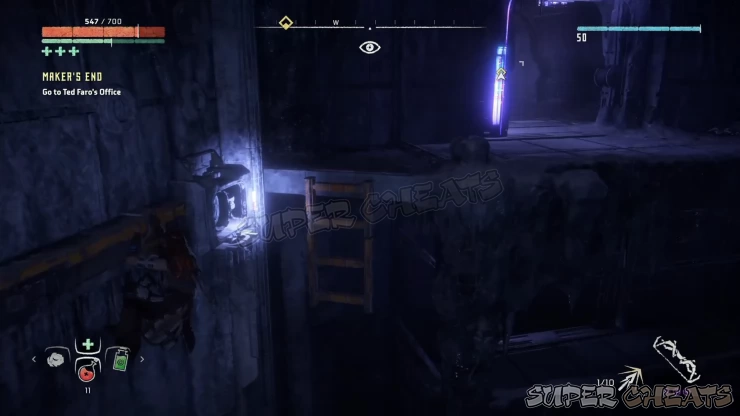
There are new rooms to explore on this floor so check them out and scan the datapoints then follow the objective marker to reach the ruined elevator shaft that will take you to the upper floors. Use the ladder and climbing holds as usual until you reach the top ledge.
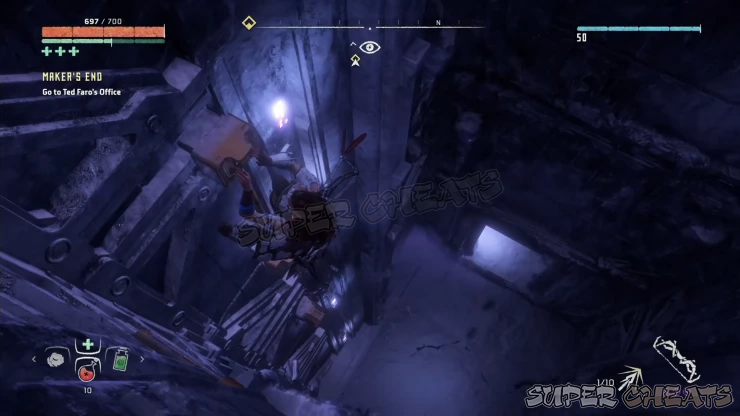
This will bring you outside the bunker and in the ruined upper floors of the building. There are no more rooms to explore at this point but there might be occasional datapoints and supply crates along the way.
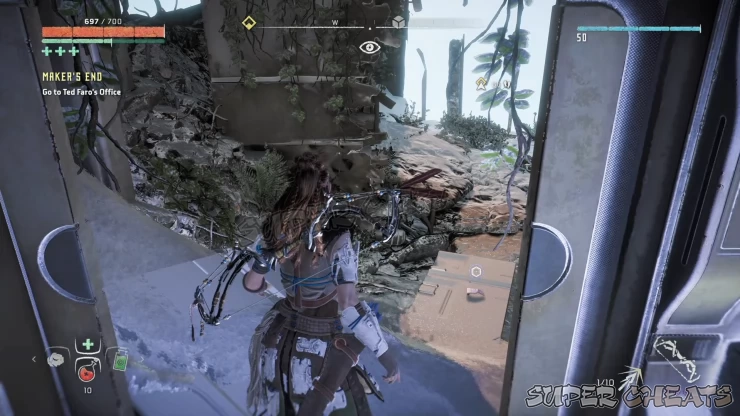
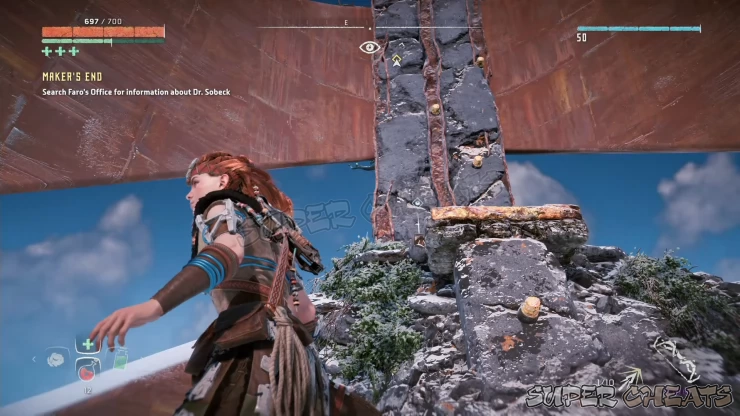
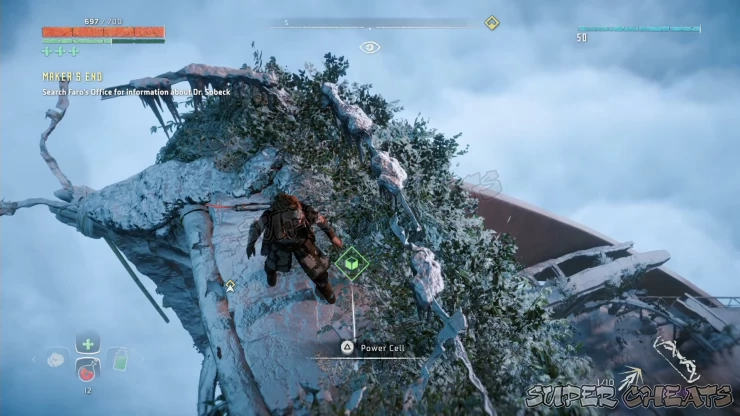
Continue climbing until you finally reach the top floor. Before investigating the office, find the climbing holds to the right that will take you further up in the tower. These holds will take you to the spot where a Power Cell is located. Get that first then rappel down to continue with your main objective.

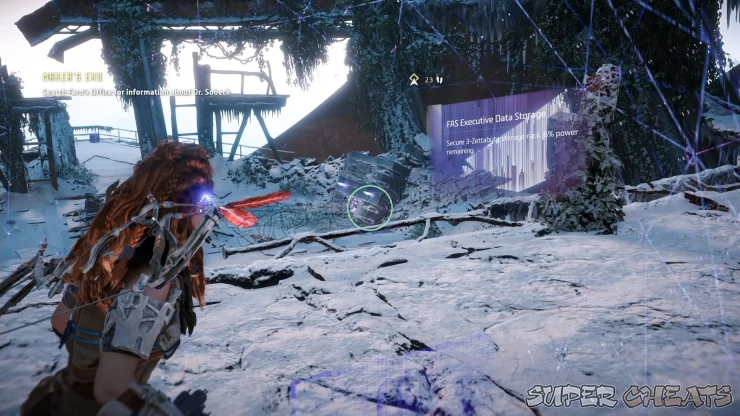
There’s still an active data storage rack. Scan it first then interact with it to download the remaining holographic records of the events that happened in this office. Datapoints will become available in order so use your Focus to play the recordings.
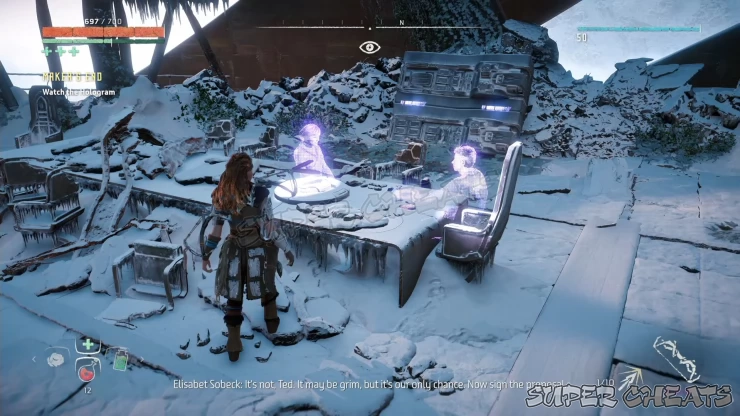

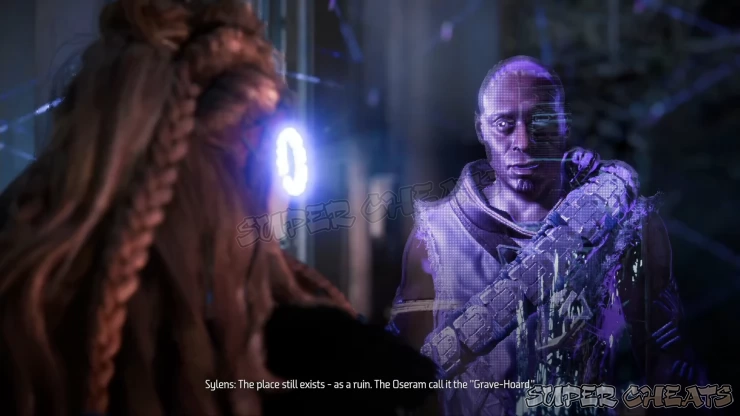
After viewing all of them, the quest will be completed so prepare to leave via the rappel point. Here, the “voice” that assisted you earlier will show himself. You can ask him questions as well. Sylens as he calls himself will tell you to check out The Grave-Hoard in the frozen north of Nora territory next.

Anything missing from this guide?
ASK A QUESTION for Horizon Zero Dawn
Comments for Maker’s End
Add a comment
Please log in above or sign up for free to post comments- Basics
- Main Quests
- Side Quests
- Errands
- Skills
- Collectibles - Ancient Vessels
- Collectibles - Banuk Figures
- Collectibles - Metal Flowers
- Collectibles - Vantage Points
- Tallnecks
- Bandit Camps
- Hunting Grounds
- Cauldrons
- Inventory and Crafting
- Machine Catalogue
- Extras
 Join us on Discord
