Retribution
| Unlocked on: | Part 2: Verdant Wind, (04) Great Tree Moon |
| Available until: | 07/26 |
| Recommended Level: | 33 |
| Required unit(s): | Lysithea, Ferdinand |
* Secret Book (NE chest)
* Silver Bow (SW chest)
* Talisman (SE chest)
* Ochain Shield (Shield linked to Crest of Cichol. Restores HP every turn and negates critical hits)
* Ordelia Sorcery Co.
For this mission, Lysithea and Ferdinand are both critical units. You can also get bonus rewards by saving commoners attacked by angry mobs. The rewards you’ll get will depend on how many commoners you’ll rescue. To save a commoner, defeat the enemies outside the marked homes and have an allied unit wait on the highlighted spot.
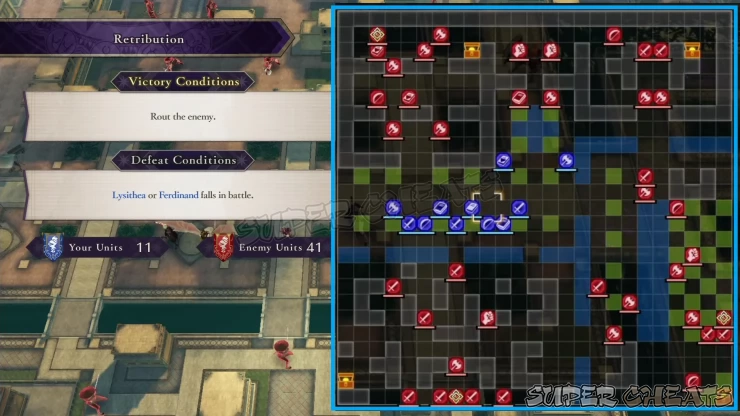
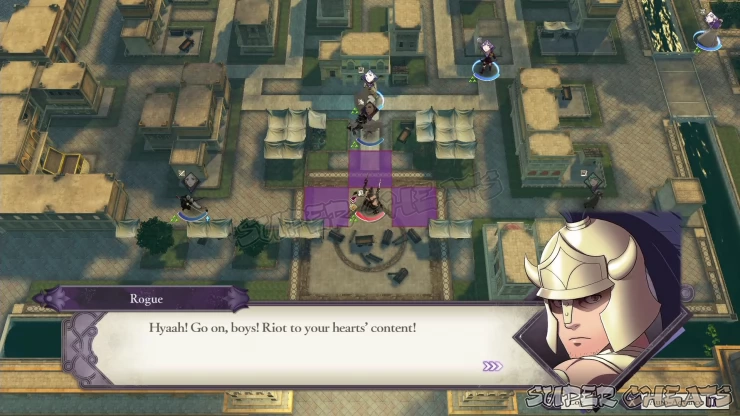
There are also three commanders leading the enemy forces in the northwest, south, and southeast sections of the Map. The enemy reinforcements will keep arriving from the north. If you defeat the rogue commander to the southeast, his forces there will retreat.
Enemies will constantly arrive from the northern end of the town. As Lysithea suggested, you can hold the line and defend against the enemy attack from the northern side of town then mobilize your units to save the commoners from the south and eastern sides. There are also 4 Chests here that you can loot; two of which are located to the chaotic northern part of town.
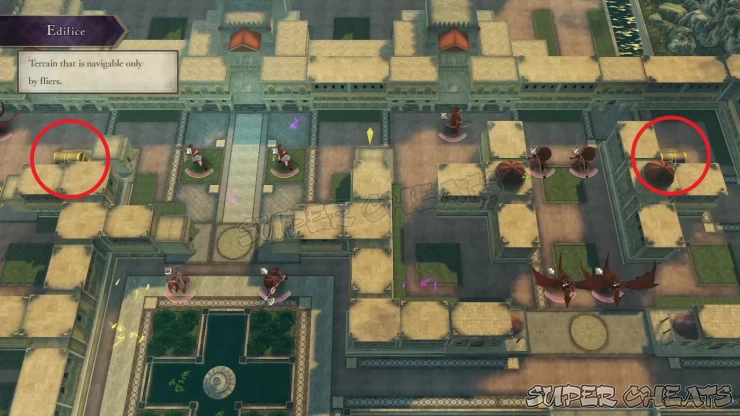
Due to the Terrain limitations, having Mounted units and Fliers will allow you to cover much of this small Map without too much trouble. However, the number of enemies to the north may require the engagement of some of your stronger units to prevent them from overrunning your position. You can start off by sending your fliers to the nearest commoner’s home and wipe out the enemies there. Once done, have them end their turn in the highlighted spot to save it.
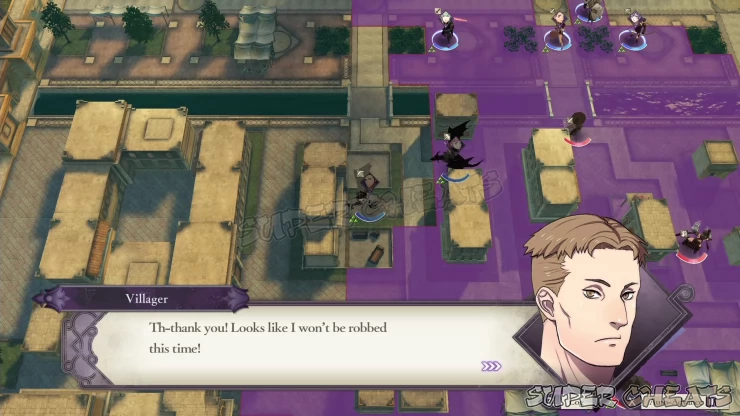
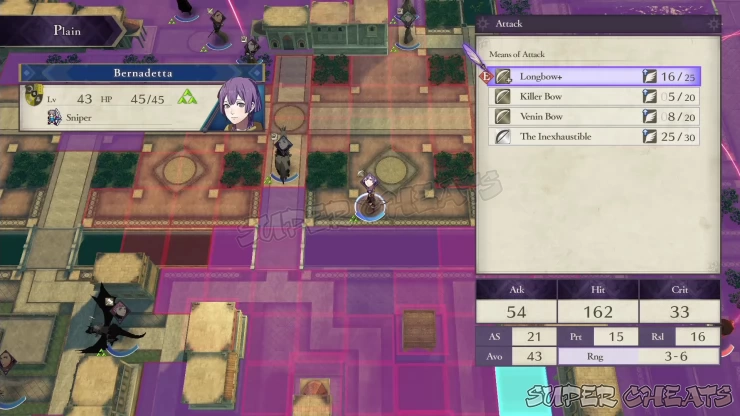
Because of this Map’s small size, long-Range snipers will excel in attacking targets from a safe distance where enemies can’t reach them. Use this to your advantage to soften up targets or take out enemy Fliers.
You can also use the bridges on the southern and eastern sides to block off the paths of enemies and create choke points. This is quite important especially since the bridge east of your starting position has several enemies that will attempt to break through.
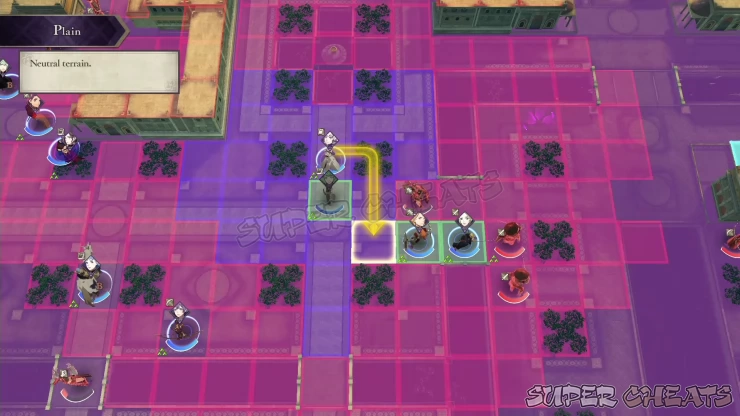
If you want to loot the Chests on the northern side, you’ll have to be aggressive and clear the enemy forces there. This can be especially tough unless you deploy an overpowered unit to tank their overwhelming numbers. You’ll want to kill the enemy commander hiding in the northwest corner if you can since that will make his other allies retreat and stop the reinforcements. Apparently, that rogue commander was also the one who killed Ferdinand’s father. Loot the Evasion Ring from the chest nearby.
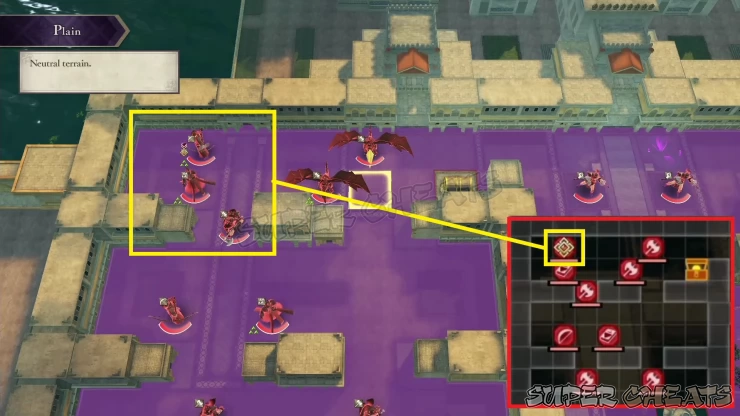
At this point, you should already start moving some of your units to the southeast section. You can leave the group of enemies in the far south for now as you clear the northern and eastern enemy positions, as well as saving the remaining commoner houses. After a few turns, the enemies will start targeting the remaining commoner houses that you haven’t occupied yet. The hardest one to reach is the house near the southeastern corner. Make sure you have a unit in Range to intercept the rogues and save the occupants.
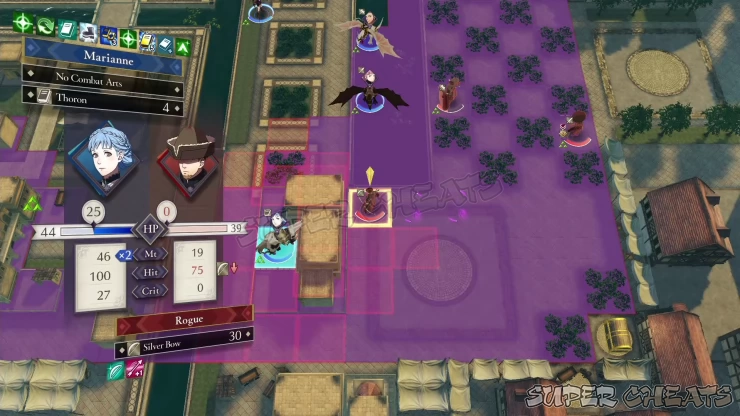
After saving all commoners, you can now wipe out the remaining enemy forces at your own pace. Don’t forget to loot all Chests as well. Once done, wipe out all the remaining enemies to complete the mission.
Anything missing from this guide?
ASK A QUESTION for Fire Emblem: Three Houses
Comments for Retribution
Add a comment
Please log in above or sign up for free to post comments- System Features
- Monastery Basics
- Lessons
- Activities
- Facilities and Areas
- Character Guide
- Classes
- Combat Basics
- Part 1: White Clouds
- Part 2: Verdant Wind
- Quests
- Paralogues
 Join us on Discord
