Chapter 8: The Flame in the Darkness
Red Wolf Moon: 11/3
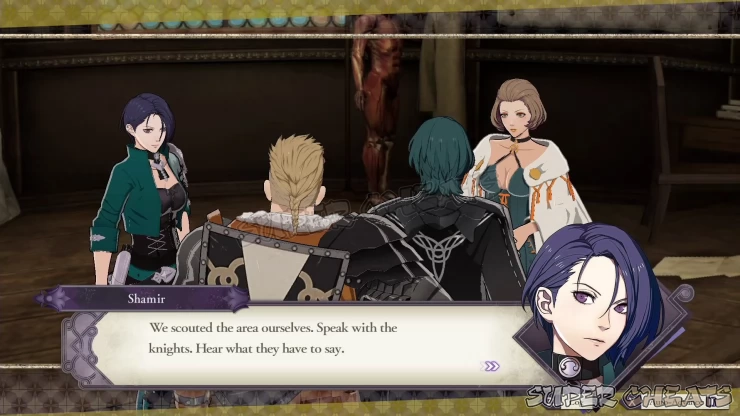
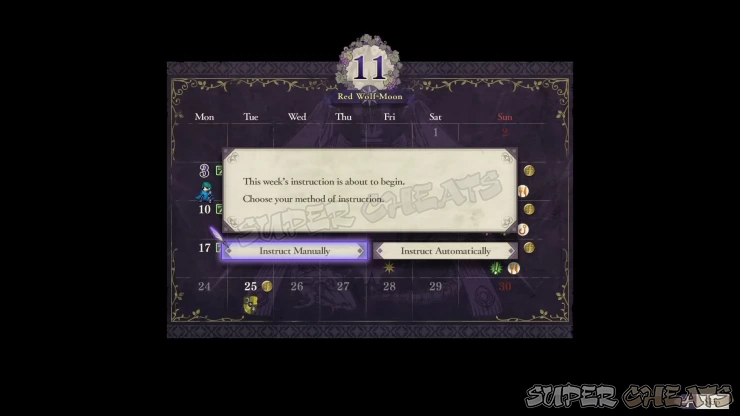
The cutscene will take place on a weekend so you’ll have to choose to either manually instruct your students for this session or do it automatically. As always, Manual Instruction is still the best method especially if you want to focus on the core members of your army.
Red Wolf Moon: 11/4
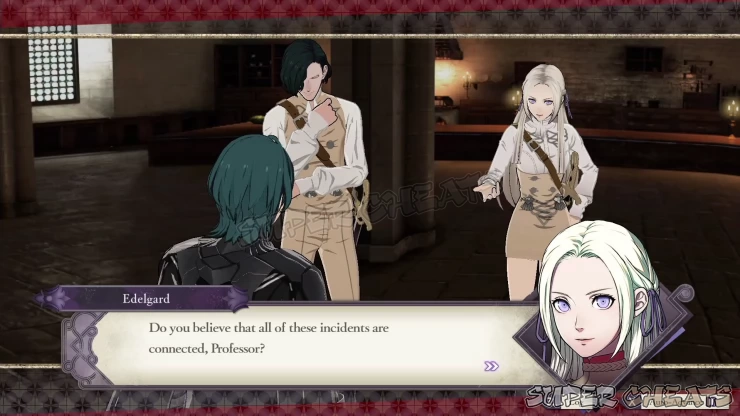
(Black Eagles route only) During the cutscene with Edelgard and Hubert, you'll get free attempts to increase their Support with you by selecting the correct Dialogue Options, as follows:
* Hubert: Are the knights making progress with their investigation? (Answer: "They are")
* Edelgard: Do you believe that all of these incidents are connected, Professor? (Answer: "I do not". If you answered otherwise, it will result to a loss of Support points with her).
Red Wolf Moon: 11/9
This is a very short month, with only three weekends available for you. Make sure to plan ahead and maximize the limited amount of time available for you. Since this is the start of the month, it’s strongly recommended to explore during this weekend.
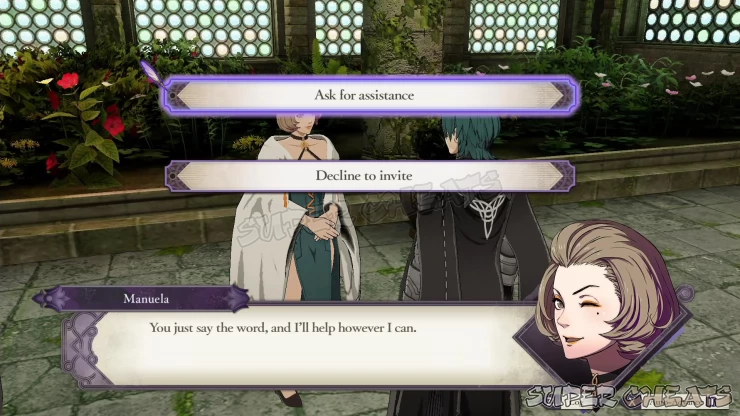
You should be able to Recruit Manuela and Hanneman at this point. Try Talking to them to see the recruit option. If you've reached the bare minimum skill and Stat requirements for various characters and at least B-Support, you should be able to recruit all possible students from other houses at this point as well.
Events and Announcements:
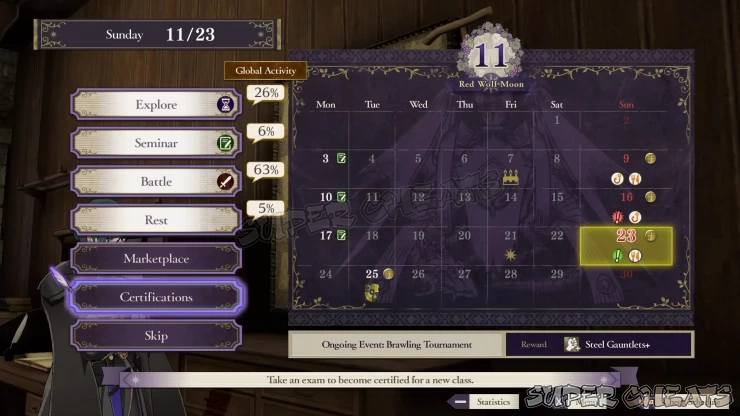
* Brawling Tournament (Reward: Steel Gauntlets+)
* Lots of Large Fish (Higher chance of catching large fish)
* Faculty and Knight Mixer (Enhanced effects when dining with professors and knights)
New Quests
The first three quests in the list can only be completed within this month. Make sure to prioritize them.
New stocks available in the Southern and Eastern Merchants. Don’t forget to restock your supply of baits and Gifts.
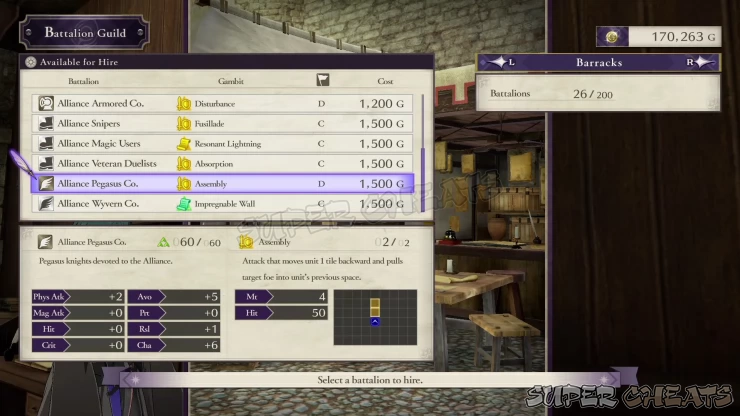
New Battalions available for hire. Consider hiring them all if you can afford it.
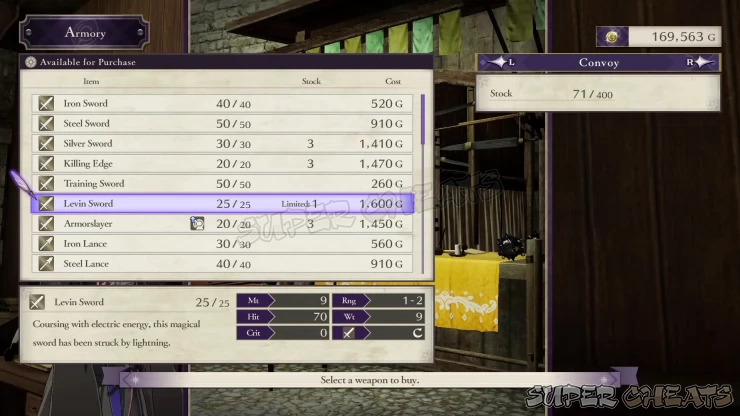
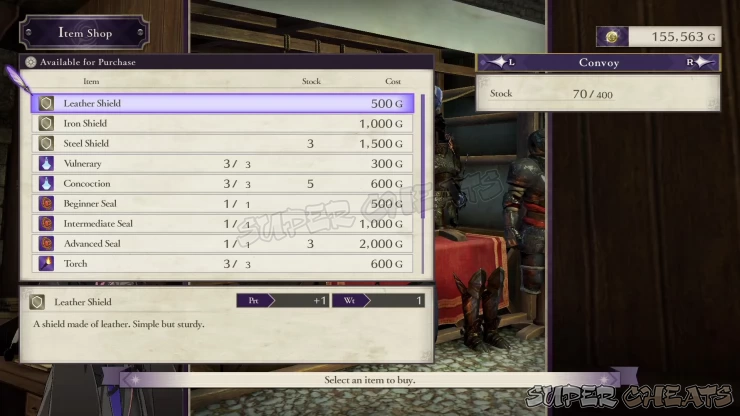
New weapons available for sale as well. (Levin Sword, Killer-type weapons, Horseslayer, Silver weapons). Consider getting some and updating your main units’ inventories. New items added in the Item Shop. (Steel Shields, Concoctions, etc)
Certify your units!There’s no longer a purchase limit for Intermediate Seals. Buy as much as you want/ can afford to certify eligible units. On the other hand, Advanced Seals can be bought now for 3 pcs for the month.
Red Wolf Moon: 11/16
Events and Announcements:
* Rare Monster sighting
* Fish of Mystery (Higher chance to encounter the elusive Rainbow Fish)
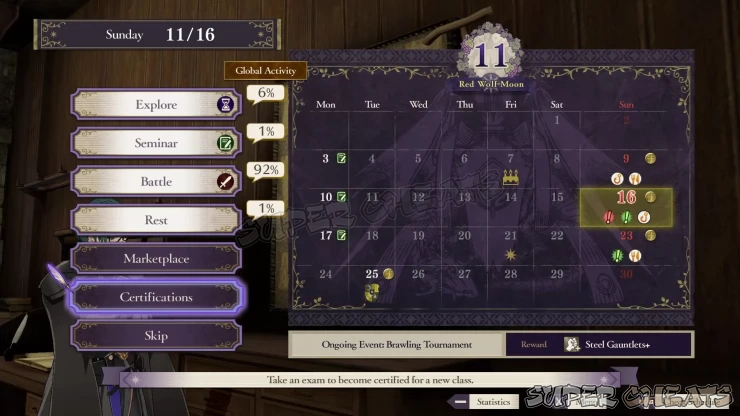
If you explored last week, then it’s recommended to go to battle on this weekend. If you already fought in the previous week, you have to explore do the activities mentioned above instead.
Red Wolf Moon: 11/21
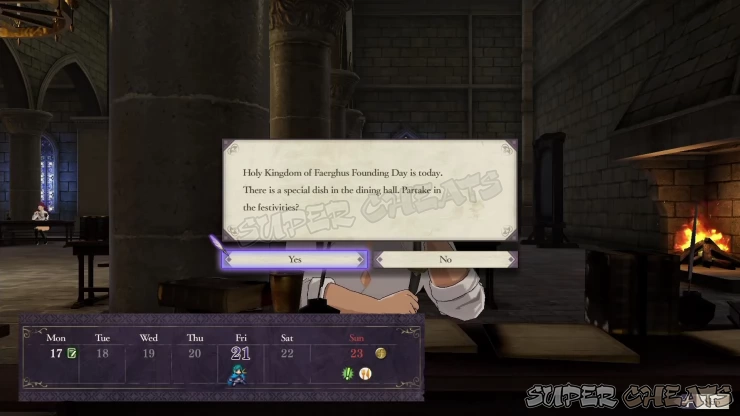
Kingdom of Faerghus Founding Day. There’s a special dish in the dining hall. Participate to dine with two random students and get free motivation boost, Support points between all participants, and of course, professor EXP.
Red Wolf Moon: 11/23
Events and Announcements:
* Marianne’s Birthday
* Founding of the Kingdom Celebration (Enhanced effects when dining with Kingdom students)
You can opt to go to battle during this weekend since there’s no Lesson session on the following Monday.
Red Wolf Moon: 11/25
This is the mission day. As usual, check if you can do some last minute certifications and/or Support viewing. When ready, head to the battle Map and select the option to mission. After the cutscene, you’ll be in the Battle Preparation screen.
Battle: The Remire Calamity
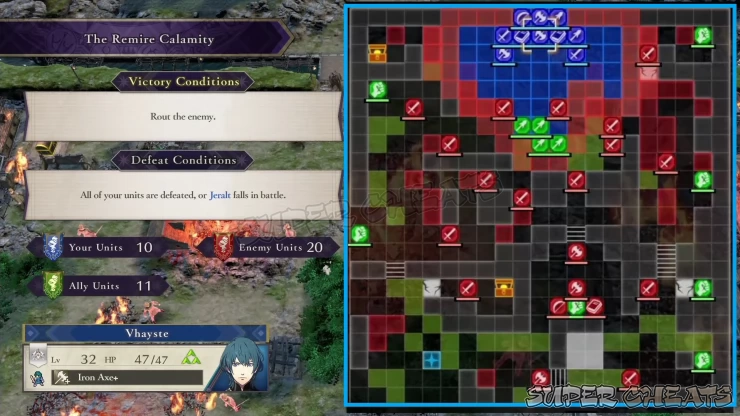
In this battle, you have to reach six villagers and defeat the crazed civilians trying to kill them. Having Fliers in this mission will make it easier for you to rescue them. There are also two Chests which you can easily reach using fliers. Make sure to have them carry chest keys as well.
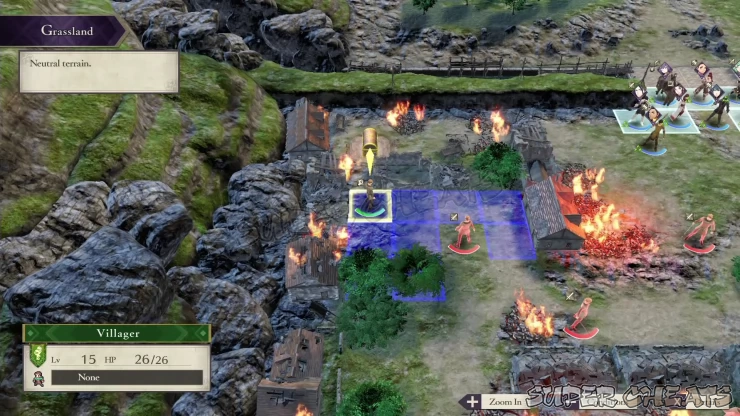
Jeralt and his men will be in the middle of the Map. They’re quite sturdy and capable so you don’t need to Support them immediately. However, you still need to assist them since they’ll be actively pushing forward and tanking the civilian aggro along the way.
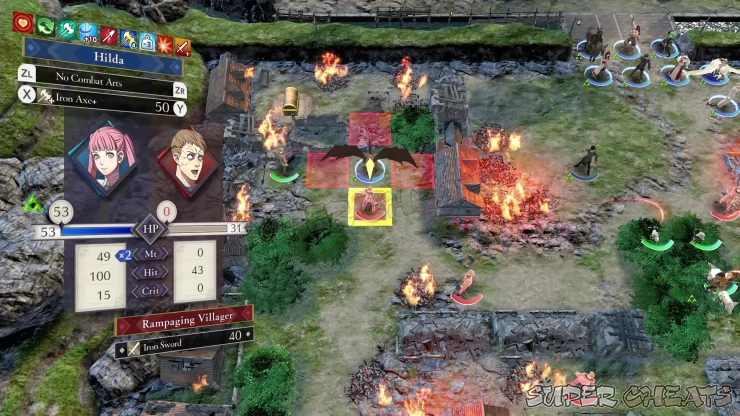
If you have Fliers, send them to both western and eastern flanks. If you don’t have any fliers, you’ll be forced to fight your way through the various obstacles and debris which will waste you a few turns and movements. After defeating the crazed villagers, their hostages will be able to leave the battlefield and escape automatically. Avoid staying on the burning debris since your units can get damaged at the start of the next turn.
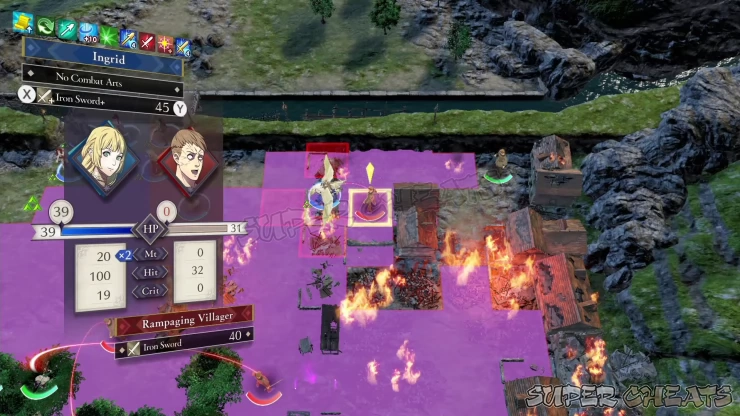
For your other units, move south towards Jeralt’s central position and take out all the nearby enemies along the way. Have your healers move behind Jeralt’s group so you can easily heal them and have them tank for you.
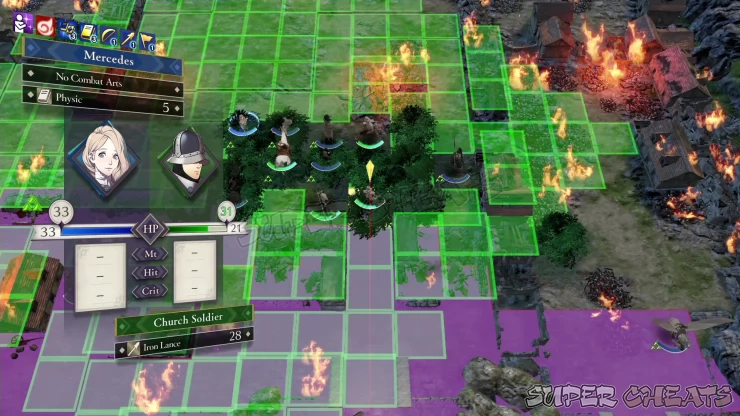
Don’t forget to pick up the Giant Shell from the chest to the left of your starting point before moving down. More crazed villagers will appear from some of the burning houses as well. Since Jeralt will be pushing south continuously, reaching the other chest to the southwest can be tricky. Make sure to send units with a Chest Key there before Jeralt engages Solon. Solon will reveal his true identity once one of your units or allied units reaches his location.
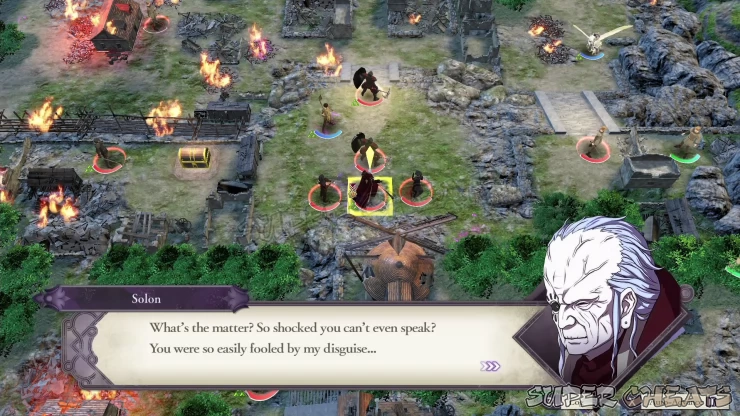
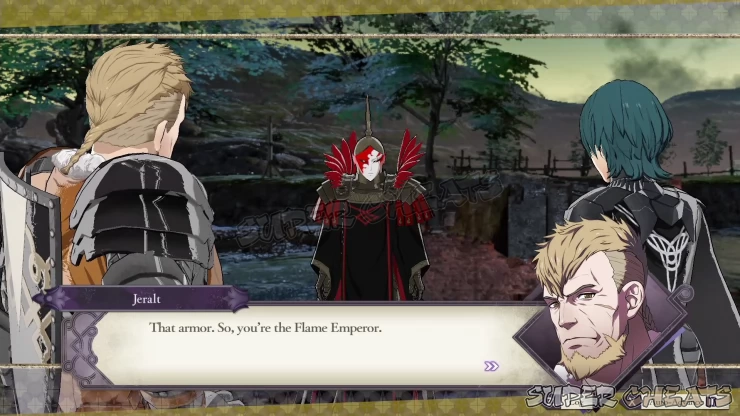
After Solon reveals himself, the Death Knight and some of his men will appear from the southwest corner of the Map. They’re all carrying items so if you can defeat them, you’ll be able to take home more loot like another Dark Seal from the Death Knight himself and a couple of Crescent Sickle spears from the two cavaliers escorting him. If you want to head there, make sure to bring your heavy hitters to deal with Death Knight’s group.
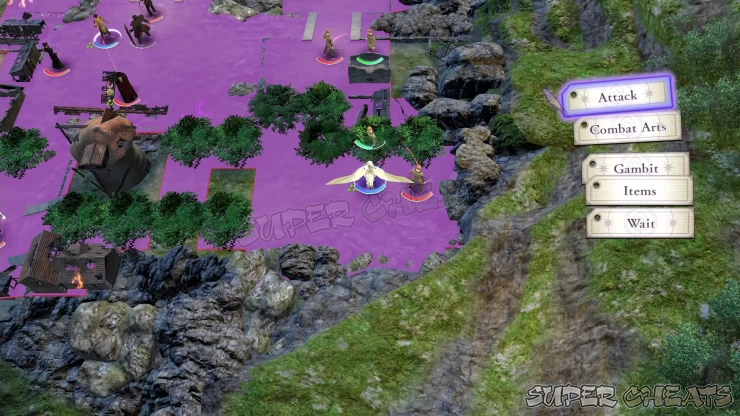
The last two villagers that you need to rescue on the eastern flank will be in trouble especially if you don’t have a Flier covering that flank. Because of their isolated location, it will be too late by the time your main party gets in Range. If you have a flier, prioritize rescuing the damaged villager.
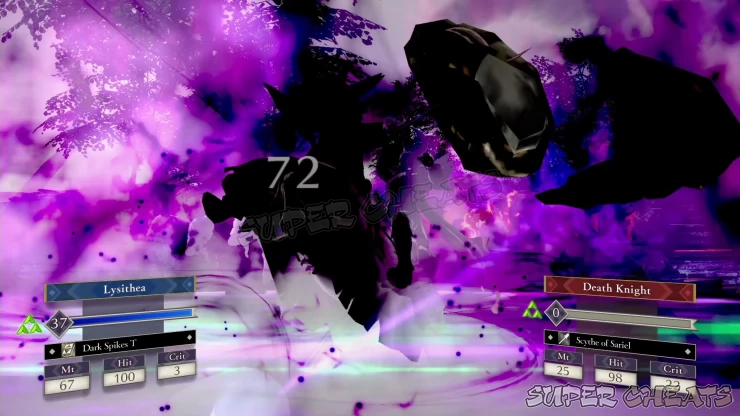
Jeralt’s group will be delayed a bit as they move through the forest so you’ll have to move fast if you want to destroy Death Knight and his group. When you’re able to reach the area, get the Horseslayer from the chest. The Death Knight will not actively engage you until you stay within his single-tile Attack Range, making it possible to safely position your units around him and deal with his minions. When you’re ready to deal with him, the easiest method of taking him out in one-shot is by using a powerful magical attack against him.
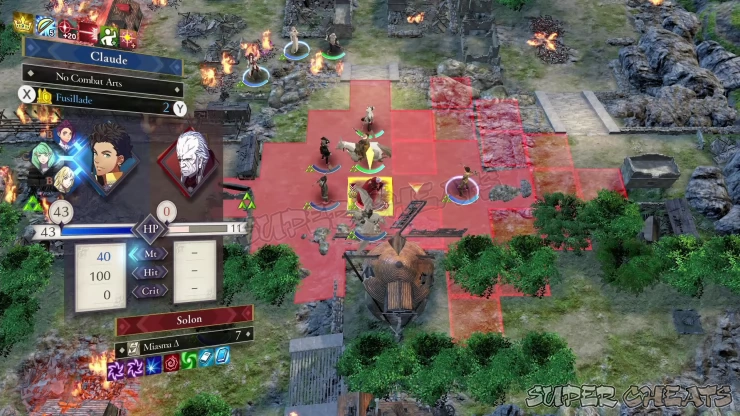
Finally, get rid of the remaining enemy units and gang up on Solon. He has a good magical Attack Range and quite powerful spells too so stay out of his Range until you’re ready to deal the final blow. Finish him off to complete the mission.
After the mission, read through a few more cutscenes and the chapter will be complete as well.
Chapter 9: The Cause of SorrowPrevious Page
Chapter 7 : Field of the Eagle and Lion
Anything missing from this guide?
ASK A QUESTION for Fire Emblem: Three Houses
Comments for Chapter 8: The Flame in the Darkness
Add a comment
Please log in above or sign up for free to post comments- System Features
- Monastery Basics
- Lessons
- Activities
- Facilities and Areas
- Character Guide
- Classes
- Combat Basics
- Part 1: White Clouds
- Part 2: Verdant Wind
- Quests
- Paralogues
 Join us on Discord
