Chapter 19: The Chaos of War
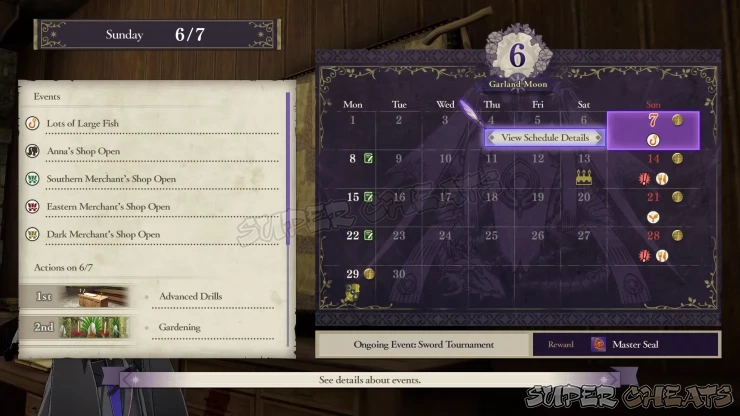
Garland Moon: 06/07
Events and Announcements:
* Lots of Large Fish (higher chance to catch large fish)
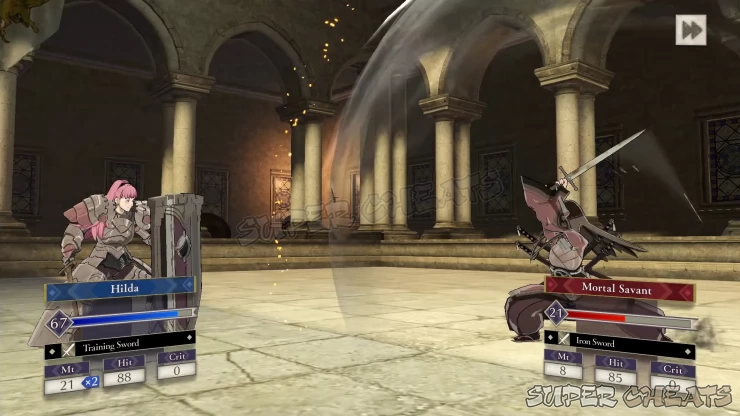
* Ultimate Sword Tournament (Reward: Master Seal)
New Quest(s)
* Supply Run
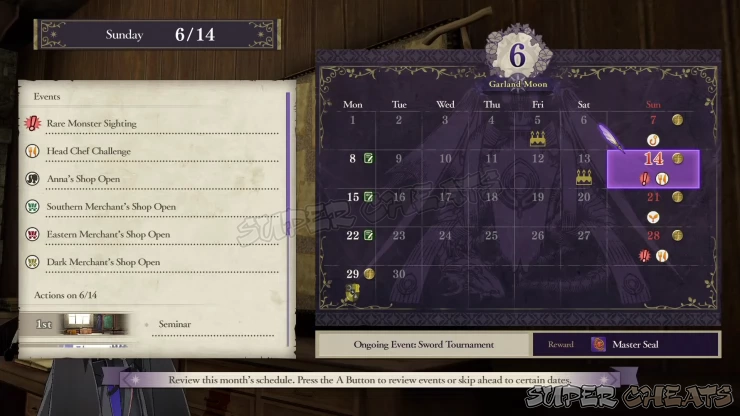
Garland Moon: 06/14
Events and Announcements:
* Head Chef Challenge (Enhanced effects for those dining and enjoying their favorite meals)
* Rare Monster Sighting
Garland Moon: 06/21
Events and Announcements:
* Blessing of the Land (Higher Yield when Gardening)
Garland Moon: 06/28
Events and Announcements:
* Rare Monster Sighting
* Hunting Festival (Enhanced effects when dining with meat enthusiasts)
Garland Moon: 06/29
Like always, do some last-minute certifications, view supports, and other preparations needed. Once ready, deploy for the mission.
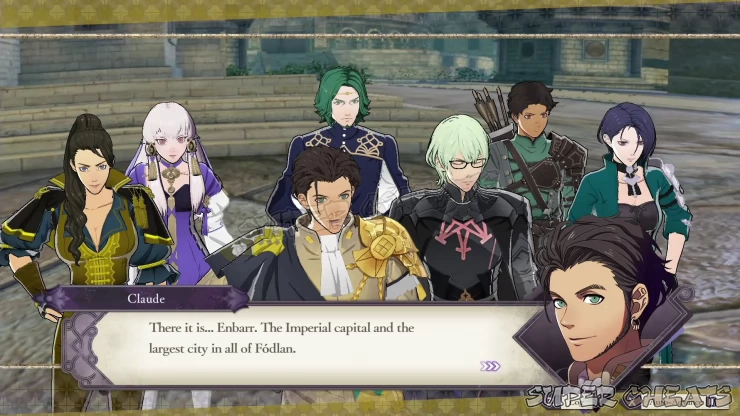
Mission: The Enbarr Infiltration
In this battle, you’ll have to defeat all commanders. If you have recruited all Black Eagles members prior to the timeskip, then you’ll only have to deal with Hubert and the Death Knight. This is also the battle where they can be permanently killed.
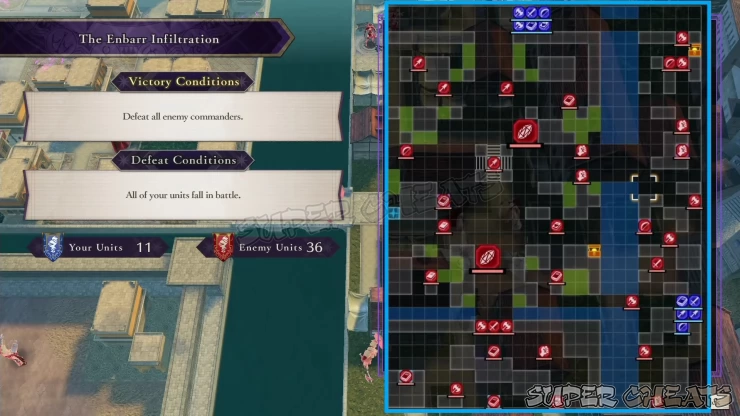
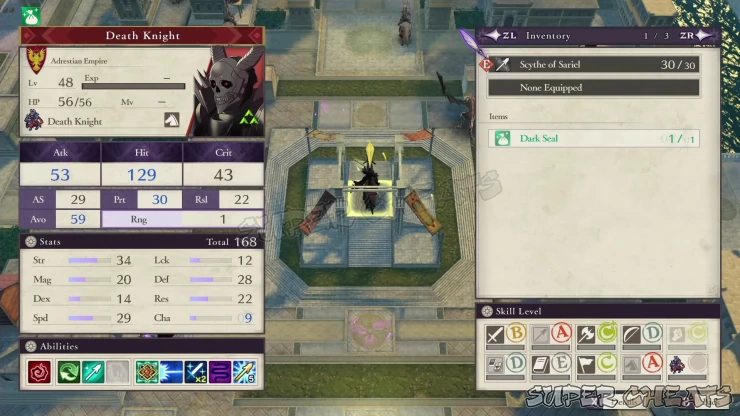
Your army will be split in two as well. Your main army is located in the central northern end of the Map while your second group will be in the southeast. Your main group’s task is to engage the enemy forces there, including the artificial Demonic Beast. Like before, the Death Knight will stay still in his position so stay out of his Attack Range while cleaning up that side of the map.
Your second group’s task is to clear the eastern flank but they also need to prioritize taking out the two long-Range weapon installations there. Balance out the unit types available for each group. As usual, Fliers will help a lot especially in both groups since it allows them to take out the weapon operators as quickly as possible. Due to the restrictive space in the eastern flank, avoid putting too many melee units there; instead, mages and archers are perfect here since they can attack behind cover.
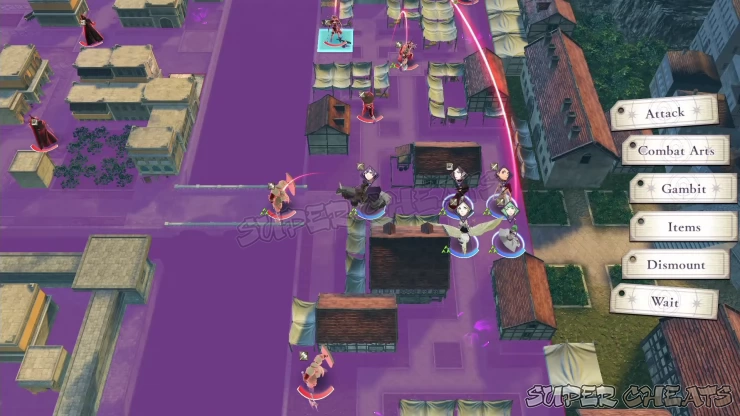
Once the battle starts, move your units as a group and try to aggro the nearest enemies. Do preemptive attacks only if your units won’t be vulnerable to multiple enemy counterattacks (unless that they can hold off multiple enemies on their own). Have your second group move to clear the nearest enemy installation, using the narrow streets to funnel their numbers. If you have archers and mages in this group, you can easily decimate the melee units protecting this area.
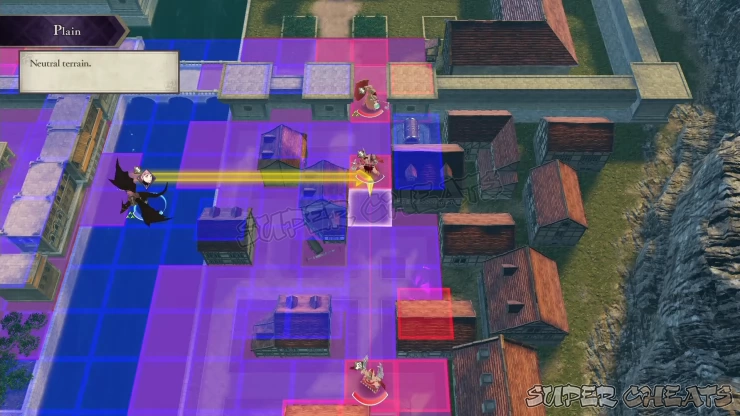
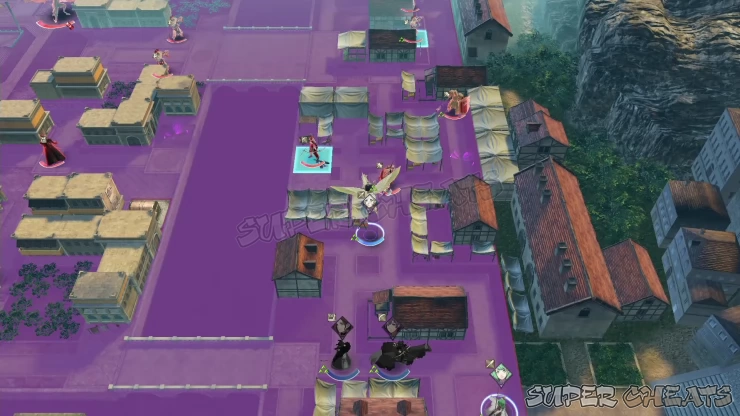
Your northern group can aggro the Demonic Beast immediately and work on destroying it. Don’t overextend your units since there’s another demonic Beast that will arrive as reinforcements from your starting position.
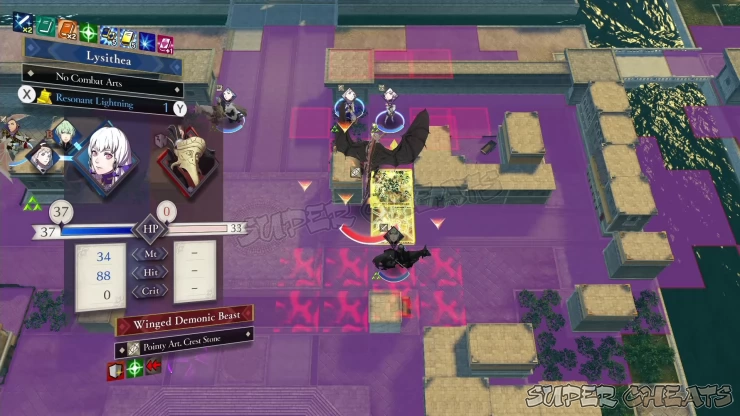
There’s a chest containing a Brave Sword to the northeast; you can send one mobile unit there to clear out the enemies. A Flier will be a great option here since they can take advantage of the Terrain to keep them safe. Do this only after clearing the contraptions there.
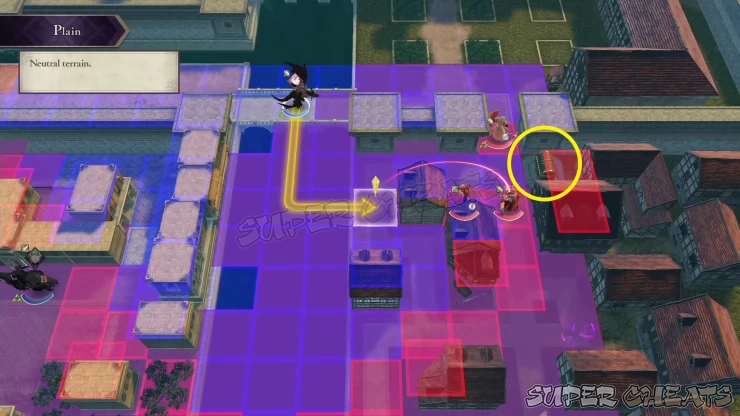
After successfully clearing the eastern flank, you can start moving your 2nd group across the bridge and around the buildings. Take out the lone Mage there. If you have long-Range magic like Meteor, you can use that to decimate the enemies blocking the bridge leading to Hubert’s position. Your archers can also safely snipe enemies from this position if their Attack Range allow them to.
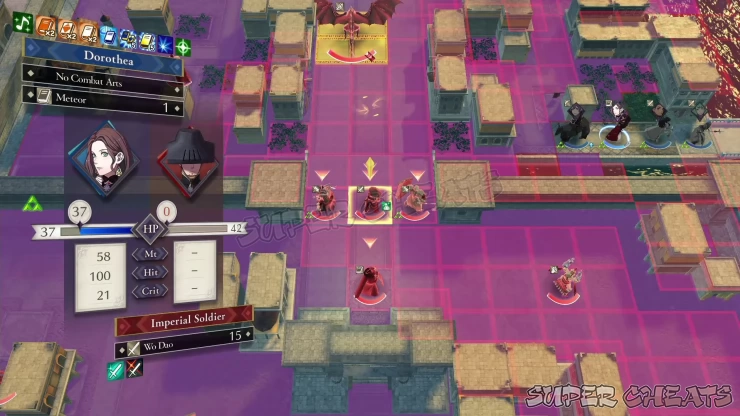
Next, continue moving your main group towards the Death Knight. If you can reach the Mage operating the magic orb contraption southwest of the Death Knight’s position, take it out immediately to prevent them from using that on your army. As mentioned earlier, a Demonic Beast will arrive from the north as reinforcements after a few turns. Don’t hesitate to use your Gambits to take it out before positioning your units around the Death Knight.
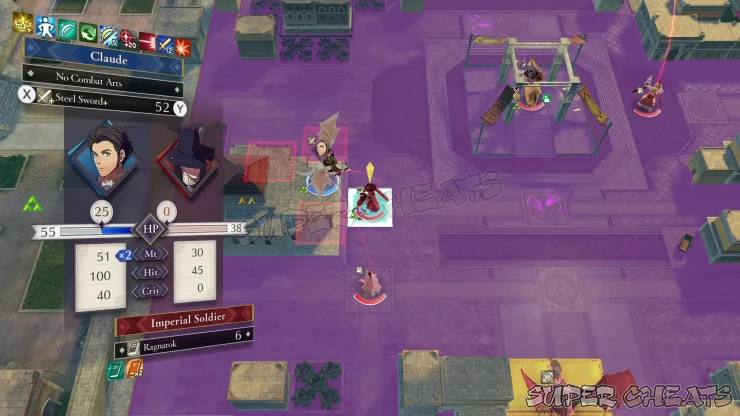
When you’re ready to take out the Death Knight, have your strongest units soften him up first. If you still have Gambits remaining, it’s best to use them here as well since he won’t be able to counterattack. Like before, if you have Mercedes, you can have her attack or finish off the Death Knight for a special dialogue between them. Nevertheless, after taking out the Death Knight, you can now regroup with your other group to march towards Hubert’s location.
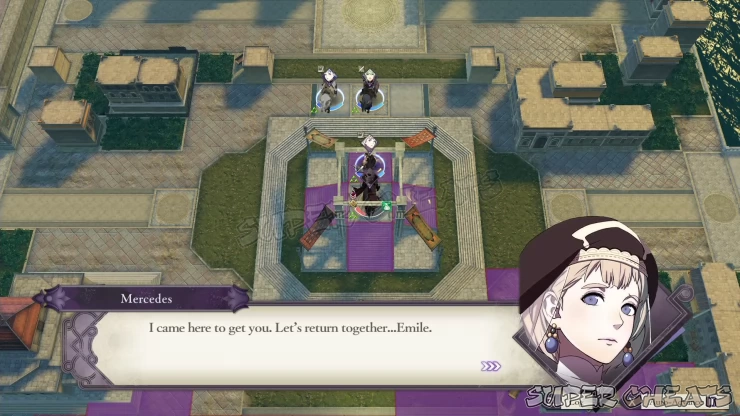
Continue moving your 2nd group out of the courtyard to regroup with your main force. Don’t forget to loot the Axe of Zoltan from the chest by the riverside.
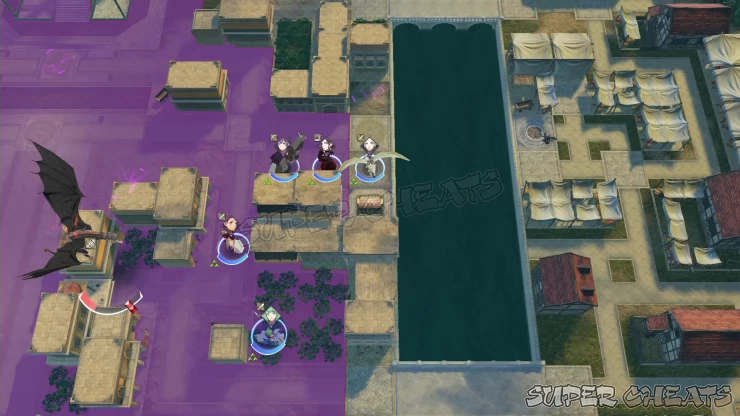
From there, it’s pretty much straightforward. Just be careful of Hubert’s long-Range spells since he can really hurt your units if they connect. You can have your Fliers fly over the wall and take out the isolated enemies. A couple of imperial mages will appear beside Hubert to reinforce him. These means nothing especially if you have a bulk of your forces already inside his fortress. Kill the reinforcements and finally, land the finishing blow on Hubert to complete the mission.
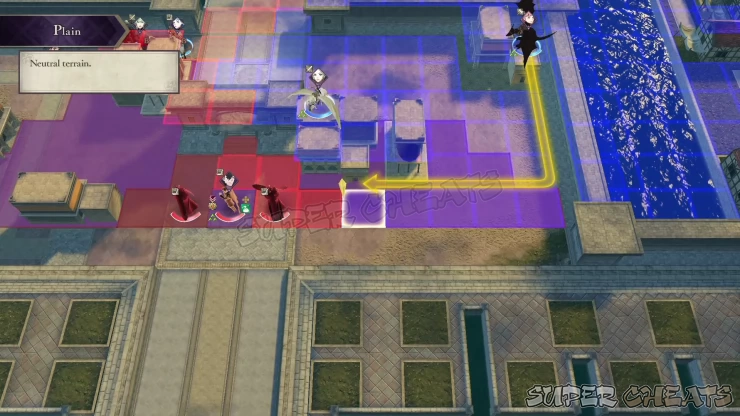
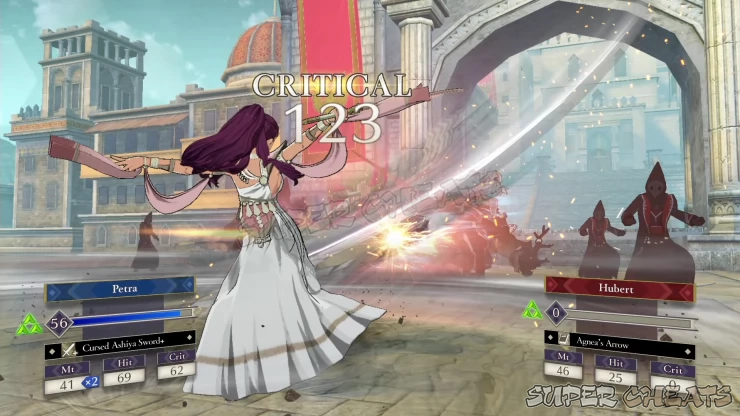
After the cutscenes, the chapter will end.
Chapter 20: Conclusion of the Crossing RoadsPrevious Page
Chapter 18: The Golden Scheme
Anything missing from this guide?
ASK A QUESTION for Fire Emblem: Three Houses
Comments for Chapter 19: The Chaos of War
Add a comment
Please log in above or sign up for free to post comments- System Features
- Monastery Basics
- Lessons
- Activities
- Facilities and Areas
- Character Guide
- Classes
- Combat Basics
- Part 1: White Clouds
- Part 2: Verdant Wind
- Quests
- Paralogues
 Join us on Discord
