Chapter 4: The Goddess’s Rite of Rebirth
Blue Sea Moon: 7/5
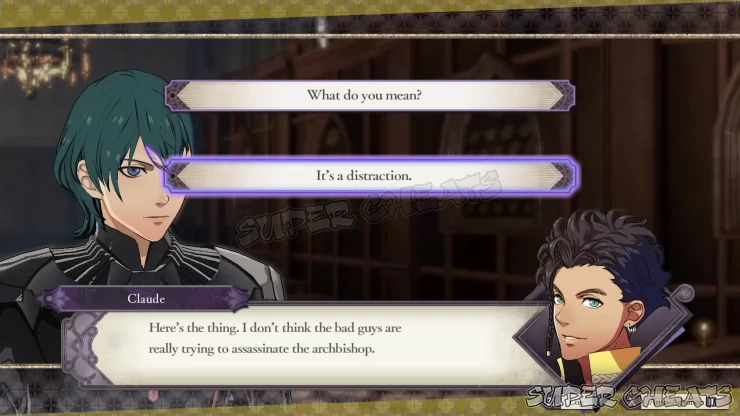
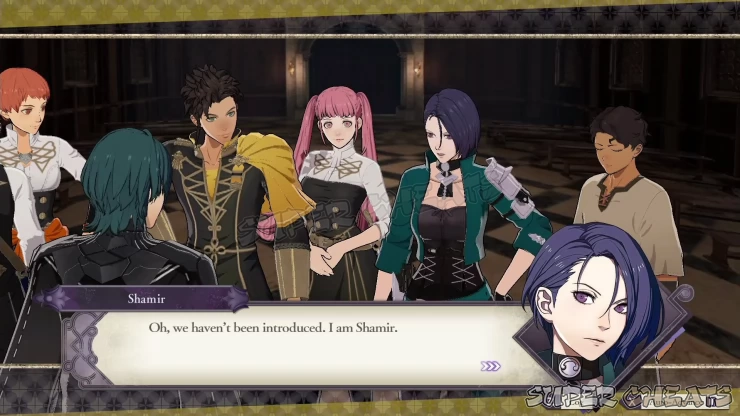
During the cutscene, answer “It’s a distraction” to gain support points with your house leader. Shamir and Cyril will also introduce themselves.
Blue Sea Moon: 7/6
Events and Announcements:
* Lots of Large Fish (more chances of catching larger fish)
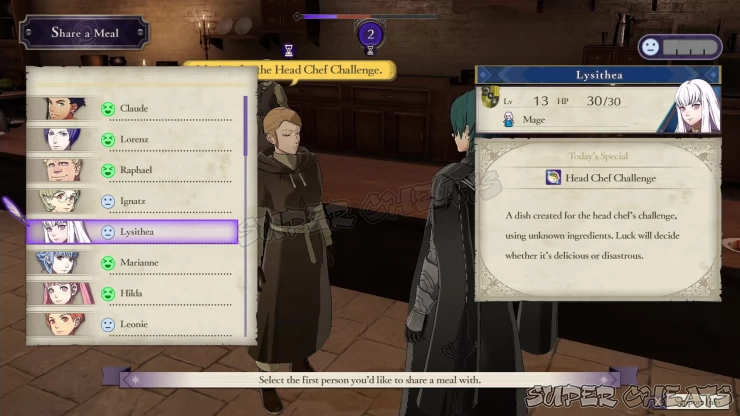
* Head Chef Challenge (effects enhanced to those enjoying their favorite meal)
* Fighting Tournament: Beginner Sword (available after completing “Only the Bold”)
New Quests:
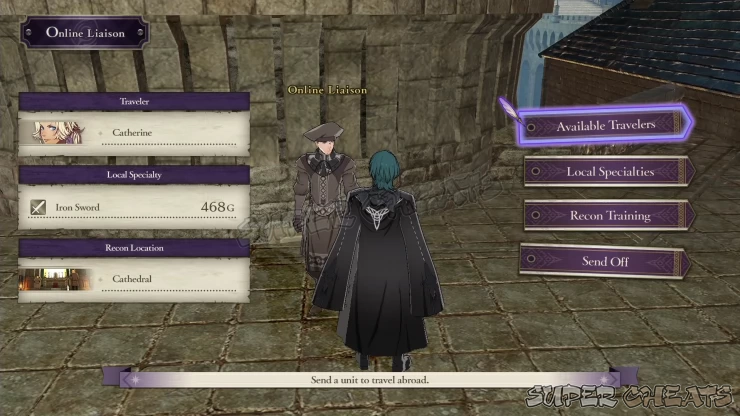
You can only select Explore at this point. Since this is a new month, you can ask the same student or another one to assist you during missions for the rest of this month.
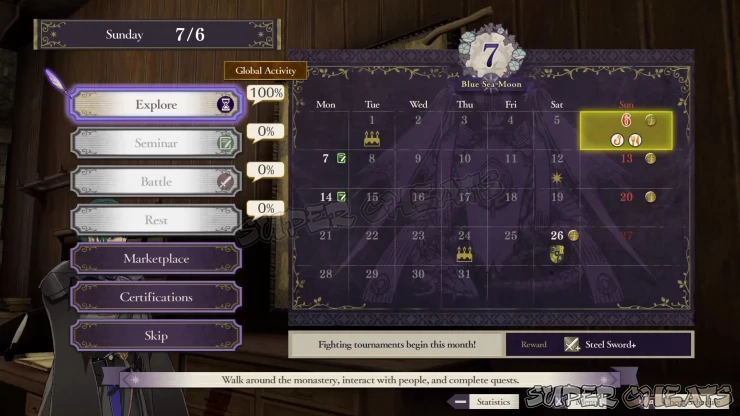
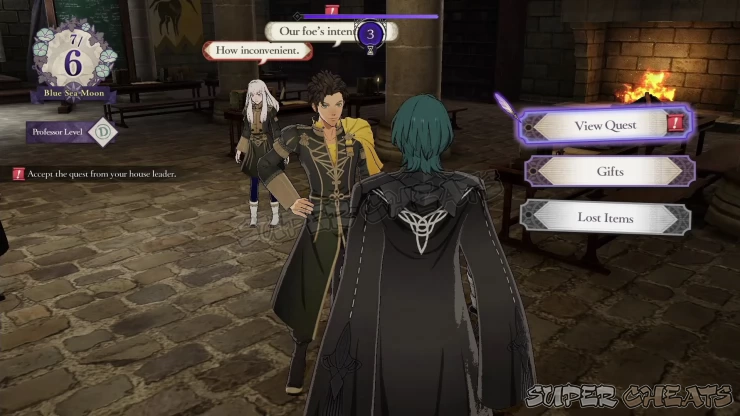
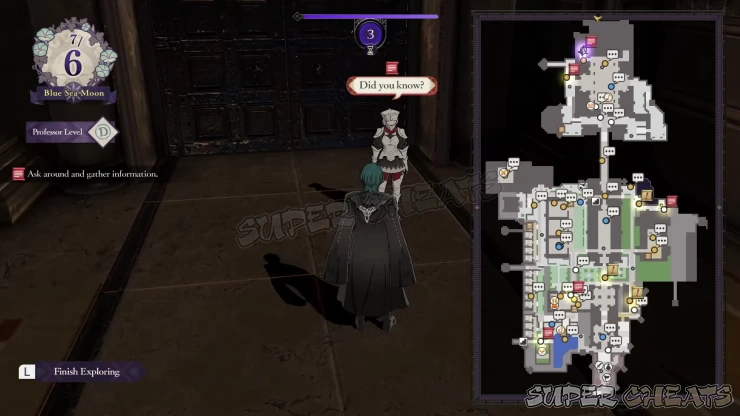
For the main quest, talk to Claude and talk to him. You’ll have to talk to different NPCs and characters who will appear as red scrolls on the Map. You can talk to them in any order. After getting all six Investigation Notes, report back to Claude to complete the quest.
| NPC/ Character | Note | Location |
|---|---|---|
| Hanneman | Investigation Note #1 | Inside his quarters |
| Alois | Investigation Note #2 | Outside the cathedral, in the western walkway. |
| Knight of Seiros | Investigation Note #3 | Cathedral, in the upper-left corner outside a door. |
| Priest | Investigation Note #4 | Outside the treasure vault. |
| Knight of Seiros | Investigation Note #5 | Inside the dining Hall. |
| Monk | Investigation Note #6 | Library |
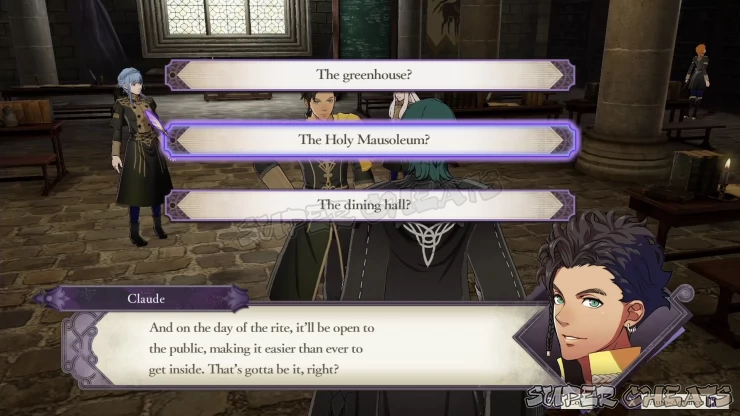
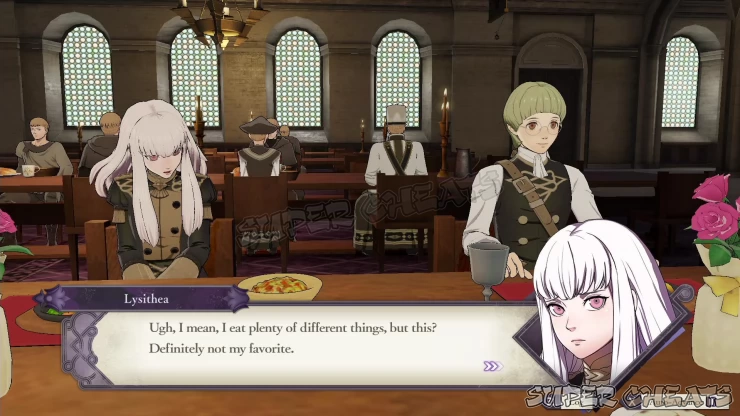
Tea Parties are opportunities for you and the invited person to permanently increase their Charm (Cha) Stats, if you’re a good host. You’ll have three chances to pick a conversation topic. If you selected the correct ones, your guest will have an additional topic to talk about. Doing these correctly will give you more affinity boost to that character. Since the topics that will be liked by your guest will vary from person to person, saving your progress before inviting them to a Tea Party is highly recommended.
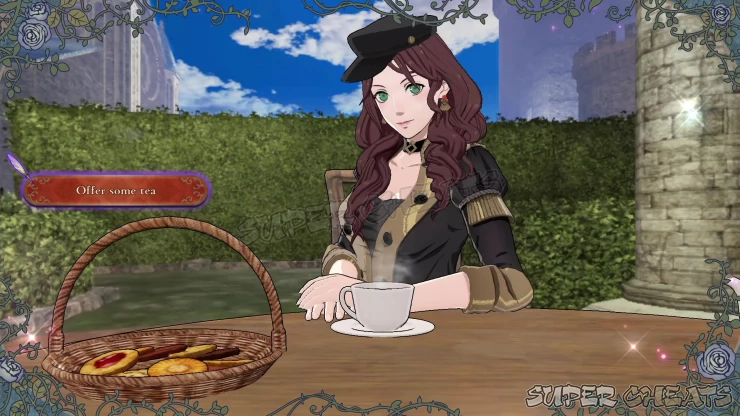
You can also invite birthday celebrants to Tea Parties. If these fall on weekdays or other days where you can’t go out and explore, we recommend inviting birthday celebrants to tea parties instead. This is a free chance to improve their affinity towards you and permanently increase both you and your guest’s Charm Stats without spending an Activity Point.
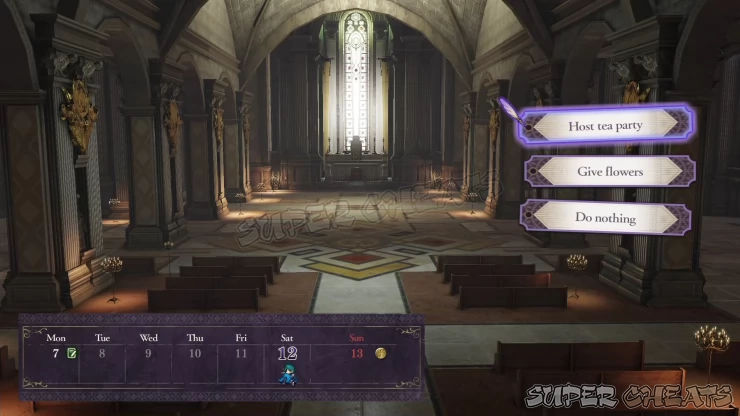
Blue Sea Moon: 7/13
* No events for this weekend.
* You can choose whatever activity you want to do, based on the global statistics or based on what you need.
* You can explore now or train your units by sending them to the battle Map. There’s an auxiliary battle there that doesn’t deplete Activity Points, allowing you to farm exp, Support, items, and gold as much as you want.
* If you chose to explore during this weekend, make sure to at least go to battle training/farming next week.
Blue Sea Moon: 7/20
* No events for this weekend.
* You can choose whatever activity you want to do, based on the global statistics or based on what you need.
* Take note that the following week is the monthly story battle mission. It’s recommended to go to battle on this week to train your units to prepare them for the upcoming story mission if you haven’t done it in the previous week. Otherwise, if you’re confident about your units’ strength, you can use this weekend to explore and do other activities.
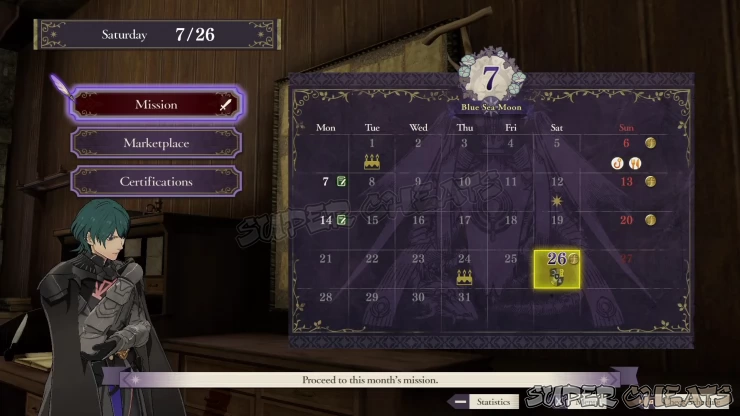
Blue Sea Moon: 7/26
Since this is the monthly mission, there’s only one activity available. You can still view supports, replenish your supplies in the marketplace, and certify new class for your eligible students.
You can also view the available Support conversations between you and your students especially if you spent time in the last weeks bonding with them through various monastery activities and battles.
Battle: Assault on the Rite of Rebirth
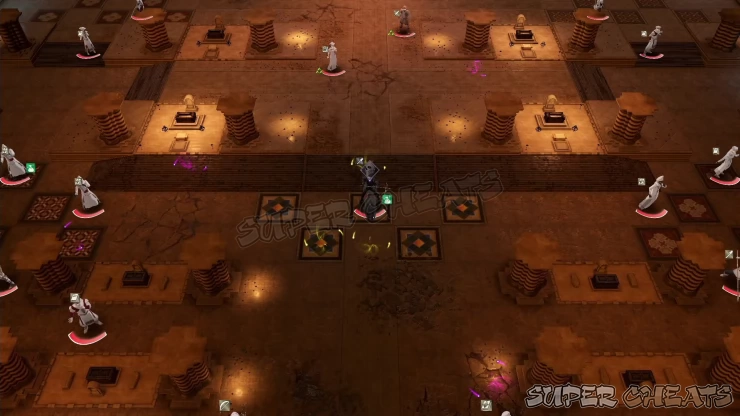
There are also different sets of Terrain here that increases Res and Def. The tiles around the Death Knight, including the one he’s stepping in increases Avo by 40%, making it even harder to hit him. There are two strategies you can employ here, and this will depend on your party’s composition and classes.
1. Divide your party into two groups, each with a dedicated healer and ranged attacker, and work your way around the Death Knight.
2. Move as a single group, crush Death Knight along the way, and let the enemies attack you on both sides.
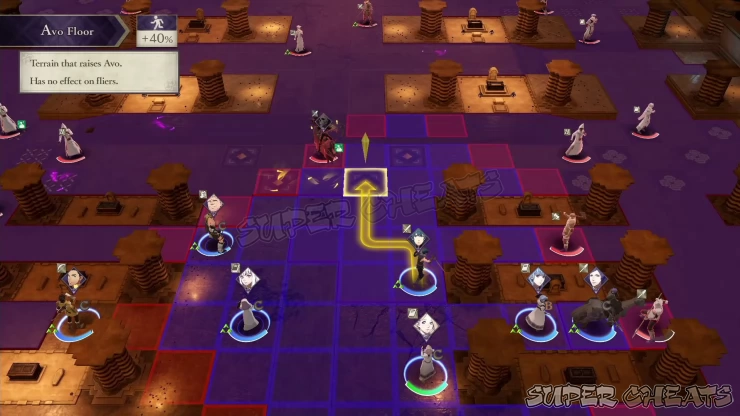
Start off by occupying the nearby Spirits and taking out the nearest enemies. Move your group up but don’t divide them yet at this point. The pillars and single-lane paths will funnel any units and prevent the group from taking advantage of numbers. It’s also possible to get sniped by spellcasters or archers if you actively head to the enemy's position. Instead, use the Danger Radius to see their Range and place a bait there to lure them in. Just luring one enemy is enough for the others to follow suit. Use this strategy to thin out their numbers.
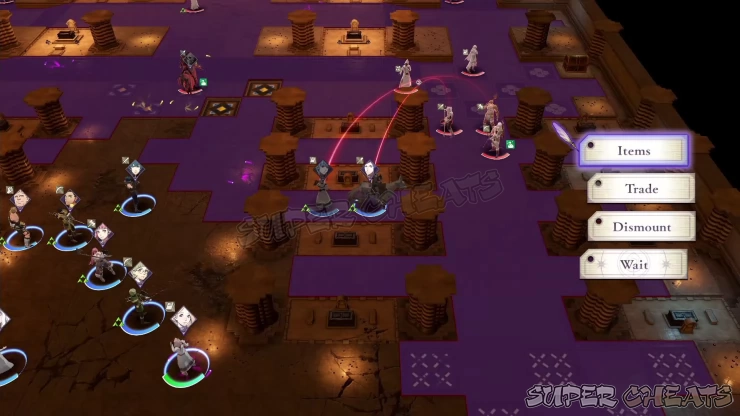
Normally, you’ll want to try avoiding the Death Knight. He will not move but if you attack him, he’ll actively hunt down your units. If you’re playing in Casual/Normal mode and your units have high enough levels, you can gang up on him and take him down. Gambits Chains and Linked Attacks are necessary to overpower him. You’ll obtain a Dark Seal after defeating him.
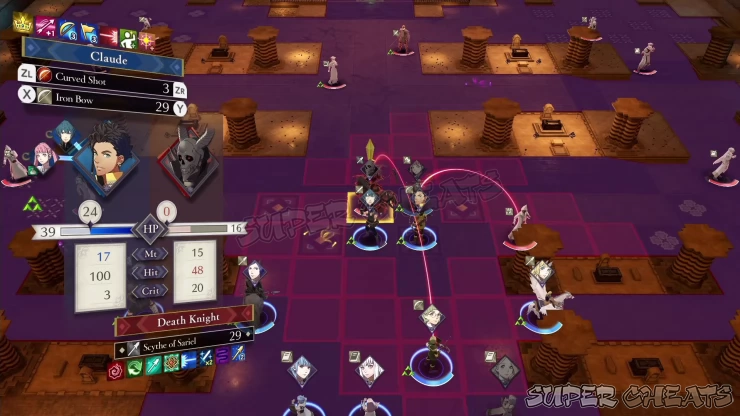
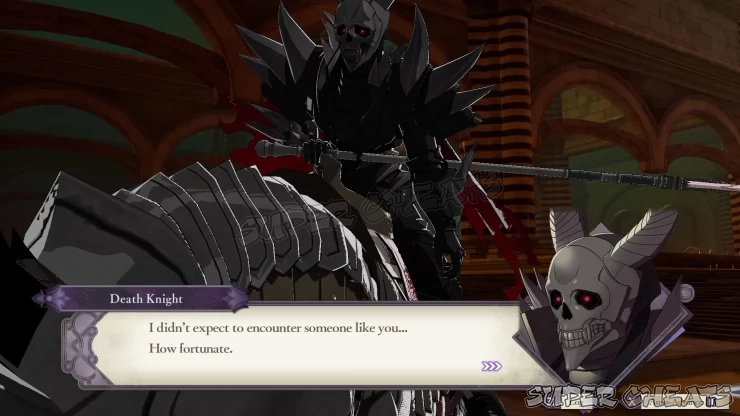
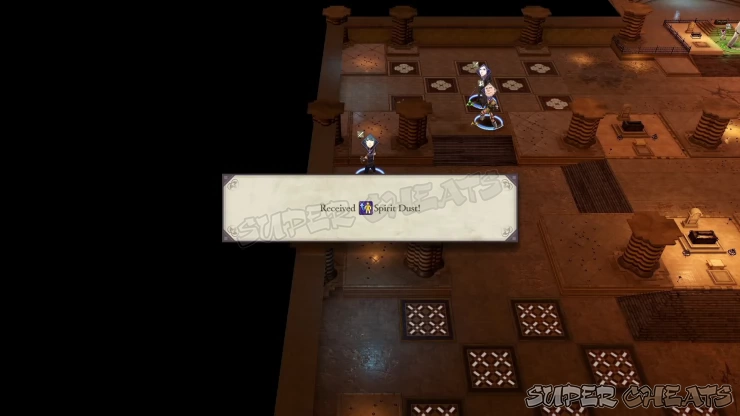
If you managed to take down the Death Knight without too much trouble, then your party is most likely strong enough to split into two smaller groups at this point. Don’t forget to grab the Chests on both sides of the Map. (Contains Intermediate Seal and Spirit Dust)
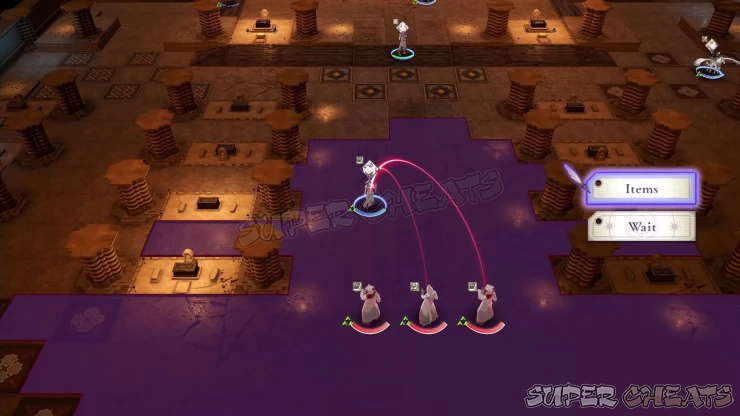
Sweep the scattered enemy units then converge around the enemy commander. There will be a small group of enemy reinforcements that will arrive from your starting position but taking them out is optional. Finish off the mysterious Mage to complete the mission.
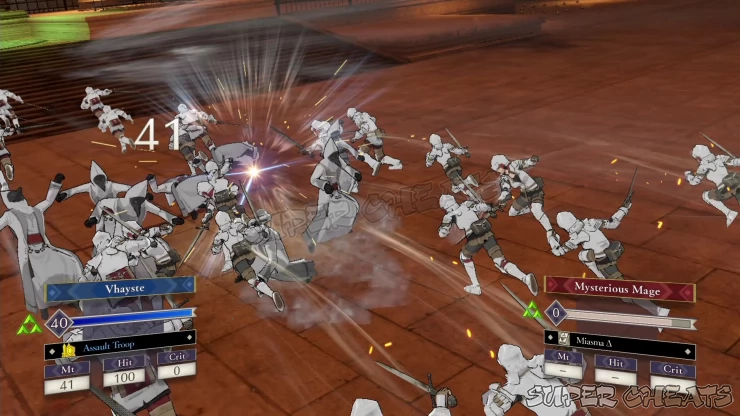
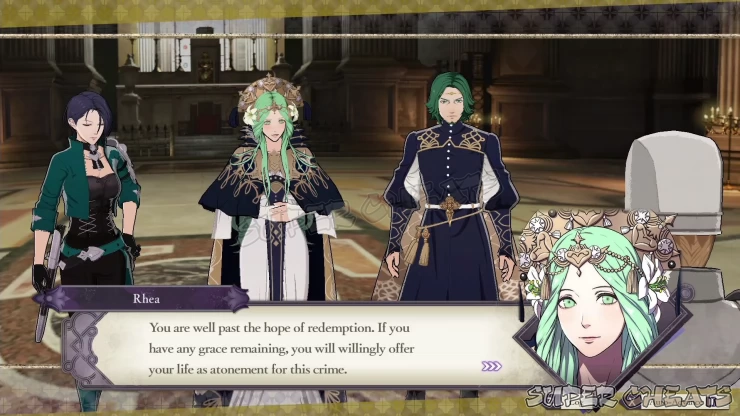
After the cutscene, you’ll obtain the Sword of the Creator. Go through a few more cutscenes and the chapter will be complete.

Anything missing from this guide?
ASK A QUESTION for Fire Emblem: Three Houses
Comments for Chapter 4: The Goddess’s Rite of Rebirth
Add a comment
Please log in above or sign up for free to post comments- System Features
- Monastery Basics
- Lessons
- Activities
- Facilities and Areas
- Character Guide
- Classes
- Combat Basics
- Part 1: White Clouds
- Part 2: Verdant Wind
- Quests
- Paralogues
 Join us on Discord
