Chapter 18: The Golden Scheme
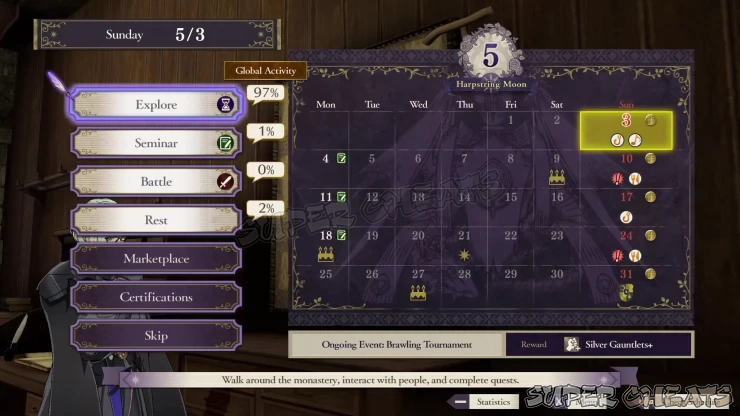
Harpstring Moon: 05/03
Events and Announcements:
* Brawling Tournament (Reward: Silver Gauntlets)
* Golden Fish (Higher chances to encounter golden fish)
* Choir Festival (Enhanced effects when doing the Choir Practice)
New Quests
* Supply Run
Since this is the start of the month, exploration is strongly recommended.
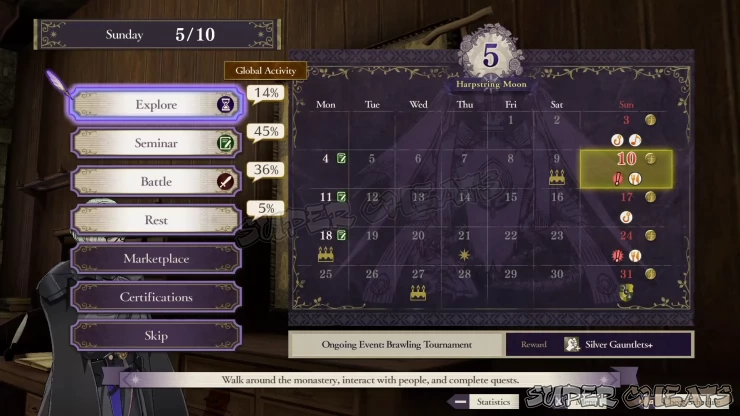
Harpstring Moon: 05/10
Events and Announcements:
* Rare Monster Sighting
* Morale Meals (Enhanced effects when dining with an ally)
You’re free what you want to do on this day, depending on your needs.
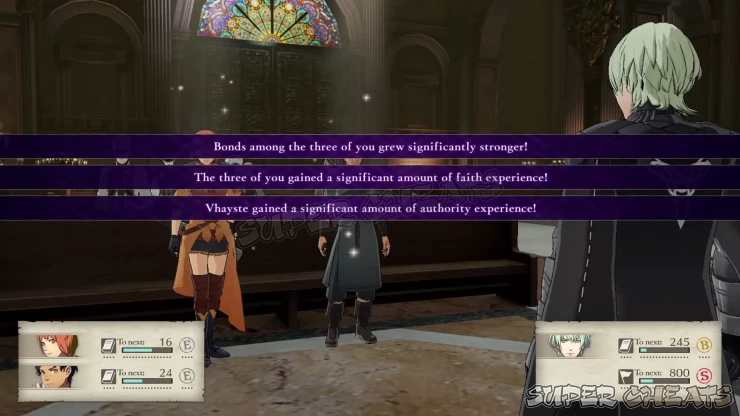
Harpstring Moon: 05/17
Events and Announcements:
* Fish of Mystery (Chance to catch the elusive Rainbow Fish)
If you have battled last week, you can rest or explore this week. Since there’s a training session next Monday, you can use this chance to restore the motivation of your students as well.
Harpstring Moon: 05/21
Saint Macuil Day
Free hymn recital in the Cathedral. Two random participants will be chosen and you’ll get the usual Faith, Support Points, Authority, and Professor EXP rewards.
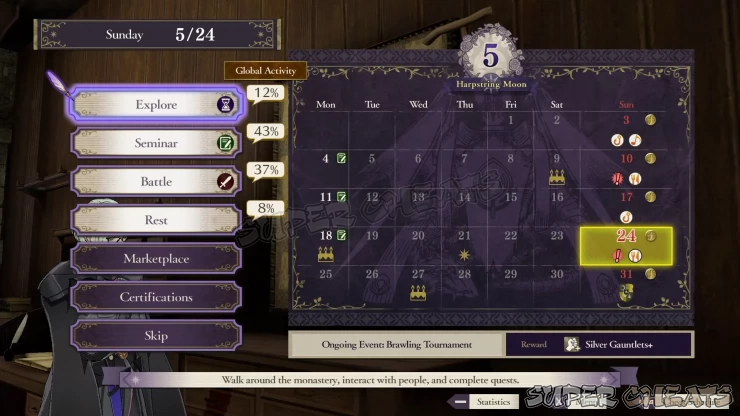
Harpstring Moon: 05/24
Events and Announcements:
* Rare monster sighting
* Sweet-Tooth Week (Enhanced effects when dining with those who love sweets)
You can battle this week since there’s no training session next Monday. It’s also a good way to grind levels and farm money before the main battle at the end of the month.
Harpstring Moon: 05/31
Like always, do some last-minute certifications, view supports, and other preparations needed. Once ready, deploy for the mission.
Mission: Taking Fort Merceus

Fliers are essential in this battle, especially if you want to loot the Chests quicker and take out the contraption operators. The fort’s fortress knights are incredibly sturdy so you’ll need mages to decimate them and provide back up Healing. Alternatively, you can give your melee units with anti-armor weapons as well.
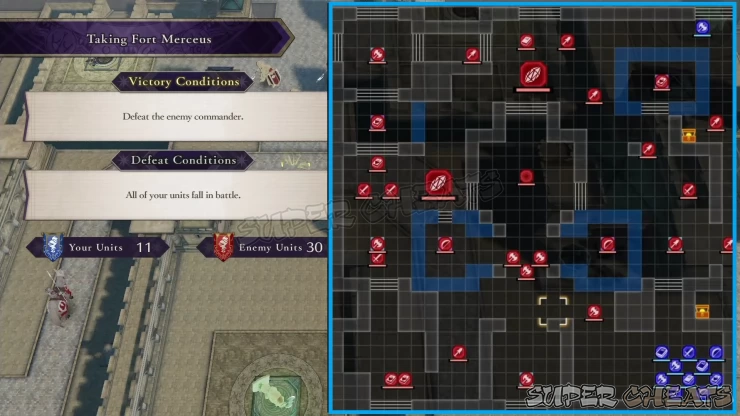
Give your Fliers a Chest Key each and position them on the eastern side of your starting position so they can get to the Chests, take out the nearby ballista and magic orbs, and Support Claude. Make sure your Dancer is also part of this battle; you’ll need the extra turn to enable your units to perform their roles proficiently.
In this battle, your main army will start in the southeast corner of the Map while Claude and your Almyran allies will come in from the northeast. You don’t have control over the Almyrans and they’re quite a formidable force. Keeping them alive will help you immensely in battle. Since they don’t have a healer with them, make sure to send a healer with Physic to help them or you can use the Holy Knight’s exceptional mobility to back them up, if you have a unit with access to that class.
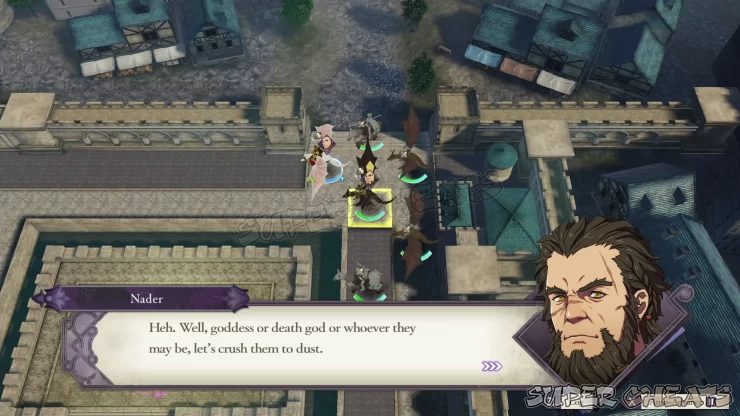
The enemy commander is the Death Knight, located in the center of the Map. You won’t be able to engage him immediately since you’ll have other things to take care of. Enemy reinforcements will constantly pour in from several of the fort’s gates. The only way to block these gates is by having one of your units occupy it for a turn. Of course these gates are heavily guarded as well so you’ll have to fight your way through them.
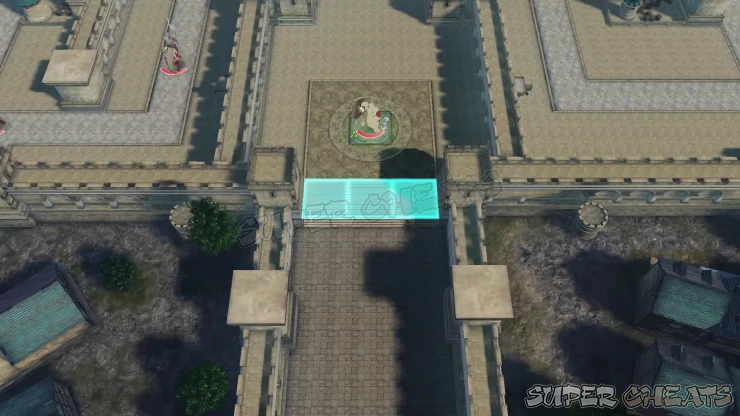
Once the battle starts, send one of your Fliers to loot the Speedwing from the nearby chest. Next, have Claude kill the Mage operating the magic orb nearby.
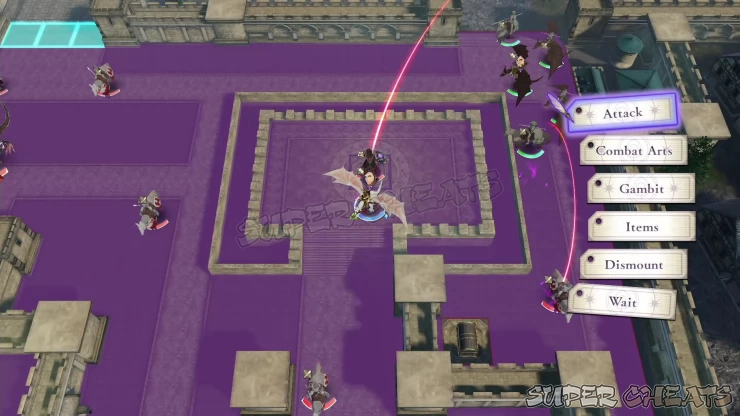
Next, if you have another Flier, you can move him/her to his/her max Range, have your Dancer give the extra turn and have your flier finish off the nearby ballista operator.
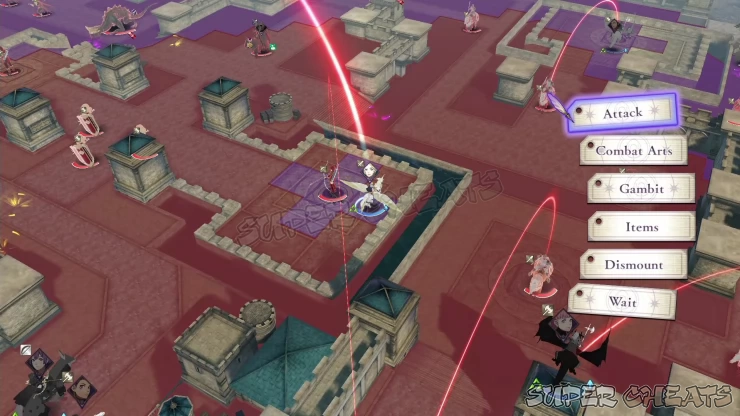
Once cleared, you can now move the rest of your units westward. If you think your Fliers will struggle taking out the rest of the enemy forces in the eastern side, you can send some back up units to assist them. Otherwise, you’ll have to move your main army to the west so you can plug the central-south and southwest gates. You can use long-Range magic or magic bows to snipe the fortress knights blocking the gate and the path going to Death Knight.
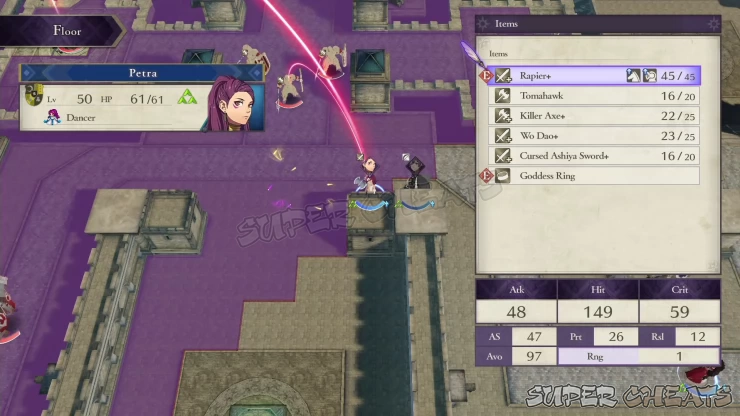
Loot the other chest in the northeast to get an Aurora Shield. If one of your Fliers retrieved this shield, you can equip it to him/her since it nullifies the Effective Damage against fliers. There’s also an enemy there carrying an Evasion Ring. Your Almyran allies will engage the northern forces. Among the powerful enemy Cavalry waiting there, your allies will also have to deal with an artificial Demonic Beast.
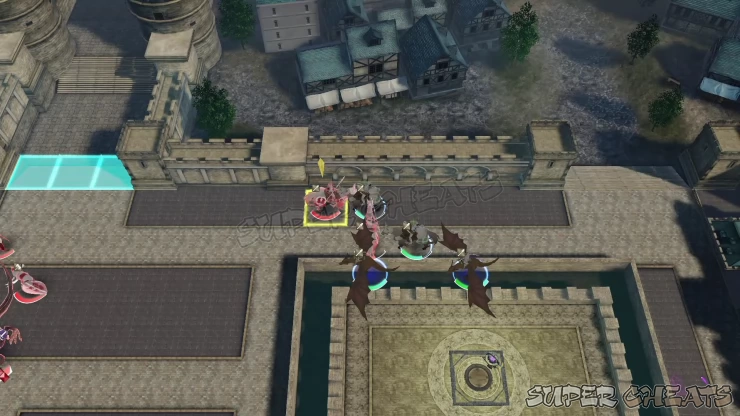
After blocking the central-southern gate, you can send a unit to deal with the mages guarding the southwestern gate. Have the rest of your units head towards the Death Knight’s position and take out the last ballista operator as well. At this time, the Death Knight will abandon the fortress and attempt to retreat via the escape point to the northwest corner of the fortress. You’ll have to circle around him and cut his path. This will be a problem if there’s a lot of enemies remaining in that section of the fort and if your units can’t keep up with the Death Knight.
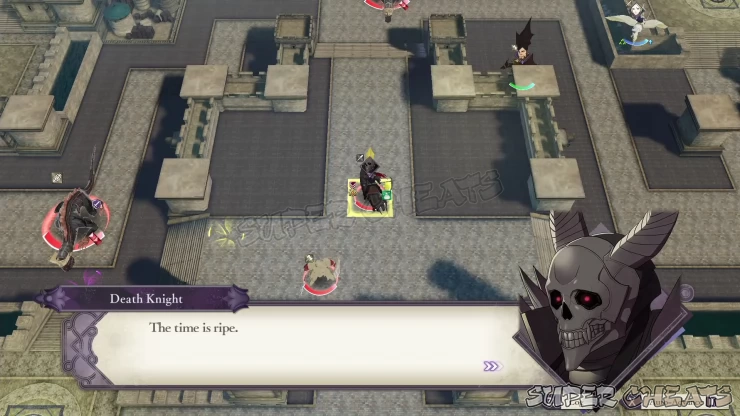
This is where your Fliers will come in; you can prevent the Death Knight from escaping by occupying his escape point. It will also help if you can warp your strongest unit to go ahead of the pack and clear the path. If you have a Battalion that can rattle him, use that to stop him from moving for a turn.
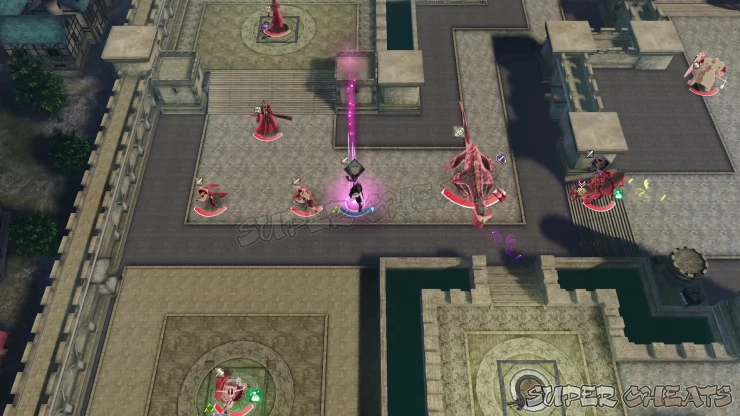
While retreating, the Death Knight will ignore your forces and avoid attacking you preemptively. Use this to your advantage; prioritize taking out the enemies along the way and prioritize getting to the escape point before him. Your healers should also be able to heal up your almyran allies. Keep them healthy and they’ll sweep the remaining enemy forces with no trouble. Unfortunately, your almyran allies will most likely die in the hands of the Death Knight since they’ll be stupid enough to attack him individually.
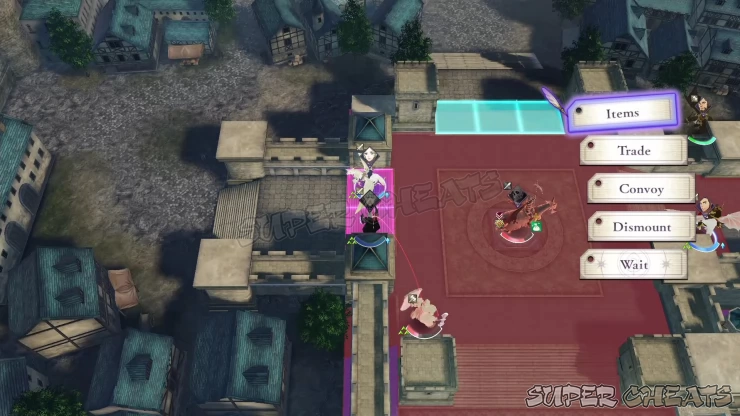
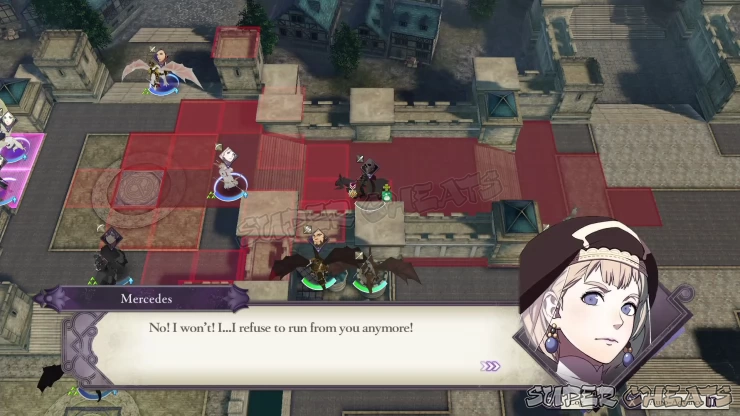
After plugging the Death Knight’s escape route, he will be forced to make a detour. At this point, you can start pummeling him with Gambits to soften him up. If you have Mercedes, she’ll have a special dialogue with the Death Knight though he can most likely defeat her if she can’t land the finishing blow first. At any rate, defeating the Death Knight will end the battle, regardless of the number of remaining enemies in the fortress.
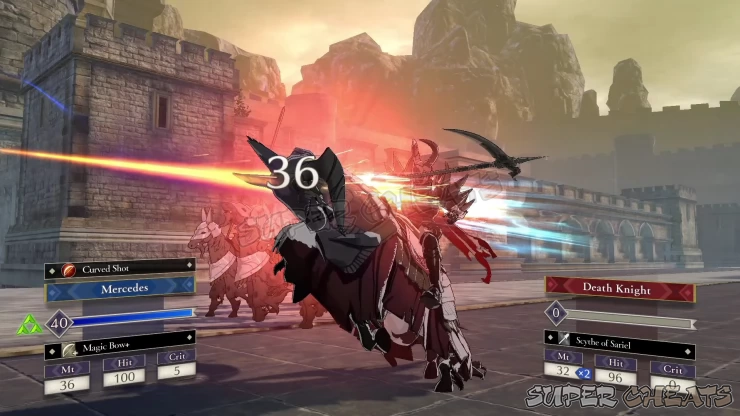
After the cutscenes, the chapter will end.

Chapter 19: The Chaos of WarPrevious Page
Chapter 17: Blood of the Eagle and Lion
Anything missing from this guide?
ASK A QUESTION for Fire Emblem: Three Houses
Comments for Chapter 18: The Golden Scheme
Add a comment
Please log in above or sign up for free to post comments- System Features
- Monastery Basics
- Lessons
- Activities
- Facilities and Areas
- Character Guide
- Classes
- Combat Basics
- Part 1: White Clouds
- Part 2: Verdant Wind
- Quests
- Paralogues
 Join us on Discord
