Chapter 17: Blood of the Eagle and Lion
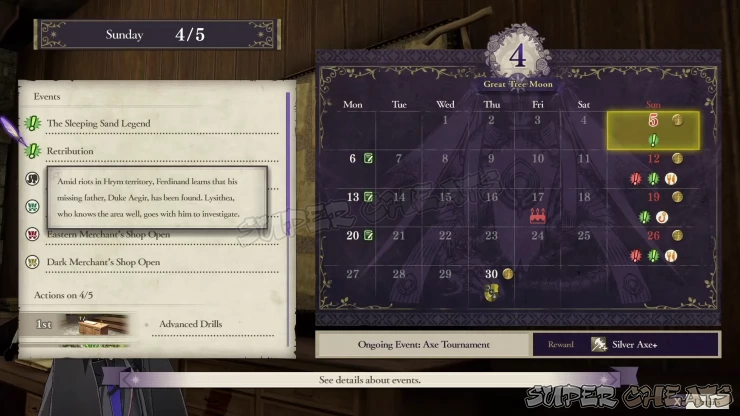
Great Tree Moon: 04/05
Events and Announcements:
* New Paralogues available (The Sleeping Sand Legend, Retribution)
* Axe Tournament (Reward: Silver Axe+)
New Quest(s)
Since it’s the first weekend of the month, it is obviously the best choice to explore. Get the new quest and do your usual activities, especially motivating your students for the following training session on Monday. However, if you have a lot of motivated students you can instruct, you can go to battle now and clear the new Paralogues.
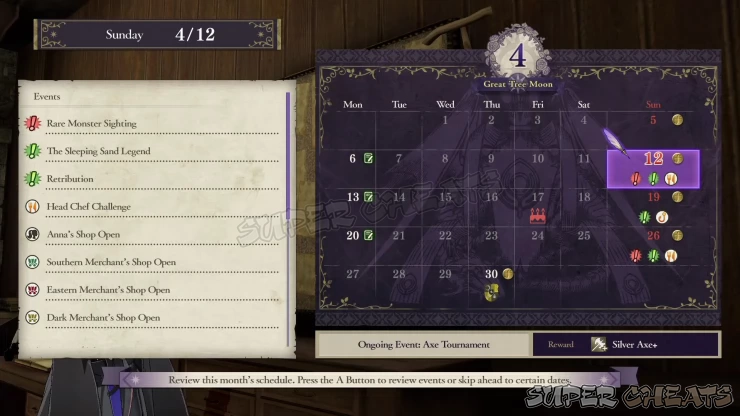
Great Tree Moon: 04/12
Events and Announcements:
* Rare Monster Sighting
* Head Chef Challenge (Enhanced effects when enjoying their favorite meals.)
You can go to battle this weekend to clear the new Paralogues and the rare monster sighting. Otherwise, exploring can be a good option as well since there’s a Head Chef Challenge. This event is a gamble since there’s a chance that the food may not be liked by the chosen participant.
Great Tree Moon: 04/19
Events and Announcements:
You can explore this week. If you still haven’t fished this month or maxed out your Professor Level, you can fish this month to get some good amount of professor EXP. There’s also a study session the following Monday so you can also spend time to motivate your students.
Great Tree Moon: 04/26
Events and Announcements:
* Rare Monster Sighting
* Bitter Eats (Enhanced effects when dining with people who love bitter food)
The story mission is on the following week and there’s also no study session so you can battle this week to farm EXP and Support points for your units. Otherwise, you can also explore to re-motivate your units or do some personal training for yourself.
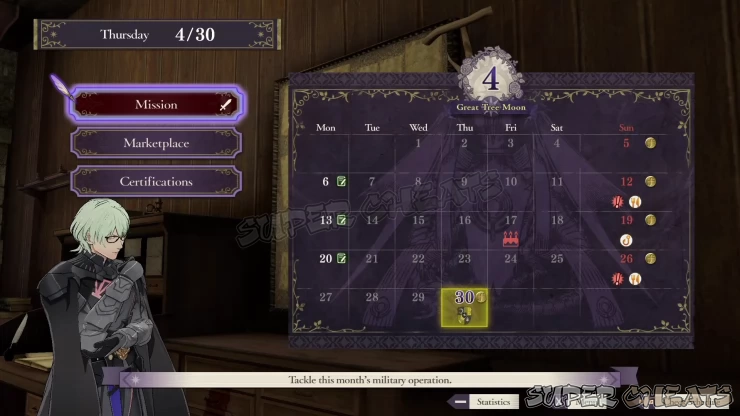
Great Tree Moon: 04/30
Like always, do some last-minute certifications, view supports, and other preparations needed. Once ready, deploy for the mission.

To War at Gronder
This battle will pit you against two enemy forces; the much larger imperial army and the smaller but equally potent Kingdom army. Dimitri leads the third force, along with his trusty retainer Dedue. If you recruited all other Blue Lions students prior to the timeskip, you don’t have to face them here. Since the battlefield is a large, open space, Mounted units and Fliers will excel here. As such, healers with Psychic, Fortify, and Rescue will be invaluable in keeping your army safe.
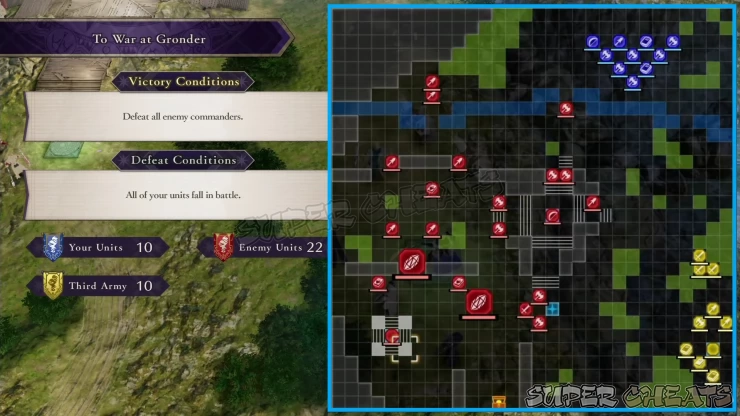
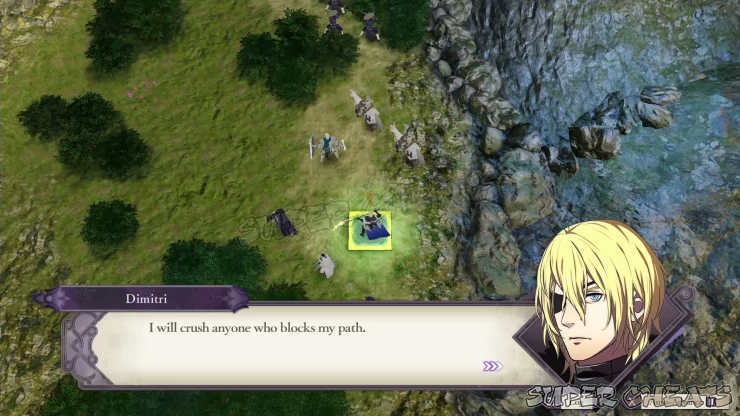
It may seem that the middle platform is a great position to capture, since it has a ballista that can cover the entire middle portion of the Map. However, that platform is protected by fortress knights so you’ll have to units that can deal magical Damage or use effective weapons against them. Take note that later in the battle, if you managed to take over this platform, Edelgard will set the entire platform on fire, dealing damage to everyone standing there every turn, including her own units.
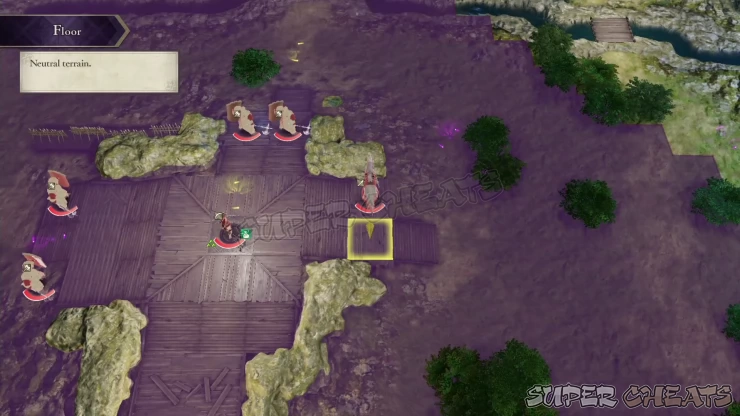
As soon as the battle starts, Edelgard will order her Mounted units to engage your forces. Position your units who can lure and intercept them, away from your vulnerable healers, mages, and archers. You can move your main army towards the central platform or divide your forces, with a powerful and smaller punitive force to take on Dimitri’s army to the east. However, don’t scatter your forces early on since Dimitri will call in reinforcements that will spawn behind your forces to the north and northeast flanks. Make sure that you protect your softer units since they can be easily taken out by these powerful Kingdom units.
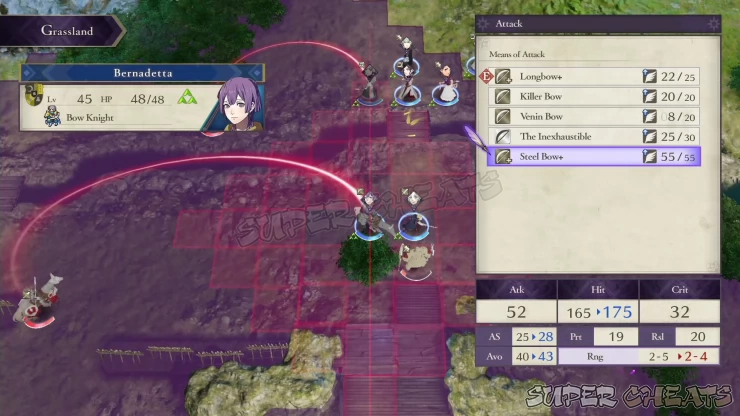
If your forces have crossed the river, you can block the bridge with a single unit to remove the movement Range advantage of the Kingdom horsemen. If you managed to get the kingdom’s main army’s attention, they’ll start moving northeast instead. You can fall back to the bridge and funnel their forces there.
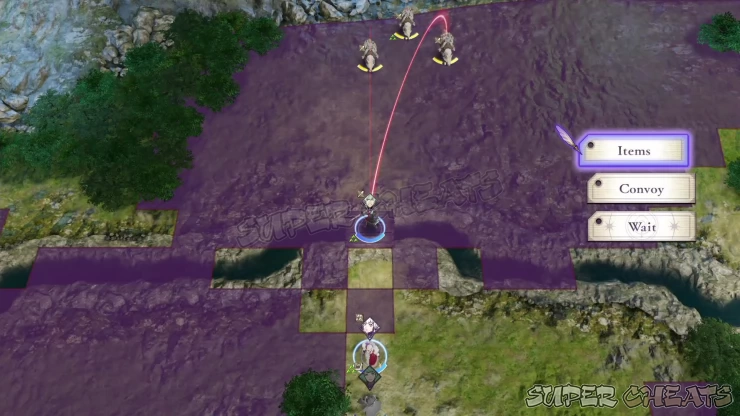
Once you have wiped out the enemies on the hill, Edelgard will set it aflame, regardless if she still has surviving units there or not. Nevertheless, once the hill is on fire, have your units evacuate it and heal up. Use Fortify if you have access to it to heal multiple units at once.
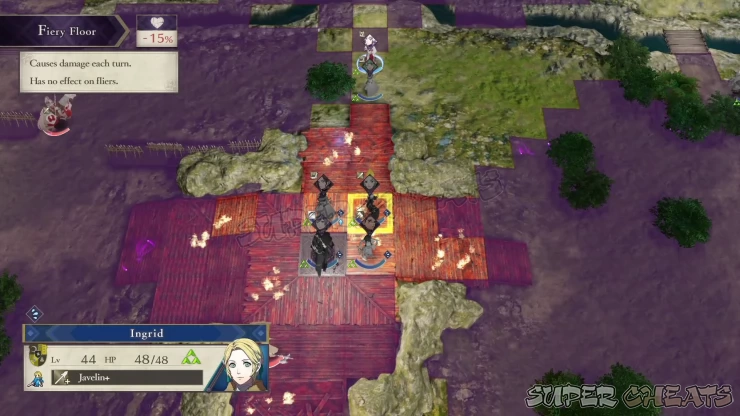
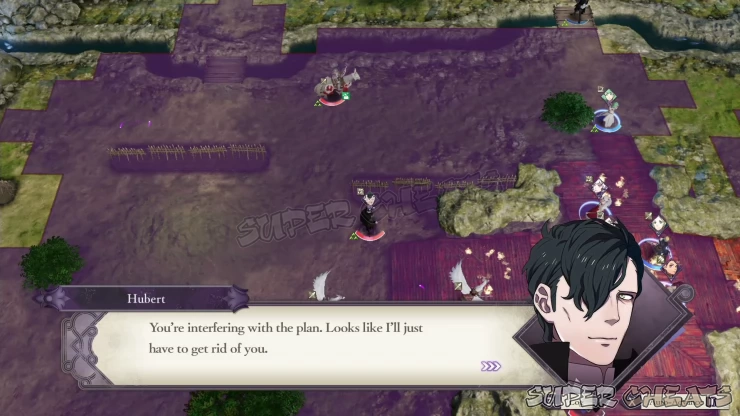
At the same time, Hubert and his forces will make their move to take advantage of the fire attack. You can fall back or just face his forces head on. Prioritize eliminating him since he’ll be quite a problem if he gets to attack preemptively.
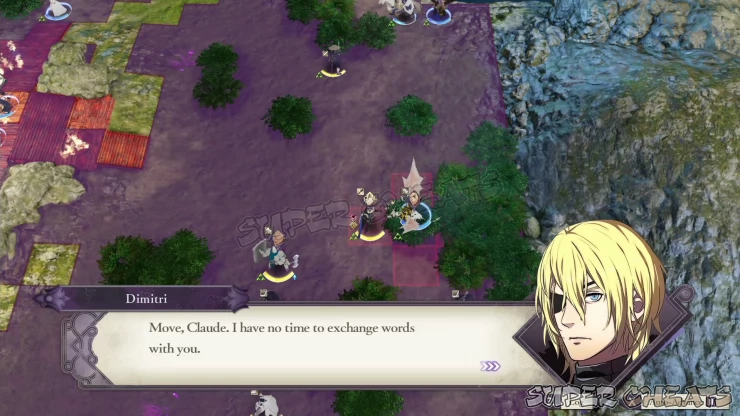
Continue whittling down the kingdom’s main forces until you get the chance to have Claude talk to Dimitri and finish him off. Unfortunately, aside from the special dialogue between them, there’s no way to spare or save Dimitri. Finish him off and the rest of the kingdom forces.
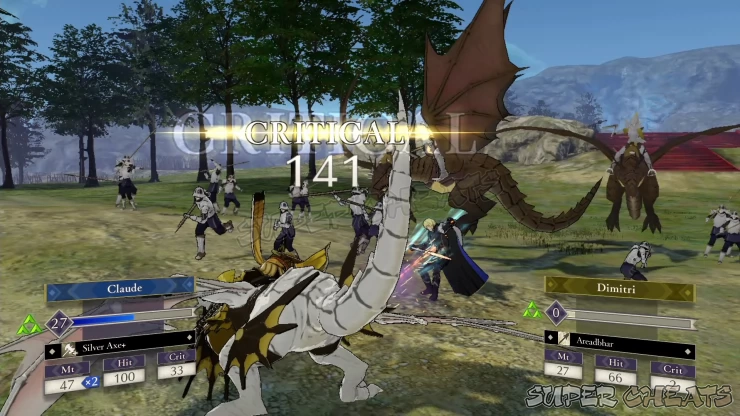
After eliminating the kingdom forces, you can now regroup and take down the two artificial demonic beasts in the imperial forces. Edelgard has a long-Attack Range so make sure to lure the demonic beasts and other imperial forces to your army instead. Don’t forget to loot the Lampos Shield from the chest to the south, near Edelgard’s stronghold.
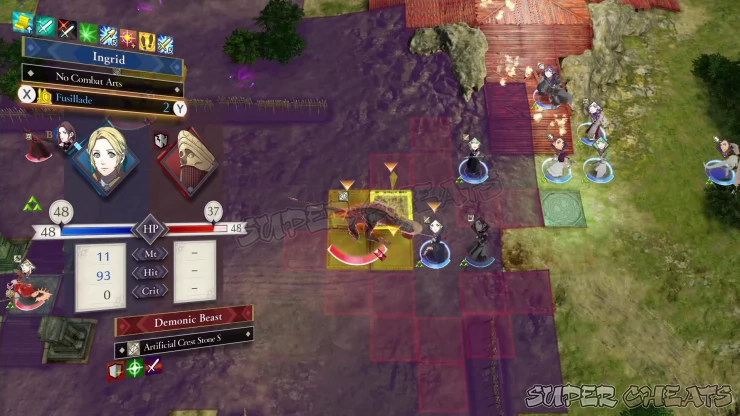
Edelgard will not move from her location or attack preemptively as long as you stay out of her Attack Range. You can soften her up with coordinated Gambits but don’t expect to snipe her since she can counter any attack at any Range.
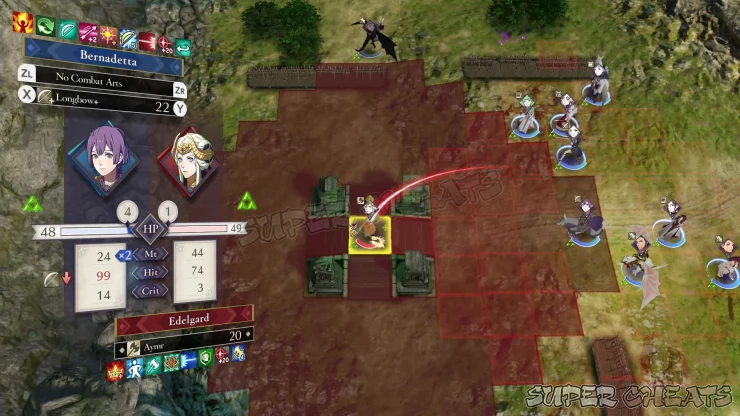
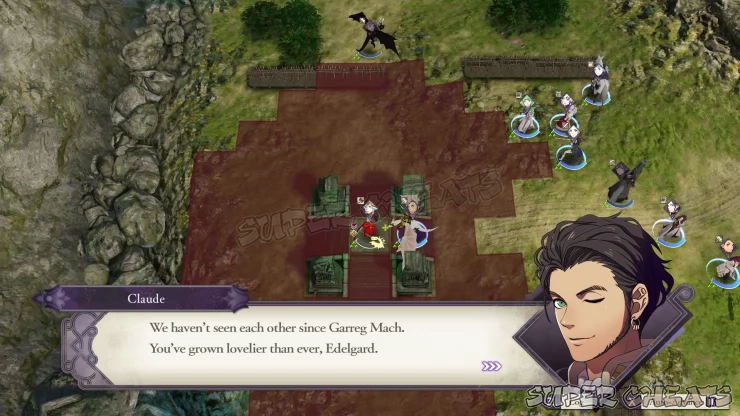
Finally, have Claude and/or Byleth attack her and deal the finishing blow for another special dialogue. Once she’s defeated, the mission will be complete.
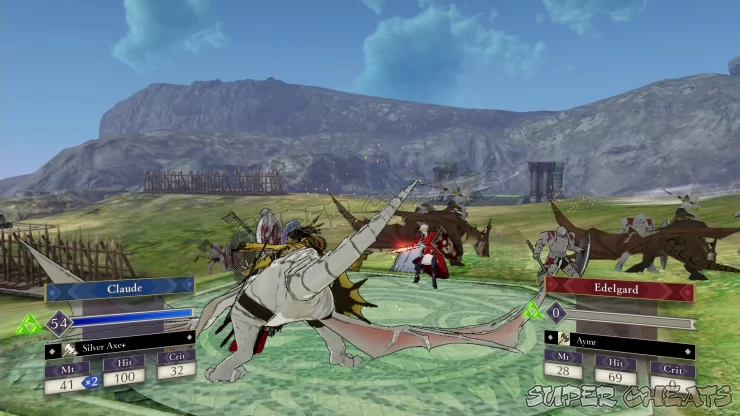
After the battle, watch through more cutscenes and the chapter will end.


Anything missing from this guide?
ASK A QUESTION for Fire Emblem: Three Houses
Comments for Chapter 17: Blood of the Eagle and Lion
Add a comment
Please log in above or sign up for free to post comments- System Features
- Monastery Basics
- Lessons
- Activities
- Facilities and Areas
- Character Guide
- Classes
- Combat Basics
- Part 1: White Clouds
- Part 2: Verdant Wind
- Quests
- Paralogues
 Join us on Discord
