Chapter 12: To War
Lone Moon: 3/21
Events and Announcements:
* Choir Festival (Effects enhanced for participants)
* Lance Tournament (Reward: Silver Lance)
New Quests
* Eagle Eye (this month only!)
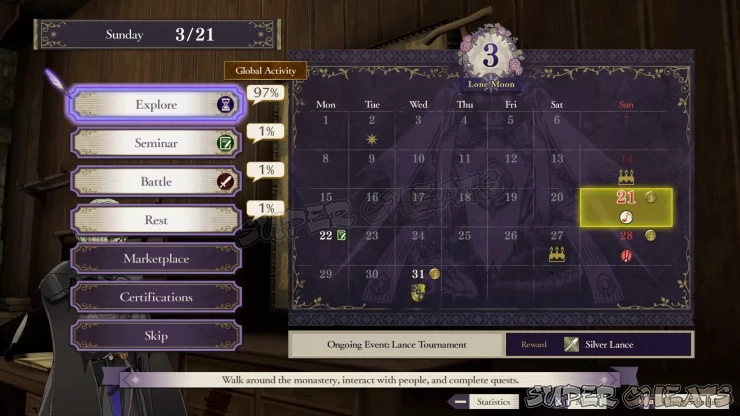
There are only two weeks available for this month before the imperial invasion on 3/21. You should explore for now and maximize whatever activity you need to do. There’s also only one Lesson session on the following Monday. Make sure to complete the only quest available for this month as well.
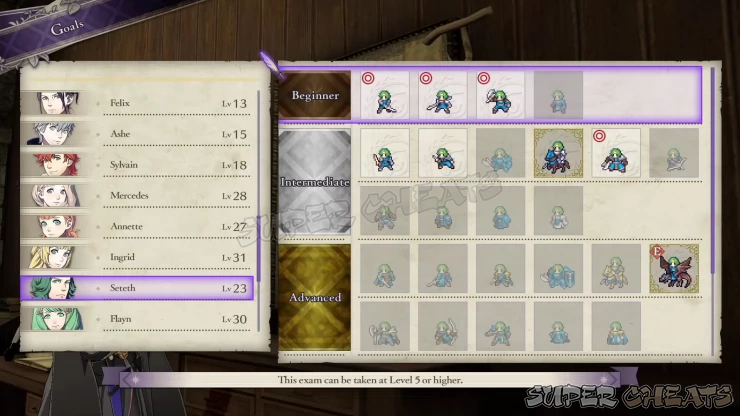
For the Golden Deer route, Seteth will automatically join your army as well at this point.
Lone Moon: 3/28
Events and Announcements:
* Rare Monster Sighting
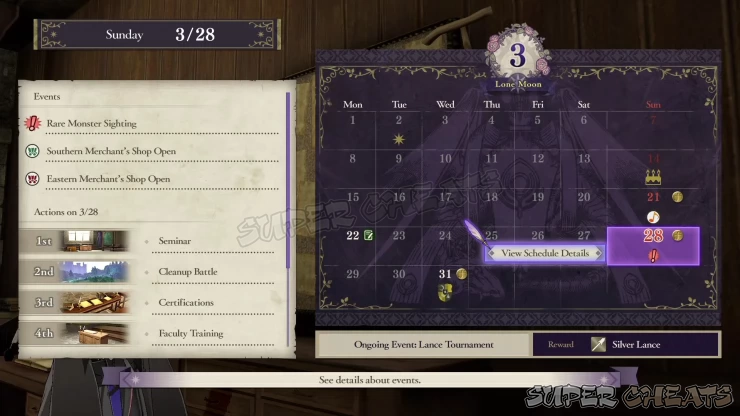
This is the last free weekend of this month before the imperial invasion. It’s recommended to go to battle now to level up your units and prepare them for a major battle.
Lone Moon: 3/29
(Golden Deer Route) Scene about the monastery's preparation from the imperial invasion in the next two days.

Lone Moon: 3/31
This is the day of the story mission. Do some last minute shopping, weapon maintenance, support viewing, and certifications.
The Battle of Garreg Mach
(Golden Deer Route)On top of defending Rhea, you also have to defend her location from the invaders. Rhea has the Sword and Shield of Seiros equipped, which gives her a really high survivability rate, thanks to their HP recovery properties. If your army is capable enough, she won’t even need to participate in the battle at all.
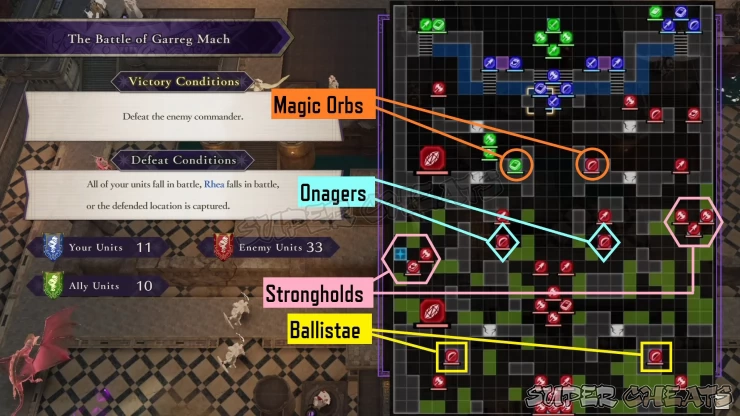
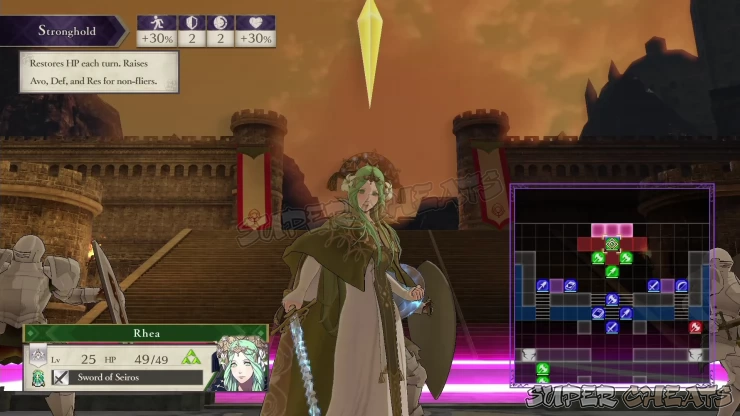
This is a pretty large Map, with several long-ranged contraptions that you and your enemies can operate. Taking over these will allow you to deal long-ranged, accurate attacks to enemies. The enemy has occupied almost all of them, except for the magic orb near your starting position. You’ll have no choice but to get into its firing Range and take the possible Damage from them. You must kill their occupants so you can use them or at least prevent the enemies from using them.
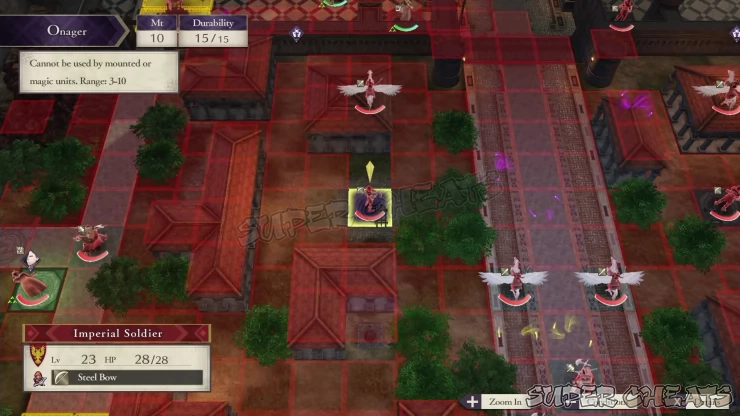
To make this battle easier for you, have some Flier units, healers with Physic, and other strong, independent units that you can send to assist your allies. You’ll be forced to divide your army into two groups, to cover both flanks and to deal with the main army marching on the main path in the middle of the Map. There are also two strongholds in the middle on both sides of the map. Capturing these will give you a free Healing spot and the Ability to call in powerful reinforcements. The only problem is that these strongholds are occupied by powerful enemy units such as Hubert and the Death Knight.
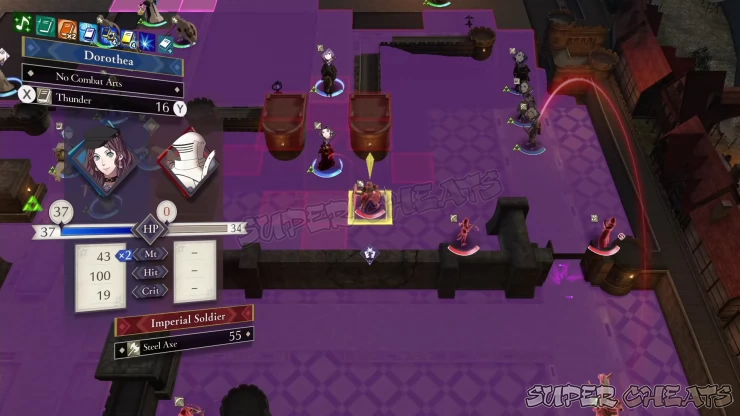
Make sure that both flanks have healers and at least a Flier or Mounted unit. The western flank has two winged demonic beasts so make sure that the units you’ll assign there have AoE Gambits equipped. As soon as the battle starts, pick off all the nearby enemies from your current position. The western flank has a winged Demonic Beast that can attack your allied position there. The Mage that’s operating the orb there will also get targeted by the enemy flier units so don’t be surprised if it gets taken out immediately. Concentrate on breaking the shields of the demonic Beast and destroying it.
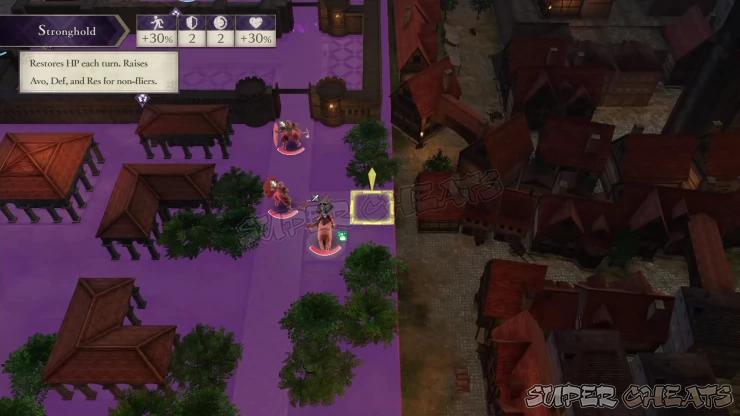
Once the inner perimeter has been cleared, heal up and push through the sides. If you have a tanky or speedy powerful unit like Byleth, you can send him/her in the middle to get the aggro of the onagers and ballistae operators, as well as the first wave of the enemy forces in the main path. Otherwise, focus on moving your two groups close together and try to hide them in the beneficial tiles.
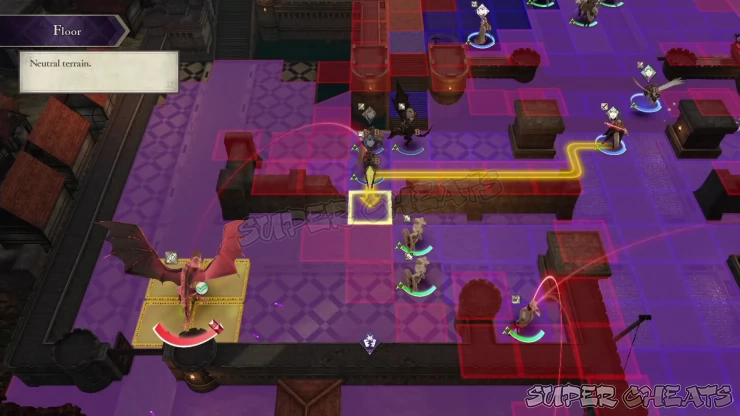
Once you get in Range of the strongholds, I suggest taking out the onagers first unless your units are capable of one-shotting the enemy commanders occupying the strongholds. If not, have your units surround these commanders and work together to take them down via Gambits and Linked Attacks. As soon as you take out the commander, a friendly unit will instantly spawn near the stronghold. Finish off the immediate enemies and do this until you clear the onagers and captured both strongholds.
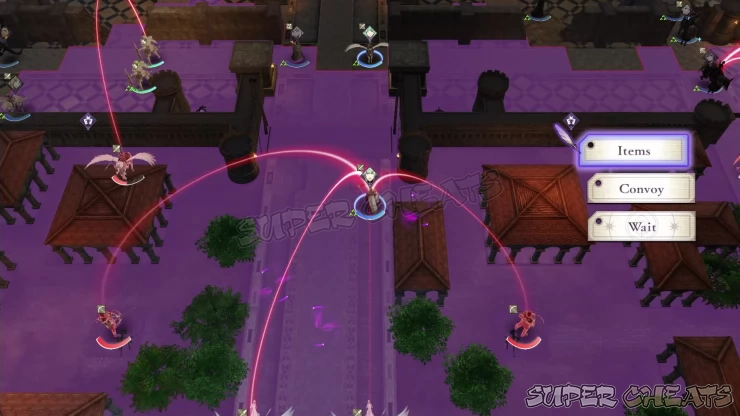
After securing the strongholds, you can send units to operate them then have the rest continue heading south to take out the ballistae next. In the western flank, as long as you capture the stronghold there, the allied archers will help you deal with the winged Demonic Beast. You can prioritize taking out the ballista operator there.
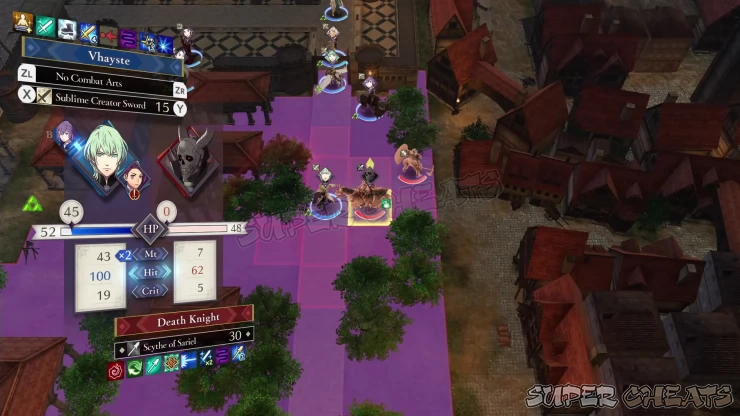
Shortly after taking out the two strongholds, Randolph and his main group will start pushing through the main street towards the monastery. You have to work quickly and take out the remnants of his forces so you can focus on intercepting and defeating them. Randolph and his men have really high attack and defense but they’re weak against magic. If you manage to occupy the contraptions, you can also soften them up before finishing them off.
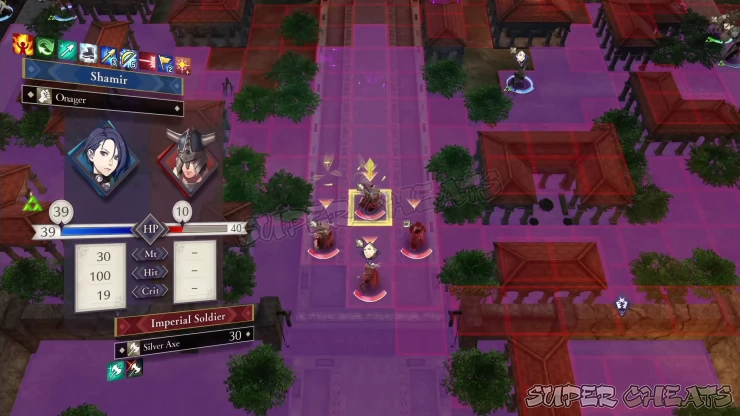
After getting rid of Randolph’s group, Edelgard’s group will start their march towards the monastery. This is the most formidable and dangerous group of enemies for this battle so far so don’t underestimate them. Like before, using the captured contraptions will allow you to soften them up at a safe distance without Retribution. Prioritize picking off the softer targets such as the Mage or their Wyvern Rider, Ladislava.
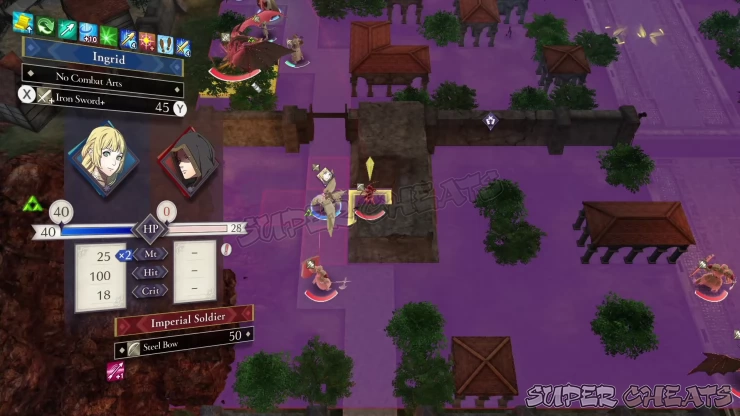
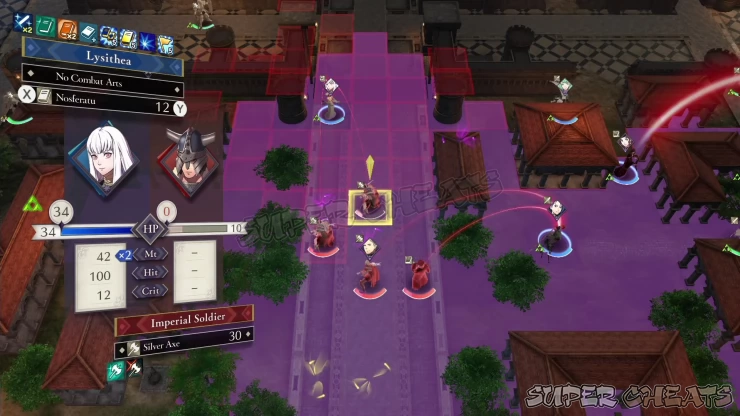
Finally, surround Edelgard and what’s left of her forces. Take out her men and finish her off to complete the mission. If you want a special dialogue, have either Claude or Byleth engage her in battle.
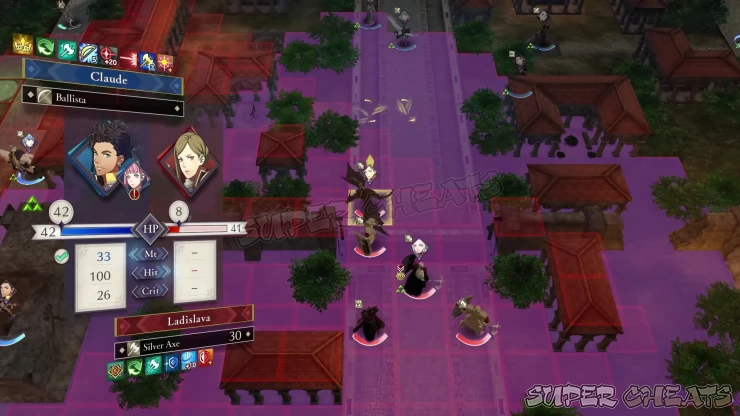
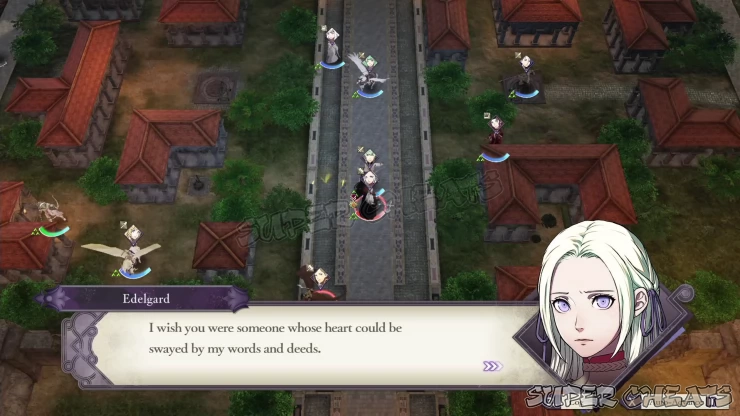
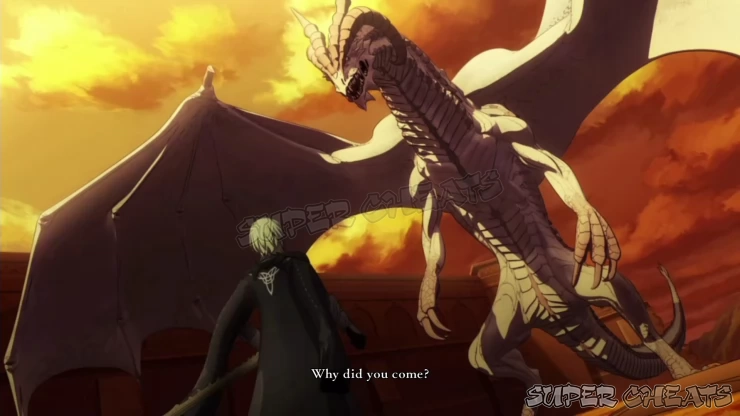
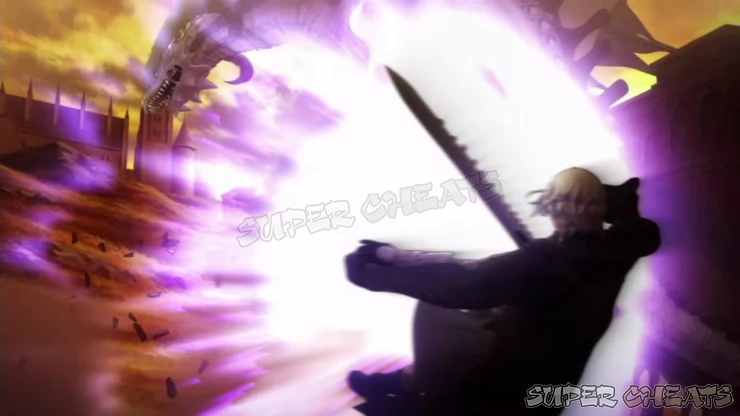
After the battle, watch through the cutscenes and the first part of the main story concludes.
Anything missing from this guide?
ASK A QUESTION for Fire Emblem: Three Houses
Comments for Chapter 12: To War
Add a comment
Please log in above or sign up for free to post comments- System Features
- Monastery Basics
- Lessons
- Activities
- Facilities and Areas
- Character Guide
- Classes
- Combat Basics
- Part 1: White Clouds
- Part 2: Verdant Wind
- Quests
- Paralogues
 Join us on Discord
