Chapter 6: Rumors of a Reaper
Horsebow Moon: 9/7
Events and Announcements:
* Petra’s Birthday
* Intermediate Axe Tournament (Rewards: 500G, Steel Axe+)
* Hunting Festival (dining Hall) - Enhanced effects when dining with characters that are meat enthusiasts.
* Choir Festival - Enhanced effects when doing Choir Practice
New Quests
* Special Delivery
* Herbs First for a Horse
After the cutscene, you can only Explore for this weekend. Keep an eye out for new lost items around the monastery. You can also ask the same or a different student to become a Mission Assistant for the month.
Southern and Eastern Merchants inventory has been restocked. Don’t forget to restock your baits and Gifts from them.
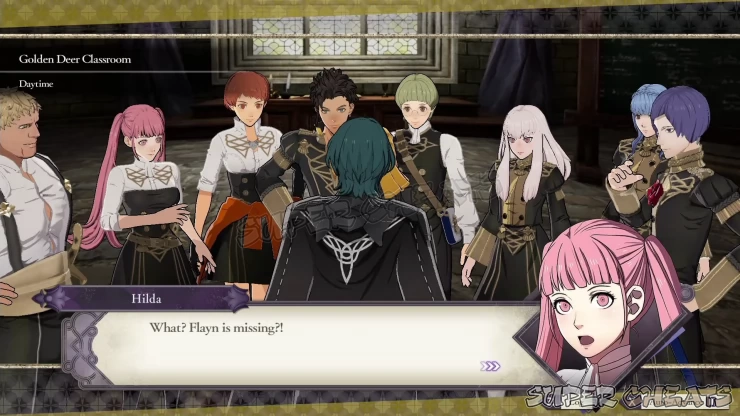
Horsebow Moon: 9/14
Event
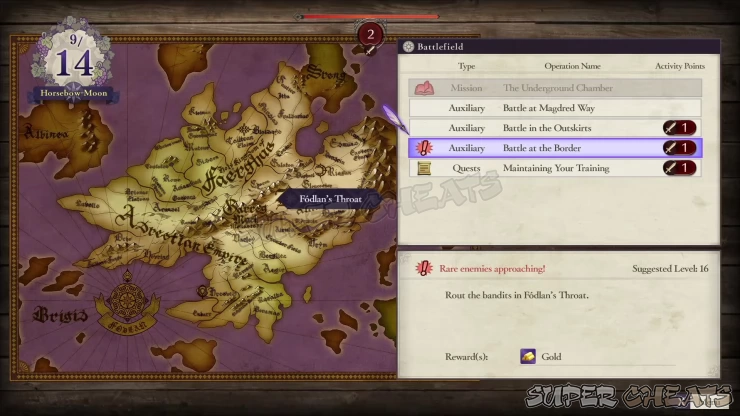
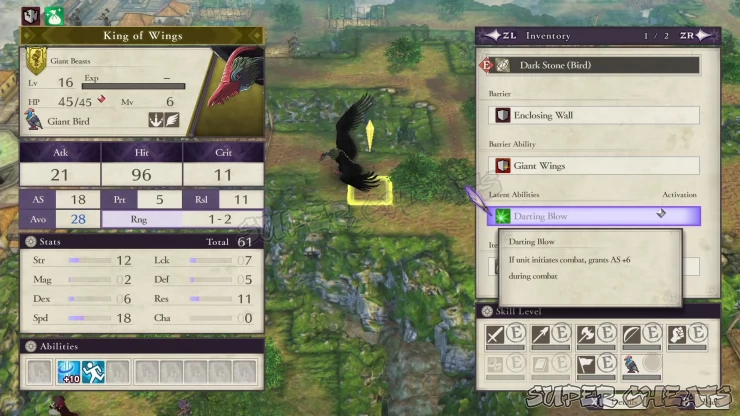
* Rare Monster sighting
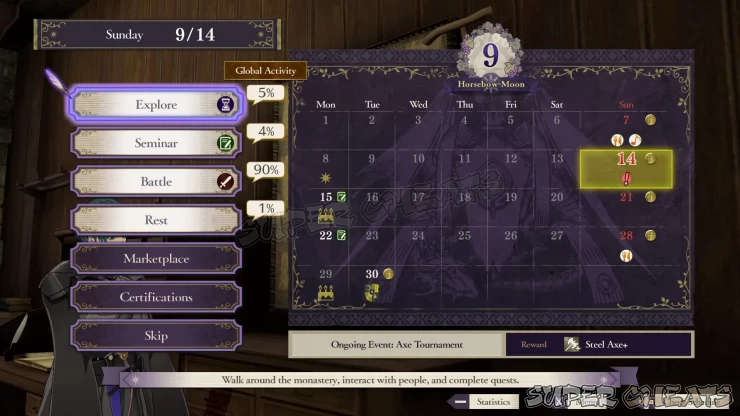
Because of the rare monster sighting event, it is recommended to go to battle this weekend.
If you still haven’t completed the “Maintaining Your Training” quest from last month, you can try completing it this weekend as well
Horsebow Moon: 9/21
There are no events for this weekend so spend it as you see fit. If you’re online, you can check out the Global Activity to help you decide.
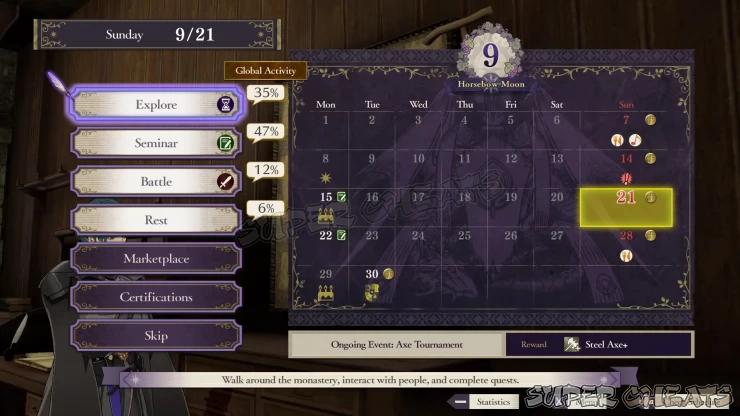
Horsebow Moon: 9/28
Event:
* Founding of the Alliance Celebration (Effects are enhanced for all Alliance students)
There are no events for this weekend so spend it as you see fit. If you’re online, you can check out the Global Activity to help you decide. Take note that the story mission will take place in two days so there will be no Lessons on Monday.
Horsebow Moon: 9/30
This is the day of the story mission. You can do some last minute certifications or support viewing. When ready, select Mission to start the cutscene.
Battle: The Underground Chamber
For this mission, the battle ends if the Death Knight is defeated or all other enemies are defeated. Try killing the Death Knight before killing the last minion to get another Dark Seal. This is important especially if you weren’t strong enough to defeat him on your first encounter. To maximize the EXP gain, you can wipe out all enemies on the Map except for one of the Death Knight’s bodyguards. Don’t take too long since the mission ends in failure if more than 25 turns have passed.
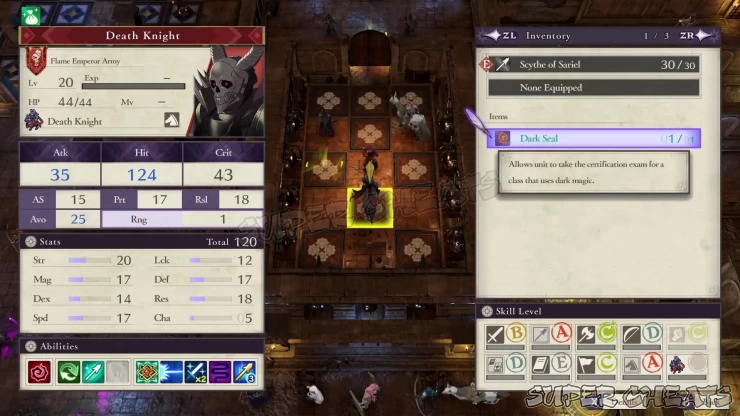
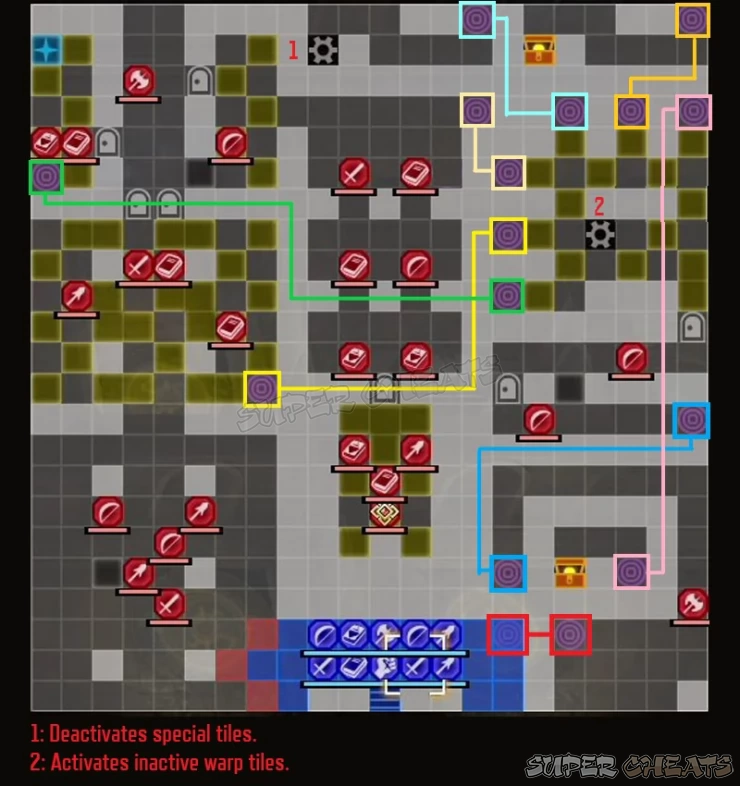
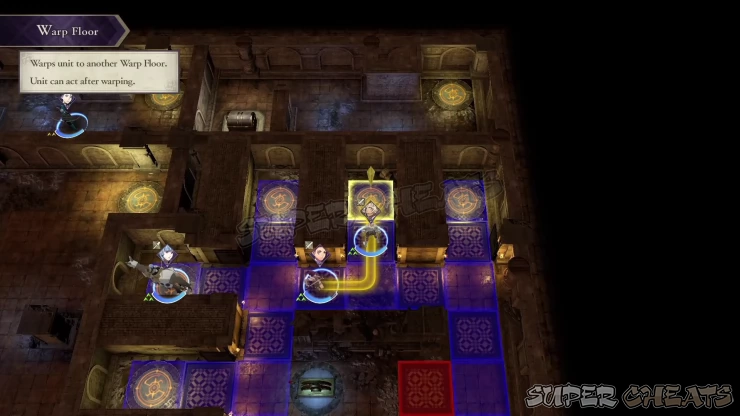
This battlefield also features warping/teleportation floors that will take you to specific points in the Map. You need to use these in order to reach the treasure Chests in the eastern side of the map. There are also warp floors that will be unusable until you activate the levers. You can use our custom map below as reference to navigate the warp floors.
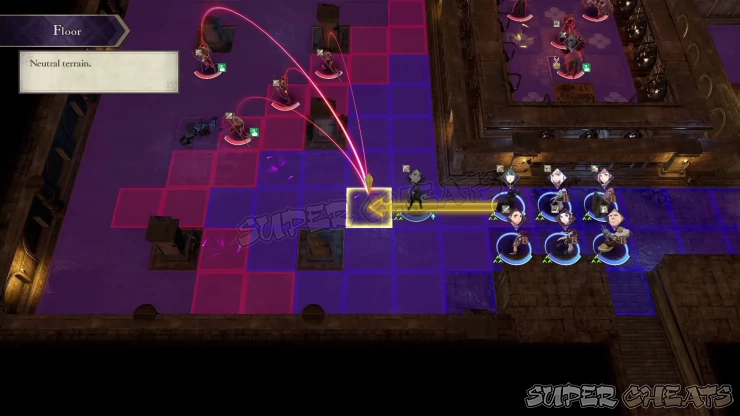
First, divide your army into two groups. Your main strike force will move to the west. Sure you can snipe the Death Knight with long-Range bow or magic units but that will end the battle prematurely. When moving to the west, you have no choice but to get into enemy range and lure them to attacking you first.
Next, have some high-movement units work on the eastern side. Horse-Mounted units are great here since they can use the Canto skill and still take advantage of the buffing tiles. Though there are enemies here that will drop keys to the Chests, just have your units with the longest Range to carry at least one Chest Key. Alternatively, just send someone with the Locktouch skill there.
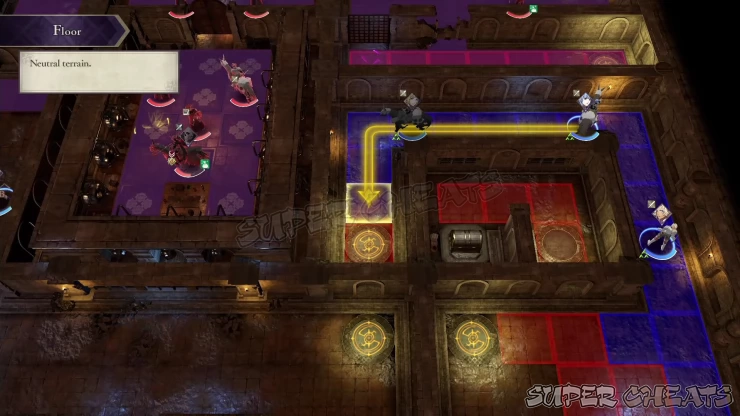
Warp floors count as one space; if the unit has remaining movement spaces, you can get them out of the warp floor so that they won’t block it and allow other allies to use it.
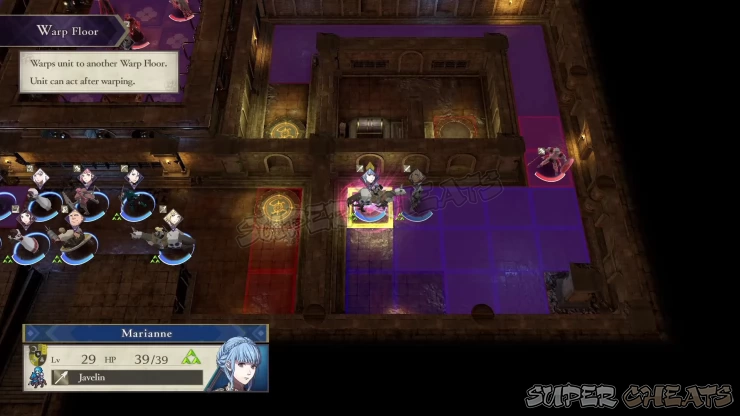
Clear the first group of enemies to the west and proceed to the next room. There’s a lot of Avo floors here so try placing your units there when attacking enemy units. Defeat all of them to get the Door Key from that group’s leader.
There’s also a warp floor in the corner that will take the unit to the eastern side, in the same room with the lever. Once a unit reaches that room, three enemy units will spawn as well. If you already have units there, you don’t need to warp to this room immediately.
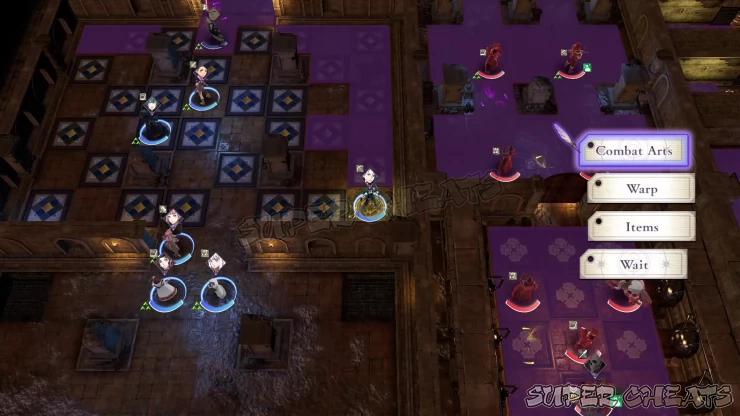
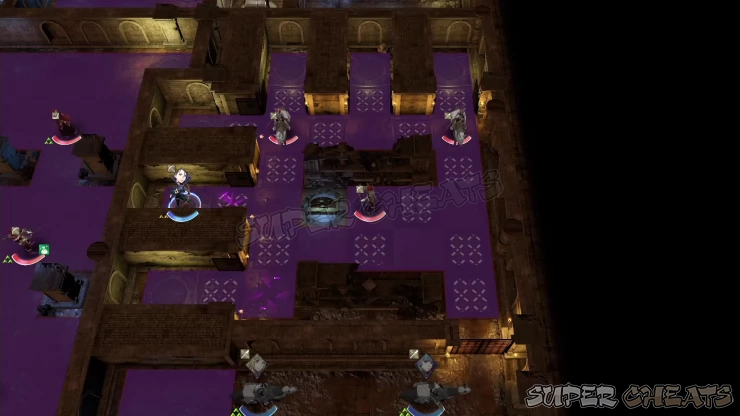
Open the door ahead to confront the other group of enemies waiting. You have to defeat the Armored Knight along the corridor to get the Door Key that will open the cell where a heal tile and another warp floor as well. This warp floor will be activated only if you pull the lever inside the room to the east.
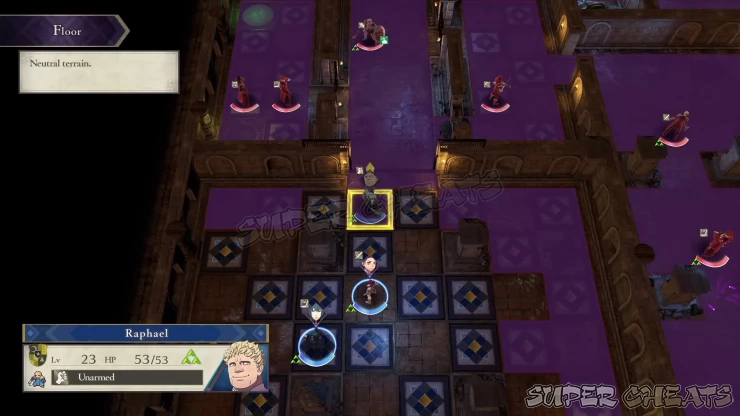
Next, have your eastern team to get to the first lever and operate it. This will activate some of inactive warp floors. After pulling the lever, take the northeastern warp floor as shown below to get transported to the narrow corridor with the chest. Loot the Levin Sword from it.
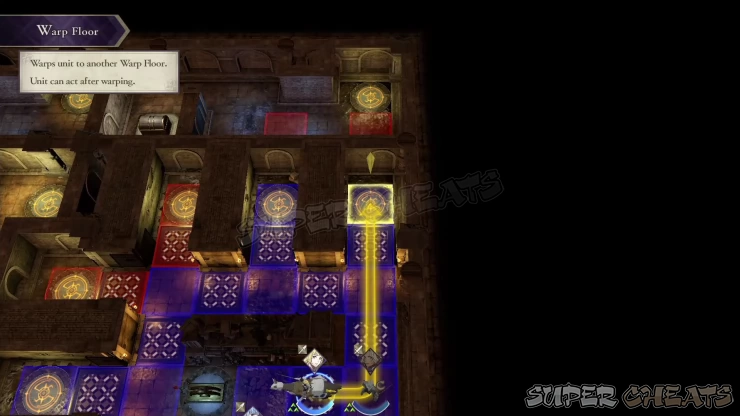
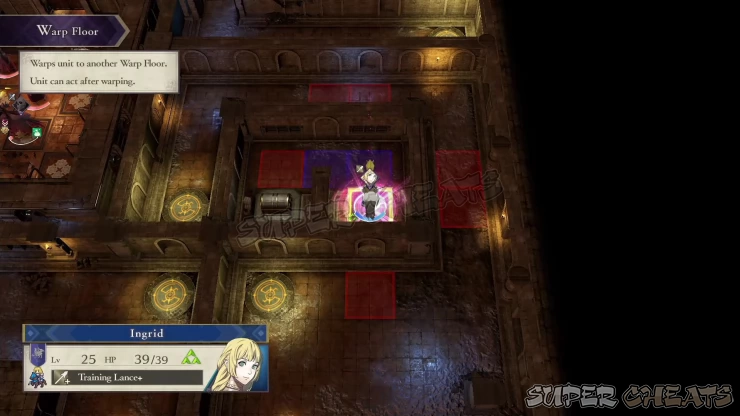
Next, send someone with the key or Locktouch Ability to take the middle warp floor in the eastern lever room. This will transport the unit to the other chest in the northeast corner. Loot the March Ring from it.
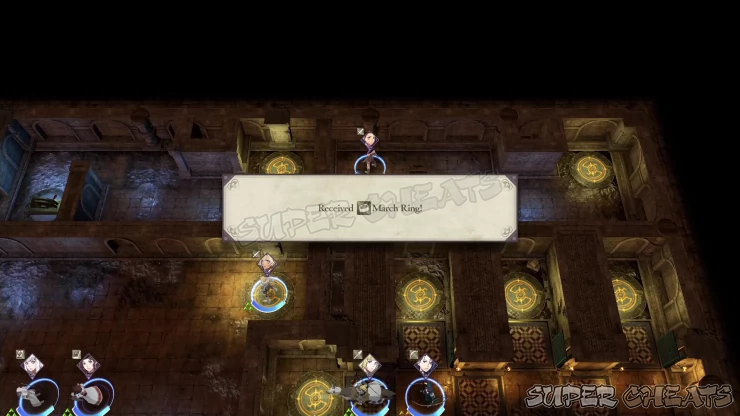
Send another unit to the northeast corner warp floor of the lever room. This will take you to another lever in the middle-north. Pulling this lever will deactivate all special tiles in the Map, including the tile where the Death Knight is standing on.
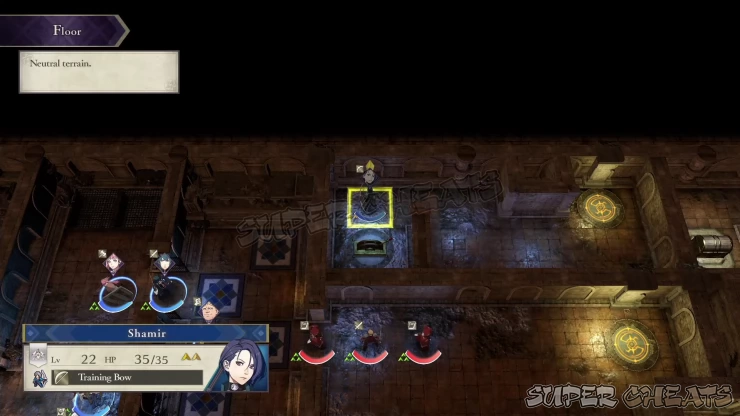
Converge your units in the middle hall. The northwest warp floor of the lever room (refer to the Map above) will take your units to the main hall in the middle of the map. Head down towards the door where the Death Knight is located. Of the three bodyguard units with him, only the mages can be baited to attack you. Deliberately put a unit who can withstand their attacks within their Attack Range, which right outside the door then snipe them with your own archers or magical units.
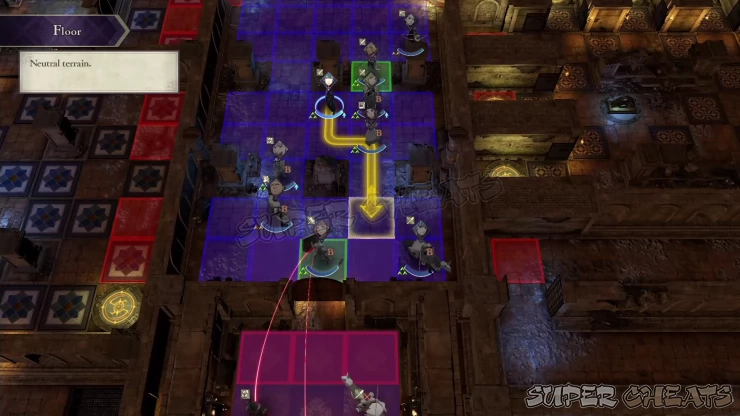
Finally, get your best magical units to strike Death Knight down. If you have pulled the second lever to the north, then he won’t have buffs from the special tile he’s standing on. If not, you have to soften him up with ranged attacks, then finish him off with Gambits. Make sure to take him out within the same turn since the battle will end if you finish off his last remaining minion.
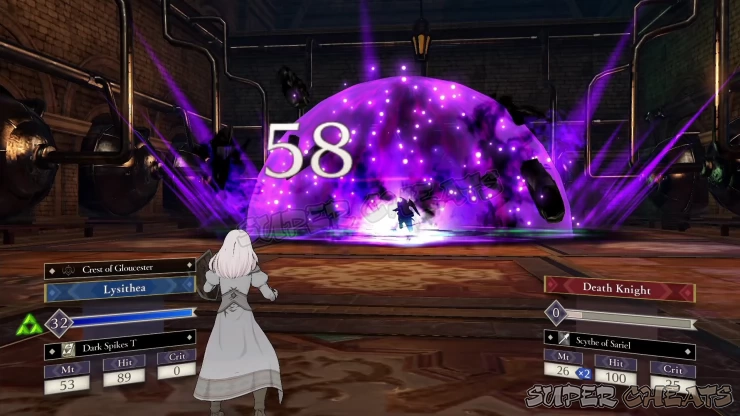
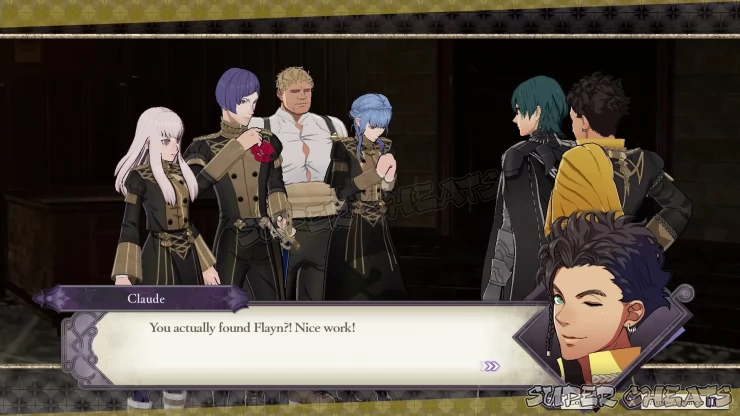
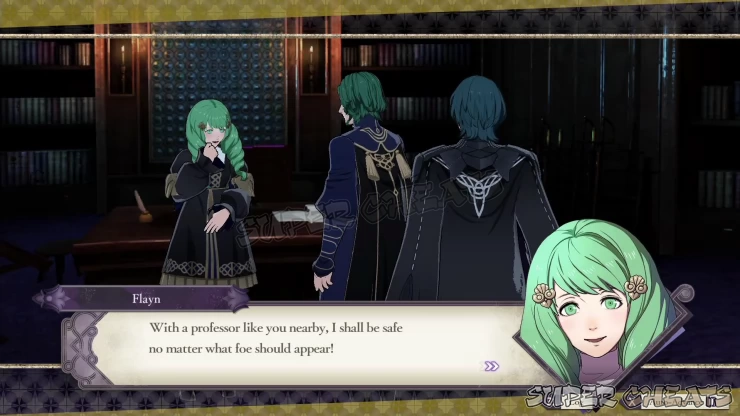
After the battle, watch through a few more cutscenes and the chapter will end. Flayn will also join your party at this point.
Chapter 7 : Field of the Eagle and LionPrevious Page
Chapter 5: Tower of Black Winds
Anything missing from this guide?
ASK A QUESTION for Fire Emblem: Three Houses
Comments for Chapter 6: Rumors of a Reaper
Add a comment
Please log in above or sign up for free to post comments- System Features
- Monastery Basics
- Lessons
- Activities
- Facilities and Areas
- Character Guide
- Classes
- Combat Basics
- Part 1: White Clouds
- Part 2: Verdant Wind
- Quests
- Paralogues
 Join us on Discord
