Foreign Land and Sky
| Unlocked on: | Part 2: Verdant Wind/Crimson Flower, (02) Pegasus Moon |
| Available until: | 5/24 |
| Recommended Level: | 29 |
| Required unit(s): | Bernadetta, Petra |
* Brigid Hunters
* Brigid Mercenaries
Petra and Bernadetta are the critical units for this battle so be careful where you place them. There are two victory Conditions for this battle; completely wipe out the enemies or have Petra reach the escape point to the southeast corner of the Map.
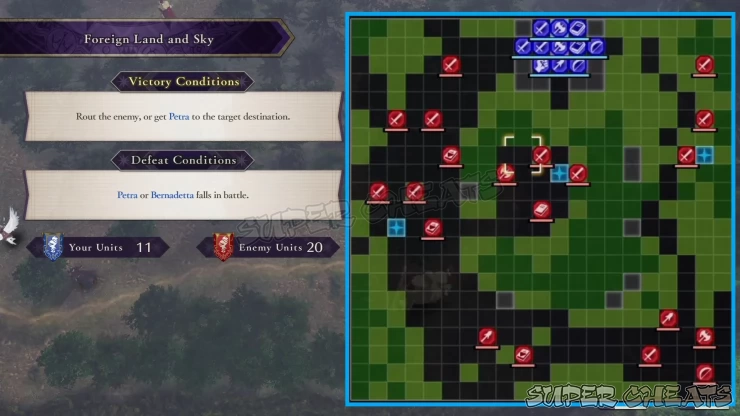
You’ll start off from the fort on the northern side of the Map. There’s a ballista here that Bernadetta can use. To the west, there’s a lot of enemies and a stronghold that can call in allied reinforcements once you capture it. The eastern side is a trap; it may have fewer enemies at the start but enemy reinforcements will appear there later in the battle.
Finally, there’s the central path where you can just push your entire army down the forest in the middle. However, the thick forest will limit the movement of your Mounted units and will have the risk of your getting surrounded and attacked on both sides. If you have powerful foot soldiers who can take advantage of the forest and thicket through the central path, you can send them there to lure the enemies in the middle and deal with them.
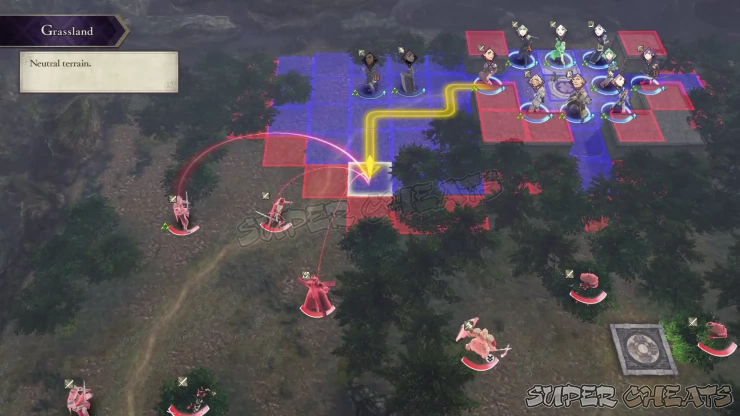
If you have Mounted units, the best path to deploy them is through the west. You can have them form a wall near your allies and deliberately lure the nearby enemies with your healers, mages, and/or archers at the back. Continue whittling down the enemy numbers and push through toward the western stronghold.
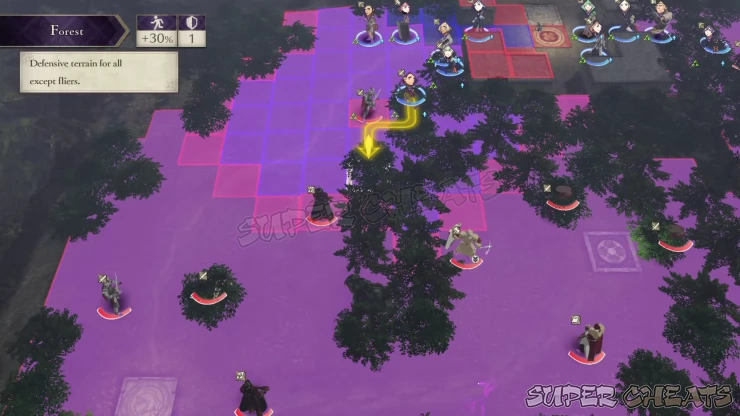
If you’ve sent a group to the east, you’ll encounter two armored knights near the eastern stronghold. The Terrain will restrict their movements but they can be bad news if you don’t have means of dealing magical Damage or using effective weapons against them.
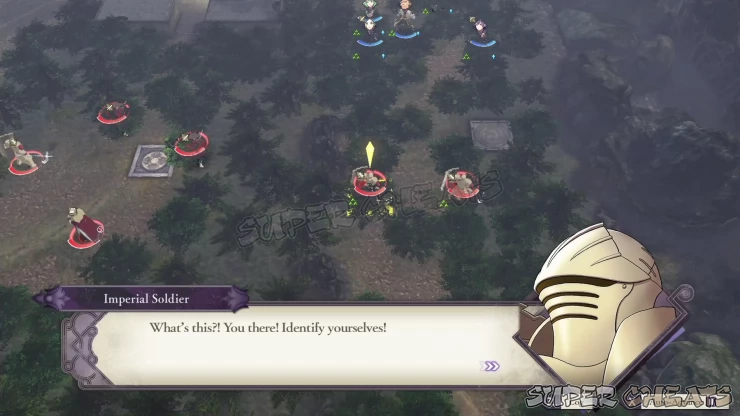
Once you’ve captured the western stronghold, allied reinforcements will arrive after a few turns. If you’ve been struggling, you can wait for them in this stronghold; otherwise, you can continue deploying your units to deal with the enemies in the central forest and/or along the main path to the south.
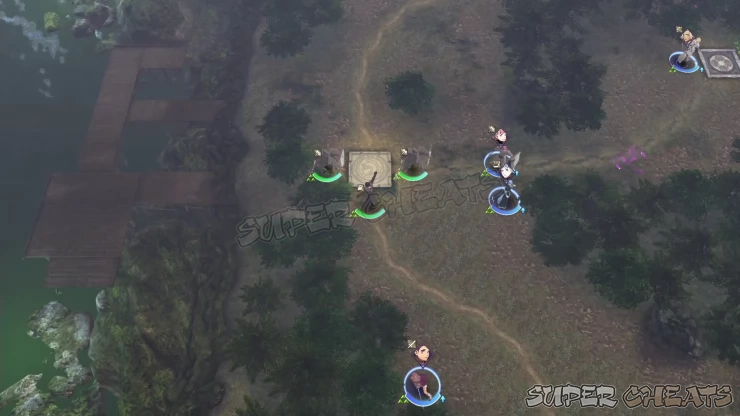
After your allies emerged, don’t scatter your team and keep them close together. Imperial forces will arrive on both sides of the Map, including Hubert to the southwest. Your Defeat Condition will be updated as well; now, you’ll lose if an enemy commander reaches the escape point.
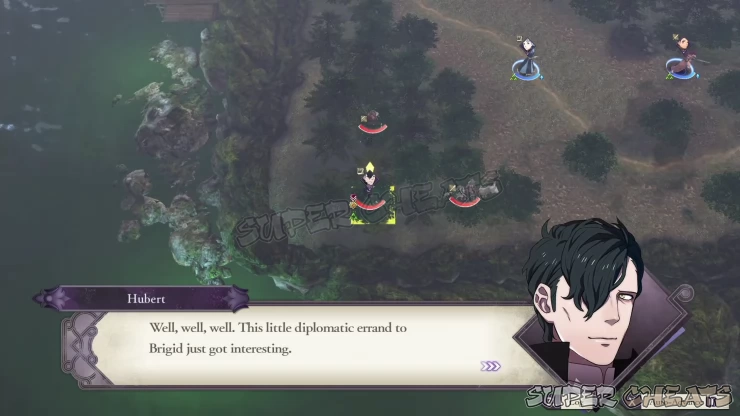
If you have allied units around the area where the imperial forces emerged, you must prioritize taking down their Mounted units since they can reach the escape point faster. If you have units near the escape point, you can have them surround the escape point and block the path. Otherwise, you simply need to intercept the imperial reinforcements and wipe them out. You can also assist the allied militia by Healing them.
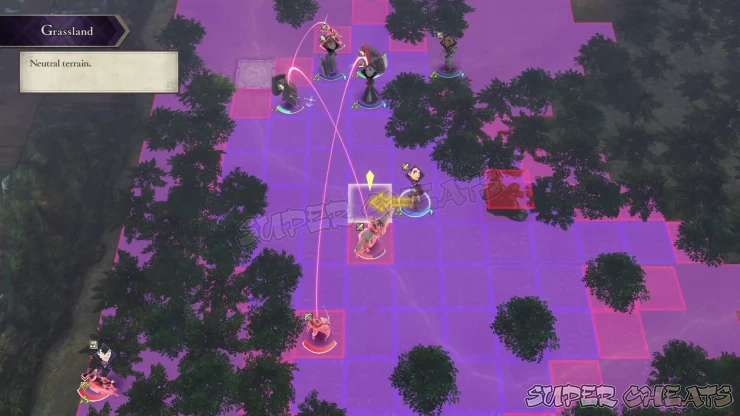
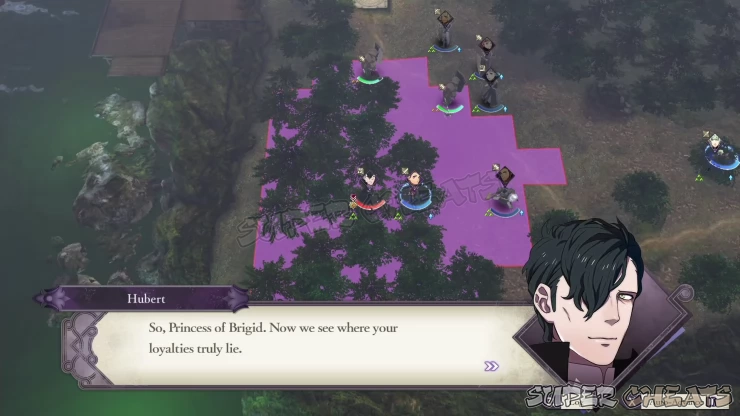
Hubert is a force to be reckoned with and can easily wreck your units with low resistance. If you send Petra to finish him off, they’ll also have a special dialogue. Take out all enemy forces to clear the Map and complete the mission.
Anything missing from this guide?
ASK A QUESTION for Fire Emblem: Three Houses
Comments for Foreign Land and Sky
Add a comment
Please log in above or sign up for free to post comments- System Features
- Monastery Basics
- Lessons
- Activities
- Facilities and Areas
- Character Guide
- Classes
- Combat Basics
- Part 1: White Clouds
- Part 2: Verdant Wind
- Quests
- Paralogues
 Join us on Discord
