Veithurgard
This optional area can be first accessed after the first water level drop in the lake. You have to visit Stone Falls first and turn the large wheel there that will open the massive gates to Veithurgard Pass. Take your boat and follow the river to the shore. You’ll find Brok’s shop by the shore, near a lore marker.
Lore Marker (1/6)
You’ll find Brok’s shop by the shore, near a lore marker. Have Atreus read the lore marker then continue ahead.
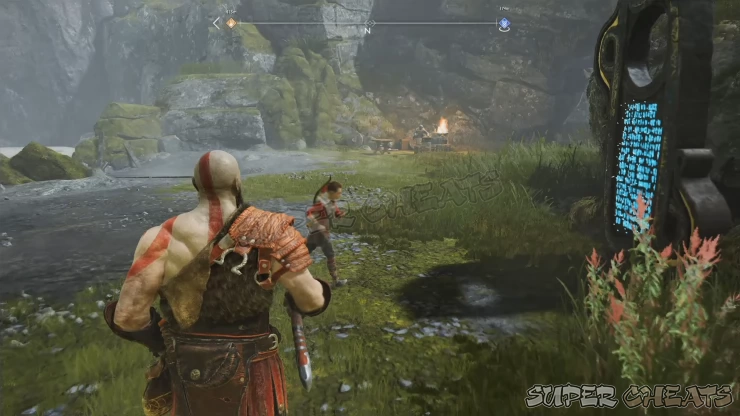
Squeeze through the crevice and defeat the draugr and wolves. Once the area’s clear, approach the spike gate and find a coffin to the left, in an alcove.
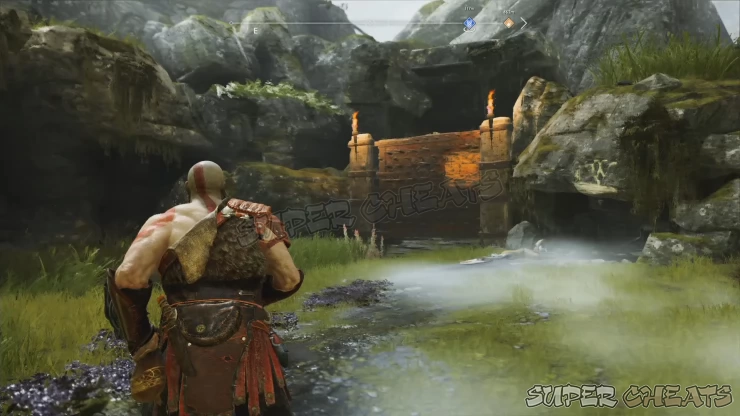
Lore Marker (2 and 3/6)
After looting its contents, throw your axe twice on the spike gate to find another coffin behind it. Once done, crawl under the tunnel and continue to the next clearing where another lore marker is found. Destroy all enemies then have Atreus read the lore marker.
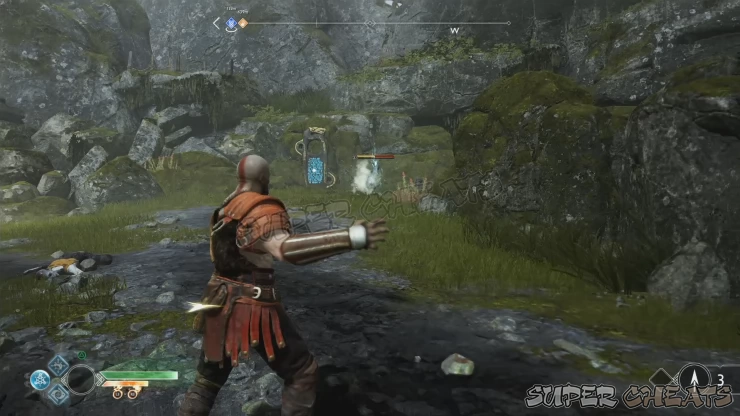
The other lore marker is etched on the wall in the dead end near the second marker.
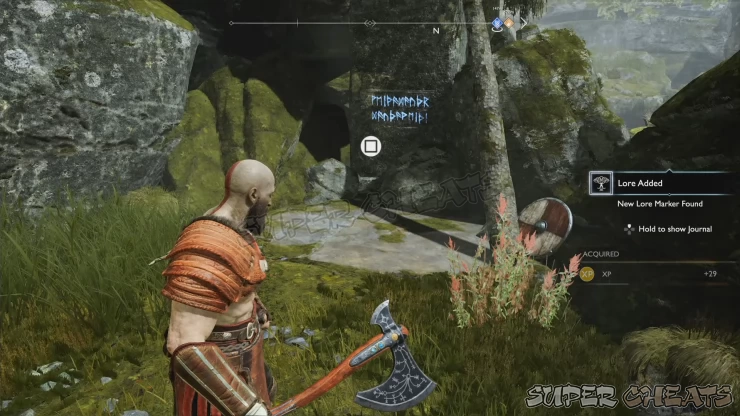
Proceed along the way then free the hanging boat by the beach. This isolated lake in the region won’t be affected by the Lake of Nine’s water level drops throughout the course of the story. The island to the north is where you can find the statue of Thor that must be destroyed as part of the favor Hammer Fall. The beach to the right is the actual ruins of the dwarf king’s kingdom in this region.
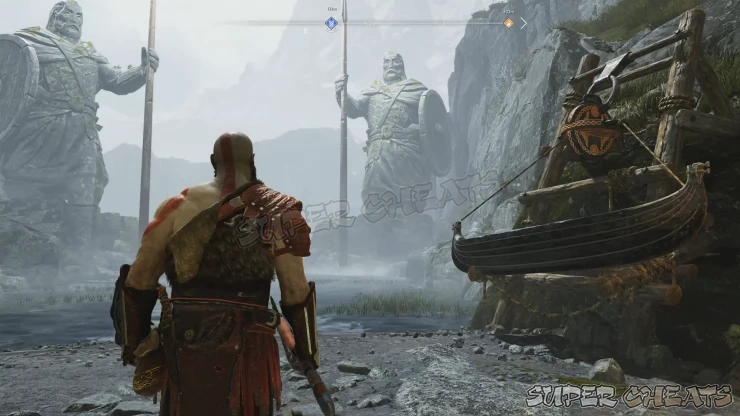
Odin’s Ravens (1/3)
One of Odin's Ravens is flying around Thor's statue on the small island in the small lake across Veithurgard's beach. Just look up and time your throw to destroy it.
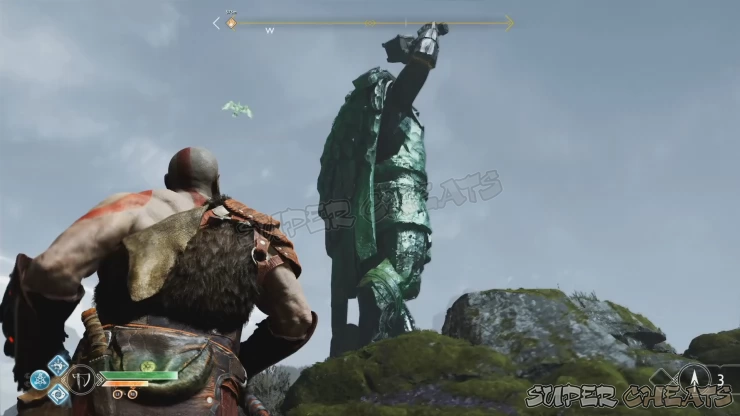
Mystic Gate (1/1)
As soon as you dock by the beach, you’ll have to fight several enemies. Let Atreus loose arrows continuously then use your runic attacks to soften up the heavy draugrs. After clearing the area, it’s time to explore the region. First, the mystic gate by the beach will be inactive so just take note of its location for now. Next, turn to the right and look up to find a small portal by the edge of the cliff. This is a realm tear and you have a corresponding labor for closing them up. This realm tear is not counted for the exploration completion rate in this region.
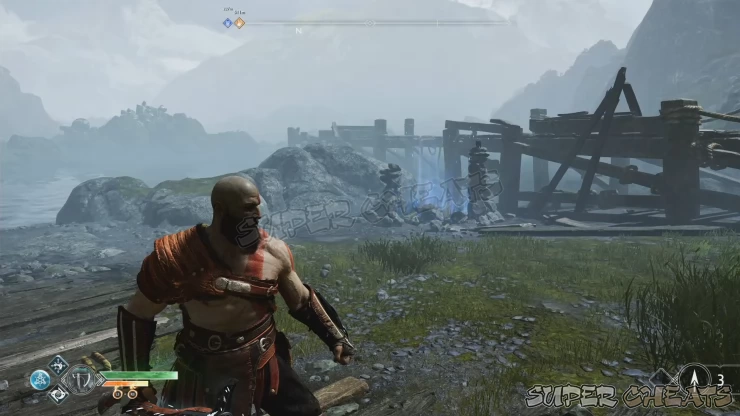
Realm Tear (1/1)
First, turn to the west and walk towards the rocky cliffs and the statue. Vault over the fallen tree to find a chained mechanism you can operate. Pull the chain all the way down then look to the upper right to find a gear that you can freeze. Throw your axe at it to secure it in place.
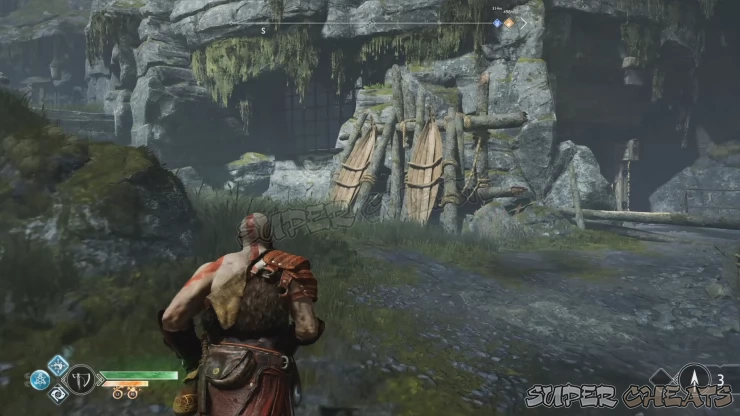
Backtrack to the beach and the previously closed ledge should be open now. Climb up and Atreus will operate the nearby lever so you can recall your axe. Climb up the marked wall to reach the realm tear. Simply interact with it to loot its contents and close it.
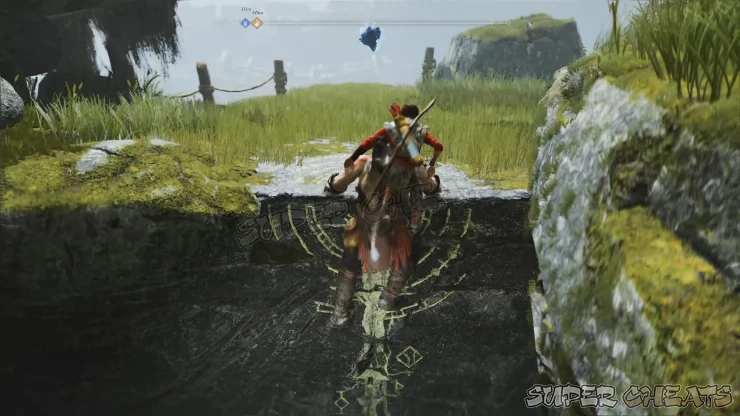
Artifact (1/6)
Find the other ledge nearby where you can drop down then destroy the bucket. Destroy the wooden planks covering an alcove. You’ll find a knight’s corpse there with an artifact in front of him. Retrieve it to start the new artifact set/ collection.
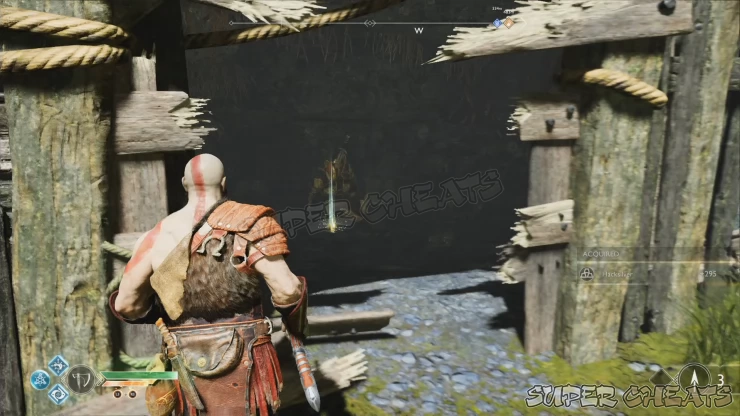
Artifact (2/6)
Head back to the dock and cross the gap to reach the end of the wooden walkway. You’ll find another knight’s corpse in the end, with the horn right beside him.
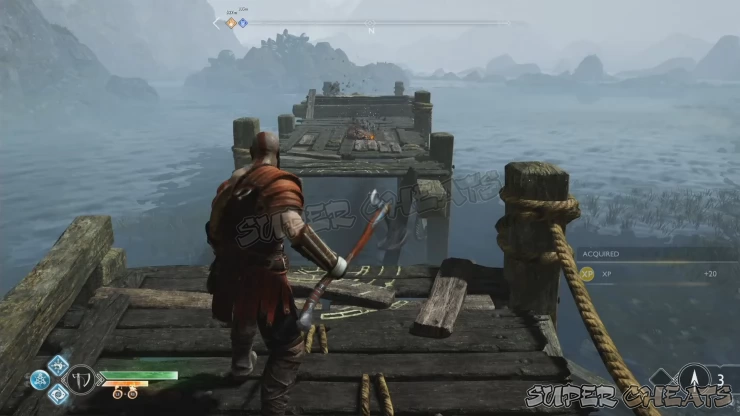
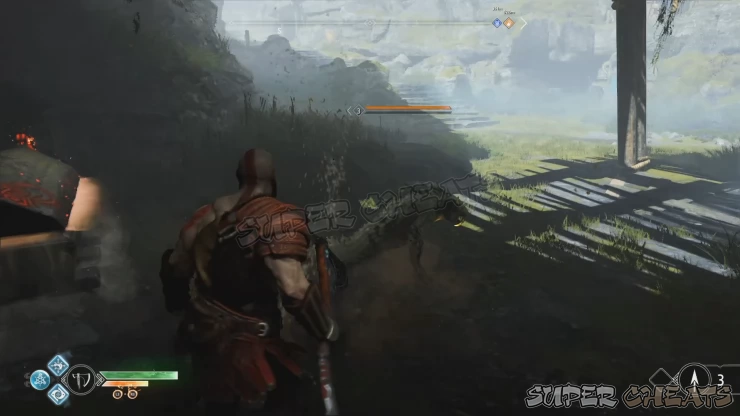
After getting the second artifact, continue forth and loot the coffin under the wooden shed to the left. You may be ambushed by a cursed tatzelwurm here so defeat it to register it to your journal.
Lore Marker (4/6)
Before taking the stairs ahead, don’t forget to check the lore marker in the dead end near the base of the stairs to update your journal.
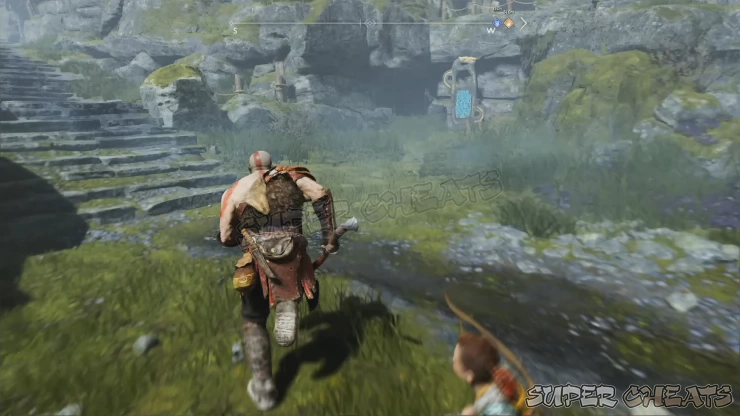
Favor: Otr’s Imprisonment (1/1)
This area is clear for now so continue along the stairs but beware of the fiery breath blast of the chained dragon ahead. This dragon can be freed as part of the favor “Otr’s Imprisonment”. (Follow the link for the dedicated guide for the favor) Use the alcoves as cover from the dragon’s blast and take out the enemies along the way. Continue until you reach the main shrine binding Otr.
https://www.supercheats.com/god-of-war-2018/walkthrough/otrs-imprisonment
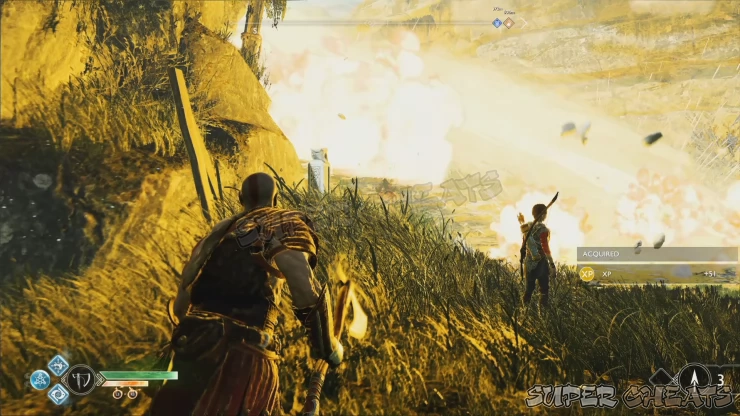
Odin’s Ravens (2/3)
Behind the shrine are two elevated alcoves with wooden planks. The one to the left has a raven while other has a draugr. Destroy the draugr and the raven.
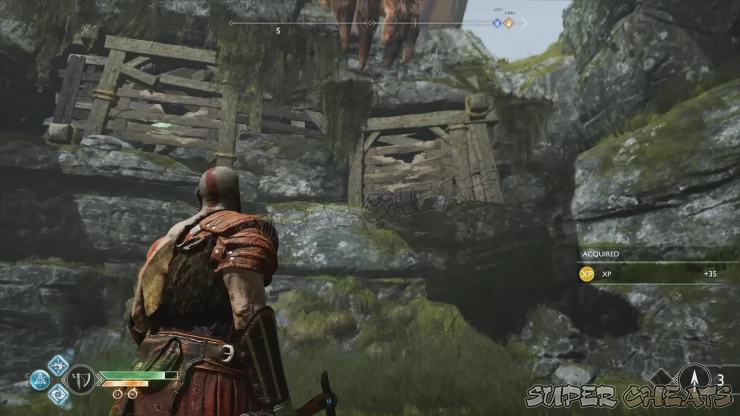
From Otr’s main shrine, there’s a ledge leading to the northwest. One of the binding shrines are there. Destroy it to complete one of the three objectives related to the favor. Continue to the graveyard to the east and take out the enemies that will spawn in the area. Be careful of Otr’s delayed lightning strikes while dealing with them.
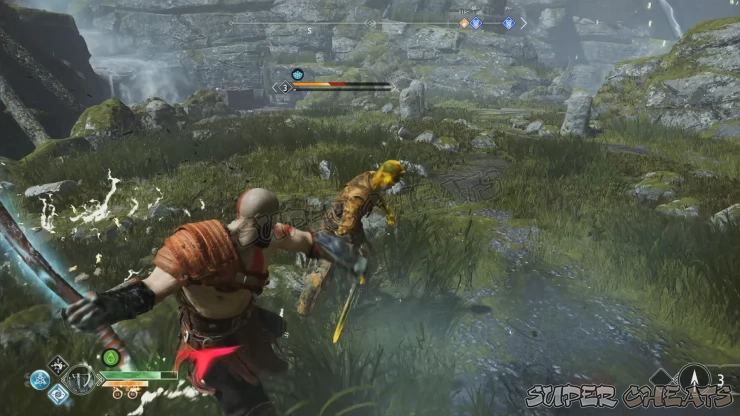
Artifact (3/6)
Before moving forth, turn around to find a waterfall blocked by wooden crates and barrels. The knight’s corpse is behind it, with the artifact in front of him. Destroy the objects and retrieve the artifact. If you can’t pick it up, make sure all enemies in the area are defeated.
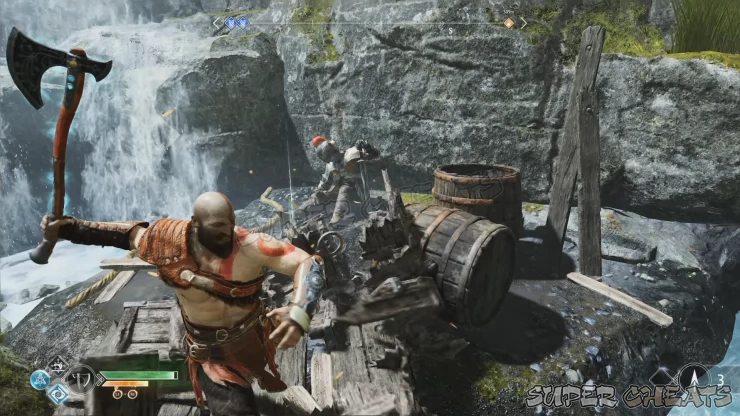
There are two paths you can take from the graveyard area: the upper path to the left and the lower path straight ahead. Take the upper path first to find the second binding shrine related to Otr’s favor.
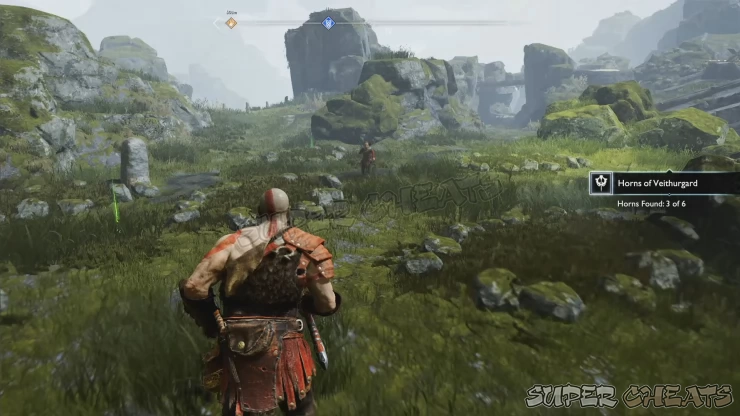
Nornir Chest (1/1)
After destroying the binding shrine, you’ll find the only Nornir chest past the wooden bridge and before the metal gate. The metal gate can only be opened from the other side so ignore it for now.
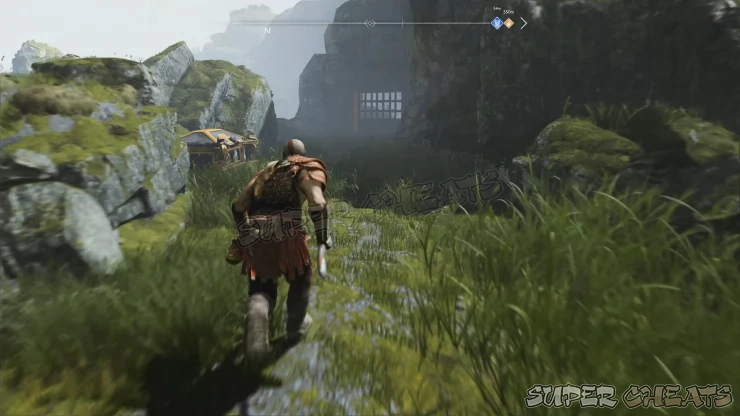
To unlock this chest, you’ll have to find and destroy three seals in the immediate area. The first seal is right right behind it, on the rock outcrop.
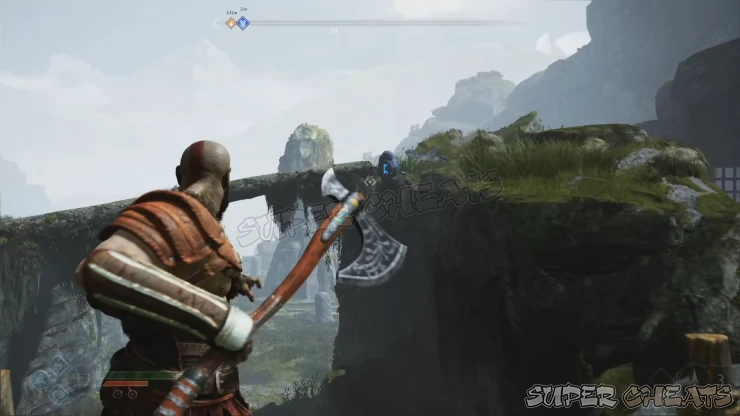
The second seal is located behind the round ruins to the north but you can only reach it by peeking over the edge where the second binding shrine was located as shown below.
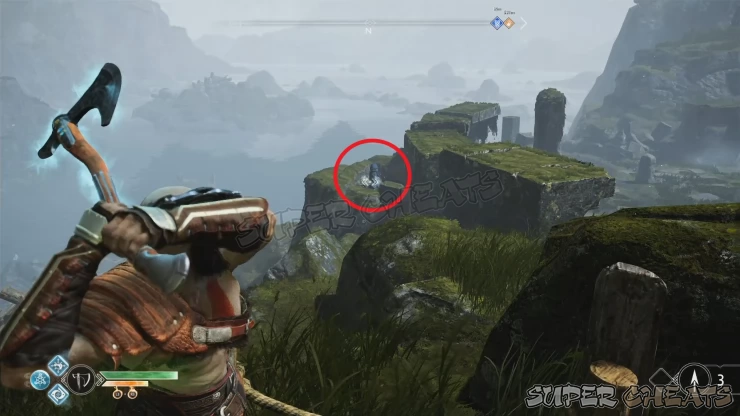
The last seal is located behind the metal gate so drop down from the bridge and continue to the round ruins where you’ll encounter more enemies. Destroy all of them but before continuing, head to the northern edge of the ruins to find a chain holder. Kick it down to create a shortcut that you can use later.
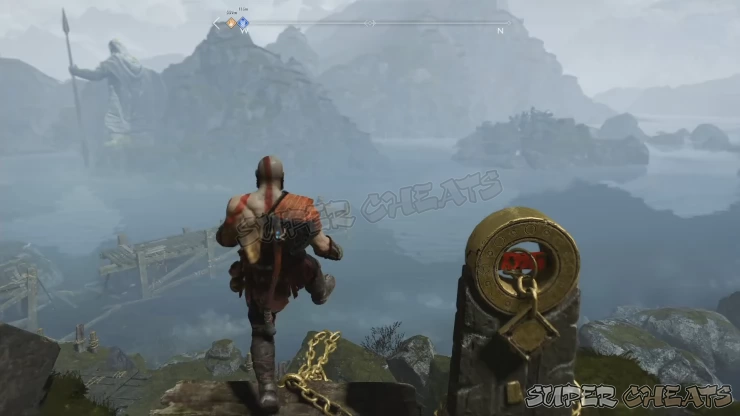
Take the stairs to the east and destroy the wooden planks ahead to reveal a coffin inside. There’s also a draugr that will spring to life as soon as you step in so be prepared for this ambush.
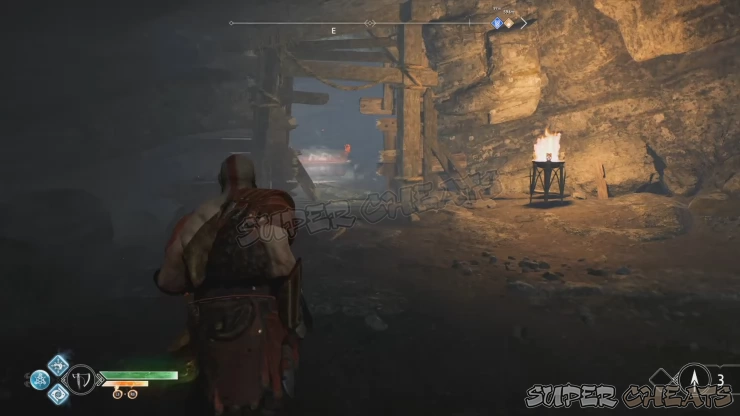
After looting the coffin, continue towards the metal gate to find the last seal. Destroy it then lift the gate to create another shortcut and to easily access the nornir chest.
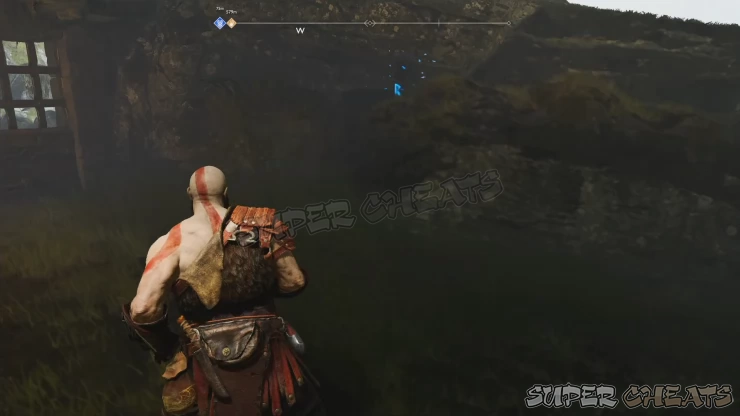
Artifact (4/6)
Go back to the cave and continue forth to reach the other side of the collapsed stone bridge. Jump across the gaps and continue to the bridge itself. Make sure to destroy the explosive jars beside the debris to clear it. This will allow you to jump across the bridge’s gap, for easier access.
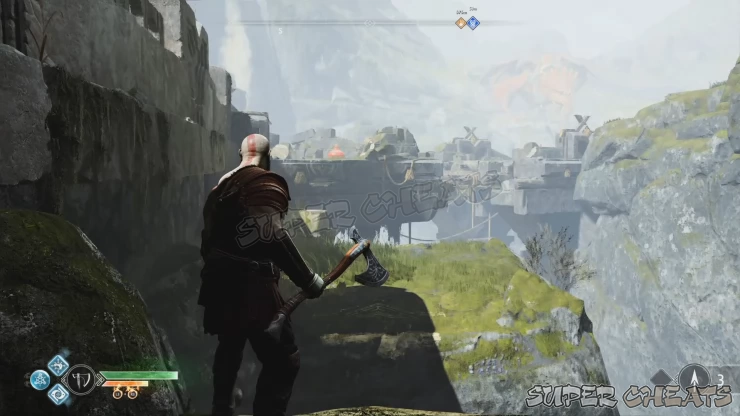
In case you missed the artifact on the bridge the first time around (like me), jump across the cleared gap to find a knight’s corpse with the artifact in front of him.
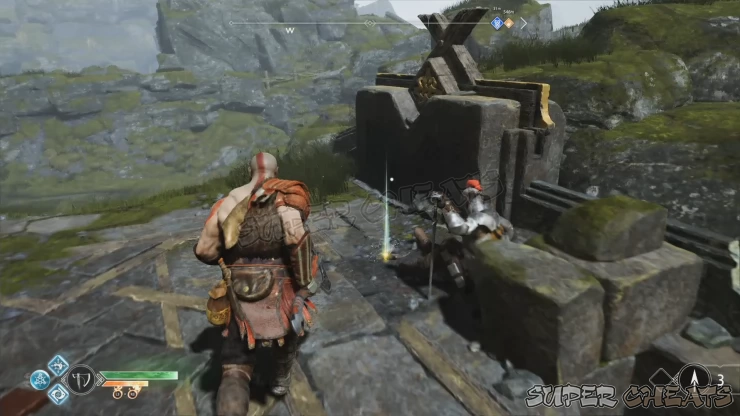
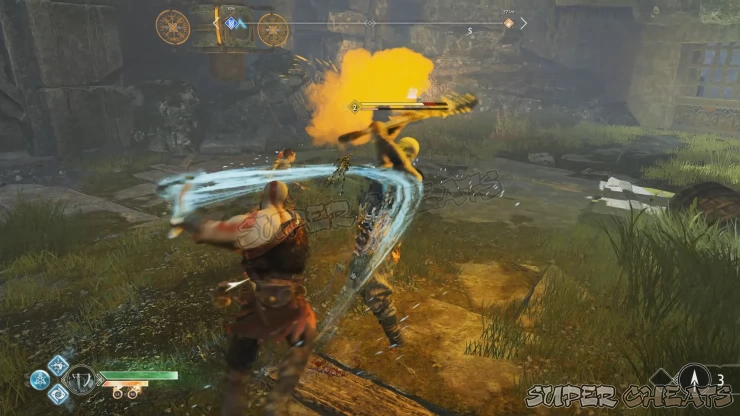
Continue to the massive mechanical door ahead. They are guarded by formidable vikens. These enemies can easily block your axe throws and heal themselves when they’re left alone. They also have unblockable attacks so focus on one of them at a time. They’ll be vulnerable when they’re healing so make sure to use that chance to interrupt them. You can also parry the initial strike of their combos as well.
Lore Marker (5/6)
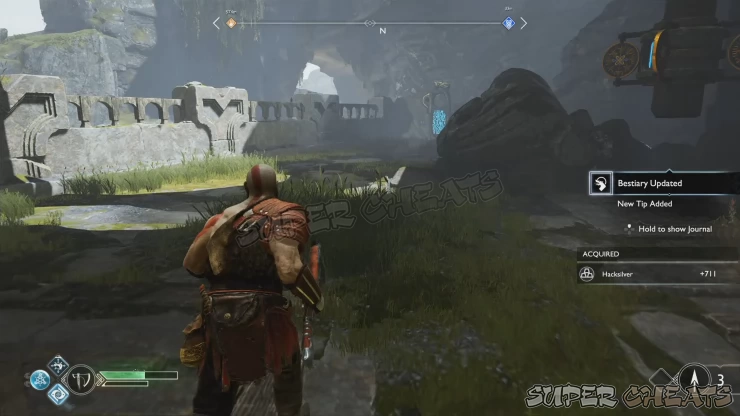
After defeating the vikens, head north of the gate, past the pile of boulders to find another lore marker.
Odin’s Ravens (3/3)
Near the lore marker is a pile of boulders. There’s a raven behind that that pile then destroy it.
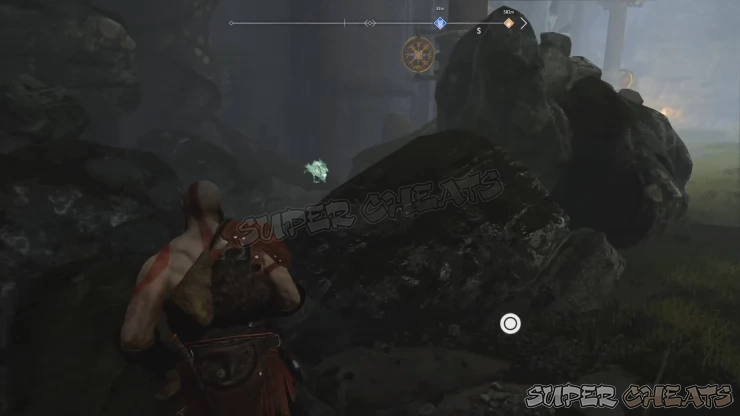
(If you also have the Hunter's Kingdom treasure map, you can find the treasure mound beside this pile of rocks as well)
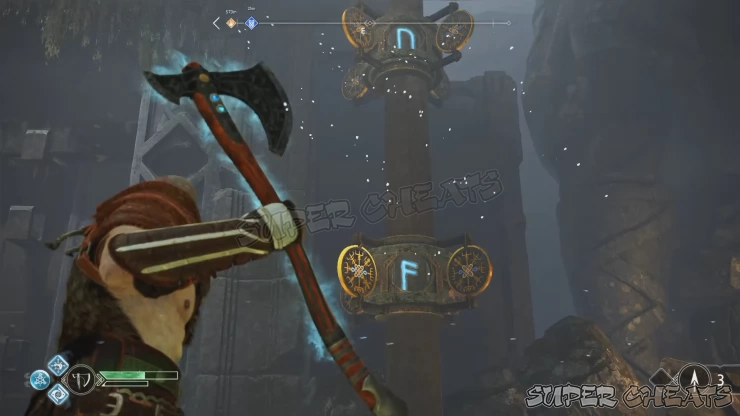
Now to open the massive gate, you’ll have to match the symbols on the gate by hitting the metal plates on the large rod on both sides of the gate. The left side of the gate is already giveaway but the right side has some broken pieces. The pieces are fortunately located beside and in front of the rod to the right so select the symbols as shown below:
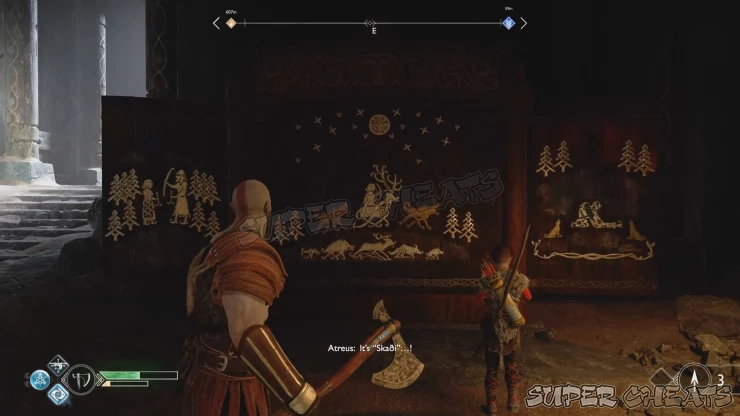
Jotnar Shrine (Skadi)
With the gate open, head inside and defeat the two shield-bearing enemies. Before continuing, have Atreus examine the shrine to register it to your journal (Skadi)
Artifact (5/6)
Take the stairs beside the shrine to find another artifact. However, there are two enemies that will ambush so take care of them first before you can pick up the artifact.
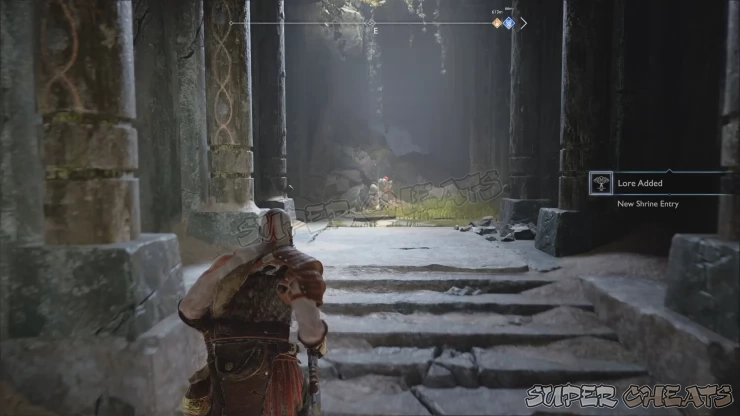
After picking up the artifact, go through the narrow passage beside the corpse to find an explosive jar behind the pile of debris. Destroy it to clear the path and reveal a lever you can pull. Grab it and pull it to lift the grate covering a coffin in front of you. Loot the coffin and continue downstairs to reach the flooded hall of the ruins.
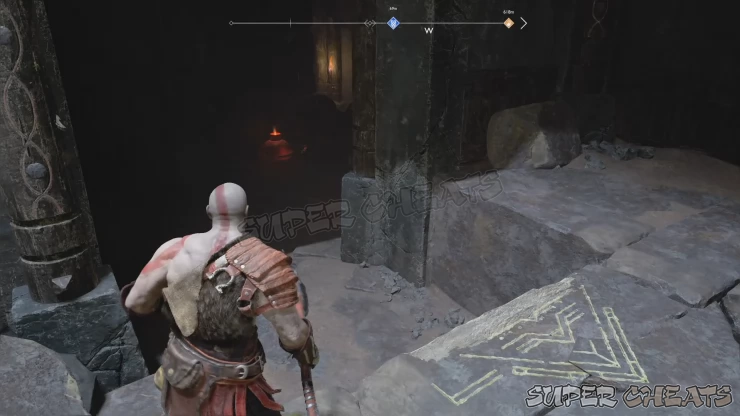
Defeat the two enemies then destroy the explosive jar to clear the debris blocking the tunnel leading outside. Follow the tunnel to find the third binding shrine. Destroy all enemies and the shrine then lift the gate from that side to create another shortcut. (you can return to Otr’s main binding shrine to release him and complete the favor)
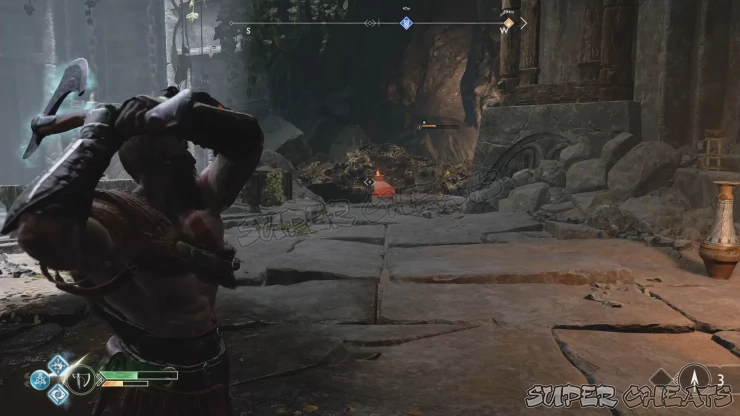
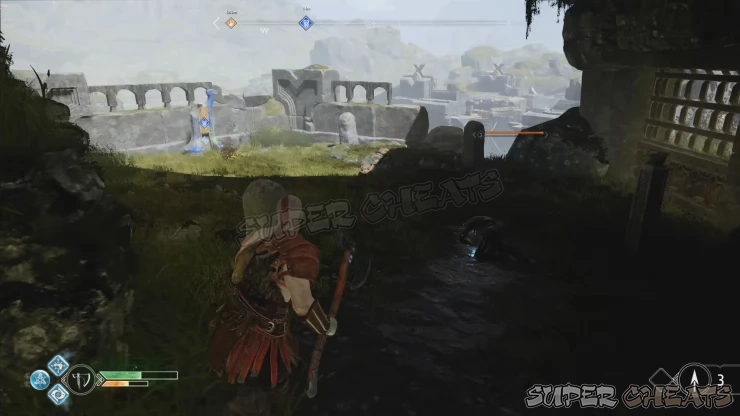
Artifact (6/6)
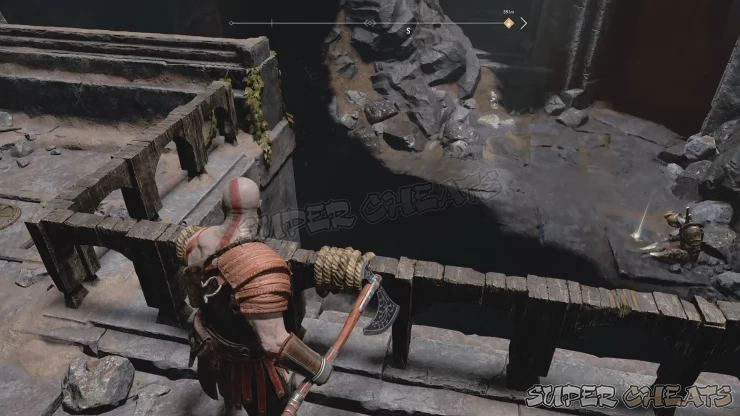
Backtrack to the flooded hall then operate the round lever to open the stone gates and clear the flood waters. This will reveal another knight corpse, with the last artifact in front of him. Pick up the 6th horn to complete the collection and its respective labor.
Lore Marker (6/6)
After picking up the artifact and continue forth to find another lore marker.
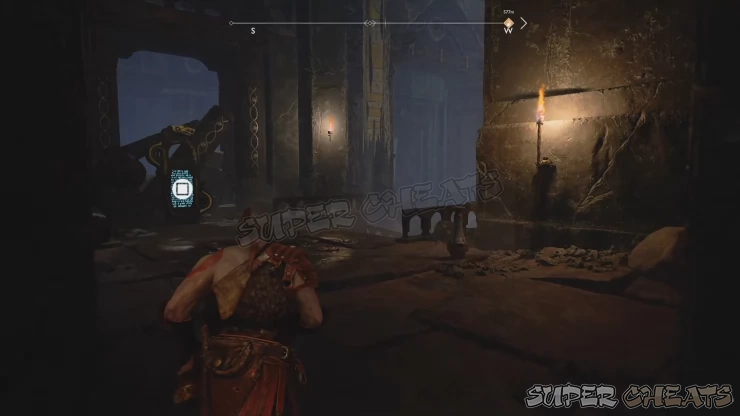
There’s a shadow and two shielders guarding the gate to the next room. Defeat them then climb up the ledge to reach the wooden chest to the left. Once done, open the door to reach a large room.
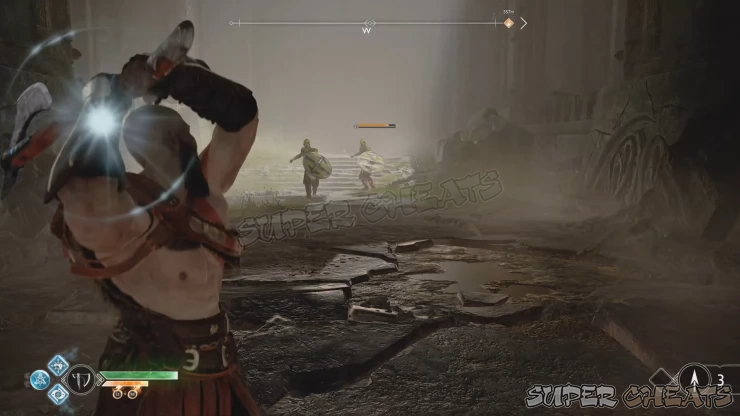
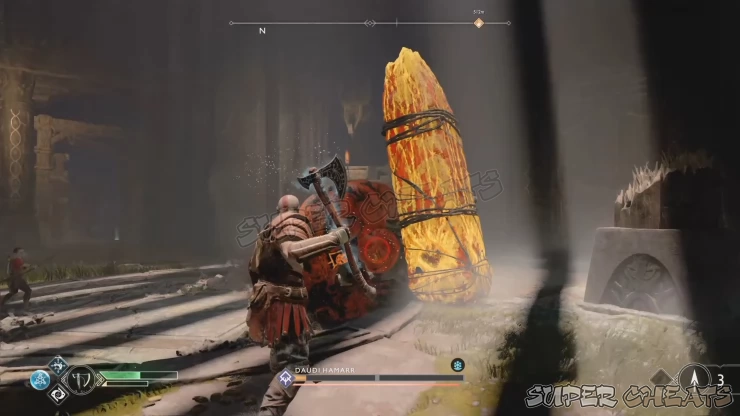
There’s a fire troll imprisoned on an underground chamber. The other door in this room will require a key stone to be opened, which is dropped by the fire troll. You need to operate the lever to free it from its confinement so you can defeat it and get the key.
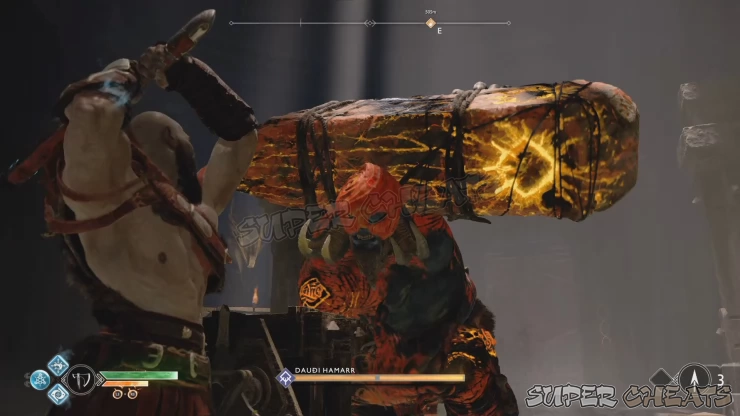
Once it’s out, it will be a safer option to keep your distance since its attacks can also inflict the burn status on top of the raw damage. There’s only one healthstone in one of the boarded alcoves and your Spartan Rage to rely for healing so conserving your health will be one of your main priorities in this fight.
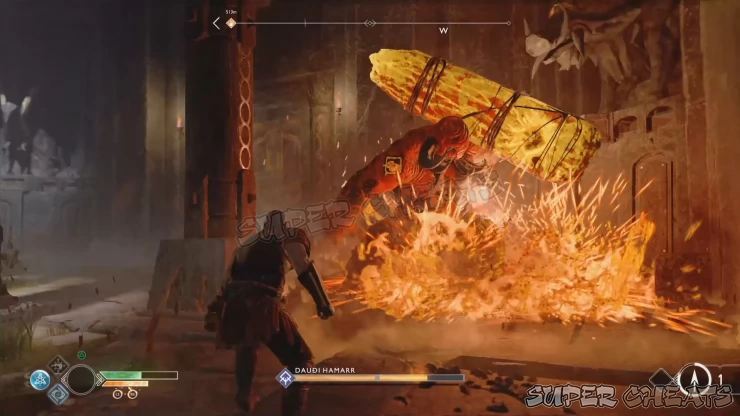
Its jumping stomp is an fire-based area attack so getting up close and personal will be quite risky and dangerous. When stationary, its stomp can summon a fire blast right underneath where you’re standing so keep an eye on the group and react immediately to avoid getting damaged.
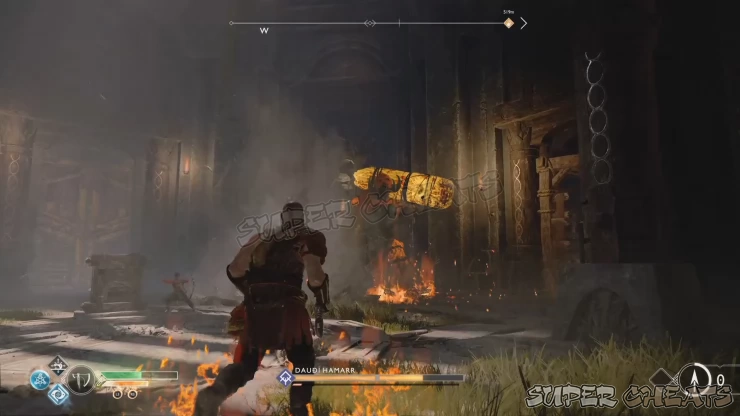
Long-ranged runic attacks will also help a lot in dealing great damage at a safe distance. Concentrate on evading its attacks and landing your axe throws until it’s stunned, ready to be finished off. On top of the other loot, you’ll also obtain the Vivarium Key Stone which is needed to open the door past the boss area.
Legendary Chest
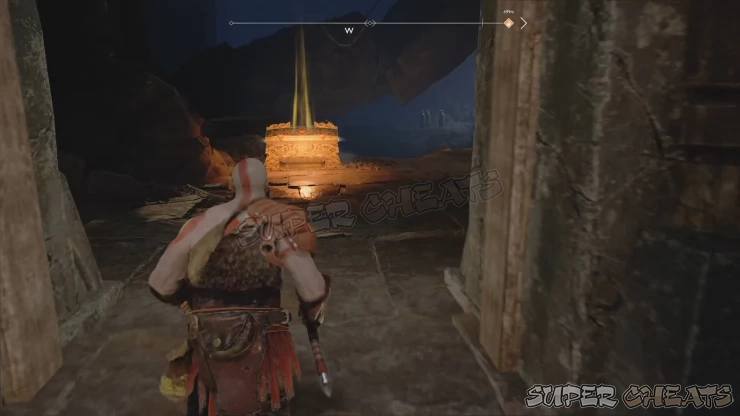
Use the key stone on the pedestal to open the door and find the legendary chest waiting for you. Loot the Leviathan’s Wake light runic attack from it. Climb the wall and proceed outside. Kick the chain so you can go down and reach the docks easily. You’re practically done with this region. However, if you still haven’t explored the small Thor’s Island across the dock, you’ll still be missing a
Complete Video Walkthrough

Anything missing from this guide?
ASK A QUESTION for God of War (PS4 - 2018)
Comments for Veithurgard
Add a comment
Please log in above or sign up for free to post comments- Basics
- The Journey
- Favors - Dwarves
- Favors - Wayward Spirits
- Favors - Free Dragons
- Favors - Valkyries
- Labors
- Artifacts
- Nornir Chests
- Jotnar Shrines
- Treasure Maps
- Alfheim Locations
- Lake of Nine Locations
- Bosses
- Valkyries
- Muspelheim Trials
 Join us on Discord
