Chapter 11: Return to the Summit 2
As soon as you disembark from the lift, you’ll immediately be attacked by draugrs. Take them all out and once clear, head to the right first and find a marked wooden wall under a small hole where Atreus can fit into. Boost him up that hole so he can kick off the chain leading to the upper ledge.
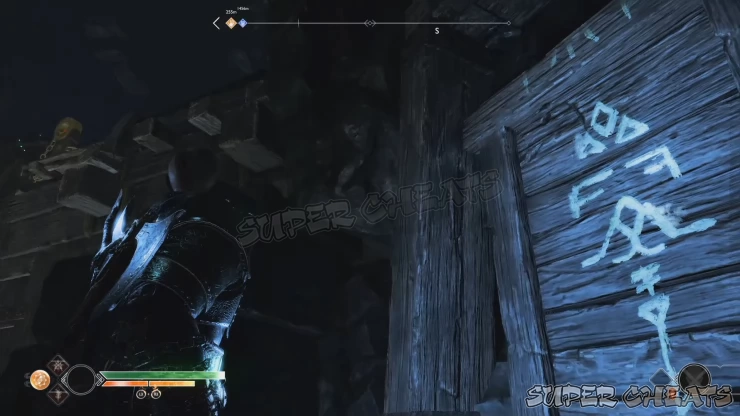
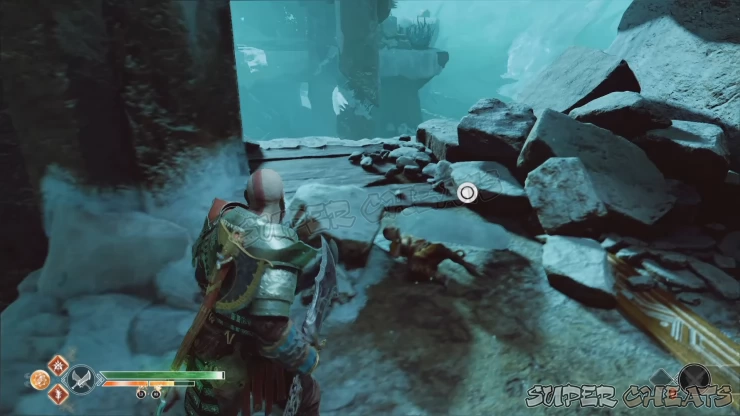
Before climbing up the ledge, burn the bramble covering the doorway nearby to find a portable wind trap. (You can’t carry this if it’s active) Pick it up and place it near the ledge with the chain as shown below.
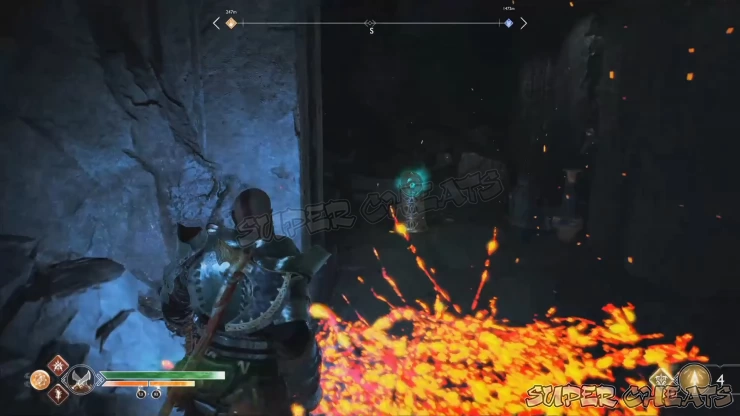
Next, destroy the cracked wooden door near the doorway where you found the wind trap and loot the wooden chest inside. There’s also an active wind trap there so capture the wind and run towards the portable wind trap you carried earlier to transfer the wind there.
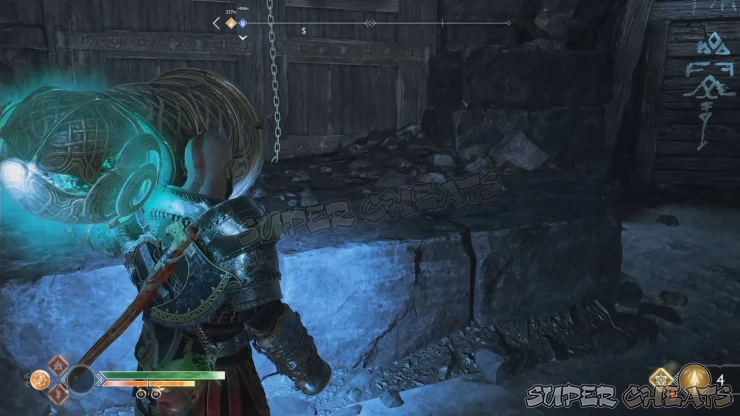
Pull yourself up the chain to reach the ledge. There are some runes on the wooden doors to the left. Have Atreus read them to release a red ogre and a couple of nightmares. Defeat all of them and you’ll find another wind trap door inside the room where the ogre was imprisoned earlier.
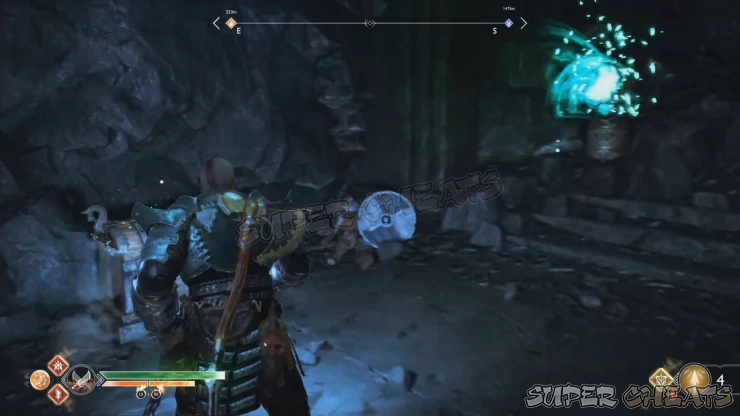
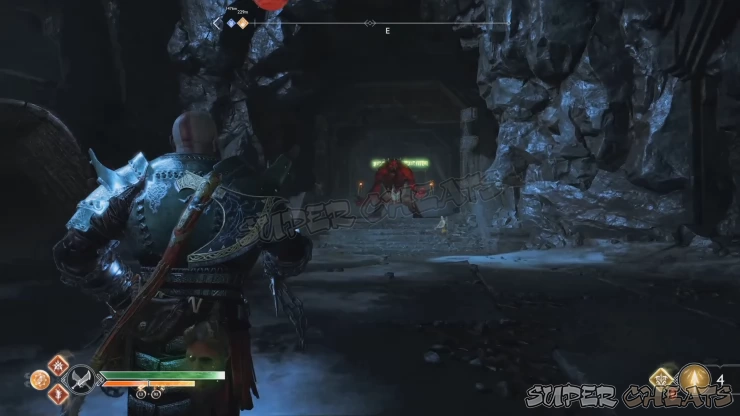
Since you’re able to set up the wind trap earlier, all you need to do is peek over the ledge and capture the wind from the portable wind trap. Quickly run to the wind trap door and transfer the wind there to reveal the legendary chest inside. Loot the Hyperion Slam heavy runic attack from it.
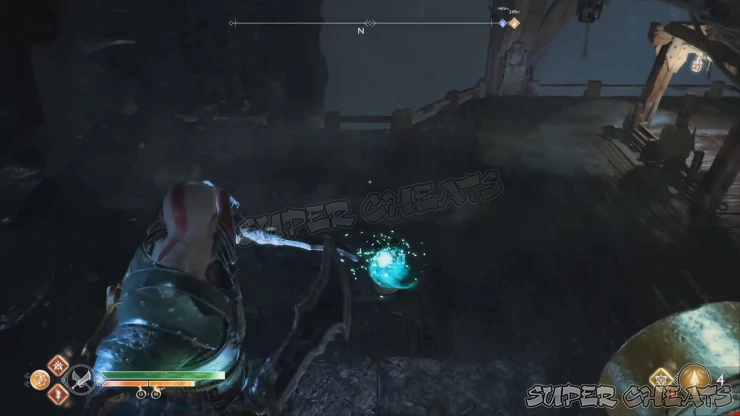
Backtrack to the main path and take out the ranged draugr to the left. You can stun it by shooting the shatter crystal at the edge of the ledge. Don’t forget to loot the nearby knight corpse for a good amount of hacksilver.
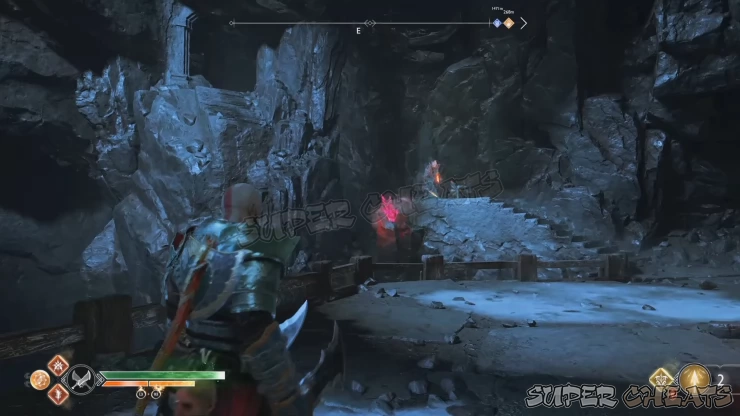
Continue to the tunnel where you’ll find a scroll on the ground. Have Atreus pick it up to register the “The Last Place They’d Look” treasure map in your journal.
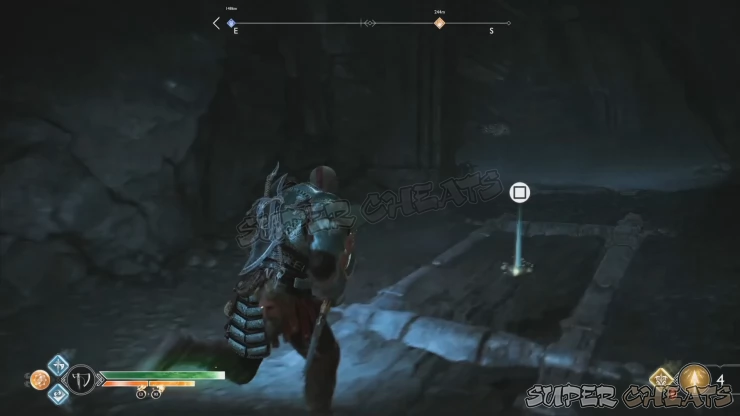
Continue forth until you reach another cavern where a Frost Ancient is sleeping. Atreus will wake it up so you’ll have no choice but to fight it. Keep your distance since it will not use its ranged attack which exposes its vulnerable chest and use a short-ranged AOE attack instead. Wait for it to use its ranged attack, then throw your axe at its chest to blow up a few pieces of its core. You can pick them up and throw them at the vulnerable chest of the ancient to significantly damage it, even while its attacking. After defeating it, don’t forget to loot its valuable drops.
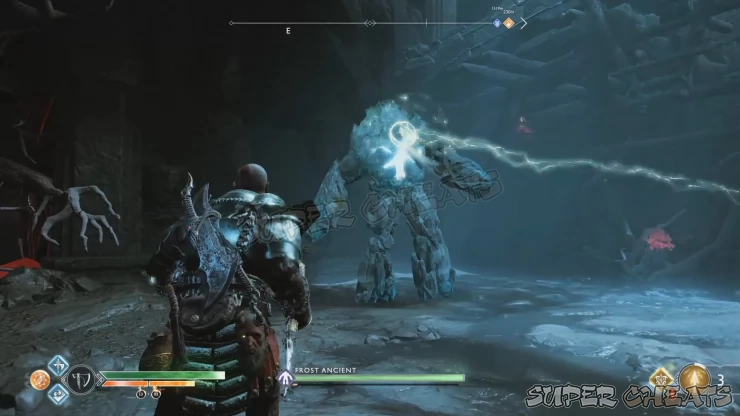
After the battle, pick up a shatter crystal from the nearby pod and throw it at the sap nearby. Detonate it so you can pull out the large cart blocking the tunnel. Make sure to position it in front of the marked ledge so you can climb up and reach the coffin inside. Loot the Mythic Warbelt of Clarity from it.
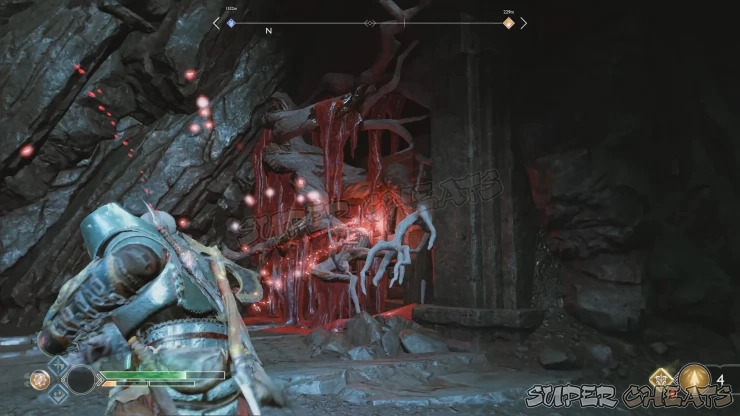
Drop down and head inside the tunnel to find a knight corpse with a hacksilver pouch in front of it. Pick up another shatter crystal and throw it at the sap-covered coffin in one of the alcoves in this cavern.
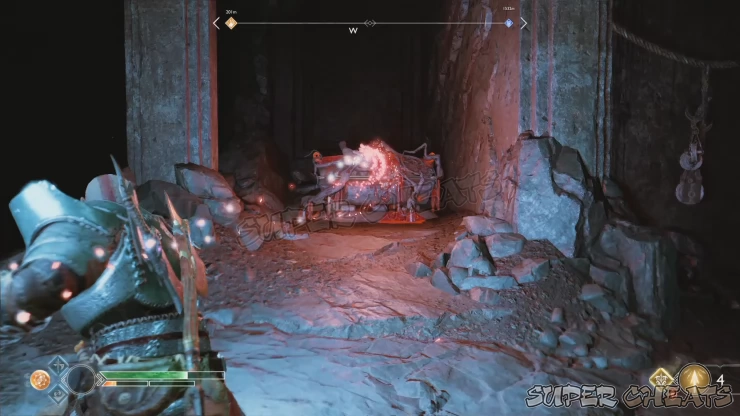
Continue onward until you reach a desk and chair with a lore scroll in front of it. Have Atreus read it, then pick up the last cup for the Bottom’s Up artifact set in front of the corpse a few steps away from the scroll.
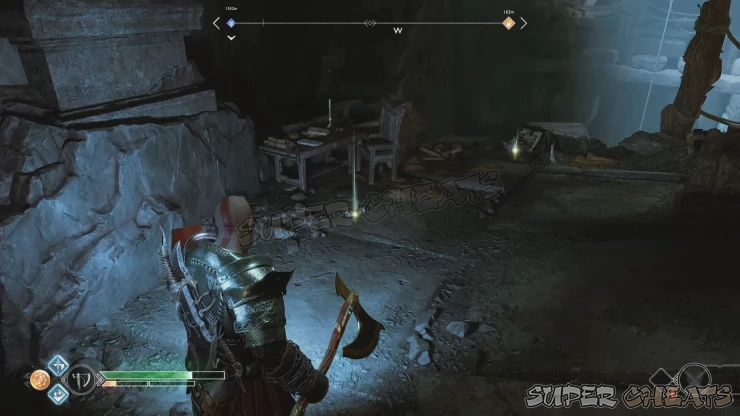
Continue forth and shimmy across the narrow gap. Burn the bramble covering the coffin nearby then loot the Mythic Pauldrons of Clarity. Continue ahead and you’ll find Sindri’s shop. Approach him to register the location in your map. When you’re ready to continue, open the large door ahead to get outside of the cavern.
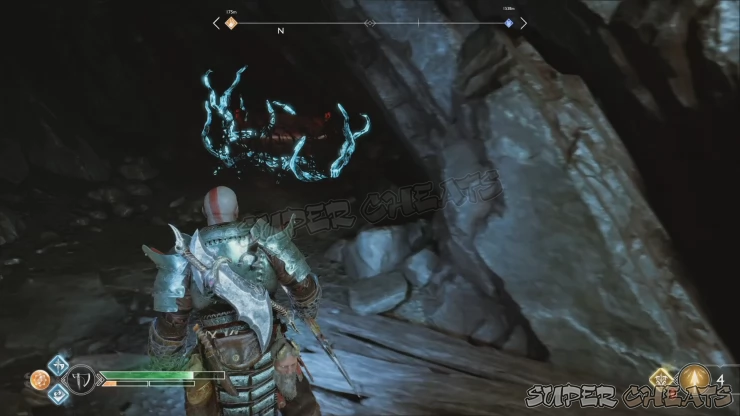
Once outside, activate the realm tear and defeat all enemies that will appear. After that, open the nearby chest to get a Niflheim Cipher. One path leads to a dead-end with a healthstone while the other path leads to a climbable cliff. Burn the bramble on it and climb up.
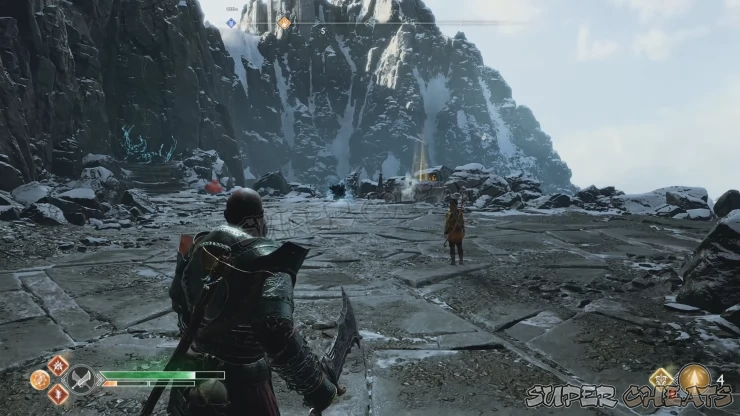
Follow the snowy path to the summit, towards the tree where Mimir’s body is located. Burn the bramble covering the wall but before climbing it, take the path to the left to find another bramble-covered coffin. Open it to get the Mythic Bracers of Clarity. Once done, backtrack to the main path and climb up to the top.
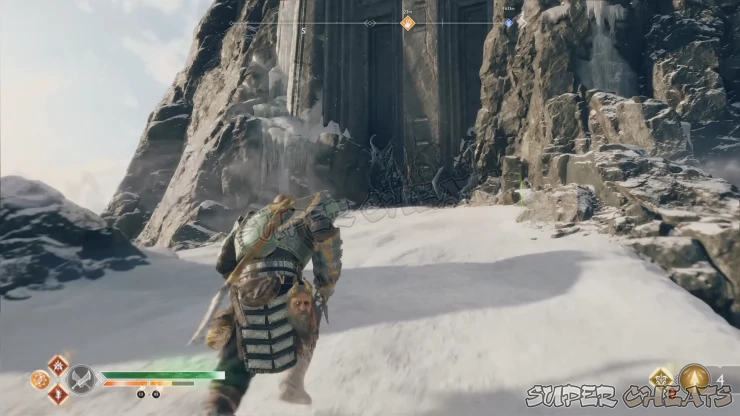
Approach the marked pillar and use the chisel to remove the seal. After successfully removing the seal and revealing the path to Jotunheim, Baldur will appear and kidnap Atreus. You’ll be plunged to another sequence.
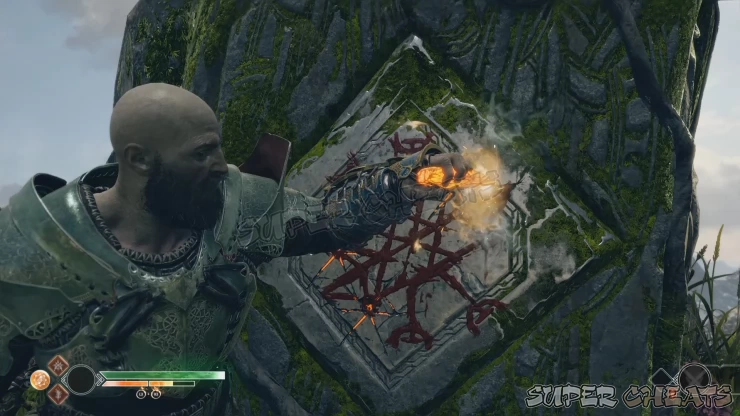
For the first part of this sequence, Kratos will tackle Baldur. Keep pummeling him with R1 until Kratos beats him up and hurry up towards his son. Baldur will tackle him this time. Hold L1 to block his attack and when you see him lifting both his arms, tilt your left stick to dodge it. After dodging, press R1 or R2 to counterattack. When Baldur starts pummeling you, guard again, rinse repeat. Keep doing this until Kratos kicks Baldur away.
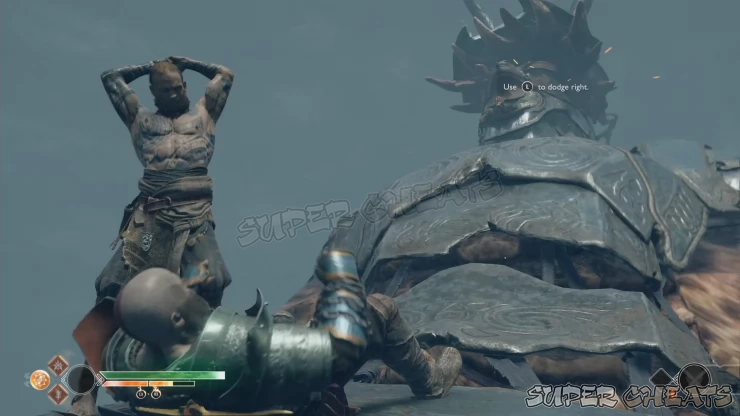
This time, Kratos will be on the top again. Keep pummeling again until your force the wyvern to Crash. After crashing to Tyr’s bridge, run towards the temple and head straight to the realm travel room. After the scene, you’ll be back in Hel. Lift the rubble to free Atreus and help him back to his feet. After this scene, the chapter will be complete.

Chapter 12: Escape from Helheim 1Previous Page
Chapter 11: Return to the Summit 1
Anything missing from this guide?
ASK A QUESTION for God of War (PS4 - 2018)
Comments for Chapter 11: Return to the Summit 2
Add a comment
Please log in above or sign up for free to post comments- Basics
- The Journey
- Favors - Dwarves
- Favors - Wayward Spirits
- Favors - Free Dragons
- Favors - Valkyries
- Labors
- Artifacts
- Nornir Chests
- Jotnar Shrines
- Treasure Maps
- Alfheim Locations
- Lake of Nine Locations
- Bosses
- Valkyries
- Muspelheim Trials
 Join us on Discord
