Chapter 2: Path to the Mountain 3
Pull the chain and freeze the gearwheel ahead to keep the gate open as you enter. Crawl through the small hole until you reach a spiked gate ahead. Throw the axe on the wooden portion of the gate to open it. Do that on the second spiked gate after it, but you may have to do it twice for it to open completely. Throw the axe again one more time for that gate to reveal a hole in the wall that leads to a coffin containing a Soft Svartalfheim Steel.
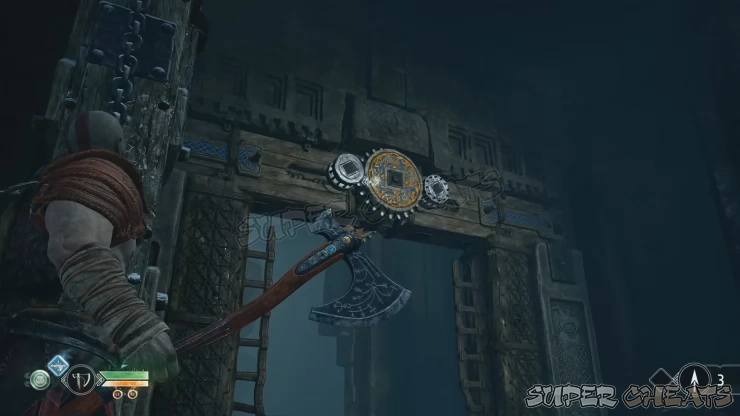
Across the gap, you’ll find a spiked ceiling contraption. If you hit the wooden boards, the ceiling will raise. To lock it into position, you’ll have to freeze the gear wheel under the boards. For now, raise the ceiling to the top and lock it immediately.
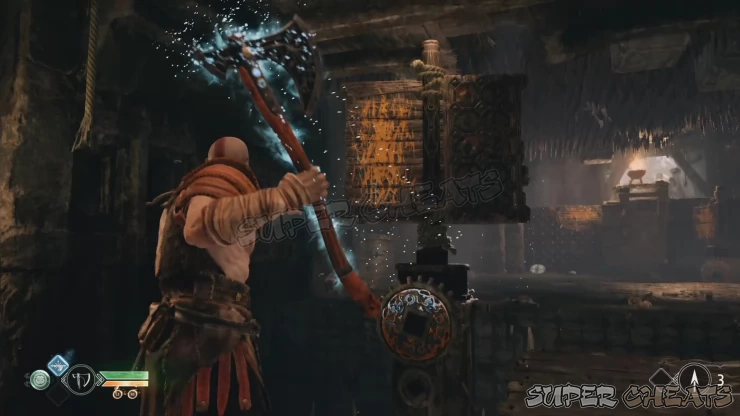
Jump across the ledge directly under the spiked ceiling and engage the enemies there. Take note not to recall the axe while you’re fighting the draugrs. You can also push the enemies to the nearby spiked walls for extra damage and high stun effect.
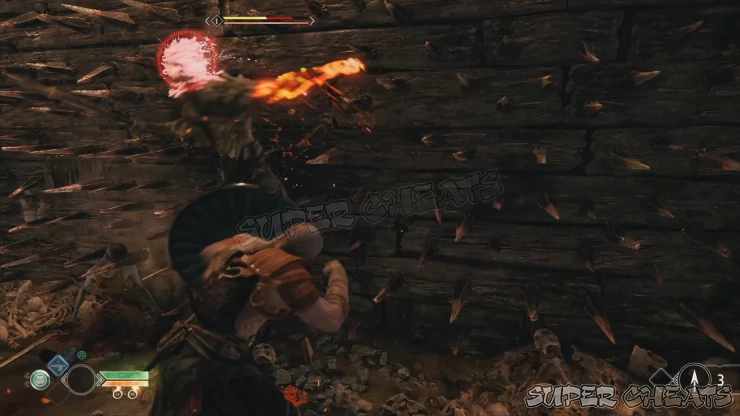
After defeating all enemies, Kratos will call in Atreus to join him. Loot the wooden chest in the alcove then face the spiked door leading to your escape. Recall your axe and quickly hit the spiked door twice to open it completely. Escape the danger zone and climb up the ledge. Pick up another seior mask (Faces of Magic 3/9) artifact from the corpse.
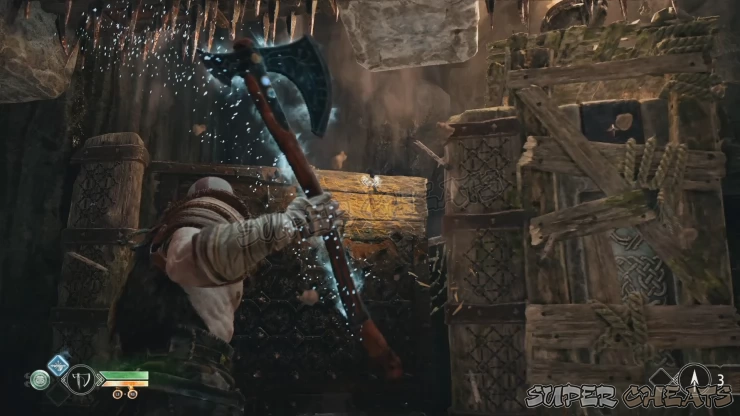
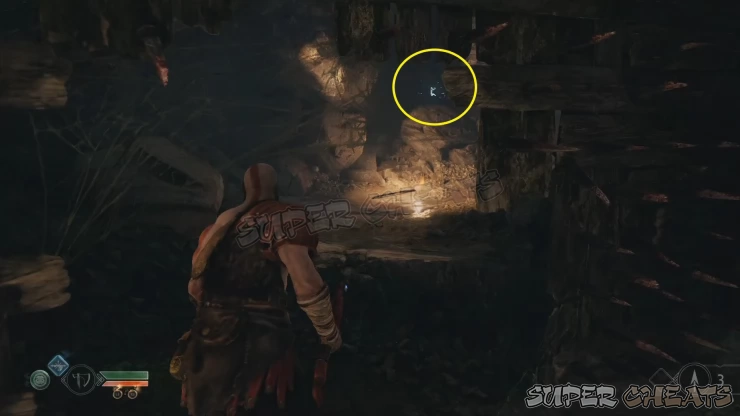
Before moving forward, turn around and wait for the spiked ceiling to completely lower down. You should be able to hop on top of it and find another Nornir chest. Find all the seals as indicated below to get a Horn of Blood Mead.
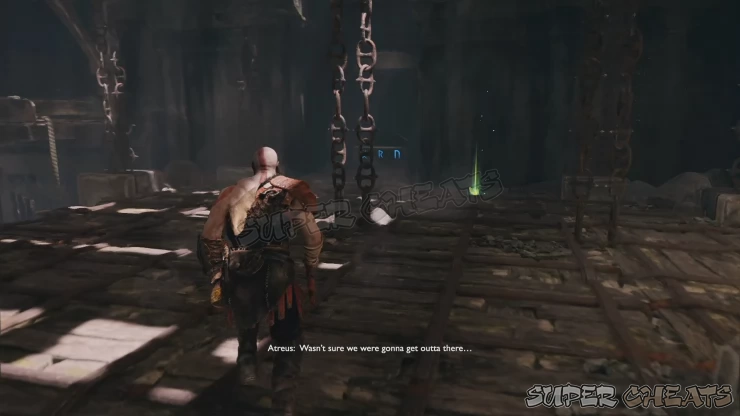
The first seal is found above the second gear wheel mechanism, where you jumped from.
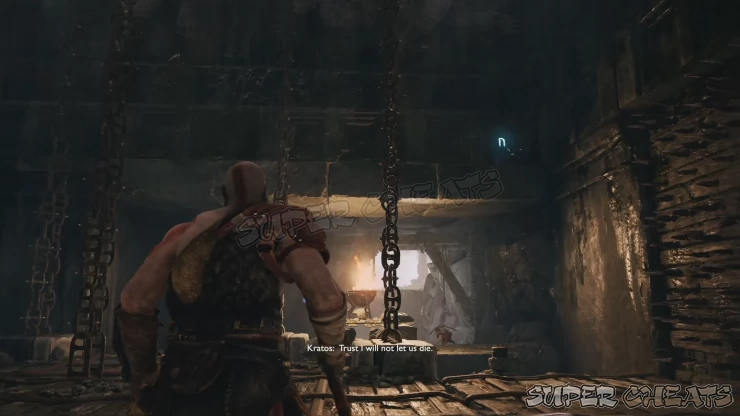
The second seal is found in the wooden ledge above the first gear wheel mechanism. You’ll have to hit the boarded to raise the ceiling and get a clear line of sight to the seal.
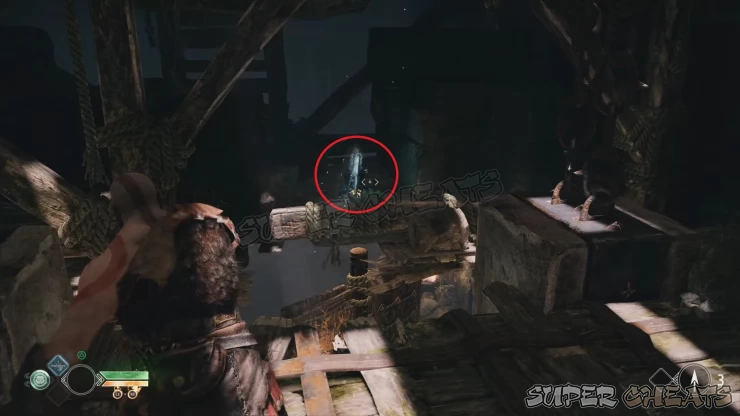
The last seal is found inside the small cavern past the hole on the spiked wall across the chest. There’s also a wooden chest here that you can loot. Don’t drop down the ledge since it will just take you back to the cave’s starting point.
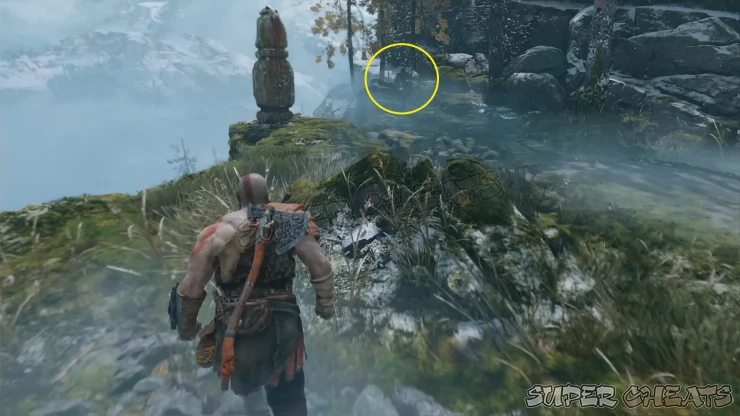
Backtrack to the main path and continue ahead to leave the cave. After the short cutscene, don’t follow Atreus yet. Turn to the left and find a corpse by the edge of the cliff. Pick up another seior mask from it. (Faces of Magic 4/9)
Regroup with Atreus to find a round metal door and a sand bowl in front. You can ask Atreus to observe the sand bowl so he can read a riddle. For the meantime, find the ledge to the left. Pick up the hacksilver pouch then climb the ledge to reach a turnwheel. You won’t be able to interact with it until Atreus reads the riddle. After the boy reads the clue, operate the turnwheel to make the large metal door ahead start rotating.
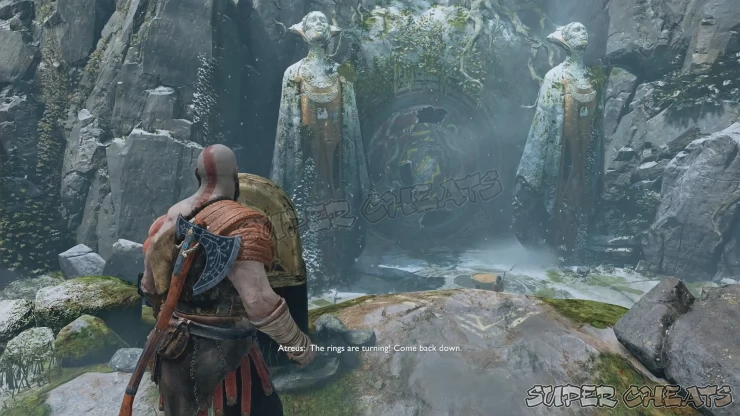
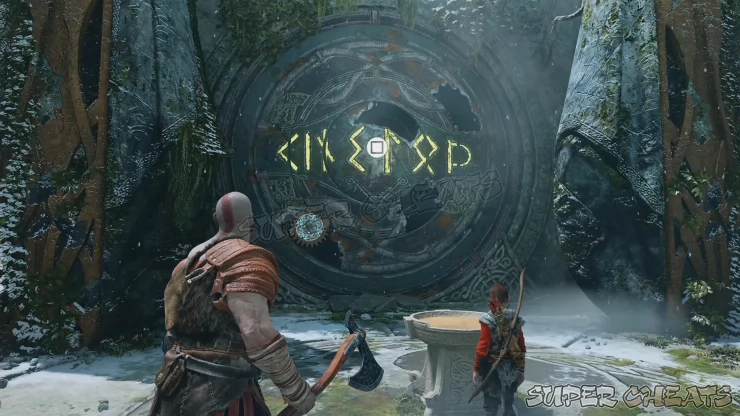
Use your axe to freeze the gears by hitting them while they’re visible through the crack. To solve this puzzle, you have to align the yellow runes to the pattern shown below. Once done, have Atreus read the runes to know the answer. After etching the answer to the sand bowl, the door will finally open.
Head inside the cavern then follow the path that turns left. This will lead you to a ledge connected to a spring where another seior mask is found. (Faces of Magic 5/9)
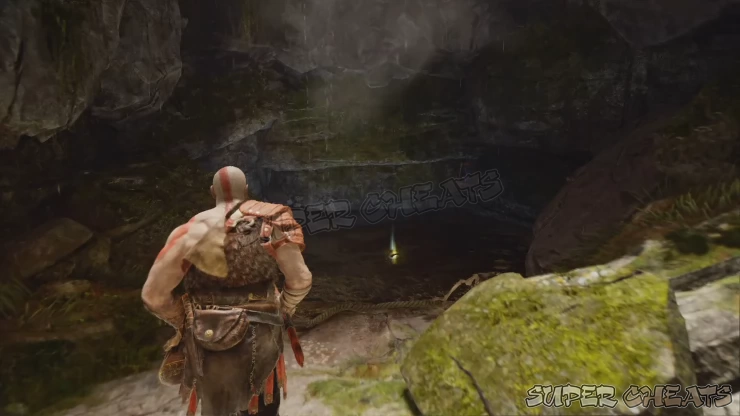
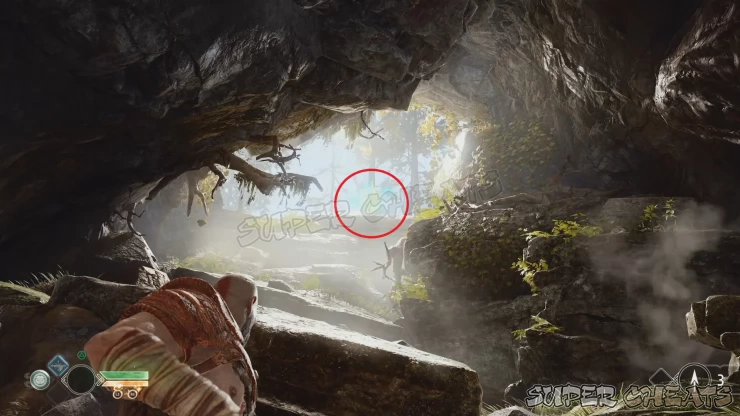
Continue forth until you reach a cavern where daylight is breaking through. Look up and hit the bucket then peek through the cavern’s opening. If you look closely, there’s an Eye of Odin raven there, perched on the rock, barely visible thanks to the sunlight.
Continue following the path that leads outside the cave. In the large open space ahead, you’ll encounter yet another mini-boss, the fire troll called Brenna Daudi. Like before, you can keep a safe distance and just consistently throw your axe at it. Watch out for its fire attacks and the shadow warriors that will join the fray. It’s better to take them out first so you can concentrate on the troll.
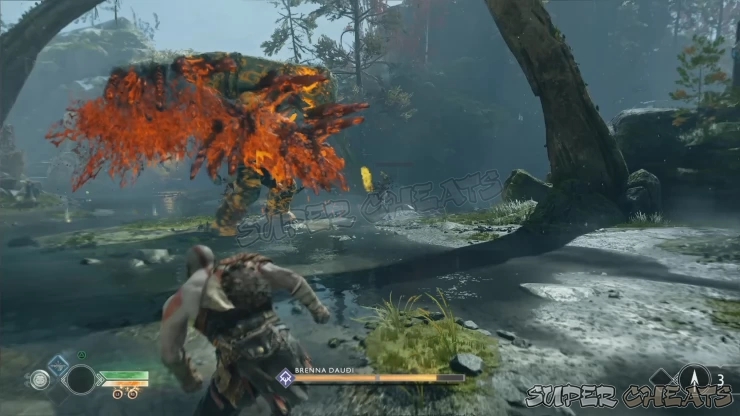
Don’t let yourself get cornered. There’s a lot of space so you can sprint away if ever the troll is attempting to get close. Have Atreus distract him whenever his arrows are ready so you can land free hits at it. More shadow warriors will appear as time passes by. Don’t hesitate to use your spartan rage to recover HP and deal significant damage to the troll. You can also go around the area to the left near the Nornir chest and use the mound as a natural barrier so you can reposition and plan your attack. Keep damaging the troll until you see a prompt to finish it off. Defeat the remaining shadow warriors if there’s any.
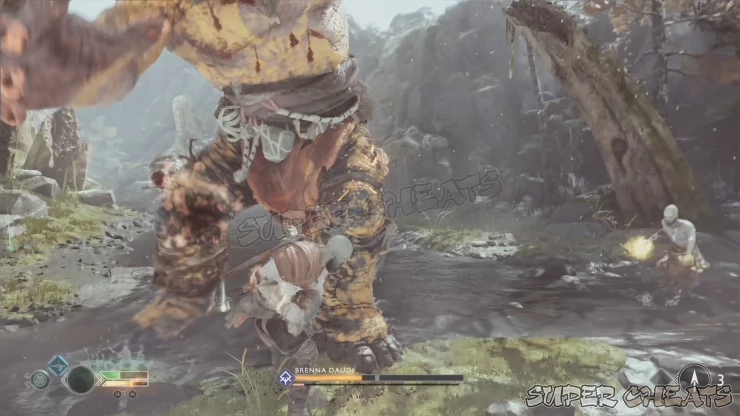
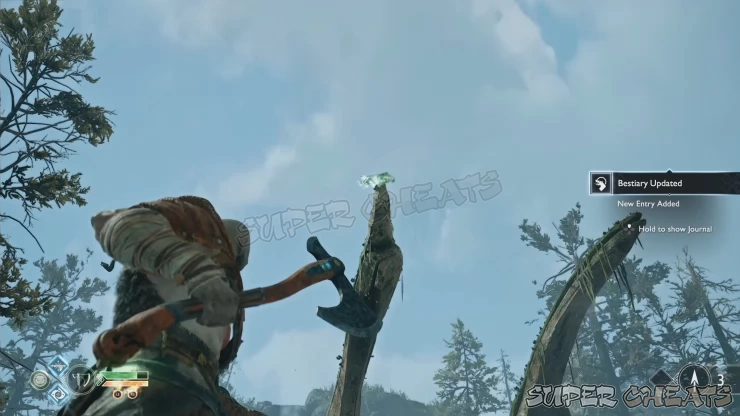
Once the area is clear, pick up the runestones and loot the enemies left behind. There are few objects of interest in this area that needs to be checked first. Look above to find another Eye of Odin raven perched at the tip of the rib-cage like protrusion.
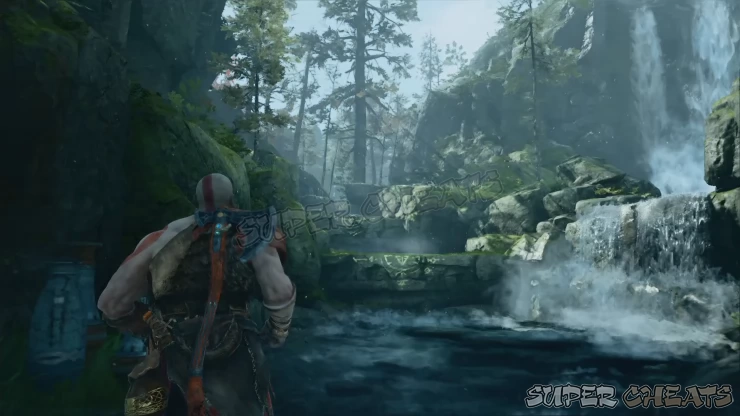
Head to the edge of the waterfall in the boss area to find another Nornir Chest. You have to hit all the bells to open the chest. This is first nornir chest you’ll encounter that uses bells instead of seals. The seals on the bells will only stay deactivated for a few seconds before reactivating again automatically. The best way to do this is to position yourself as far as you possibly can from the farthest bell and hit it first.
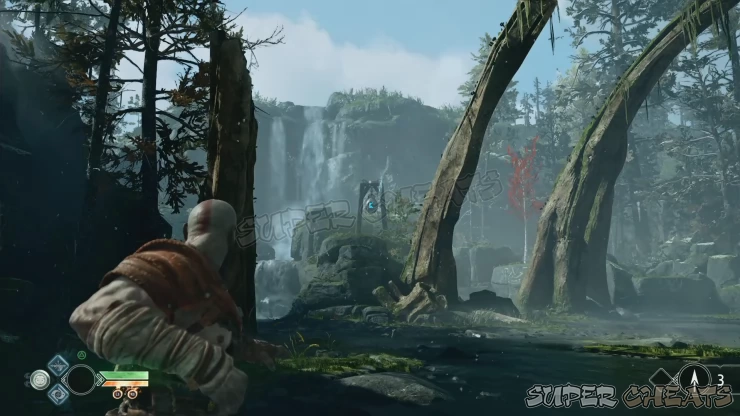
As soon as the axe makes contact with the bell, turn around and recall in then immediately hit the next bell to the right of the nornir chest, then quickly recall and do it quickly to the last bell to the left. When done quickly, you should be able to open the chest just in time before the first bell you hit reactivates its rune. This should be your third Idunn apple at this point and your max HP should be boosted considerably.
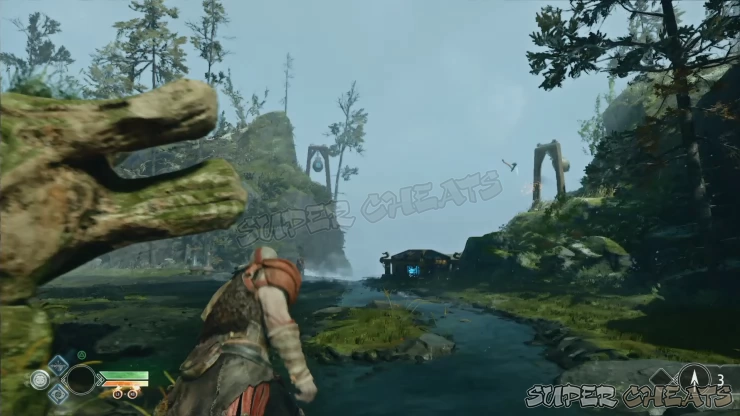
Once done, find a blocked ledge past that chest. Destroy the wooden boards above the ledge and boost Atreus up. Climb up the chain he’ll let down then order him to read the lore marker near the edge of the ledge.
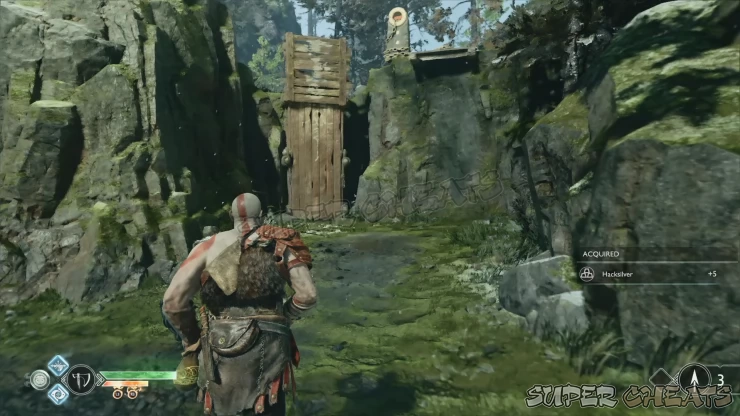
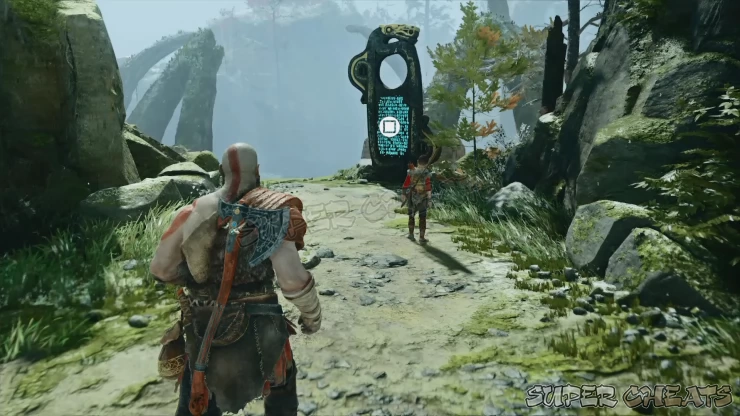
Jump down again and look for another ledge across the path that leads to a wooden chest. Loot the hacksilver from it. Next, head towards the waterfall near the seal and climb up two ledges to find a hacksilver pouch. When ready, backtrack to the main path and enter the cavern to continue.

Anything missing from this guide?
ASK A QUESTION for God of War (PS4 - 2018)
Comments for Chapter 2: Path to the Mountain 3
Add a comment
Please log in above or sign up for free to post comments- Basics
- The Journey
- Favors - Dwarves
- Favors - Wayward Spirits
- Favors - Free Dragons
- Favors - Valkyries
- Labors
- Artifacts
- Nornir Chests
- Jotnar Shrines
- Treasure Maps
- Alfheim Locations
- Lake of Nine Locations
- Bosses
- Valkyries
- Muspelheim Trials
 Join us on Discord
