Chapter 4: The Light of Alfheim 1
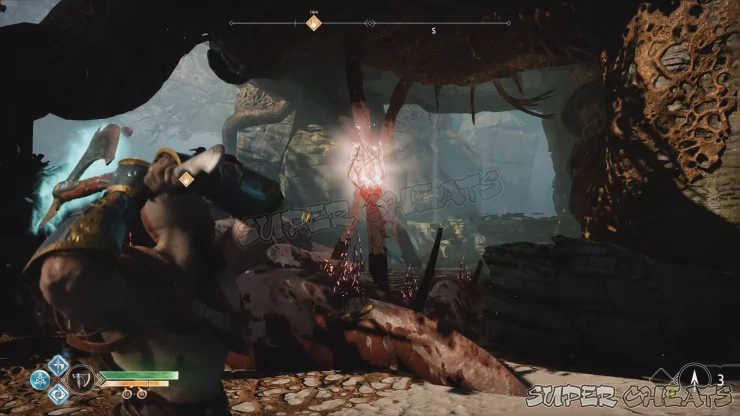
After the scene, continue ahead to find a pulsing vein. Throw your axe at it to destroy and clear the vine. You’ll encounter more of these later while exploring this realm. Continue and destroy another vine to clear the path.
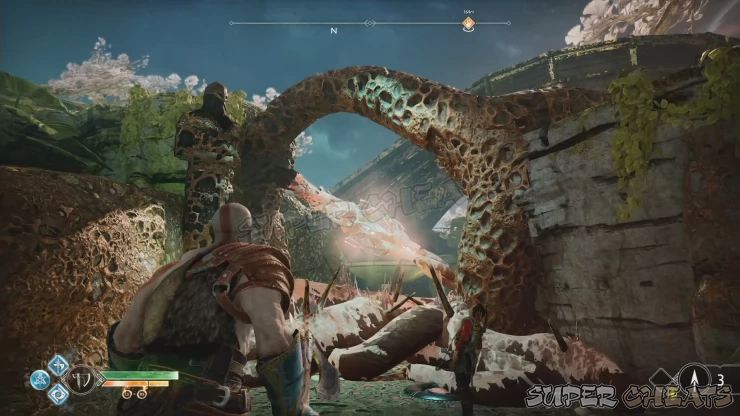
You’ll find a circular lore rune by the rocks beside the statue. After Atreus examines it, destroy the vine beside that lore marker to free up the wooden chest nearby. Loot the chest and continue.
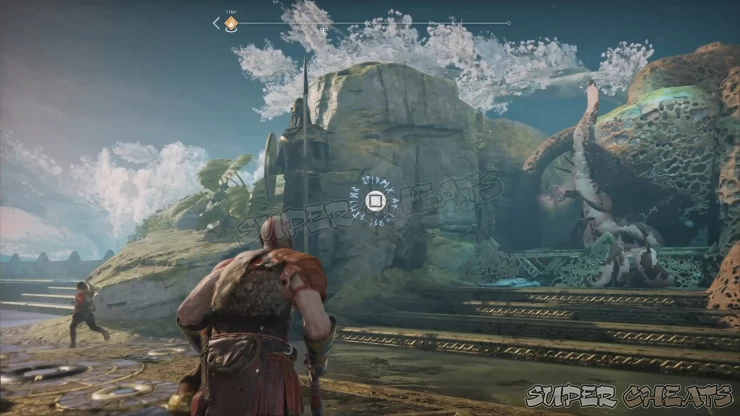
You’ll encounter the dark elves for the first time and will unlock a new corresponding labor. These ordinary dark elves can be frozen by your axe but still allow Atreus to fire arrows at them. Keep an eye out of their projectiles that they shoot on the ground. These explode after a few seconds and act like flashbangs which will temporarily blind you if you get caught in the blast.
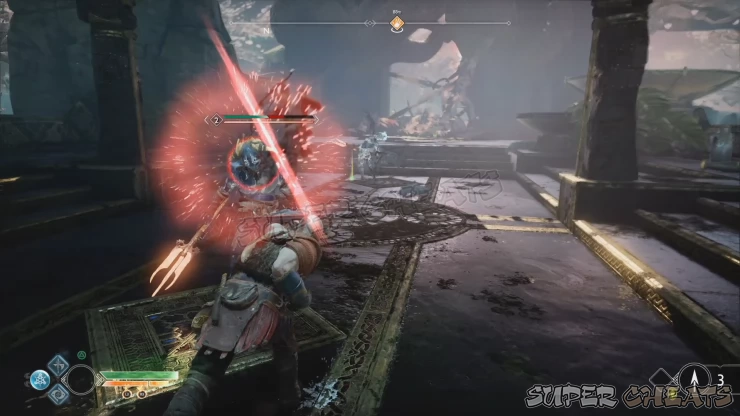
After defeating the dark elves, you’ll find a couple of pulsing vines ahead. You have to destroy them in quick succession otherwise the vines will recover almost instantly. You have to line your aim in a straight line so your axe can cut through them in one throw.
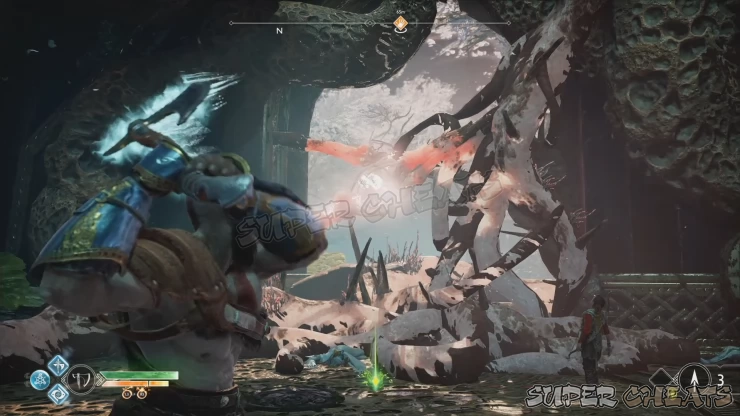
After clearing the path, turn to the right to find a Legendary Chest containing a Symbol of Perseverance. Continue ahead to reach the beach. Sindri’s shop can be found here. Before talking to him, you can free the boat strangled by vines. There are three pulsing cores you have to destroy so go around to line up all three of them at once. Once the boat is freed, you can go ahead and talk to Sindri. There are new equipment for sale so make sure to take time and upgrade your gear before moving forth.
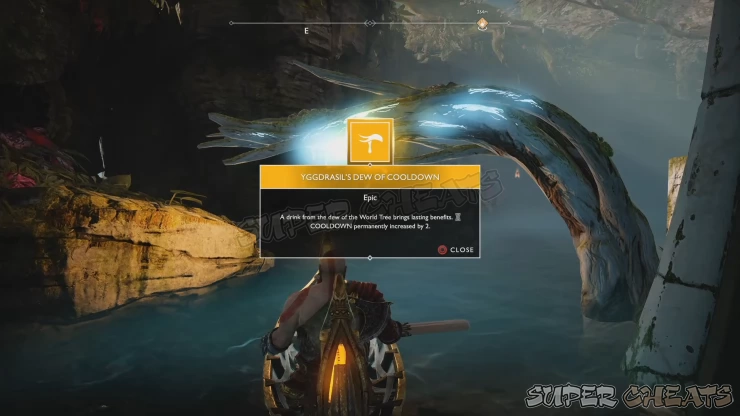
When ready, take the boat to the water. Paddle your way to the blue droplet hanging by the branch to the left to increase Kratos’ Cooldown stat permanently by 2 points. This is a Yggdrasil Dew which will give a permanent stat boost when collected. There’s a lot of them along the edges of the Lake of Nine once the water level drops so make sure to look out for them when you return to Midgard.
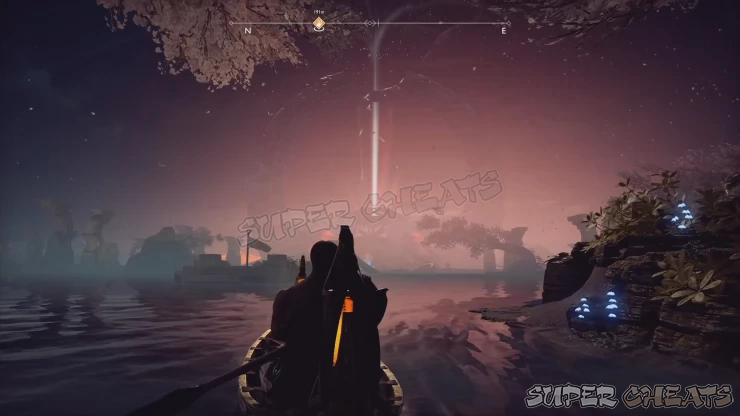
After collecting the dew, continue along the river and you’ll find a couple of Light elves. This location has a Nornir chest which you can reach by exploring a separate area from the Lake of Light. Once you reach the Lake, you’ll see a sand bowl in the middle. Examining it won’t yield any results for now so you can just ignore it for the meantime. The main objective is to free the light in the temple. Also, you can explore two optional areas in the lake: The Light Elf Sanctuary south of the Temple and the Light Elf Shore to the west. Please check the dedicated pages for the complete exploration guide of these locations.
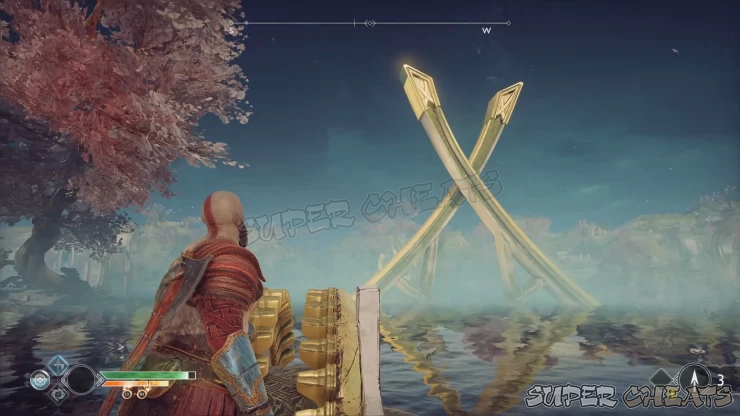
When ready to continue with the main journey, dock by the temple. Approach the light bridge and watch it disappear after a giant vine grasps it. You’ll have to battle more dark elves next. After defeating them, operate one of the gear wheels to move the large structures in the lake. After operating one of the gear wheels, more dark elves will appear. Engage them and take them out then operate the other gear wheel to lock the structure into position. Take the boat once again and return to the sand bowl. Have Atreus operate it to reveal the Ringed Temple’s trench area.
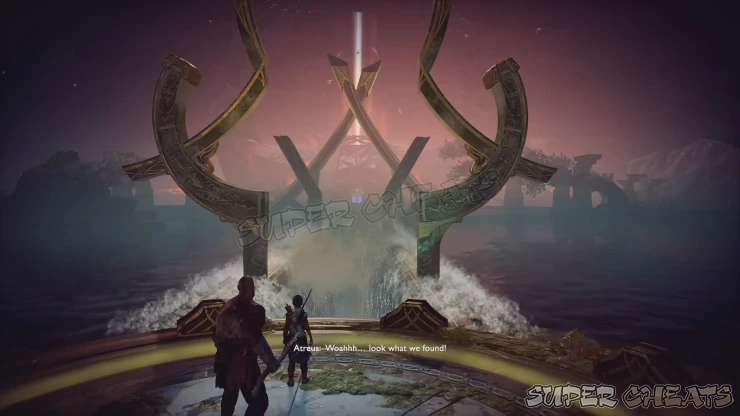
Once you reach the trench, another group of dark elves will attack you. After clearing the area, you can check out the two rooms behind the sand bowl. Check the room to the left first. Operate the pedestal in the middle to open the cages. Take out the draugr inside the cell to the right. There’s a legendary chest in the middle cell but it’s blocked by a vine. To destroy the two pulsing cores, enter the cell to the right and throw your axe to the core above the chest.
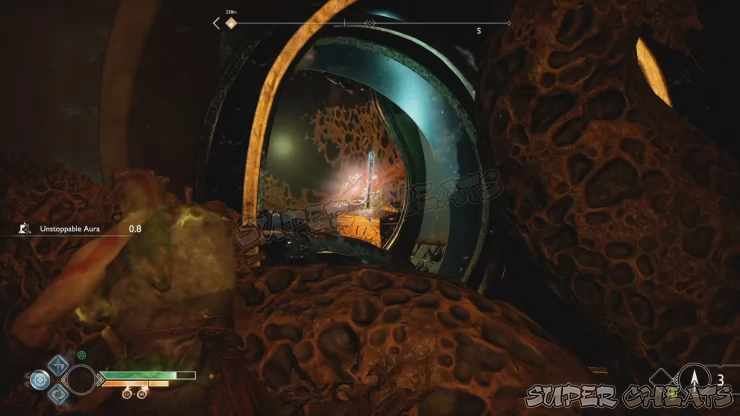
Don’t recall your axe then stand in front of the middle cell where the second core is located. When you recall your axe, it should cut through both cores on its return to you. Loot the Thiazi’s Talon Heavy Runic Attack from the chest. Don’t forget to check the left cell to get a hacksilver pouch.
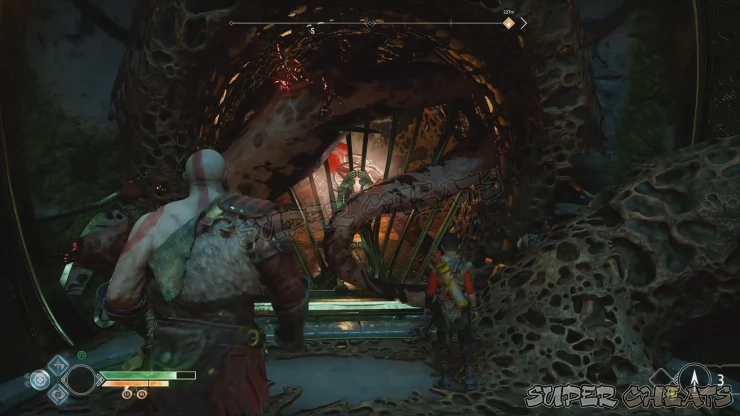
The other room has a destroyed pedestal so you can’t open the cells there, with draugr inside. Ignore these cells for now. Don’t forget to look up and cut down the hanging containers as these contain hacksilver inside them as well.
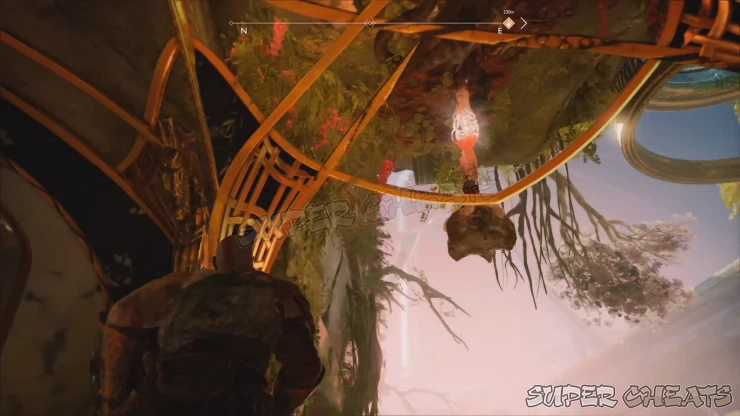
Continue towards the temple using the left side of the trench where a heavy draugr and more dark elves will attack you. Defeat them and find the nornir chest in the alcove to the left. To unlock it, you have to destroy three seals nearby.
Cross the trench and operate the gear wheel to lower the platforms on both sides of the trench. Lower the platforms fully until you can’t turn the wheel anymore then freeze the smaller gear ahead to lock it in place. Turn around and you’ll find the first seal on a ledge behind you. Climb up and destroy it using a melee attack.
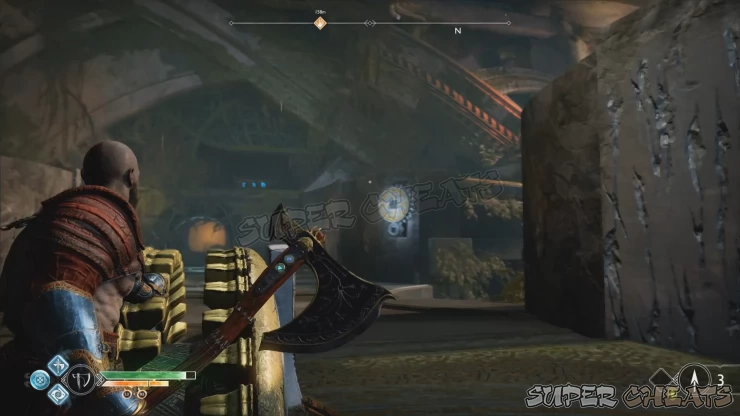
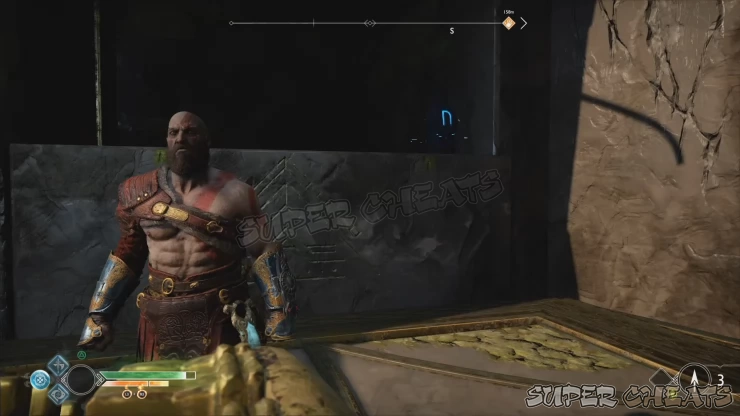
Recall the axe to lift the platform and give you access to the coffin above. Loot the Runic Forearm Bracers from it. Drop down to the gear wheel and operate it once more. Now, you don’t need to lower both platforms. Once the outer platform has been lowered, freeze the smaller gear. The seal is located in the other platform across the gear wheel, a little to the left of the smaller gear. Freeze the smaller gear and jump down the platform to destroy the rune.
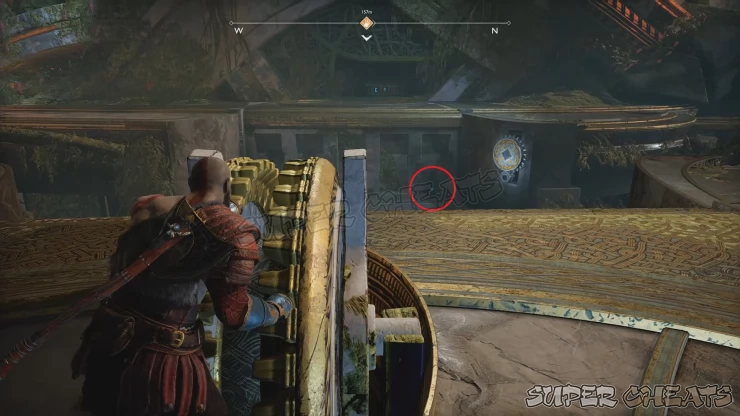
Without recalling the axe, turn around to find the third seal in the other platform. After destroying it, recall your axe to lift the platforms again and loot the Idunn apple from it.
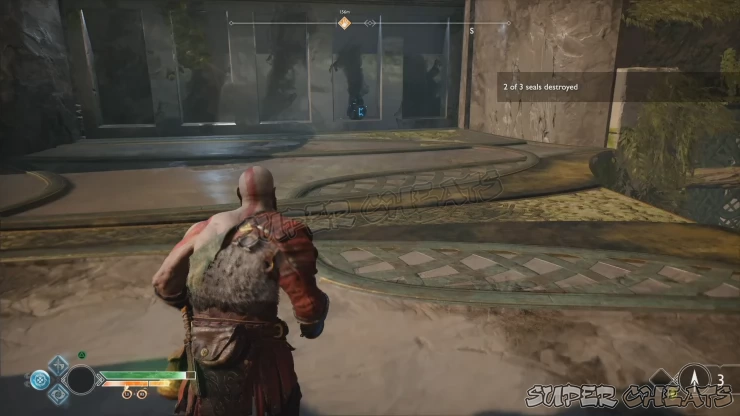
Return to the gear wheel and lower it down fully again. Enter the tunnel across then recall your axe. Approach the gear wheel inside the next room and operate it again. Like before, lower the paltform “halfway” so that the coffin inside the platform outside is accessible. Freeze the gear to the right and loot the Fragmented Heart of Alfheim rare enchantment from the container.
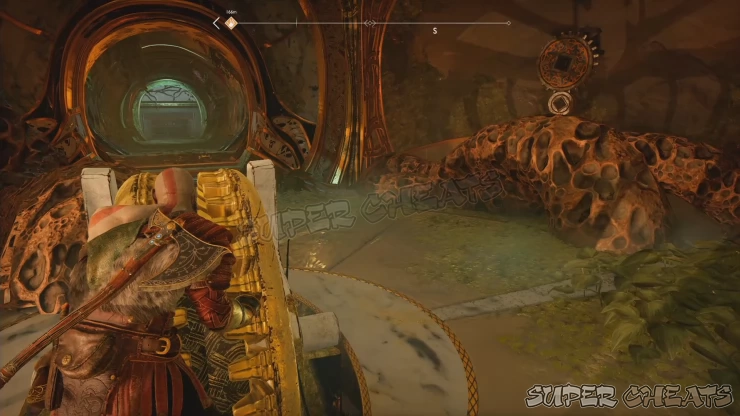
Backtrack to the room and recall your axe. Ignore the cell with the draugr then head to the next room. Line your axe throw to cut through the two vine cores. Climb the ledge next for another sequence. Activate your Spartan Rage and start pummeling the dark elves ganging up on you. Your rage meter is infinite during this sequence so don’t hold back. After defeating the two waves of dark elves, interact with the wall to the side and smash the circle button to bridge the gap to the platform Atreus is fighting on. After the sequence, defeat the two dark elf warriors to catch a breather. Ignore the obvious paths on both sides of this platform for now and catch a breather before continuing.
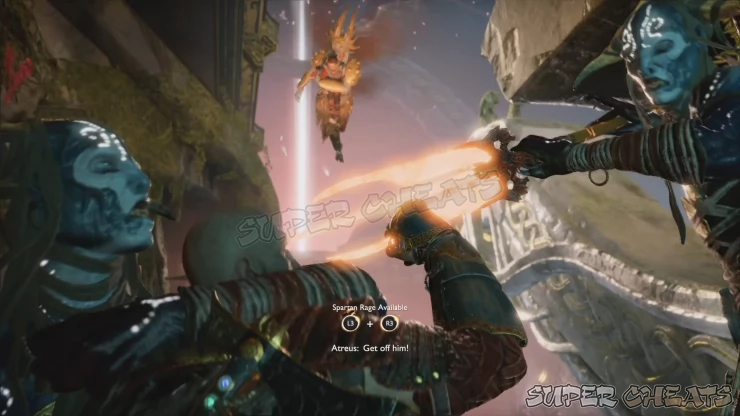
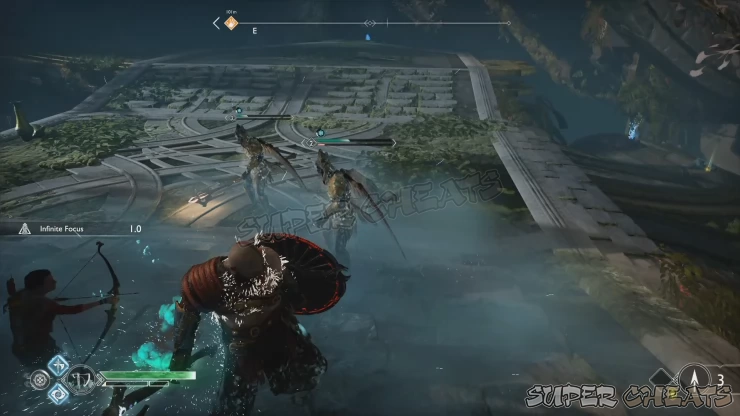
Enter the door with the lit brazier to find an inactive lift with more cells. You can’t do anything about them for now so drop down the ledge and cut through two vine cores ahead to restore the light bridge nearby.
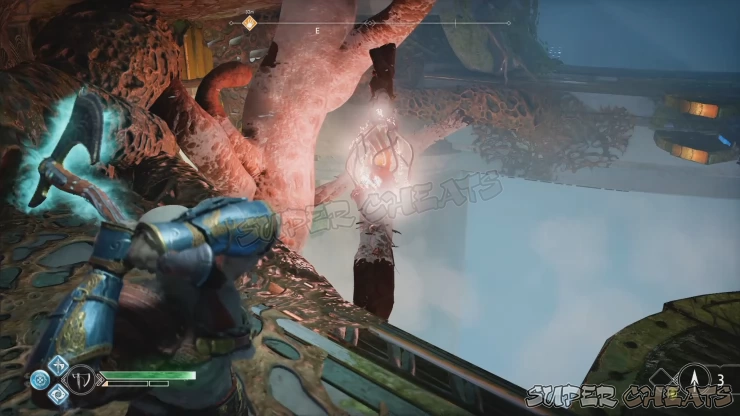
Cross the bridge and climb up the wall in the other side. Shimmy around the corner then climb up to reach the platform. There are more dark elves waiting here so take them out. The Stone Ancient nearby will also activate after wiping out the dark elves. Ancients are impervious to normal attacks and they have a similar weakness with Soul Devourers - their energy-filled chests. Keep your distance and wait for them to charge up for an attack.
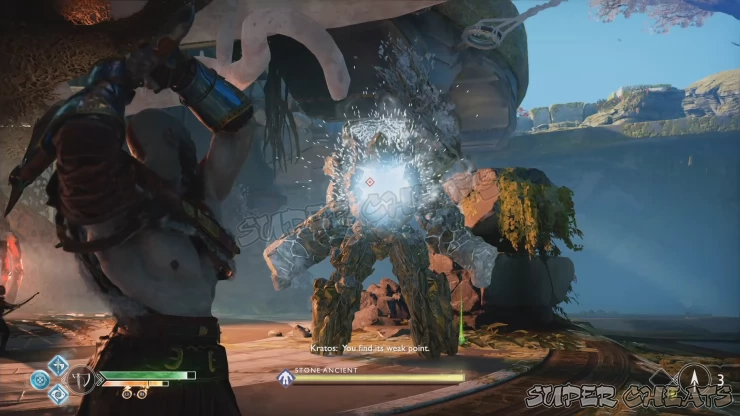
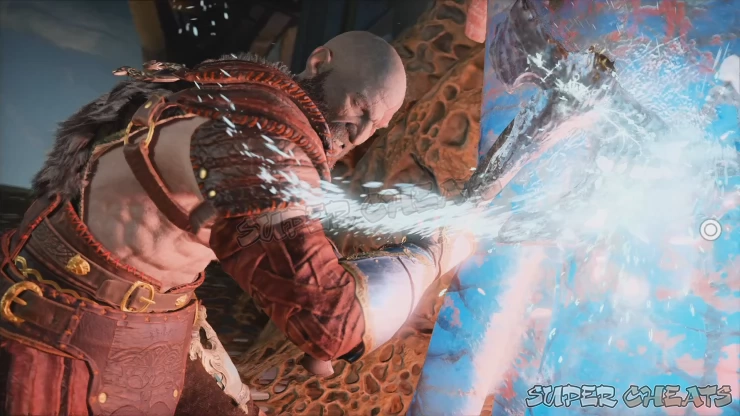
You’ll have a small window to throw your axe and hit their weak point. When done correctly, you’ll deal a lot of damage, add a good amount of stun to its stun gauge, and will chip off a charged chunk that you can pick up and throw at it. Remember not to hold the chunk too long since it detonates after a few seconds. Don’t try to engage it at melee range too since it will perform a stunning blast of energy around it. Dark elf reinforcements will also arrive during the battle so make sure to take them out first so you can concentrate on the Ancient. Once you filled its stun gauge, you’ll be able to grab the Ancient and pummel it. If it’s already low HP, grabbing it will finish it off instead.
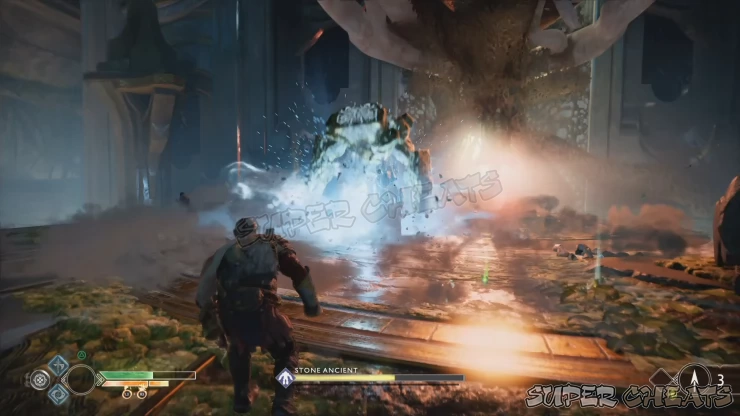
After defeating the ancient, collect its loot then open the legendary chest nearby. Obtain the Njord’s Tempest Light Runic attack. Next, interact with the large exposed vine core to freeze and destroy it. This will reactivate the main light bridge as well.

Anything missing from this guide?
ASK A QUESTION for God of War (PS4 - 2018)
Comments for Chapter 4: The Light of Alfheim 1
Add a comment
Please log in above or sign up for free to post comments- Basics
- The Journey
- Favors - Dwarves
- Favors - Wayward Spirits
- Favors - Free Dragons
- Favors - Valkyries
- Labors
- Artifacts
- Nornir Chests
- Jotnar Shrines
- Treasure Maps
- Alfheim Locations
- Lake of Nine Locations
- Bosses
- Valkyries
- Muspelheim Trials
 Join us on Discord
