Chapter 13: A Path to Jotunheim
Leave the room and find the lift in the next room. This will take you back to the realm travel room. Travel back to Midgard and talk to Brok in his shop. After getting the key forged, check out their shop and make sure to upgrade your gear as necessary. When ready, leave the shop and find Tyr’s secret door.
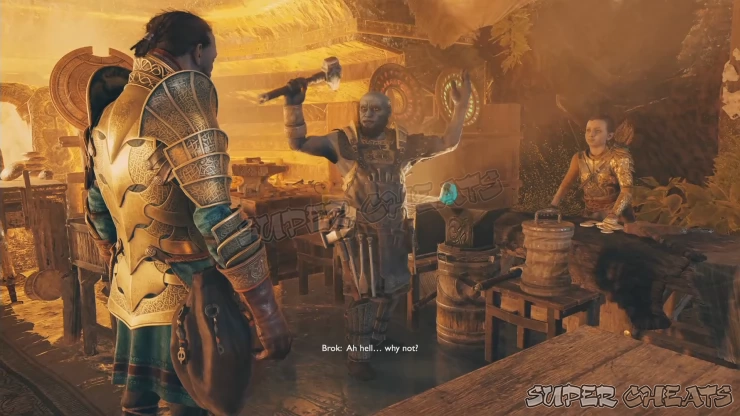
Follow the marker and go downstairs of the temple until you find the secret door. Interact with it to open it and find the Tyr’s secret chamber. Activate the light crystal ahead to create a bridge and continue to the realm travel room.
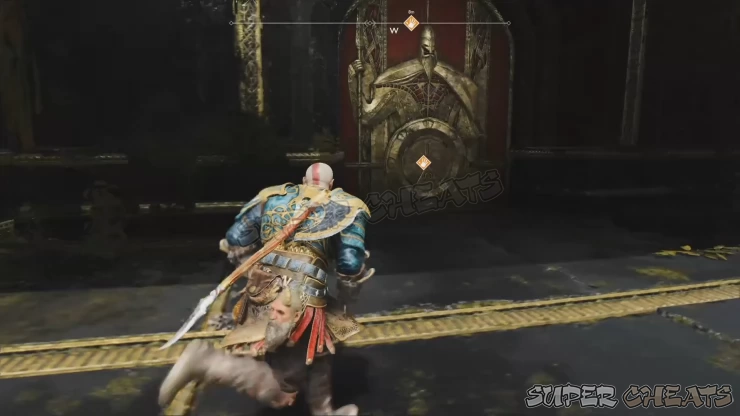
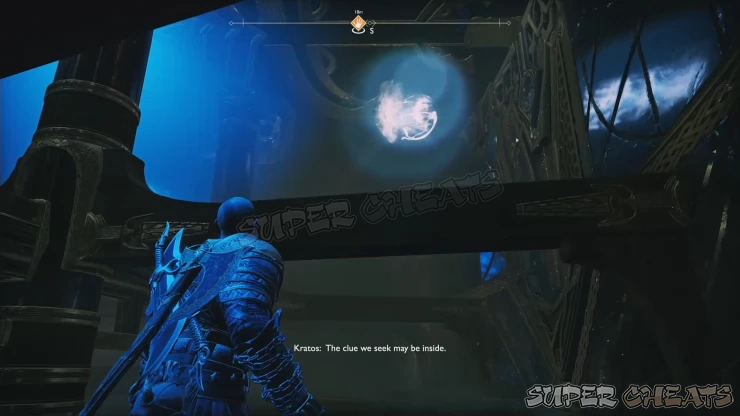
The room is upside down so follow the path until Atreus tells you to look up the glowing light above. Talk to Atreus to trigger the conversation and for the door to open. Once the large door opens, find one of the two smaller opened door and exit the room.
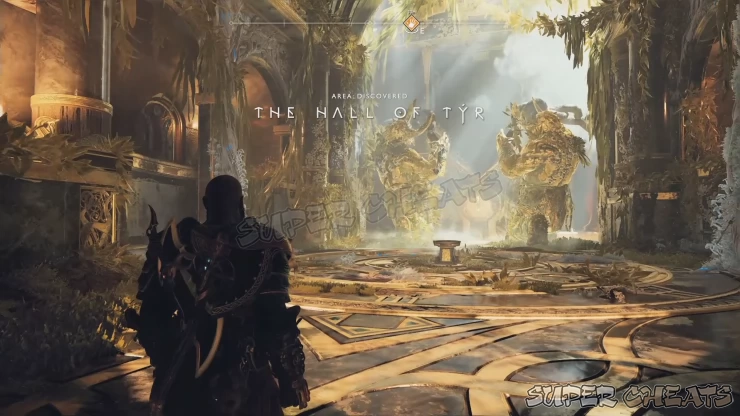
Follow the path until you reach the Hall of Tyr with two giant statues. Approach the rune in the middle and have Atreus read it. Next, interact with the edge in front of the rune to attempt to flip the entire temple. Your next objective is to destroy the chains holders on both sides of the temple to do this.
The statues will change their poses, revealing the runes written on their chests. Have Atreus read those and he will activate the sand bowl. This will reveal a lever that will power up the lift that will take you to the lower floor of the chamber.
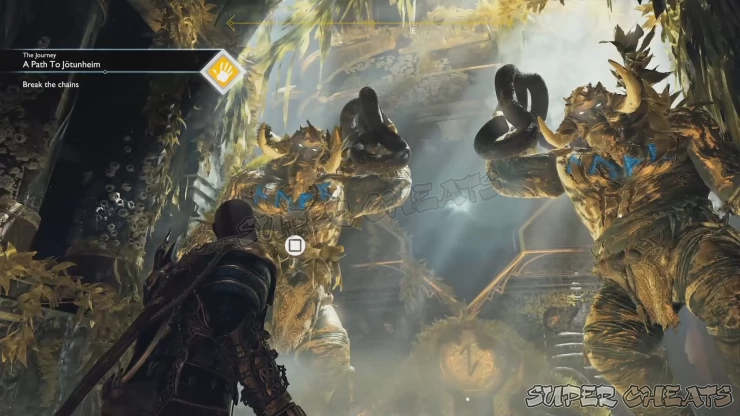
After reaching the lower floor, examine the shrine (Bergelmir) in front of the lift to add it to your journal. The chain holders are located on both sides of the temple and you can destroy them in any order you want. For this walkthrough, we’ll take the southern path first.
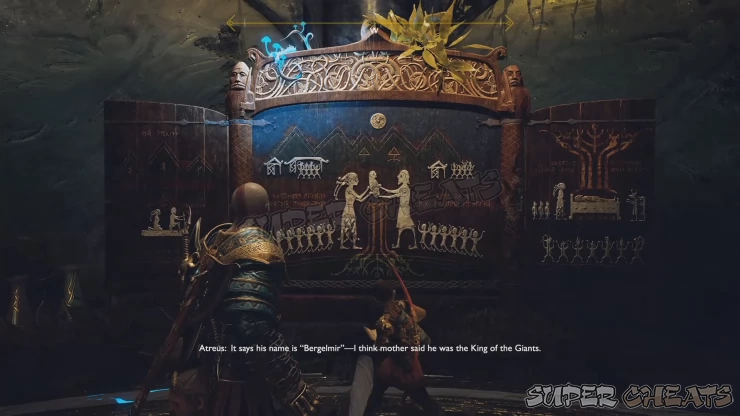
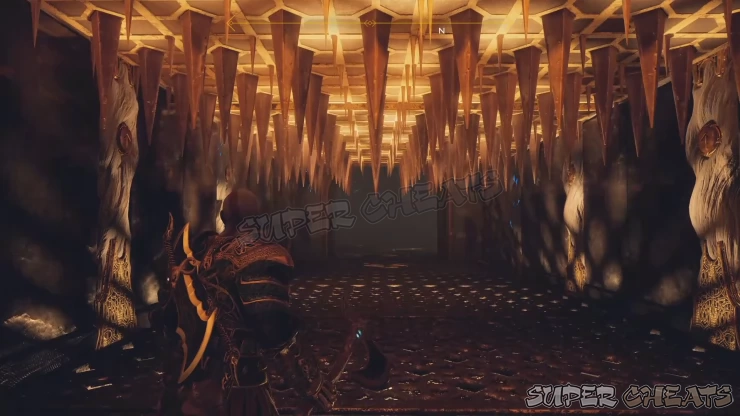
Open the gate and find spike death traps. Look up and freeze the first spike trap by throwing your axe at the gear. Once it’s in place, don’t go underneath it yet. Wait for the middle spike trap to drop then recall your axe.
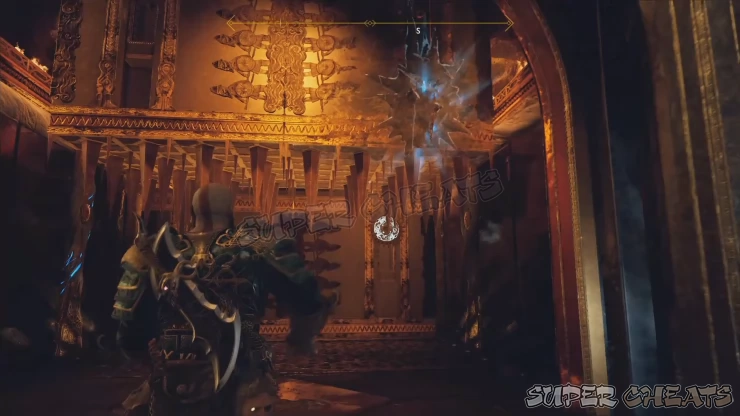
This will change the rhythm of the first two traps, which drops at the same interval before. Now wait for the middle trap to raise and freeze it in place. Time your movement and get past the first spike trap. Stay in the middle (without recalling your axe) then get past the third trap with proper timing.
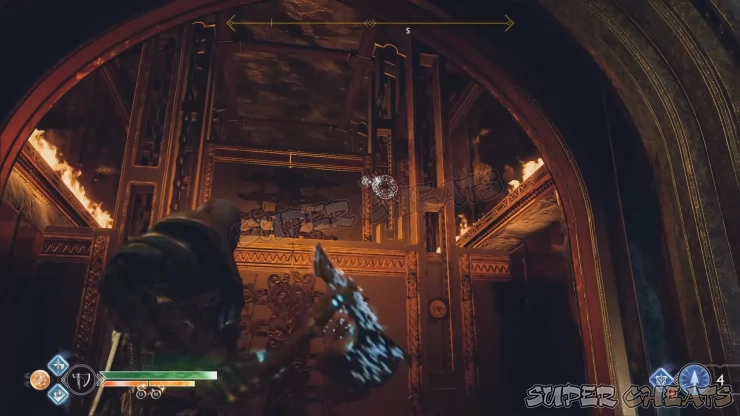
In the next room, loot the Bracers of the World Serpent from the coffin in the alcove. Next, find the shatter crystal root in the other alcove and pick up a crystal. Go to the next tunnel with spike traps and throw it at the glowing floor. Detonate it to clear the flooring and allow the first spike trap to drop lower and become a platform you can hop onto.
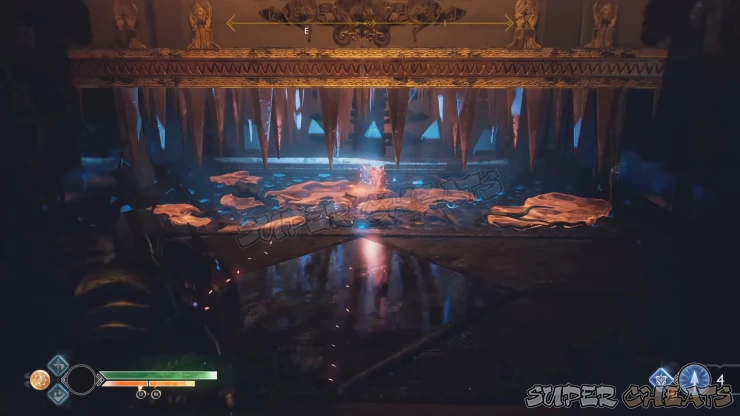
Hop on the first spike trap. To get across the other two traps, you have to quickly drop and roll down to safety. You can pause and time the intervals so you can properly move without getting impaled.
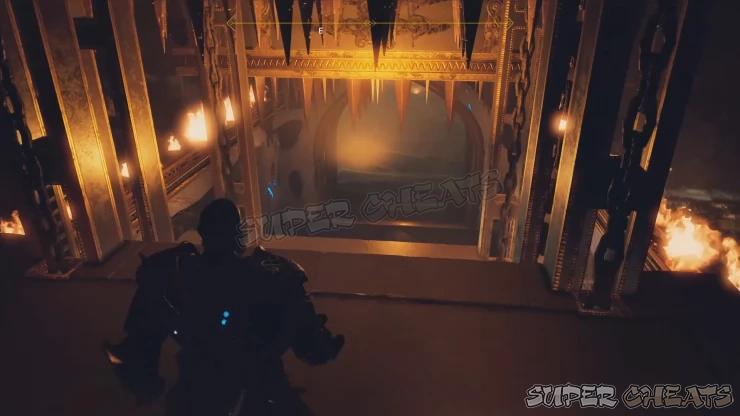
After crossing the spike traps, you’ll finally reach the room with the chain. In the same room, you’ll find a lore marker on the wall and a legendary chest. Have Atreus read the lore first then loot the chest’s contents.
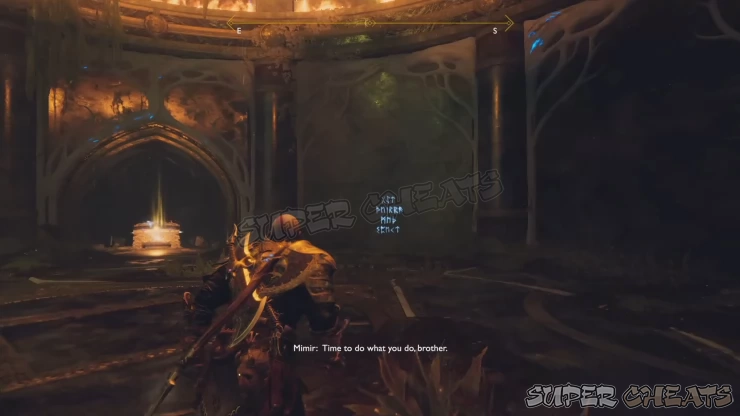
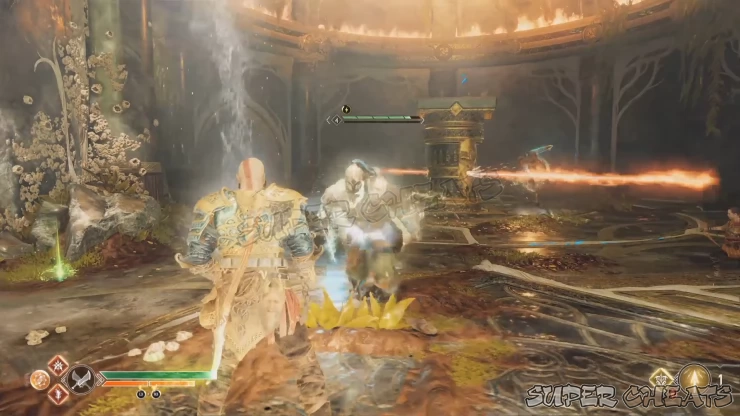
Next, interact with the chain holder to break it open and release the chains. This will activate a trap and open two realm tears, each will release a traveler. You have to avoid getting scorched by the fire trap while also watching out for the travelers’ attacks. Engage the traveler without the shield first since you can consistently damage it. To deal with the shielded traveler, counterattack after evading its easily-telegraphed attacks, preferably with the use of runic or heavy attacks. After defeating them, the trap will be deactivated. Don’t forget to collect the loot they dropped.
You have to backtrack this time. There are reavers waiting in the other room. You can get in range enough for Atreus to pick them off before crossing the spike traps. Once clear, freeze the middle spike trap so you can stop in the middle before running to the next room.
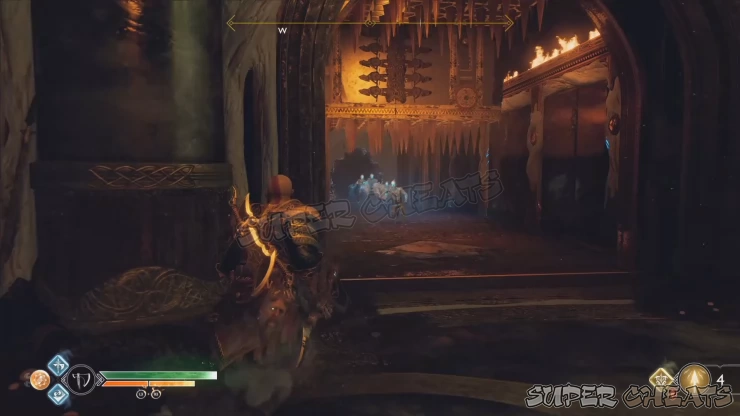
In the next room, another fire trap will activate. Watch out for the flames when fighting the enemies. You can even lure them to the fire stream since the fire trap is not rotating. After clearing the room, loot the items they’ll drop and pick up healthstones as well.
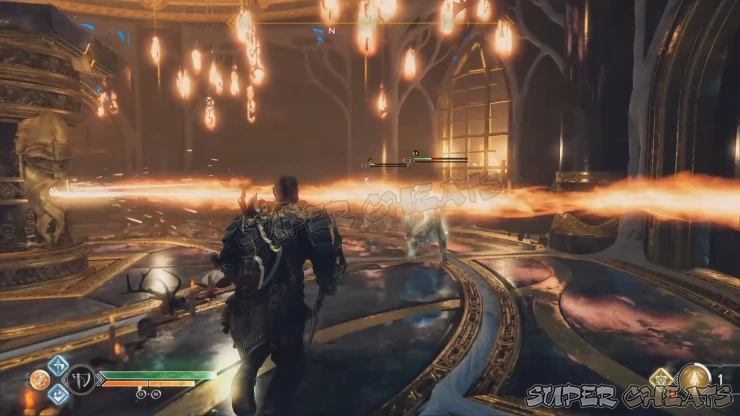
Finally, you have to get past the second spike trap tunnel to return to the main hall. You can freeze the first spike trap while it’s raised, then go underneath it. Then, watch the intervals of the two spike traps then quickly run past them.
Once you’re back in the main room, open the northern door this time to find a spinning blade trap tunnel this time. Ready your axe and throw it on the gear once the blade trap is in the upper left or right. Wait for the other blades to line up with the frozen wheel before recalling your axe. Repeat the process until all blades are lined up and your path cleared.
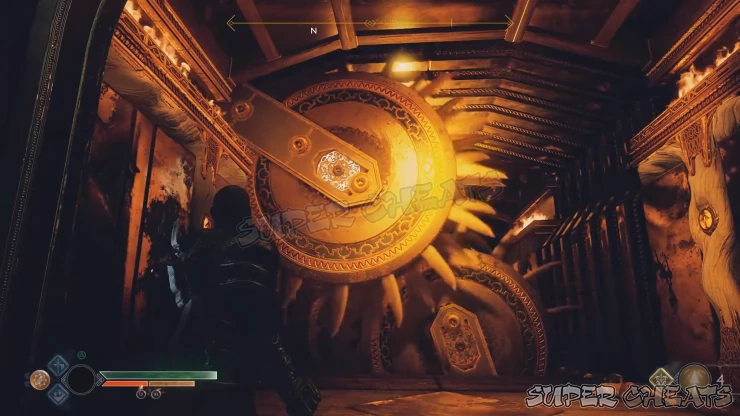
In the next room, you’ll find a door with two wind traps. Behind this door is a legendary chest. First, capture the wind trap from the door and place it on the wind trap in the middle of the first spinning blade trap. This will make the spinning blade go up and down in regular intervals. Once it’s down, capture the wind then transfer it to the wind trap on the wall. The blade trap will now start moving around the wall and ceiling.
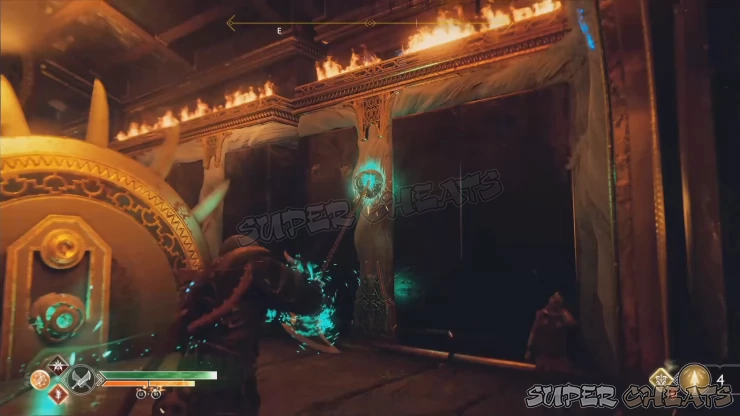
Peek from an opening and capture the other wind from the second spinning blade trap. Transfer this wind to the door in the previous room.
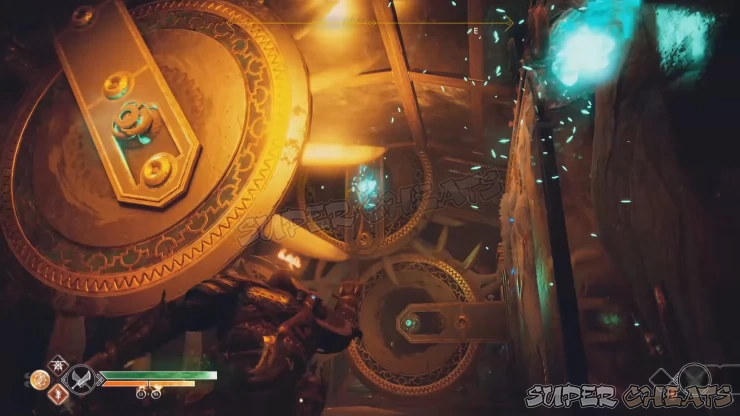
Now capture the other wind on the wall and place it on the second wind trap on the door to reveal the legendary chest inside. Loot the Hyperion Grapple heavy runic attack inside.
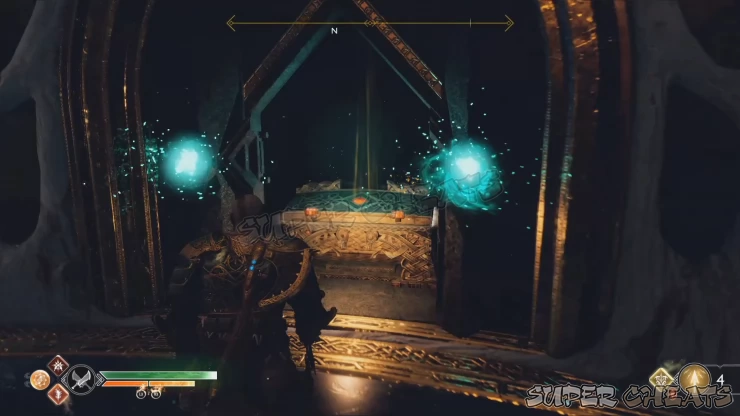
Next, transfer one wind to the wind trap on the wall in the tunnel once again and get past the first spinning blade. In the second set of blade traps, let the blade trap on the ceiling unpowered and don’t touch the activated blade on the left. Transfer the wind on the unpowered blade to the right so that the two blades can “close” and “open”. Get past them to reach the last room with the chain holder.
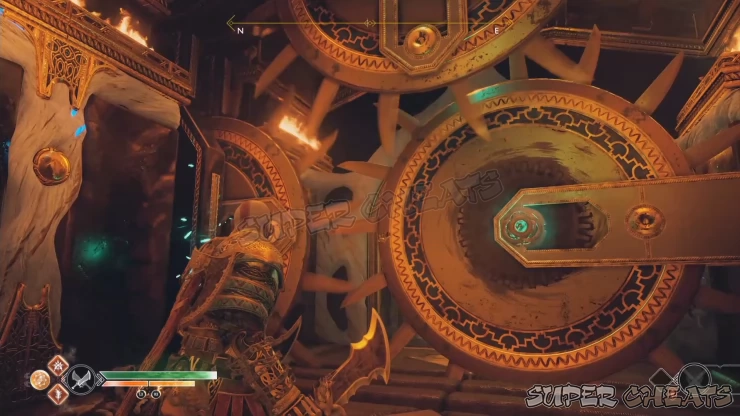
Have Atreus read the lore marker on the wall then loot the legendary chest in the alcove. After that, interact with the chain holder to release the chains. This will trigger the fire trap in the room and open realm tears. The fire trap is rotating very slowly so keep an eye of the faces’ directions if you’ll engage the enemies near it. An ogre will join the fray afterward so weaken it and use it to crush the lesser enemies. Once the room’s clear, the fire trap will deactivate. Don’t forget to pick up the loot dropped by enemies.
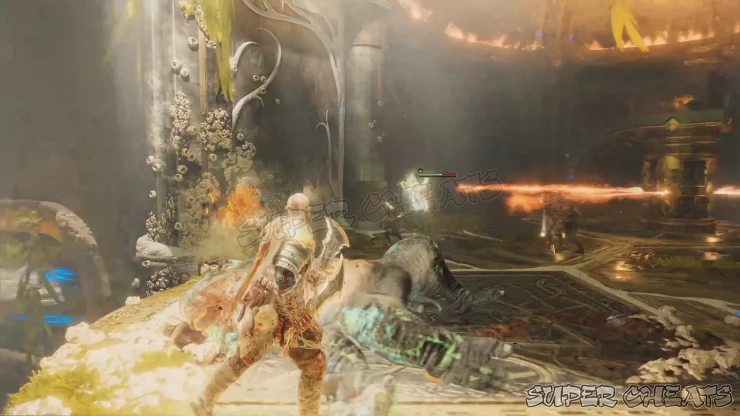
Head back to the tunnel and you’ll notice that the blade arrangements are different. Wait for the blade to retract to the ceiling then capture the wind to deactivate it. Cross it to reach the middle part of the room where a realm tear will open, unleashing a speed draugr. Block its attack and you can even instantly destroy it if you manage to push it towards the trap.
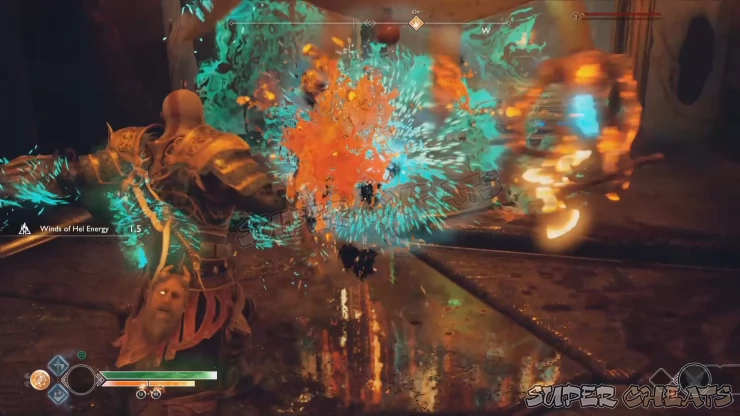
Once cleared, capture the wind again from the blade in front of you while it’s retracted to the ceiling then get past it. Upon entering the room, the fire trap in the middle will activate and heavy draugrs will appear from the realm tears. You can lure them to the fire or stun them so you can throw them to the spinning blades inside the tunnel.
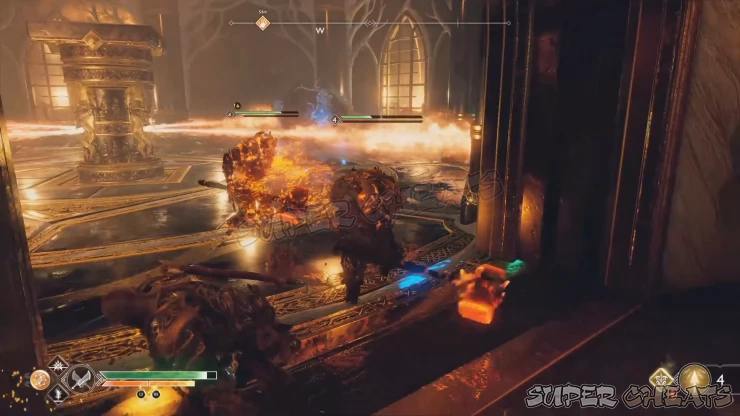
After defeating them, collect the loot then head to the next tunnel. Don’t freeze it anymore since it’s already perfectly aligned. Just wait for the blade set to move towards the ceiling then run across the tunnel to reach the lift. Ride the lift back to the upper hall.
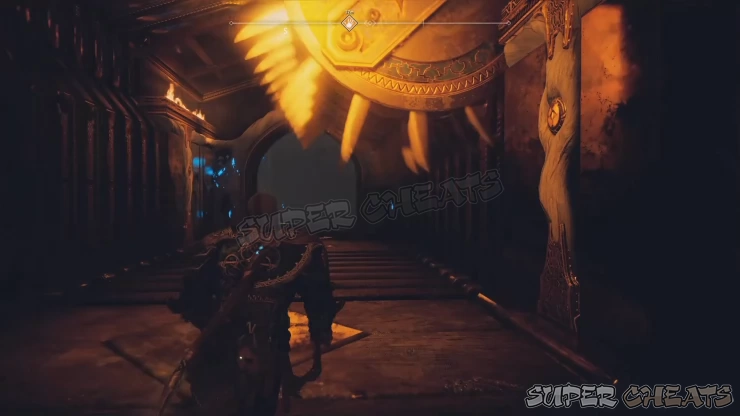
Once you’re back in the main hall, approach the temple’s edge again and interact again for Kratos to completely flip it over. Once done, find the cracked portion of the wall to the left that you can climb on.
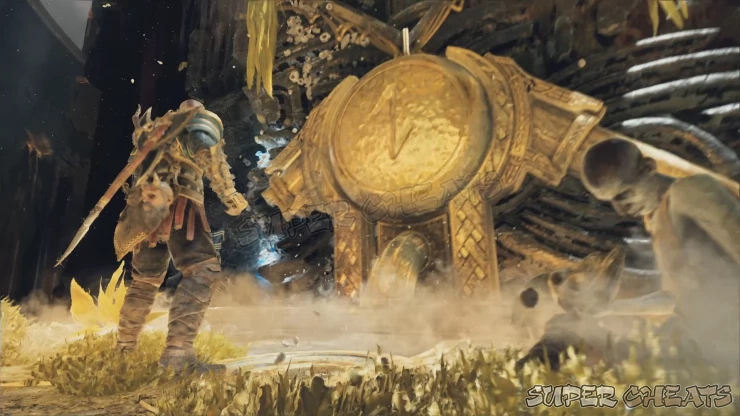
Once you reach the top, open the door and approach the ball of light in the other side of the temple. During this cutscene, you’ll come into the possession of the Unity Stone. The chapter will be complete afterward.

Anything missing from this guide?
ASK A QUESTION for God of War (PS4 - 2018)
Comments for Chapter 13: A Path to Jotunheim
Add a comment
Please log in above or sign up for free to post comments- Basics
- The Journey
- Favors - Dwarves
- Favors - Wayward Spirits
- Favors - Free Dragons
- Favors - Valkyries
- Labors
- Artifacts
- Nornir Chests
- Jotnar Shrines
- Treasure Maps
- Alfheim Locations
- Lake of Nine Locations
- Bosses
- Valkyries
- Muspelheim Trials
 Join us on Discord
