Chapter 2: Path to the Mountain 4
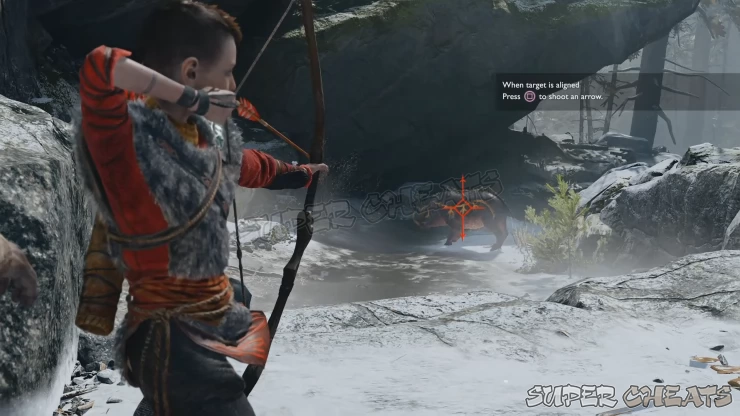
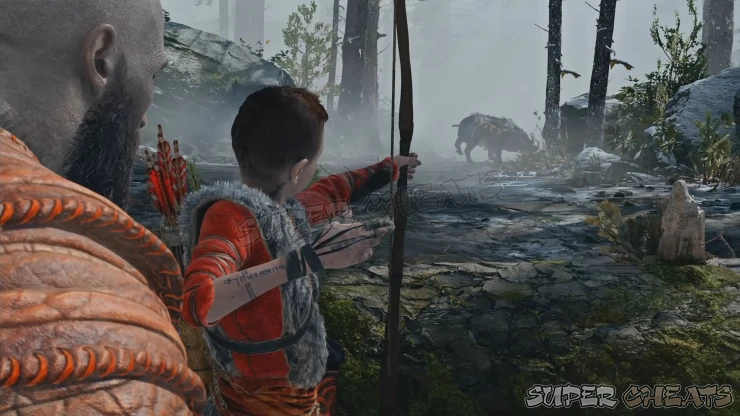
Once inside the cavern, pick up the hacksilver pouch and continue along the path. Drop down the ledge to spot the boar Atreus was supposed to be tracking. Like before, press and hold L2 to align your shot then press square to fire an arrow. After the arrow bounces off the boar’s hide, the boar will escape and you’ll have to continue tracking it down.
Continue ahead to an abandoned camp. You’ll immediately find another Eye of Odin raven on the roof of a hut to the right. Destroy it then jump down. Turn around and destroy the wall of the platform where you jumped from to access the wooden chest inside.
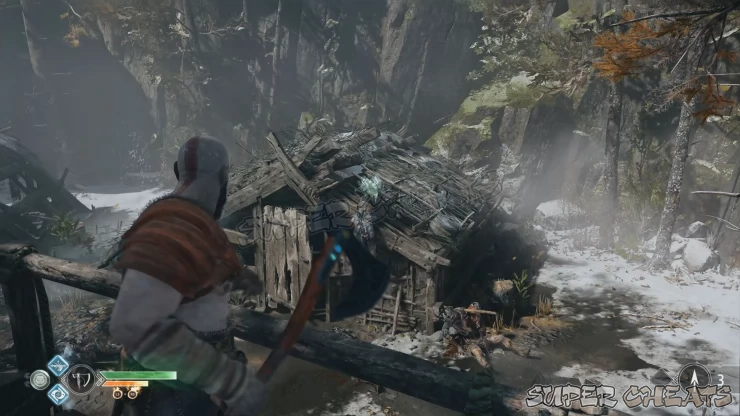
Destroy the door of the first hut to get some hacksilver inside. Head to the next hut with the door. Destroy it as well to find another hacksilver pouch. Right beside that hut is a smoldering hut. Check the space behind it to find a dead knight with another seior mask. (Faces of Magic 6/9) Pick it up then backtrack to the main path.
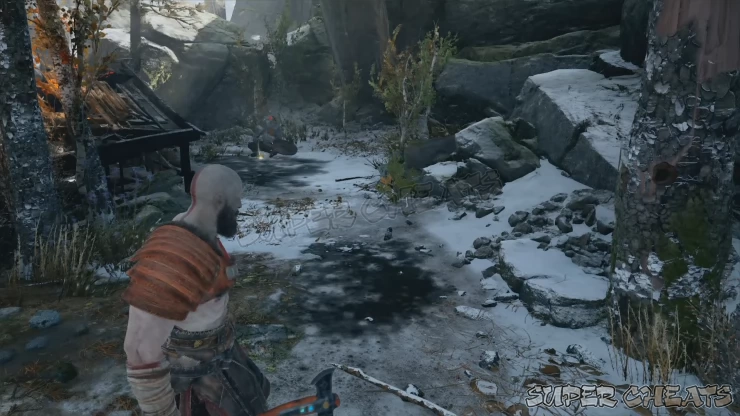
To your immediate left, you should find a stone ledge with a wooden chest on it. Climb the ledge and loot the chest. Continue ahead and be prepared for a sudden hel-reaver ambush from the next hut. Defeat it then get the hacksilver pouch from the hut where it emerged. To proceed with the story, approach the pillar and lift it.
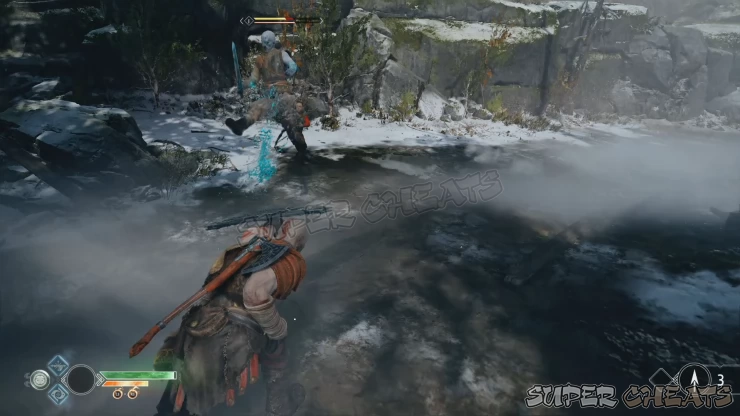
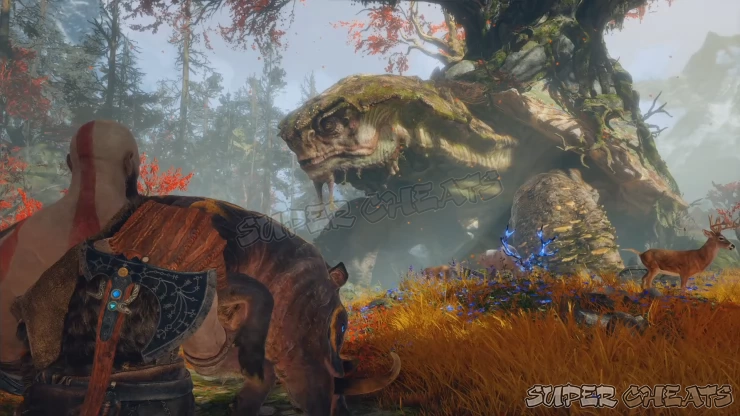
After Atreus pursues the boar, you’ll have to chase after him through a heavily fogged path. There’s only one correct path and two forks in the road. Even if you reach a dead-end, you can just backtrack and take the other one. Keep calling for Atreus whenever you see the prompt. Finally, you’ll eventually reach the end of the path. After Kratos squeezes through the gap, you’ll find Atreus with the Witch of the Woods.
Follow the Witch’s command to apply first aid to the boar. Once done, follow her to her hut. After a brief conversation, the witch will ask Kratos to bring her a Lamb’s Cress. It’s a white-petaled flower found in her garden. Leave her cottage, then turn left. You’ll find the flowers near the stream. Next, head to Atreus and help him pull the other herb the witch needs to heal the boar. Once done, return to the cottage for a cutscene.
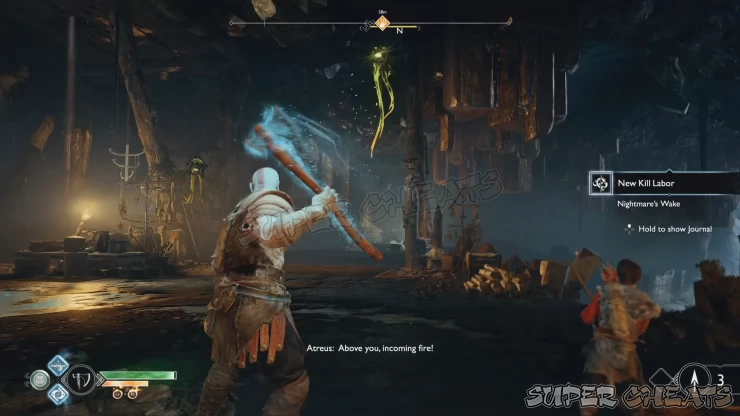
After the cutscene, the witch will permanently unlock a new feature that will help you in your journey, called the Witch’s Compass. You’ll have to take the boat to leave the Witch’s Cave. The cave is also flooded at the moment so there’s limited things you can do for now. Right outside the cottage, look to your left and throw your axe to one of the draugrs there. Kill it then continue to the central rock platform where you’ll encounter new flying enemies called Nightmares. Have Atreus shoot them and destroy them by using your axe. Watch out for their poison projectile attacks.
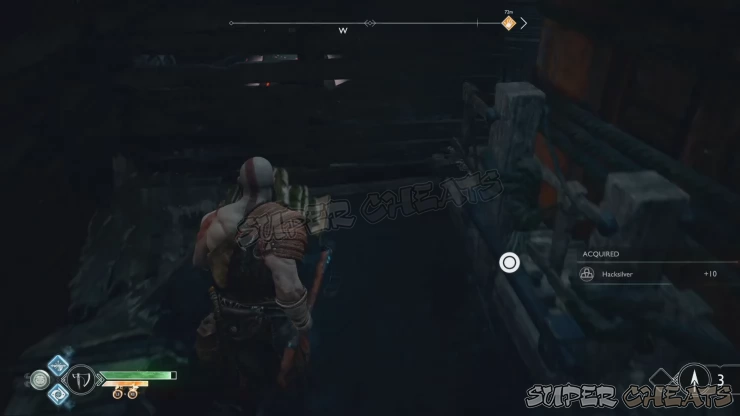
There’s a blocked path you can’t do anything about for now so ignore it for the meantime and turn left. Pick up the hacksilver then drop down the ledge to find a huge pile of crystal blocks. Go to the side and grab the handle. Push it to the side so you can access the coffin behind it to get a Soft Svartalfheim Steel.
Now grab the handle at the back of the pile and continue pushing it to the edge of the cavern so it falls down the water. Hop on it to reach a corpse and retrieve another seior mask. (Faces of Magic 6/9) You can only collect 7/9 of the masks at the moment since the other two can only be obtained on your return visit to the Witch’s Cave later in the story.
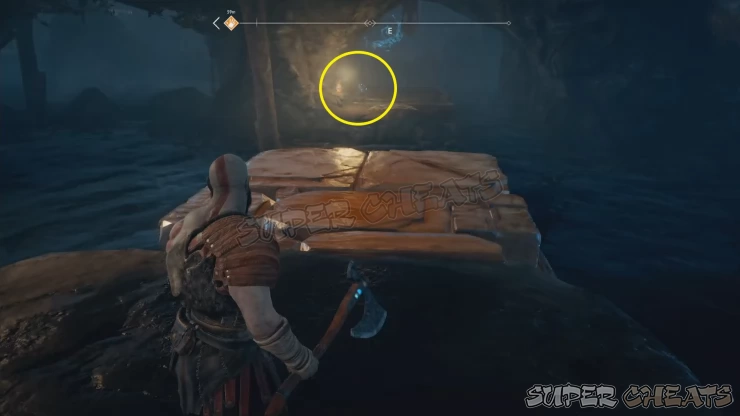
Now backtrack to the platform then hop across the stone platform with a broken sand bowl. Hop to the other ledge once again and open the legendary chest to get a Talisman of Concentrated Vitality. Equip it immediately for the meantime. Press R1+O to activate the talisman and unlock the Talisman Tinkerer labor. Once done, continue to the boat.
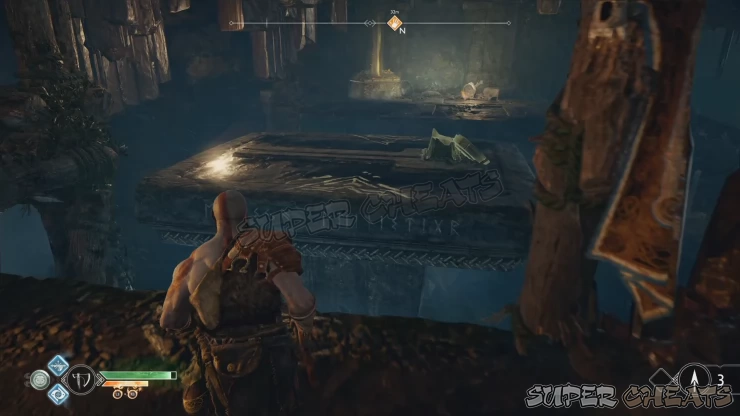
Follow the straightforward path until you reach the Lake of Nine. Once there, head towards the glowing statue. Once there, press square for Atreus to reach the engraving. A cutscene will follow.
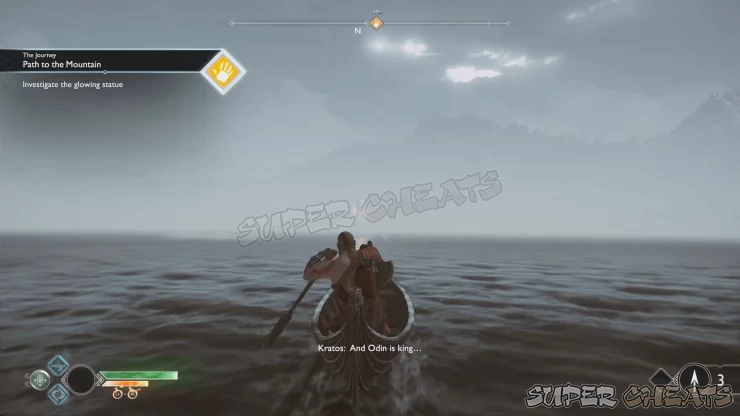
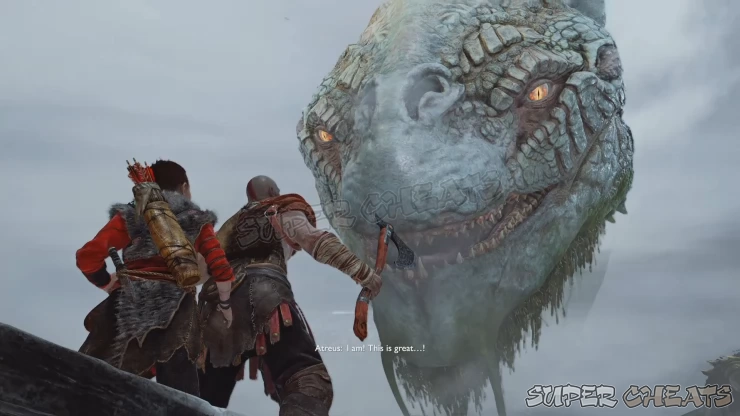
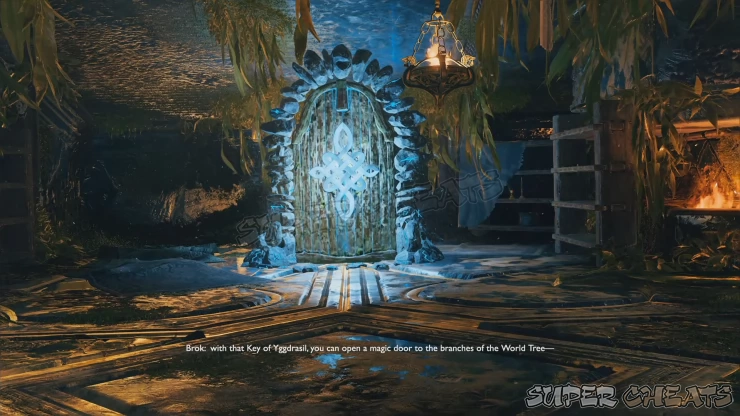
After the scene, new areas around the lake will be available for exploration. New Favors (side quests) can also be done at this point which will give you access to better equipment, resources, and exp to unlock more skills. However, before you do any exploring, you have to visit Tyr’s temple first to be able to use Mystic Gates. Head towards the temple and dock. Go upstairs to meet Brok again in a cutscene. Follow him inside his shop then talk to him. After that, you should be able to use mystic gates scattered around the lake, though they’ll only lead back to Brok’s shop in Tyr’s temple. Nevertheless, it’s a helpful tool that can save you a lot of time. For detailed locations and points of interest in the Lake of Nine, kindly consult the corresponding section of this guide. Before leaving, I suggest checking out Brok’s updated inventory and upgrade your equipment as necessary.

Anything missing from this guide?
ASK A QUESTION for God of War (PS4 - 2018)
Comments for Chapter 2: Path to the Mountain 4
Add a comment
Please log in above or sign up for free to post comments- Basics
- The Journey
- Favors - Dwarves
- Favors - Wayward Spirits
- Favors - Free Dragons
- Favors - Valkyries
- Labors
- Artifacts
- Nornir Chests
- Jotnar Shrines
- Treasure Maps
- Alfheim Locations
- Lake of Nine Locations
- Bosses
- Valkyries
- Muspelheim Trials
 Join us on Discord
