Chapter 11: Return to the Summit 1
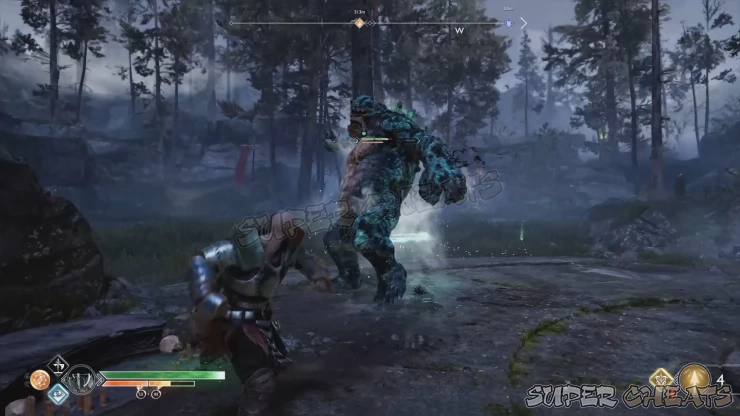
From Tyr’s Temple, cross the bridge and take the path leading back to the mountain. After the cutscene with Sindri, check if you need to upgrade your gear or restock your resurrection stone. Once done, attempt to leave the area and engage the enemies, including an ogre and a wulver.
If you just re-visited this area at this point, you should consider getting the previously inaccessible treasure chests trapped by bramble and solving a wind trap puzzle leading to a legendary chest. From Sindri’s shop, get past the sky mover and take the uphill path leading to two coffins; one is covered in miasma while the other is covered with sap. Shoot the shatter crystal beside the sap-covered coffin with a shock arrow to break it free. For the other coffin, use the blades of chaos’ ranged attack to destroy the Hel’s bramble, allowing you to freeze the scorn pole. Loot the Sigil of the Weapon from it.
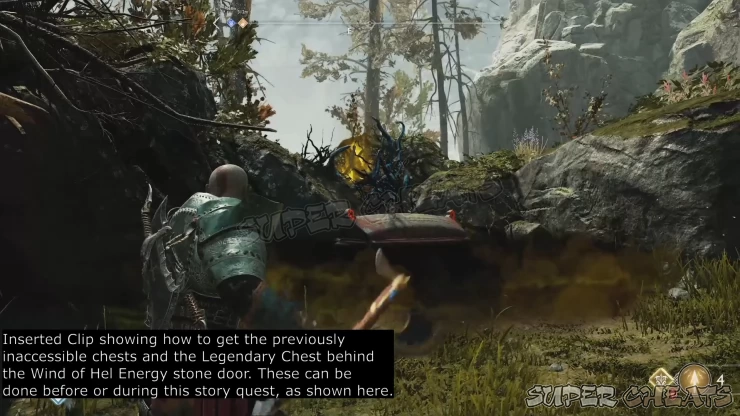
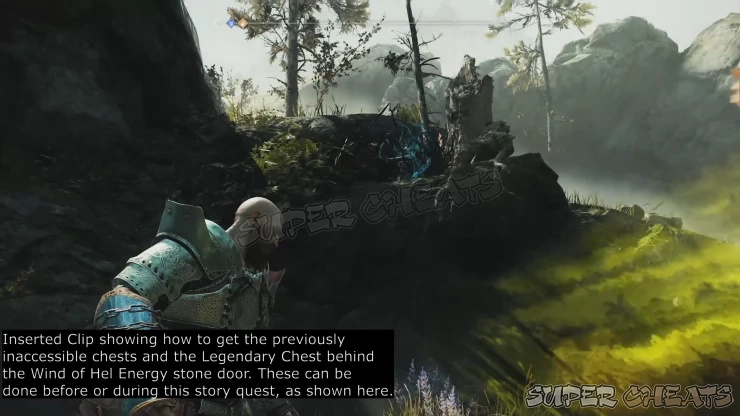
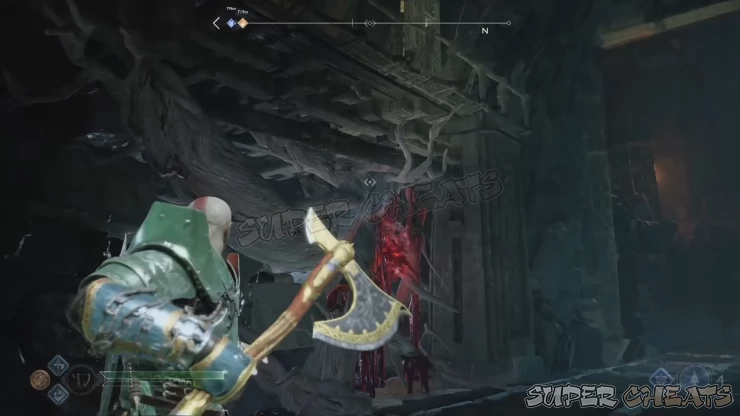
Backtrack and take the ordinary path leading to the mountain. Make your way to the dead-end corner past a scorn pole and a fallen trunk overhead to find an active wind trap covered in brambles as shown below.
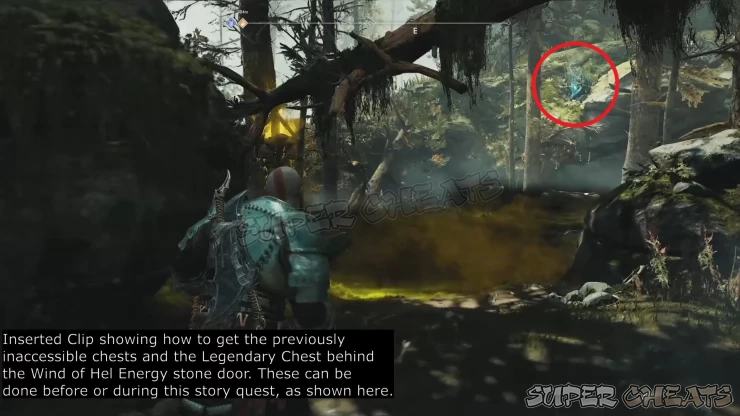
Burn it free then capture the wind. Quickly transfer it to the obvious wind trap along the main path, right before the tunnel.
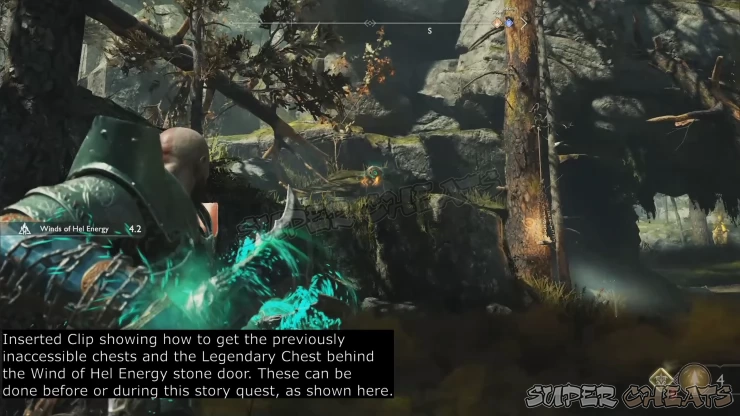
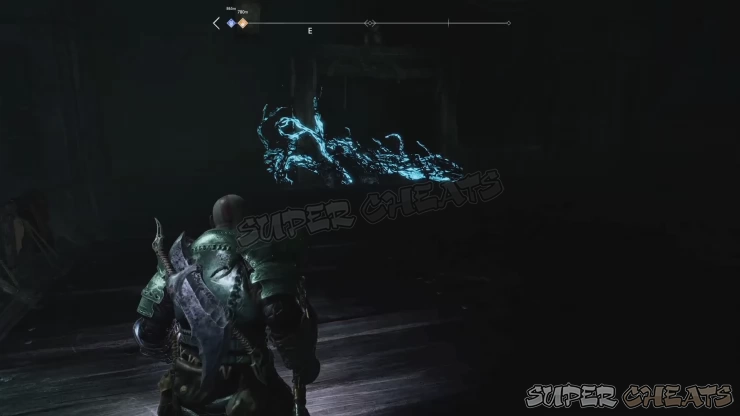
Next, before capturing the winds again, get past the tunnel and look to the upper left to find another wind trap covered in brambles. Burn it free then transfer the wind there.
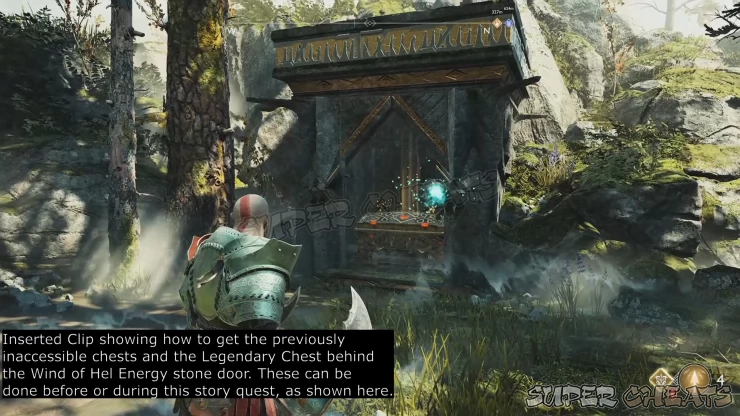
Finally, transfer the wind to the stone door nearby to reveal the legendary chest inside. Loot the Blast of Hephaestus light runic attack from it.
From there, continue along the path and take out the enemies along the way. Climb the tall rock wall again to reach the ruins where you fought the ogre for the first time. Shortly after, realm tears will appear and broods will aggressively attack you. Take them all out then continue past the main door.
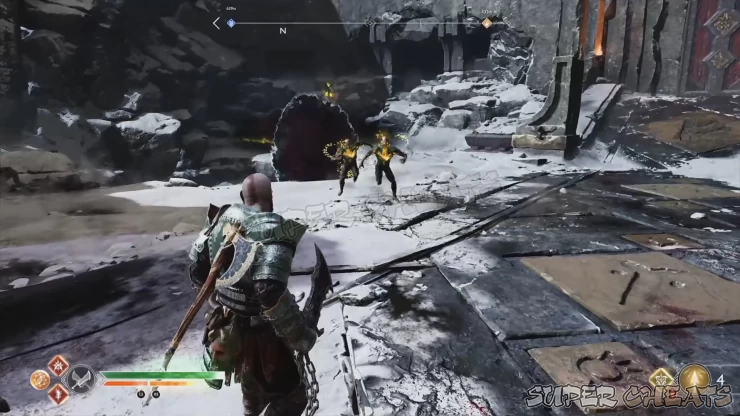
After passing through the door, burn the bramble covering the coffin to the right and loot its contents. Next, continue along the main path and turn to the right again to find another bramble-covered wooden chest at the base of the zipline. Burn the bramble to loot the chest.
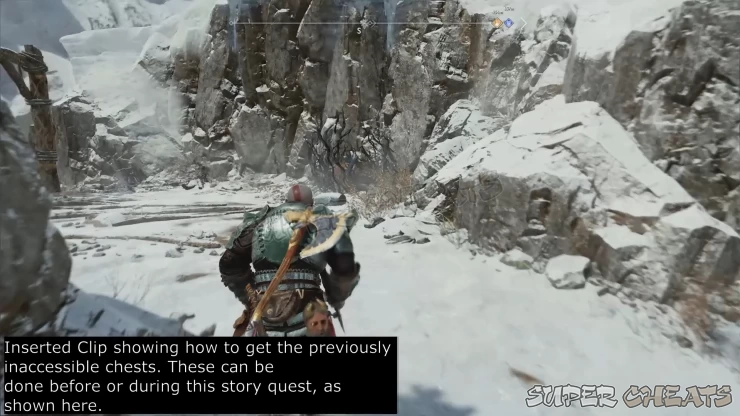
Cross the stone bridge leading to the mountain. Make sure to shoot the shatter crystal at the edge of the cliff to free the coffin behind it. Continue along the the bridge and scale the rock cliff.
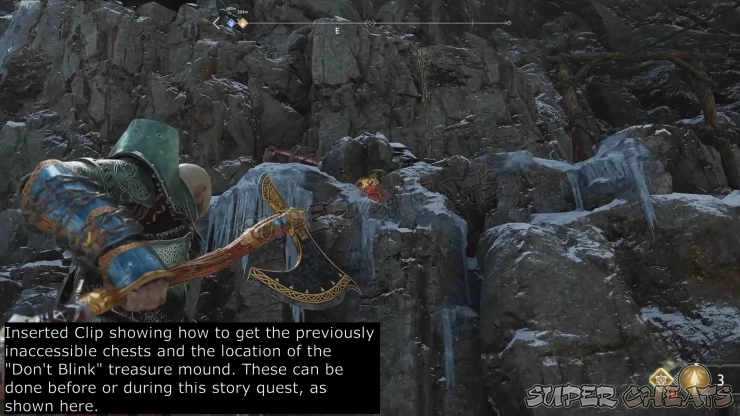
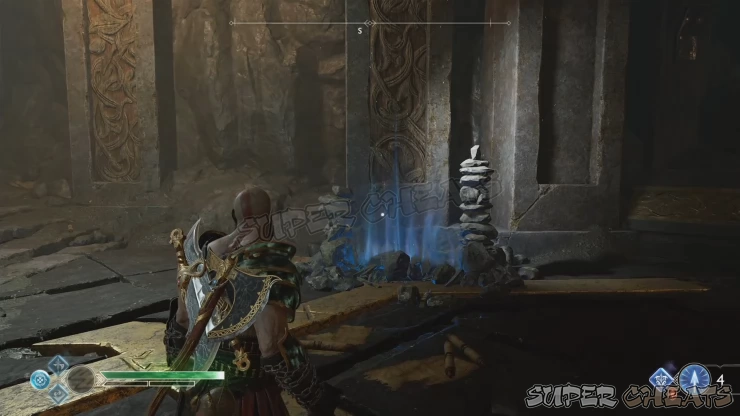
Open reaching the mountain’s entrance, take the path leading to the zipline. If you already have the “Don’t Blink” treasure map, you can find the mound along the way as shown below.
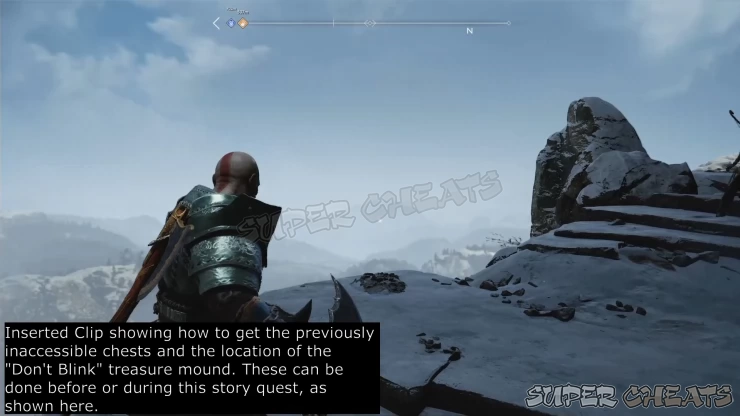
Continue along the path and climb down the cliff to reach the coffin you freed up earlier. Loot its contents then backtrack to the mountain’s entrance. As soon as you enter the mountain ruins, you’ll encounter Modi. After the scene, take the path to the left and shoot the shatter crystal blocking the path to clear it.
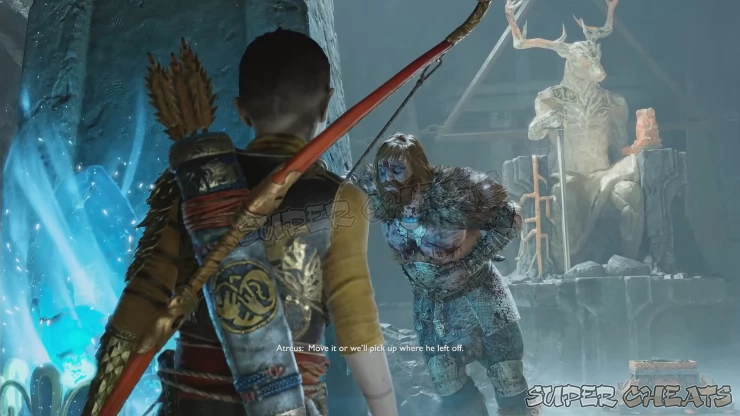
Defeat the enemies that will ambush you. Once the path is cleared, activate the nearby lore marker with a light arrow if you haven’t done so yet. Continue along the path and climb up using the chain you kicked off earlier, during your first visit in the area.
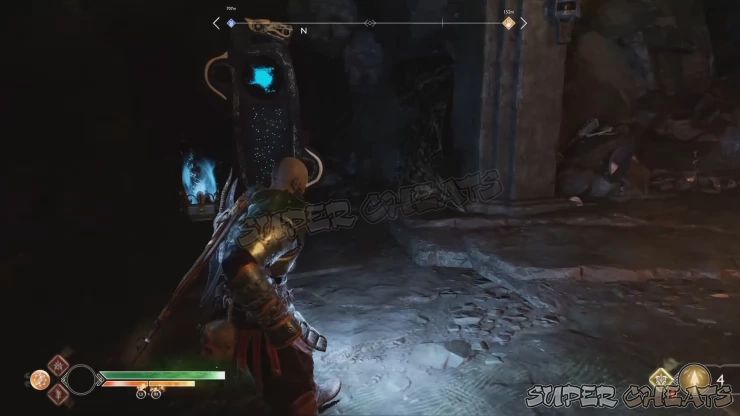
Continue to the main cavern where more enemies await. The hidden chamber of Odin in this area leads to a valkyrie. You may not be powerful enough to defeat her yet but for your convenience, I suggest breaking the seal and taking the elevator down so you can at least mark the chamber’s mystic gate to your map so you can easily travel here instantly later on.
For the meantime, find the sap-covered opening under a platform to the left of the cavern’s main gate. Blow it up and loot the coffin inside and to pick up an artifact in front of the corpse. (Bottom’s Up cup) Finally, climb the platform beside the hidden chamber of Odin and destroy the bramble covering the lift. Hop on the lift and activate it to start your quick ascend to the summit.

Anything missing from this guide?
ASK A QUESTION for God of War (PS4 - 2018)
Comments for Chapter 11: Return to the Summit 1
Add a comment
Please log in above or sign up for free to post comments- Basics
- The Journey
- Favors - Dwarves
- Favors - Wayward Spirits
- Favors - Free Dragons
- Favors - Valkyries
- Labors
- Artifacts
- Nornir Chests
- Jotnar Shrines
- Treasure Maps
- Alfheim Locations
- Lake of Nine Locations
- Bosses
- Valkyries
- Muspelheim Trials
 Join us on Discord
