Chapter 5: Inside the Mountain 3
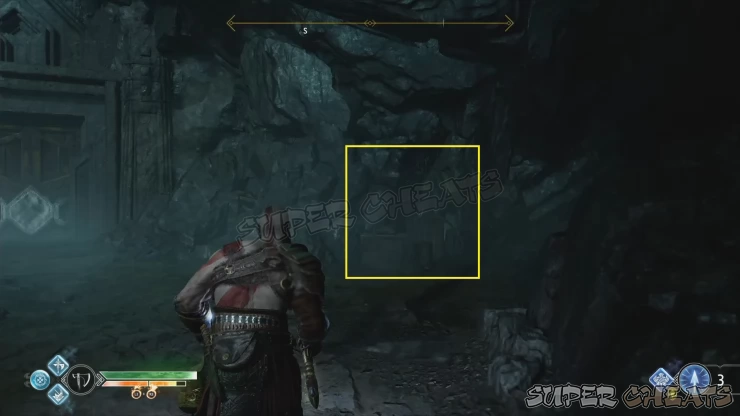
After defeating the frost troll Jarn Fotr and upgrading your Leviathan Axe in Brok’s shop, head back to where the door to Odin’s hidden chamber and destroy the wooden objects blocking a barely visible narrow gap you can squeeze through. There’s a coffin inside containing a Solid Svartalheim Steel.
Now leave the secret room and head back to the large cart you pushed earlier. Push it as far as it can go towards the gear wheel used to operate the crane earlier. Once secured, head back to the gear wheel and operate it to lower the hook and attach it to the cart. Before letting go of the gearwheel, throw your axe on the gears to the right to freeze them. Climb on the cart and recall your axe to ascend.
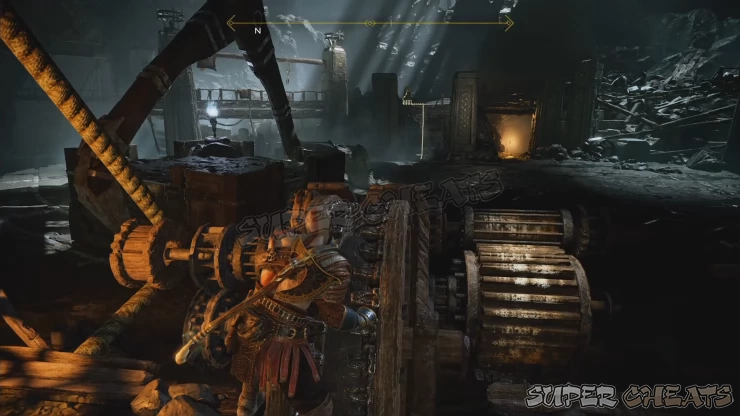
Upon reaching the upper floor, leave the cart for a short cutscene. After the scene, turn around and destroy the wooden obstructions behind the cart to find a wooden chest. Loot its contents then continue forth along the main path. There’s a hacksilver pouch beside the corpse at the base of the stone path so don’t forget to pick it up. Shortly after, you’ll encounter fire traps that you have to pass through so make sure to time your advance to avoid getting damaged.
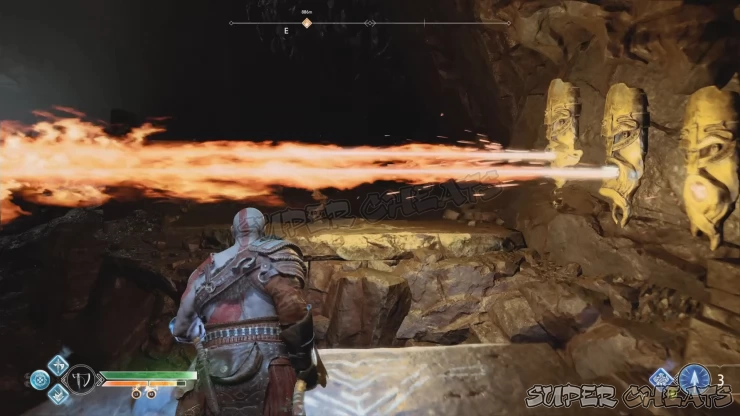
As you approach a coffin ahead, a rotating fire trap will be activated. You have to move past this trap so use the stone pillars as cover. Turn to your immediate right and climb up the first low ledge to find a hacksilver pouch. Carefully drop down and ignore the pouch in front of a knight corpse. You can safely retrieve it later after deactivating the trap. For now, move behind cover and take out the ranged draugrs until you reach the gearwheel. You can still get hit by the fire and get interrupted while operating it so make sure to time your interaction with it. Once the fire trap is lowered, you can now open the coffin containing the Plated Pauldrons of Focus. Next, pick up the hacksilver pouch in front of the knight corpse you ignored earlier.
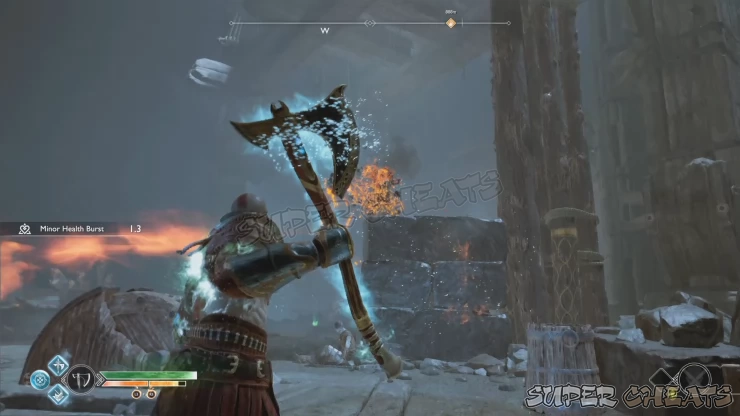
Head to the next lift and make sure to pick up the health or ragestones. Interact with one of the heavy boulders to push it off and start your ascend. Because of the other boulder, you’ll only ascend briefly. Don’t push off the other boulder yet; instead, drop down the platform to loot the wooden chest and the hacksilver pouch in the corners. Climb back up the lift and push the other boulder to continue your ascend.
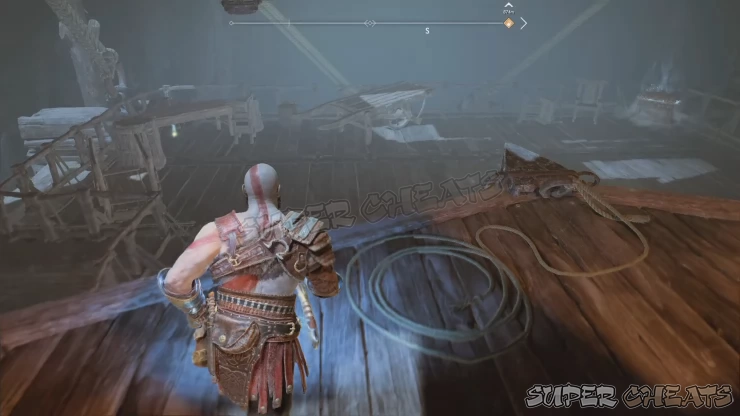
Your ascend to the summit will not be without hassle. Shortly after, draugrs will attack. Powerful attacks that can push them off the edge can be useful in killing them instantly. A few moments later, the lift will be stuck and more draugrs will attack. Take out the ranged draugrs first when you can then finish off the remaining enemies. Once done, interact with the lift’s stuck part by the wall to push it off and continue your ascend.
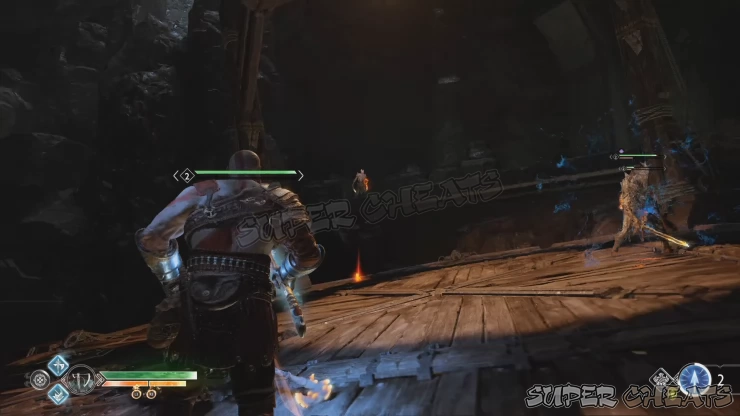
Your lift will be stuck again and this time, an ogre will hop aboard. Take out the draugrs first then continue pummeling the ogre with Atreus’ light arrows. This should fill up its stun gauge faster. Once stunned, mount it and force it to destroy the enemy reinforcements. Finish it off and the other enemies. Pick up the items then interact with the stuck part of the lift again to push it off.
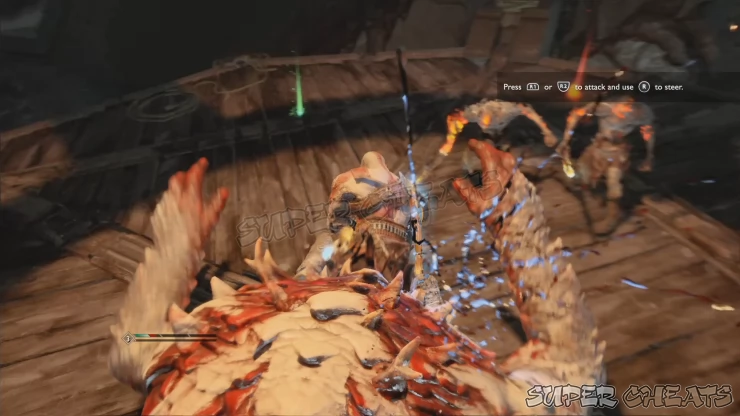
Just when you’re almost at the summit, a dragon called Hraezlyr will attack. Keep attacking its claws and watch out for its bite. Once its grip loosens up, the lift will be thrown violently on the wall and get stuck. Push it off again to continue with the sequence. Once the dragon escapes, you’ll be dragged to the tunnel it created. You have no choice but to follow the trail.
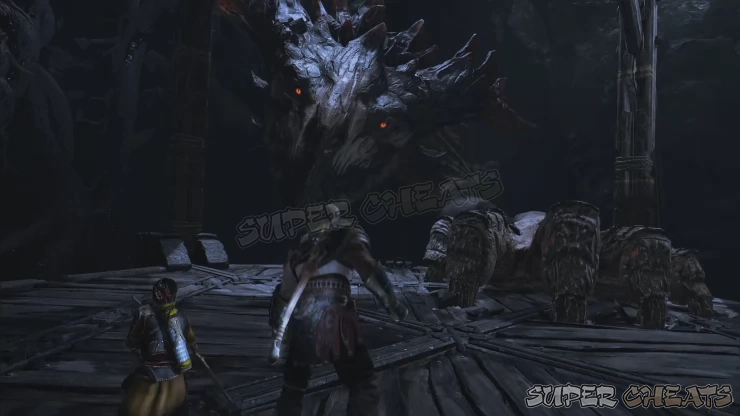
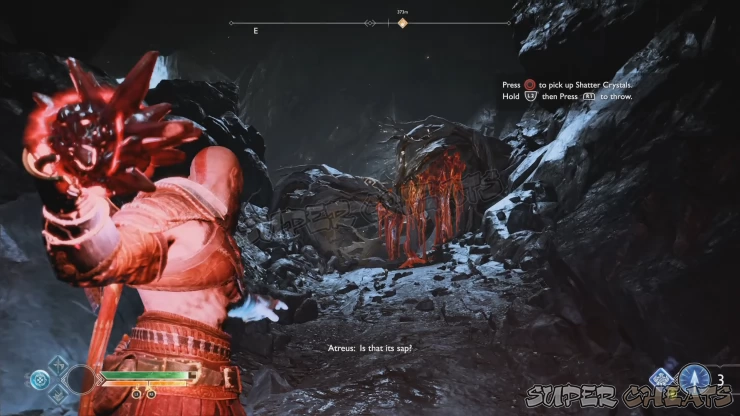
There’s a similar red sap blocking the path so grab the shatter crystal from the root nearby and throw it at the obstruction to blow it clear. Continue ahead and cross the gap. There’s another obstruction along the way. Do the same using the nearby shatter crystal to clear your path. Continue along the tunnel to reach the exit. Here you’ll find the dragon attacking Sindri.
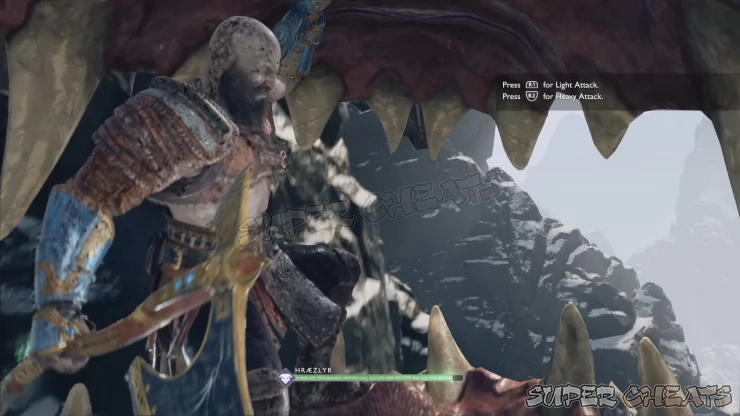
After Atreus leaves, run to the left and hop at the back of the dragon to start the dragon slaying sequence. Once Kratos finds himself inside the dragon’s mouth, keep attacking with your axe until it spits you out in the open battlefield.
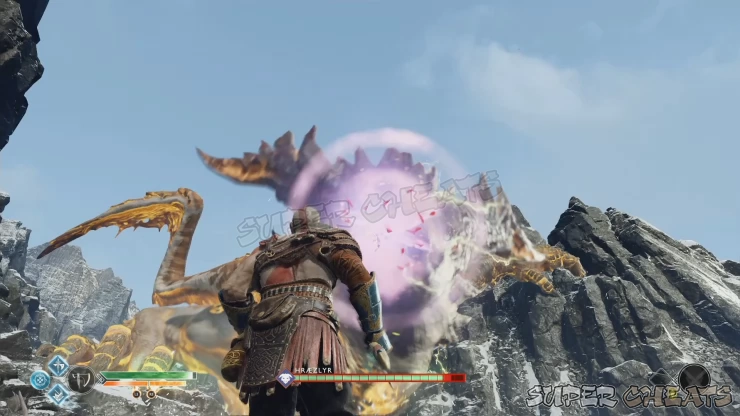
Once the battle starts, take note of the location of the shatter crystal pods. You have to throw a shatter crystal while the dragon is attacking with its lightning breath and summons lightning strikes to your position. Once done correctly, the blast will damage its heavily armored head, revealing the softer tissue underneath. This will also cause the dragon to get stunned temporarily and fall down to the ground. Use this chance to perform runic attacks to deal as much damage as possible within a short span of time. After the dragon recovers, pick up the healthstones it drops and track it as it repositions.
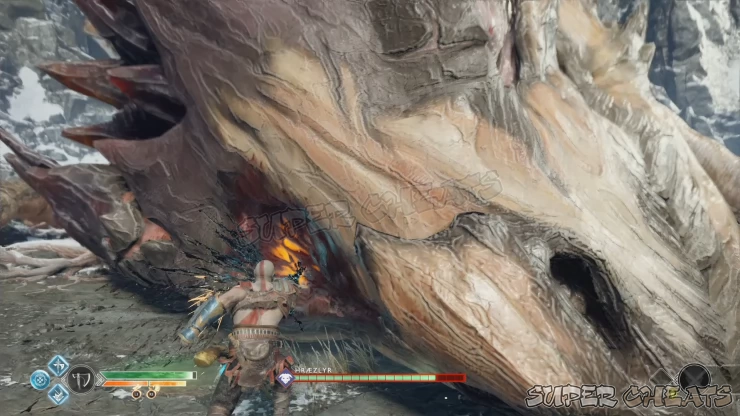
During this sequence, it will start attacking with its claws. When it slams its claws, block the shockwaves that will be produced. Counterattack after evading its melee attack, preferably with runic attacks as well or normal heavy attacks.
After a few melee attacks, it will resume using its ranged lightning breath attacks. You’ll have more than enough time to avoid this blast. There’s a damaging residual energy on the ground as well after this attack so don’t attempt to step on it until it dissipates. Pick up a shatter crystal again and throw it while it’s blasting its lightning breath. You have to be close enough so time your throw as soon as you get out of harm’s way. You should aim to the already damaged part of its head. Successfully detonating a shatter crystal there will stun the dragon once again.
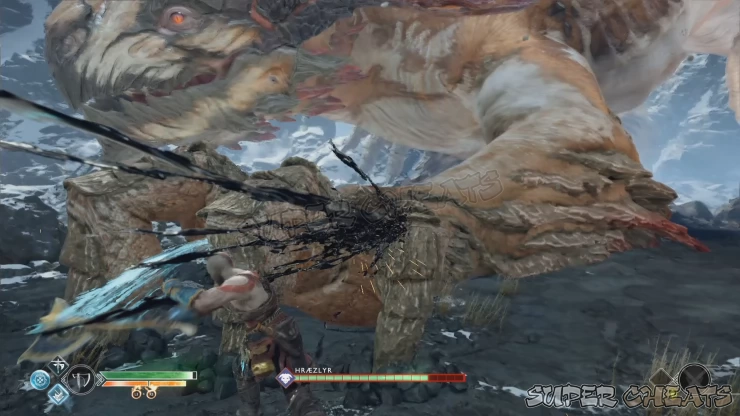
The dragon will reposition again after recovering. Pick up the healthstones it will leave behind and prepare for the next part of this long battle. It will perform a few melee attacks again so prepare to block/evade and counterattack when you can until it resumes its lightning breath attack. Repeat the same procedure to knock it down again. Perform a few more attacks on its vulnerable part until it recovers.
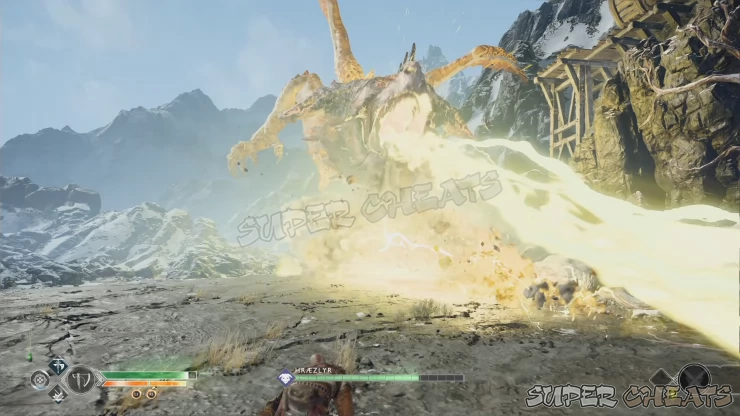
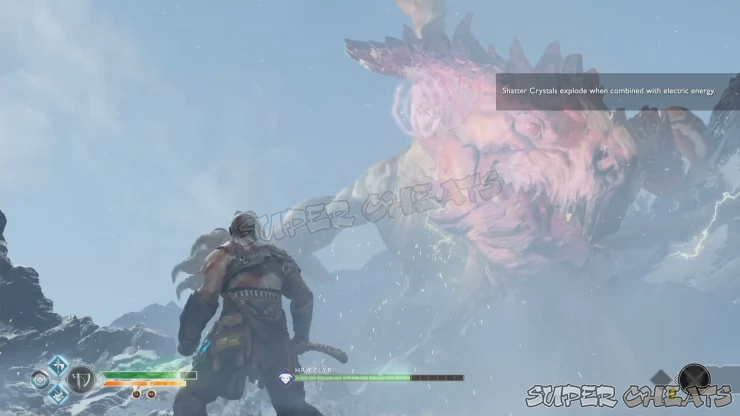
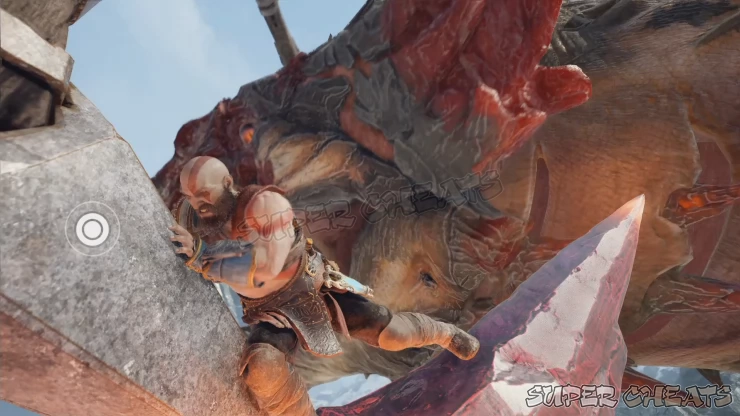
It will reposition for the last time. Like before, you have to react to its melee attacks until it resumes using its lightning breath. This time, instead of firing it in a straight, predictable line, it will start spraying its blast in various directions while also summoning lightning strikes. There’s only one shatter crystal pod remaining. Time your throw when its using its lightning breath. It may take two shatter crystal explosions to knock it down this time. Once it gets knocked down, perform your runic attacks until the prompt for Atreus to lower the crane appears. Press square to issue the command. Smash the circle button once prompted to stab the dragon with the large shatter crystal to finish it off.
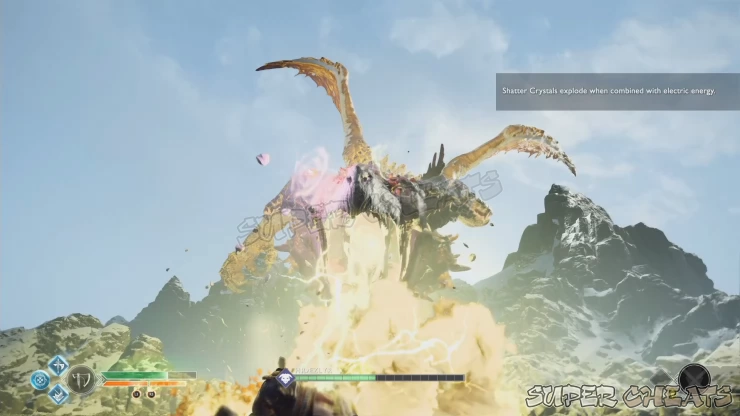
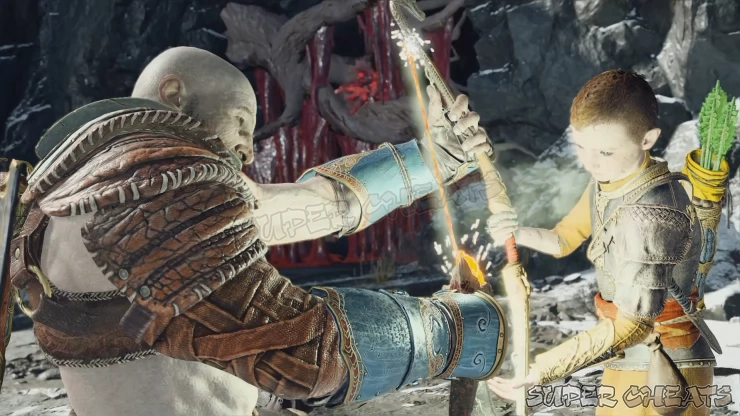
Sindri wants to reward you with something. Collect the dragon’s tooth from Hraezlyr’s mouth and bring it to Sindri. This will permanently imbue Atreus’ bow with lightning, allowing him to use Shock Arrows. This will allow you to shoot shatter crystals covering coffins, chests, and blocking paths from hereon. You can also switch between his light arrows and shock arrows anytime by pressing the Up DPAD. When used in combat, his shock arrows can stun enemies and when upgraded, can create devastating arc lightning that jumps between multiple enemies, making it ideal for crowd control. To test it, have him shoot the shatter crystal blocking the opening of the cave ahead. Before continuing, you can check out Sindri’s shop and check if you can afford upgrading your equipment.

Anything missing from this guide?
ASK A QUESTION for God of War (PS4 - 2018)
Comments for Chapter 5: Inside the Mountain 3
Add a comment
Please log in above or sign up for free to post comments- Basics
- The Journey
- Favors - Dwarves
- Favors - Wayward Spirits
- Favors - Free Dragons
- Favors - Valkyries
- Labors
- Artifacts
- Nornir Chests
- Jotnar Shrines
- Treasure Maps
- Alfheim Locations
- Lake of Nine Locations
- Bosses
- Valkyries
- Muspelheim Trials
 Join us on Discord
