Chapter 2: Path to the Mountain 5
When you’re ready to continue with the story, follow Tyr’s bridge. There’s a pedestal in the middle that leads to a large horn. You can’t do anything about it for now so just ignore it and continue to the other end of the bridge. Destroy the explosive hel-reavers along the way and continue to the large door.
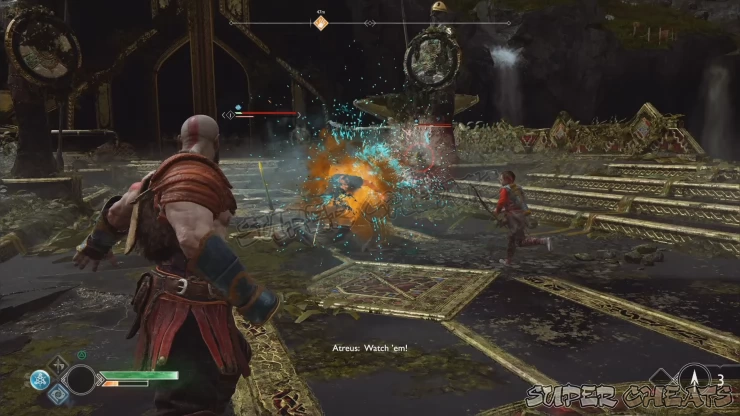
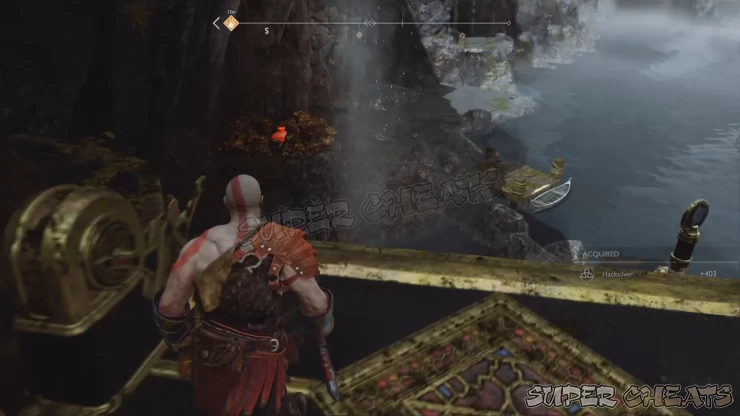
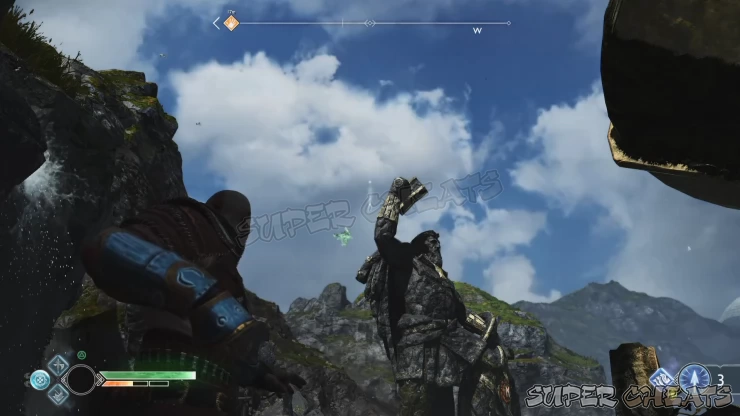
Atreus can’t read the runes beside the large braziers yet so you can just ignore them for now. Loot the two wooden chests on each side of the door. The lift to the left just leads to a dock while the other lift is connected to the Lookout Tower. You can also hit the explosive jar to destroy the debris and clear the path to the tower. If you haven’t checked out this optional area before, you’ll find a Nornir Chest, a treasure map, and a boat figurehead artifact. (More details about this area will be discussed in detail in our dedicated page for it) There's also an Eye of Odin raven flying above the Lookout Tower area, which can be hit by throwing your axe from the bridge.
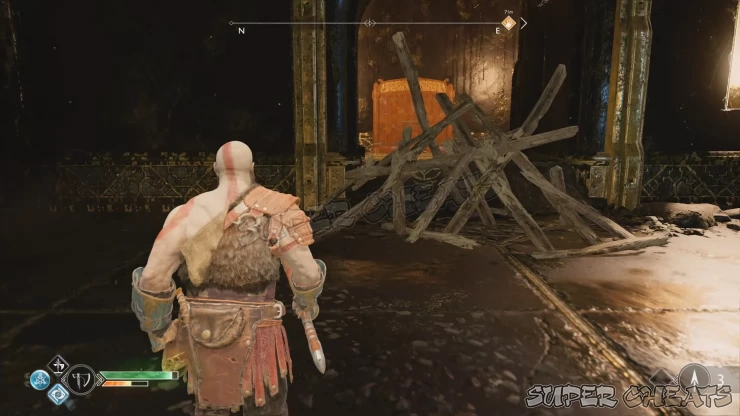
Enter through the main door and you’ll find more enemies inside. After defeating them, you’ll find more runes that Atreus can’t read yet. Take note of them for now then turn left to find another Jotnar shrine inside a barricaded room. Destroy the obstacles and vault over the fallen pillar to examine it and add it to your journal. (Jormungandr)
Take note of the light crystals above the rooms for now. The scorn poles ahead will continually spew a poisonous cloud around it. You have to freeze it with your axe to temporarily dissipate its poison cloud and allow safe passage. Remember not to recall your axe while you’re still within the poison cloud’s area of effect. After freezing the first scorn pole, loot the hacksilver from the body and continue along the corridor. There’s another hacksilver you can get from the corpse ahead. Pick it up, recall the axe, and freeze the next scorn pole.
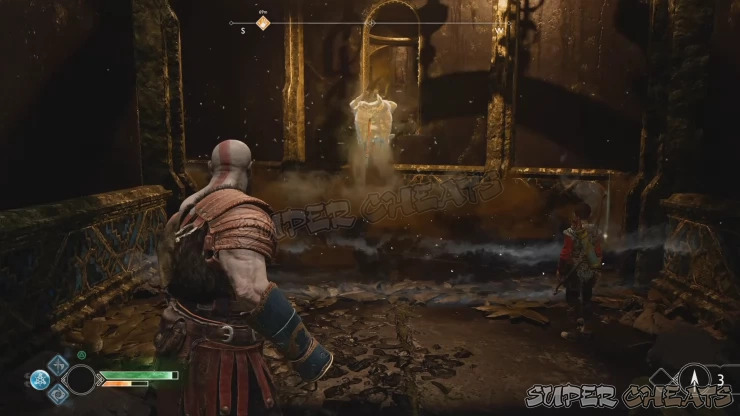
Continue ahead then drop off the ledge. Defeat the lone tatzelwurm that will emerge near the scorn pole. Defeat it then freeze the scorn pole. This will allow you to loot the legendary chest to the left containing a Muspelheim Cipher. The Lore Marker nearby can’t be activated for now so just take note of it since we’ll coming back for it later.
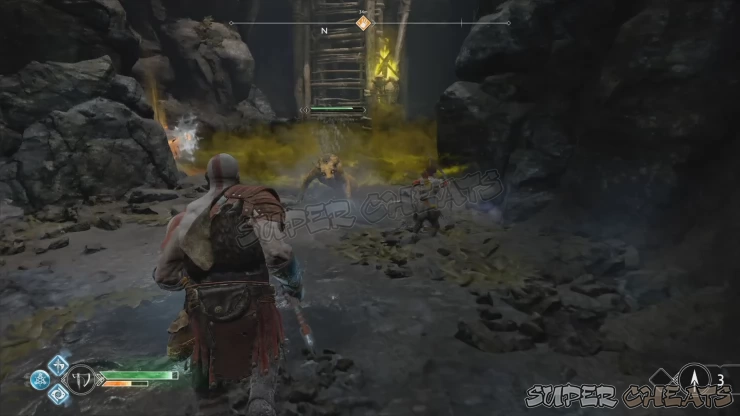
For now, climb up the nearby wooden scaffolding and follow the markers so you can jump to the next ledge. From there, open the next door to reach a new area, the Foothills. Here you’ll meet Brok’s brother, Sindri. After adding a Mark of the Dwarves on your Leviathan Axe, you can check Sindri’s shop to purchase a Resurrection Stone. This will allow Atreus to revive Kratos with the amount of HP depending on the resurrection stone’s quality. You can only carry one res stone at a time. There are no new inventory available at this point so upgrade sparingly to conserve your resources.
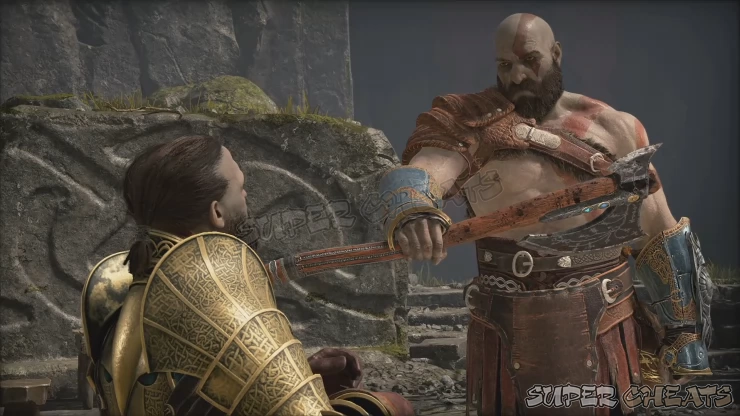
When ready, carefully head to the grassy area to trigger an enemy encounter. Have Atreus take out the shadow warriors and use your axe in dealing with the tatzelwurms. Once cleared, you’ll have a chance to explore the immediate area before moving on to the next objective. First, there’s a scorn pole behind Sindri’s tent that you can freeze. This will allow you to loot the coffin near it, behind the wooden gondola’s base.
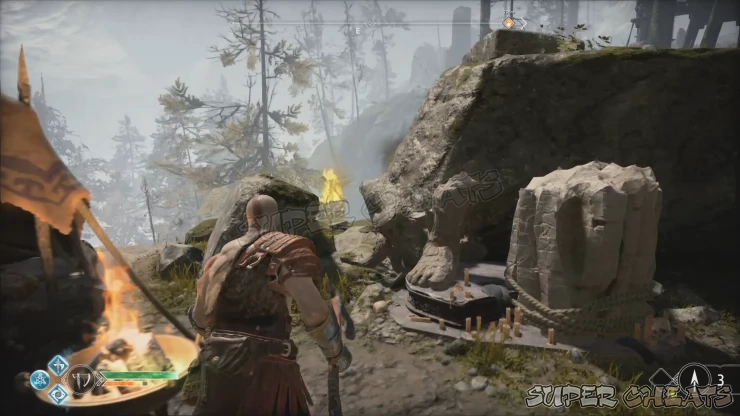
There’s another path to the southeast (refer to your compass) with another scorn pole. You can’t do anything with the two coffins in this part of the path yet so ignore this path for now then head to the other side of Sindri’s shop instead. Freeze the scorn pole behind the stone statue to loot the coffin beside it, containing an Arcane Waist Guard.
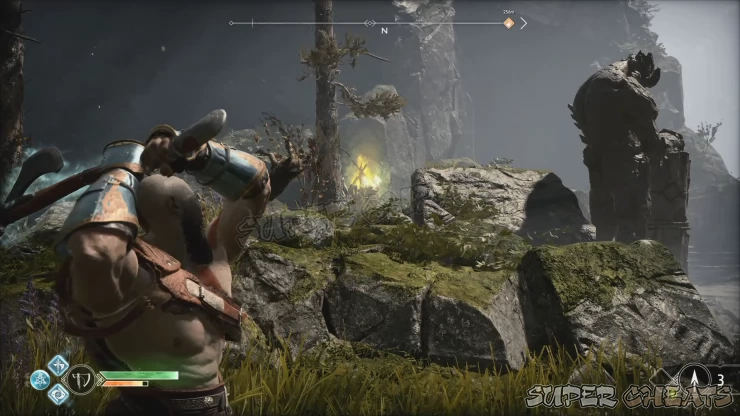
Take note of the seal rune contraptions since you’ll be using them to unlock the nearby Nornir chest. The first spinner contraption is right behind the nornir chest. Just hit the plates with your axe to match the middle rune on the chest.
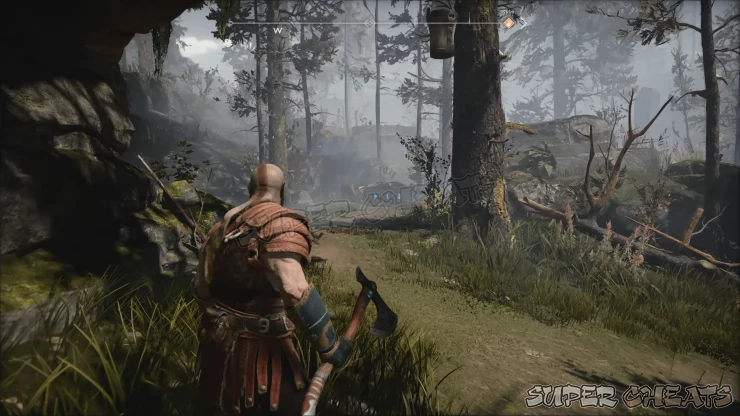
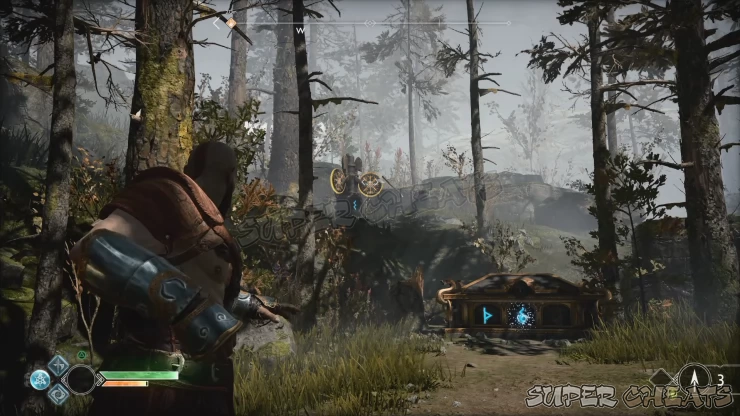
Backtrack a bit to find the second spinner out in the open then do the same thing until the correct rune is displayed as shown below:
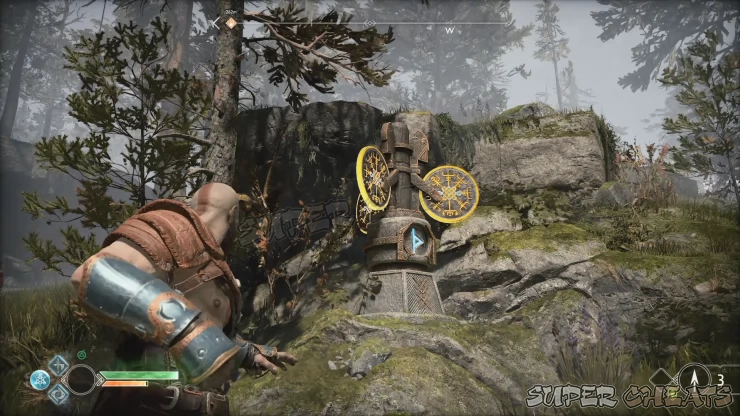
Finally, head to the right. The spinner’s rune is blocked by the poison fog so you’ll have to freeze the scorn pole to see the spinner’s rune. Once the rune is matched as displayed below, head back to the Nornir chest and get a Horn of Blood Mead.
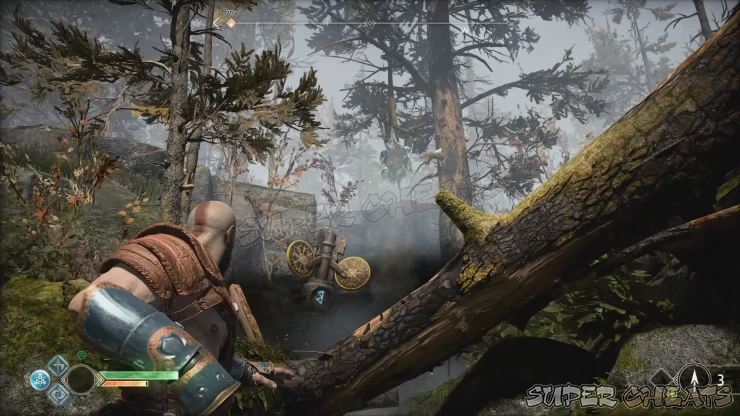
When ready, check the area for obvious hacksilver pouches and look up for hanging buckets that you can destroy and loot. Find the rock face with carvings that you can climb on. Before climbing, loot the wooden chest near the edge of the ledge. Climb up the cliff to find a fork in the road. Take the left path first and first the scorn poles as needed to find a coffin that contains an Arcane Bracers.
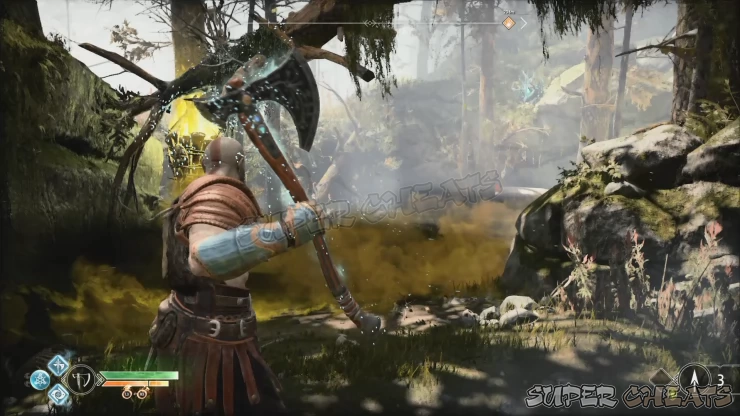
Backtrack to the main path and continue through the short tunnel. There’s a revenant waiting at the end so have Atreus shoot it as often as you can. Freeze the scorn pole so you can at least pummel the revenant with bare-handed attacks. You’ll find some green orbs here but you can’t do anything about them for now so just make a mental note about their location.
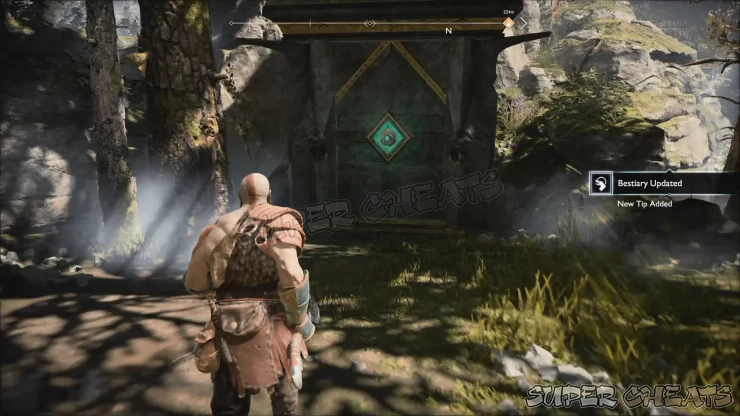
At the end of the cave ahead lies another Odin’s hidden chamber. Approach it to register the location in your map. Backtrack outside and freeze the scorn pole and continue inside the tunnel. Freeze the scorn container above, at the end of the tunnel. Pick up the nearby hacksilver pouch then climb up the rock face.
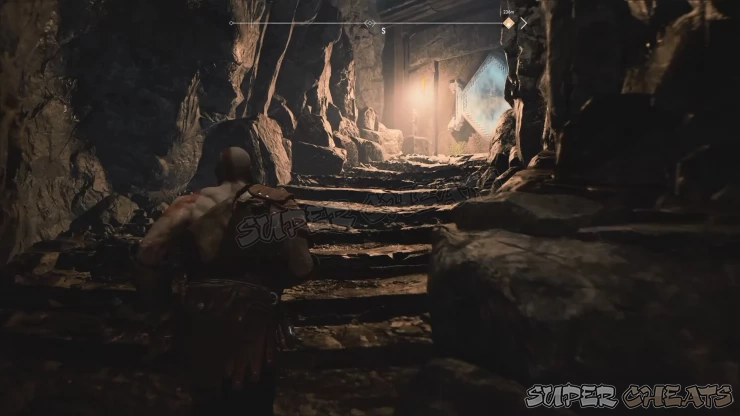
After climbing, you’ll find a couple of wolves and a reaver. Clear the area then find a chest and a coffin stuck in a scorn fog and some rocks to the left of the large door. There are explosive jars beside them so detonate the first jar to gain access to the coffin. Loot the Arcane Shoulder Wraps from it.
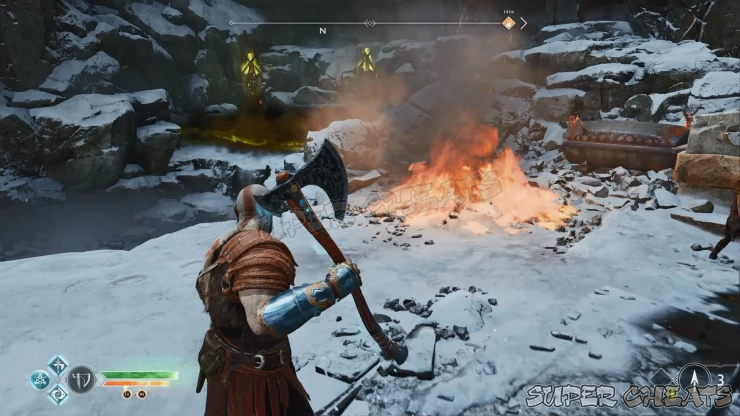
Next, detonate the next jar near the poison fog. There are two scorn poles here but one of them has an explosive jar beside it. Throw your axe to that jar to destroy the scorn pole. Freeze the other one to gain access to the chest. Obtain the Charge of the White Bear light runic attack from it.
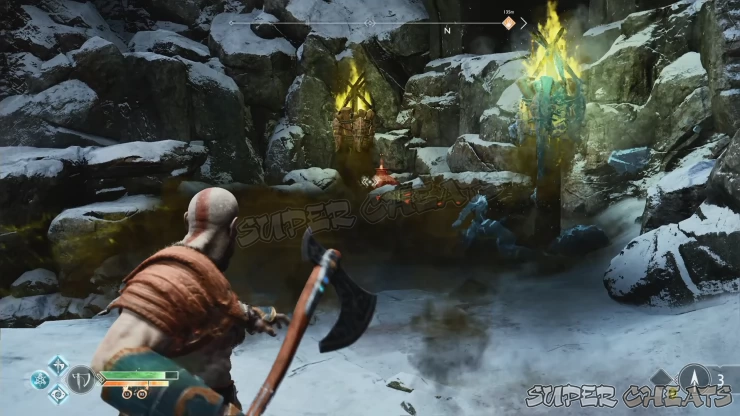
You can save the other explosive jars in the area for the next mini-boss fight. Approach the fallen pillar in front of the door and interact with it to free an ogre behind it. At the same time, more reavers will appear behind. Take out the reavers first by attacking them directly or detonating the explosive jars nearby (if you haven’t detonated them earlier). Once the lesser enemies have been dealt with, you can focus on the ogre. Atreus’ arrows will help a lot in boosting the ogre’s stun gauge. Once filled, you can ride the ogre and even steer it by attacking it. You can do the same thing later on, especially if you manage to stun an ogre with enemies nearby. Its attacks can easily decimate normal fodder enemies.
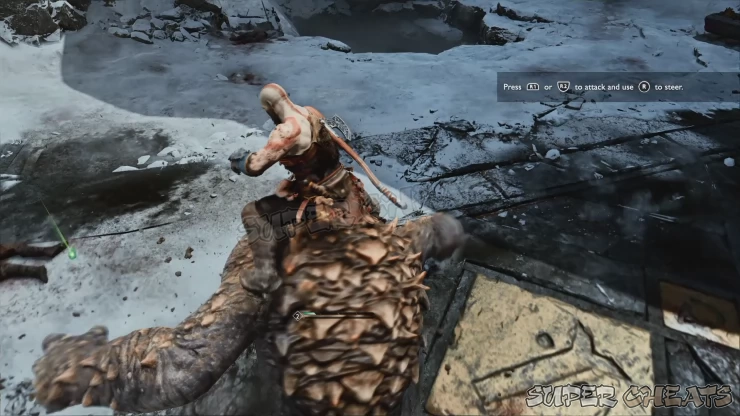
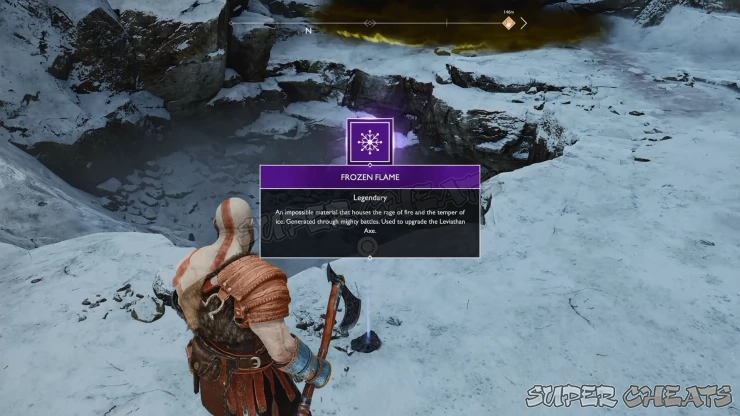
Finish off the ogre, defeat any remaining enemies, then scour the area for breakable objects to get more hacksilver and health stones. The ogre will drop a rare enchantment and a Frozen Flame. As much as it’s tempting to head back to Sindri to get your Leviathan Axe upgraded, continue forth for the meantime since there’s an easier way back down as part of the story.
Continue through the massive stone doors and follow the mountain path and approach the black smoke called the Black Breath to trigger a cutscene. The Witch of the Woods will appear and help you determine your next course of action. This will complete the current quest and immediately start the next one.

Anything missing from this guide?
ASK A QUESTION for God of War (PS4 - 2018)
Comments for Chapter 2: Path to the Mountain 5
Add a comment
Please log in above or sign up for free to post comments- Basics
- The Journey
- Favors - Dwarves
- Favors - Wayward Spirits
- Favors - Free Dragons
- Favors - Valkyries
- Labors
- Artifacts
- Nornir Chests
- Jotnar Shrines
- Treasure Maps
- Alfheim Locations
- Lake of Nine Locations
- Bosses
- Valkyries
- Muspelheim Trials
 Join us on Discord
