Chapter 2: Path to the Mountain 1
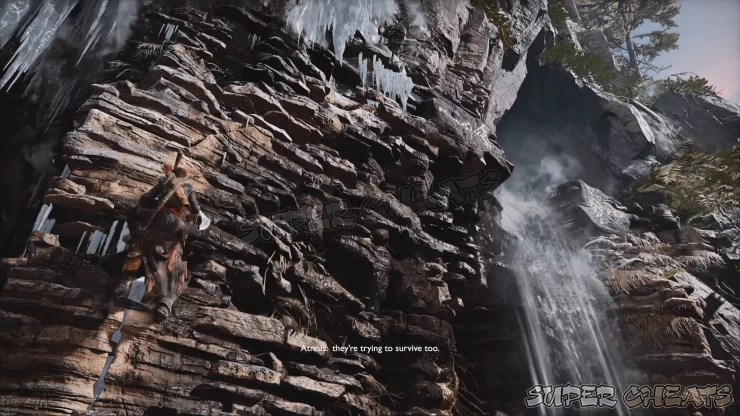
Proceed to the opening on the ground that was created from your last battle with The Stranger. Pick up the healthstone then shimmy your way across the narrow path. Jump across the gap and continue to the marked wall. Keep an eye out for these markings since they are spots that you can climb. Climb up and follow the trail until you reach a waterfall. Lean to the side and press Circle to jump across it then tilt your stick up for Kratos to climb up the ledge and enter the cave.
Continue along the path to reach an area with wooden contraptions and scaffoldings. Before you touch anything, look up and destroy the bucket in the corner to get some hacksilver from it. There are two obvious hacksilver pouches here that you can pick up as well. Don’t forget to destroy the objects around to get a bit of hacksilver as well.
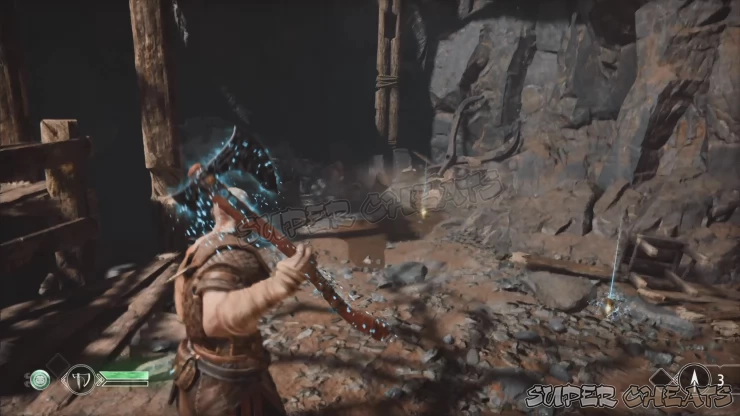
Next, boost Atreus up from the tall ledge that you can’t reach. After that, operate the large gear wheel to lower the drawbridge. Atreus will cross it and reach the chain to the left. Press square to order him to lower the chain. Don’t let go of the wheel yet; instead, use your axe to freeze the small gear wheel ahead to lock the bridge in place for the meantime.
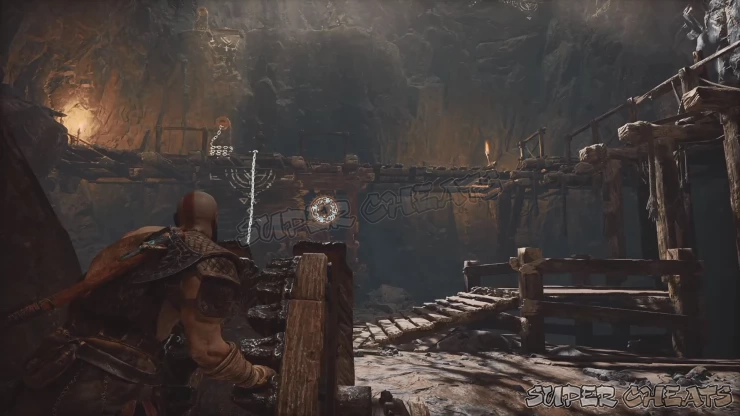
Climb up the chain to regroup with Atreus. Turn around to find a wooden chest across the platform. Hop across the gaps to reach it and loot the hacksilver inside.
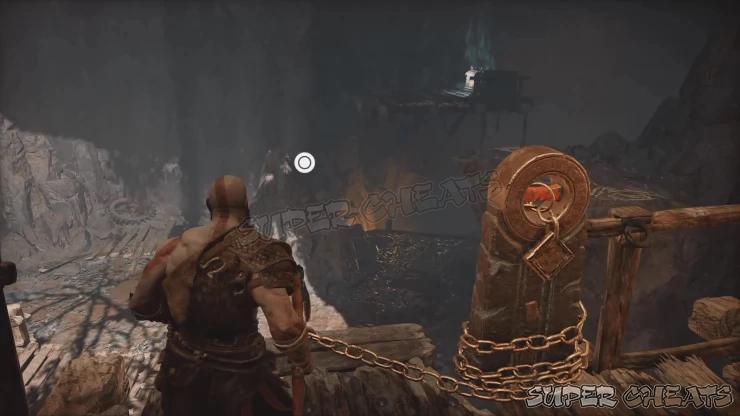
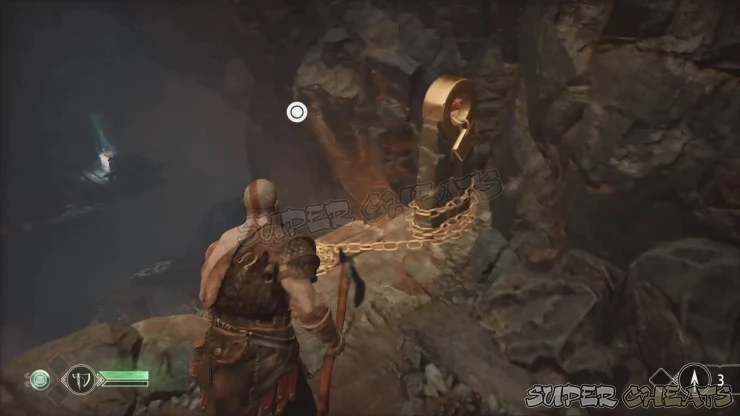
Backtrack to the platform and continue to the marking on the wall and climb up. Continue following the markings until you reach the upper ledge. Before climbing up, make sure to lower the chains nearby to complete the shortcut. Climb up to the surface once done.
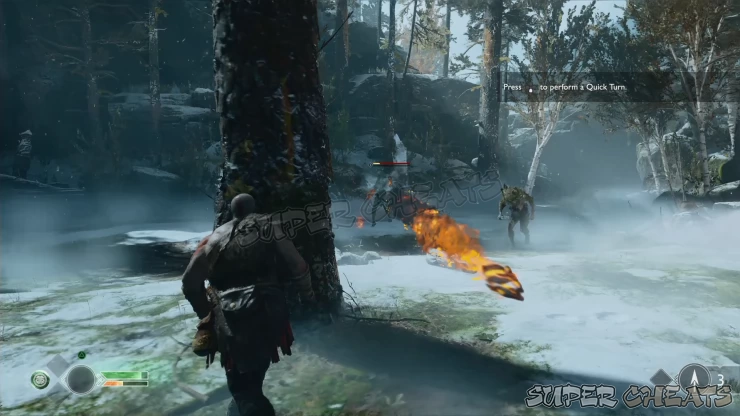
After the cutscene, climb up and follow the path. Squeeze through the gap at the end of the path to reach a new area called Wildwood’s Edge. There are more draugr here and you’ll also get introduced to ranged draugrs. Keep an eye out on your threat indicator to avoid getting hit by their fireballs. Atreus will be able to help you with combat by shooting arrows and by performing melee attacks. His damage is almost negligible but he can distract enemies with his arrows and even help build the enemies’ stun meter whenever his arrows land.
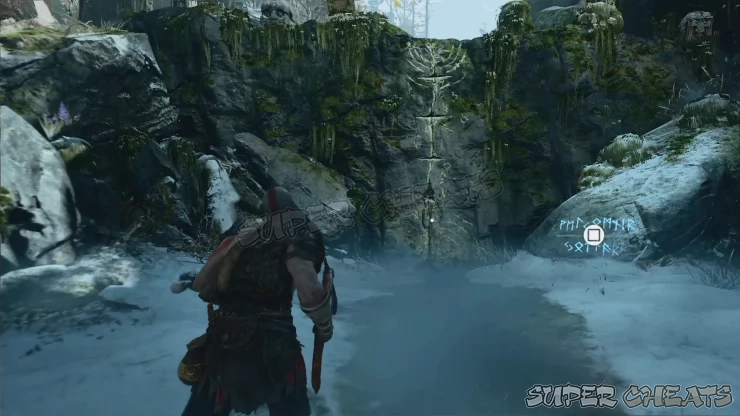
Keep defeating the enemies until all of them are vanquished. There are two hanging buckets in the immediate area so destroy them to get the hacksilver they contain. There’s a large healthstone across the fallen tree trunk in the corner of the area so use it as needed. Before climbing up the ledge, have Atreus read the blue runes by the boulder. You should always have Atreus to read these runes since aside from giving a small amount of XP, they’re very important in updating your journal with World’s lore and story.
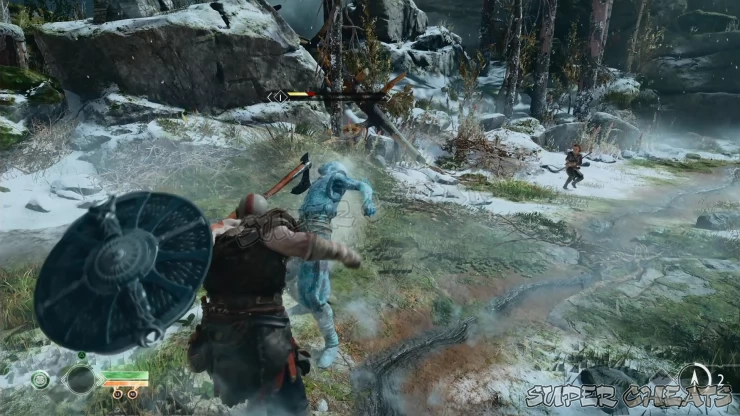
Climb up the ledge and pick up the hacksilver pouch to the immediate left. Cautiously move forward and anticipate a surprise attack from a Reaver. This one can be frozen in place so don’t hesitate to throw your axe to stop it in its tracks and allow you to land free hits on it. After defeating it, continue forth and pick up the hacksilver on the right and healthstone on the left as needed.
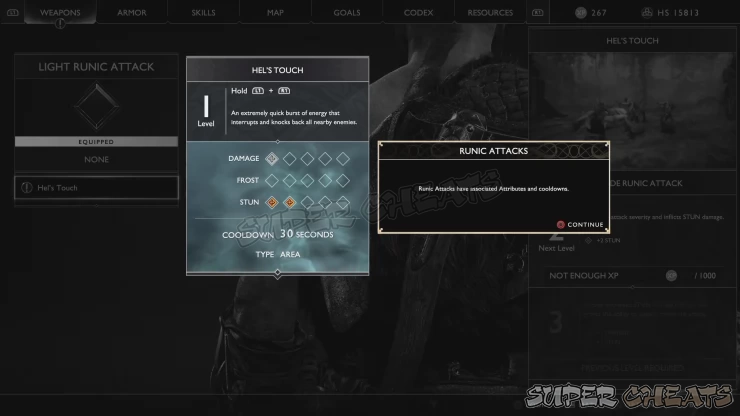
Around the corner, you’ll find your first Legendary Chest. Open it to receive your first Light Runic Attack, Hel’s Touch as well. Press start to enter the menu and follow the tutorial about attaching it to your weapon. From hereon, any new runic attack you get must be manually attached to your weapon in order to use them. Their activation commands, effects, stats, and more are displayed by default so it’s up to you to decide which runic attacks you would like to equip or level up. After equipping Hel’s Touch, you’re required to use it by holding L1 and pressing R1; otherwise, you won’t be able to interact with the fallen stone pillar blocking the path ahead.
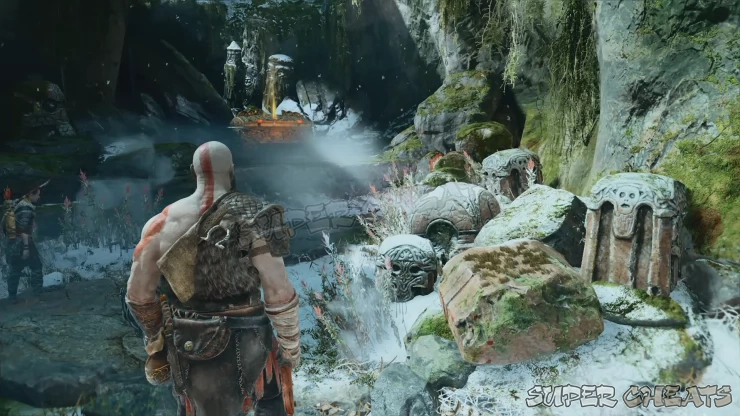
Once done, interact with the stone pillar along the path to continue forward. Atreus will get too excited and attempt to cross the hanging bridge. Approach him and you’ll both fall down to the ruins below with a lot of draugr, some of which will spring back to life and attack. This is a perfect chance to use Hel’s Touch since you’re practically surrounded. Keep an eye out for your threat indicators and evade/parry as necessary. If you’re in a dire situation, don’t hesitate to use your Spartan Rage to regain some HP and quickly finish off some enemies.
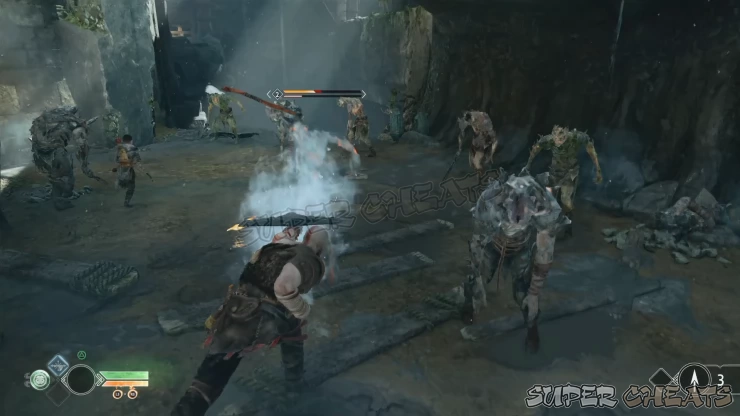
More enemies will arrive as reinforcements, including ranged draugrs on the ledges. Try to take them out quickly by throwing your axe at them or manually order Atreus to target them instead. Once all enemies are defeated, use the healthstone near the edge of the cliff. If you need more, you can destroy the vases in the area.
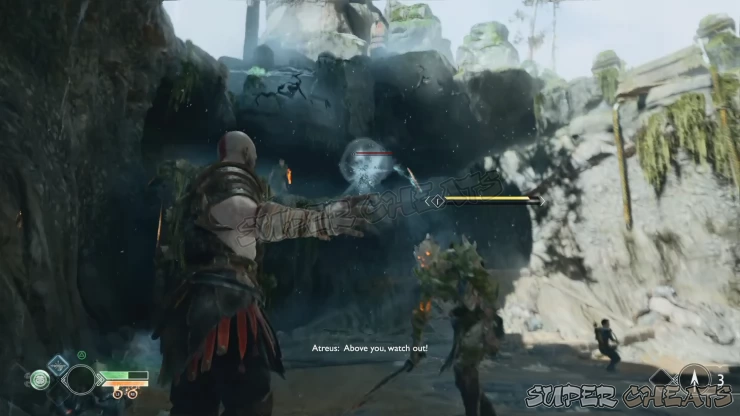
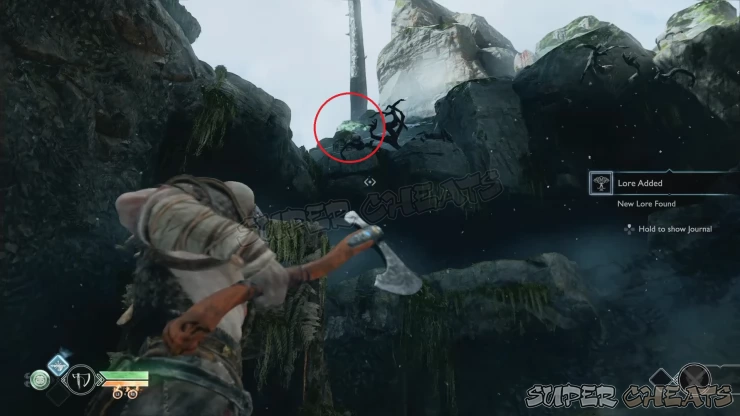
Have Atreus read the lore on the large stone obelisk. After that, look up to find the first spectral raven known as Eye of Odin sitting on top of a branch. There are 51 of these scattered across various locations in the game. Hitting them with your axe will destroy them, giving you EXP for each one you destroy. There’s also a corresponding labor for killing 15, 30, and 51 ravens, with each goal awarding you with an increasing amount of EXP.
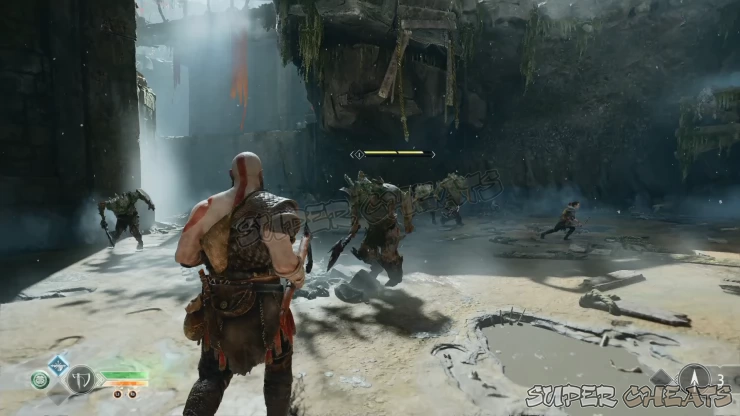
Shortly after, heavy draugrs will break free and attack you. These bulkier enemies are somewhat resistant to stagger so they’ll be able to counterattack you while you’re in a middle of a combo. That said, avoid being too greedy when dealing with them. Watch out for their attacks; parry the ones you can parry and avoid their unblockable attacks. Normal draugr will join the fray but you should be able to dispatch them easily. Have Atreus shoot them as well to get their attention and allow you to sneak in some hits. Once all enemies have been defeated, you’re ready to head inside the ruins itself.

Anything missing from this guide?
ASK A QUESTION for God of War (PS4 - 2018)
Comments for Chapter 2: Path to the Mountain 1
Add a comment
Please log in above or sign up for free to post comments- Basics
- The Journey
- Favors - Dwarves
- Favors - Wayward Spirits
- Favors - Free Dragons
- Favors - Valkyries
- Labors
- Artifacts
- Nornir Chests
- Jotnar Shrines
- Treasure Maps
- Alfheim Locations
- Lake of Nine Locations
- Bosses
- Valkyries
- Muspelheim Trials
 Join us on Discord
