Chapter 2: Path to the Mountain 2
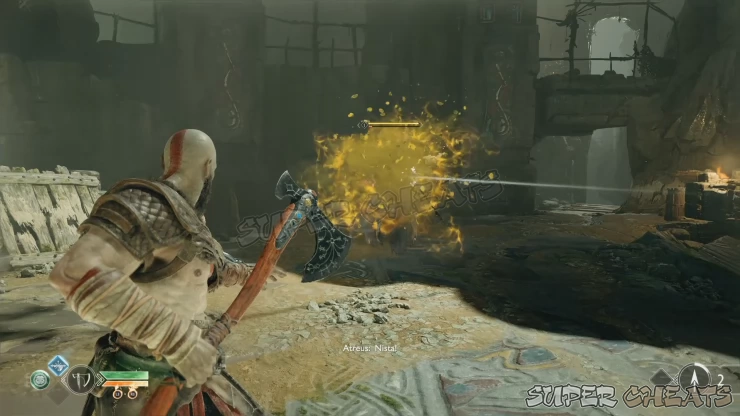
After dealing with the heavy draugrs, climb up the wall and you’ll immediately hear a creepy chanting nearby. Drop down the ledge and follow the path. Break the barricaded alcove to the left to get some hacksilver. Proceed to the open area to encounter a Poison Revenant. This enemy is agile and can’t be hit by normal means, except with Atreus’ arrows. If it’s hit by arrows, its shroud will be temporarily dispelled, allowing you to hit it with normal attacks and axe throws. It has two ranged poisonous attacks, both of which are easily predictable and avoidable.
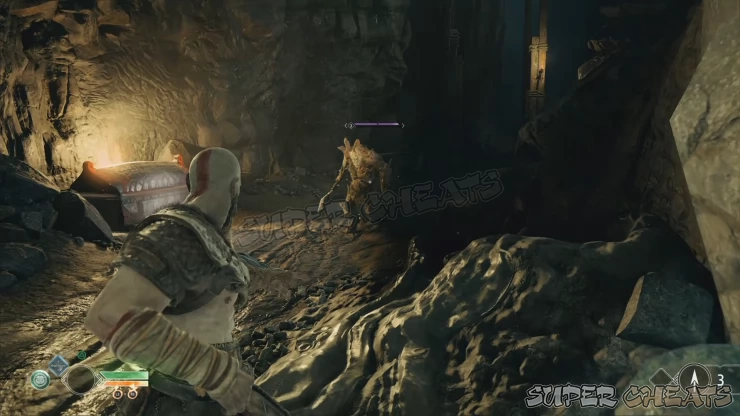
After defeating it, continue to the ledge and jump across to the wooden scaffolding on the other side. However, instead of going up, climb down to reach the lower path. There’s a bucket you can break overhead, a chest, and a LV3 heavy draugr. The area is narrow so don’t let yourself get cornered. The best way to deal with this enemy is by chipping off its HP using axe throws. After defeating it, loot the coffin to get a high amount of hacksilver, a few Aesir gold, and a Soft Svartalfheim Steel. Return to the scaffolding and climb up this time.
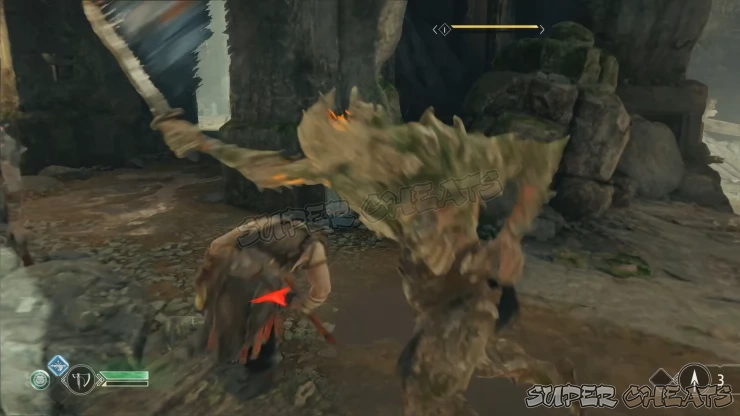
Examine the hole by the gate then turn right to loot a coffin with Soft Svartalfheim Steel inside. Turn around and destroy the bucket above before jumping across the ledge. Pick up the hacksilver then jump across. There’s a draugr that will pounce at you from the right so evade and Kill it.
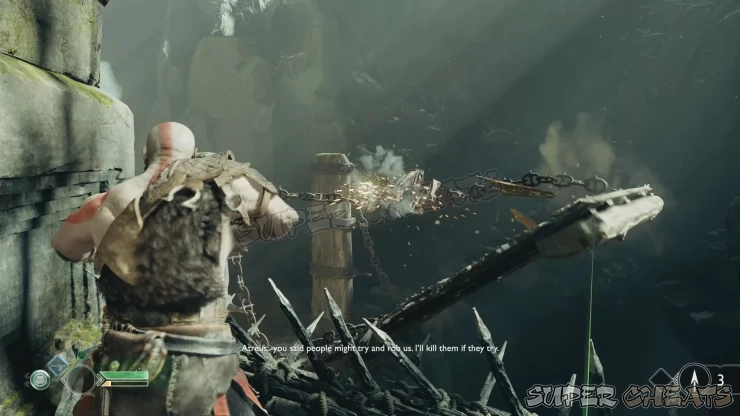
You should see a Nornir chest ahead but don’t go there yet. Look at the drawbridge ahead and destroy the chain holders on both bridges to release them.
Once done, take the path to the left to find a room with more draugr. Approach them and ranged draugrs will appear. Take them out so you can examine another Jotnar Shrine ahead. (Hrungnir) There’s also a scroll in the alcove beside the story that has a lore scroll that Atreus can examine and add to the journal. (Svartelheim Sealed). Climb up the ledge nearby to find a wooden chest, and a runestone that changes color. Pick this up only as needed.
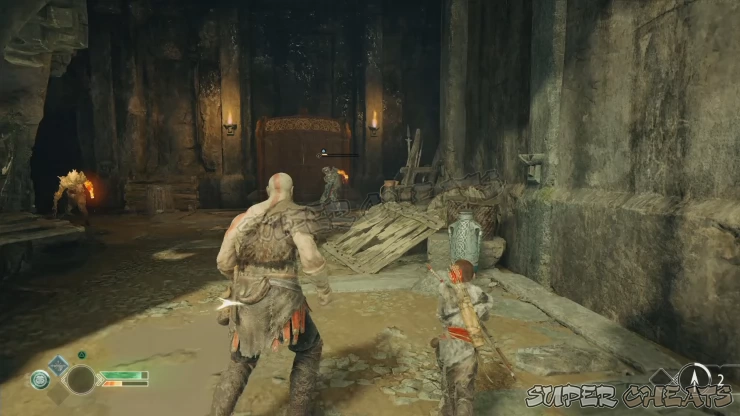
Backtrack to the main path and approach the Nornir Chest ahead. The first seal is immediately visible behind the chest, the other one is located on the cliff across the bridge. To find the last one, cross the bridge and climb up the small ledge to the right with a wooden chest. Turn around and the rune should be visible through the hole on the wall. Return to the chest to get another Idunn apple.
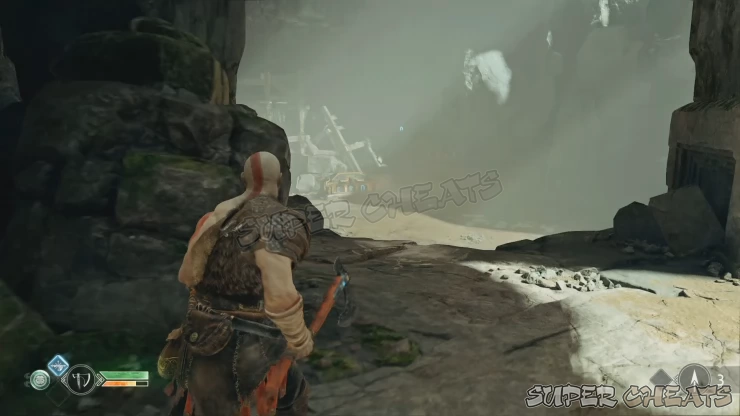
Cross the bridge and head to the open area where you’ll encounter a hel-reaver. Pummel it and shortly after, a revenant and two heavy draugrs will appear. It will be better to prioritize taking out the revenant first so manually order Atreus to shoot it to disable its shroud and allow you to attack it normally for a few seconds. Just keep an eye to the position of the two heavy draugrs to avoid getting hit by their very damaging attacks.
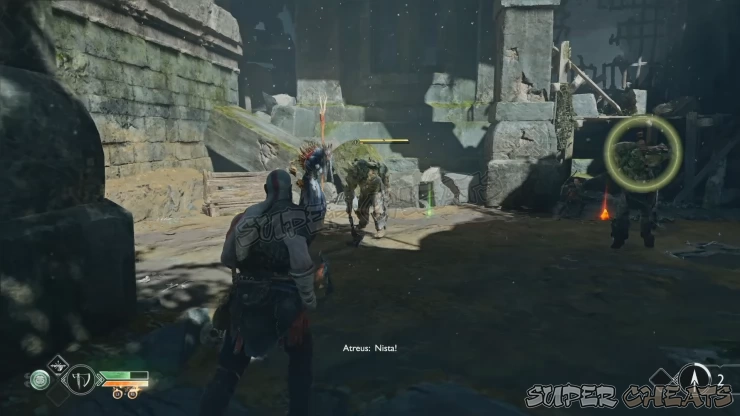
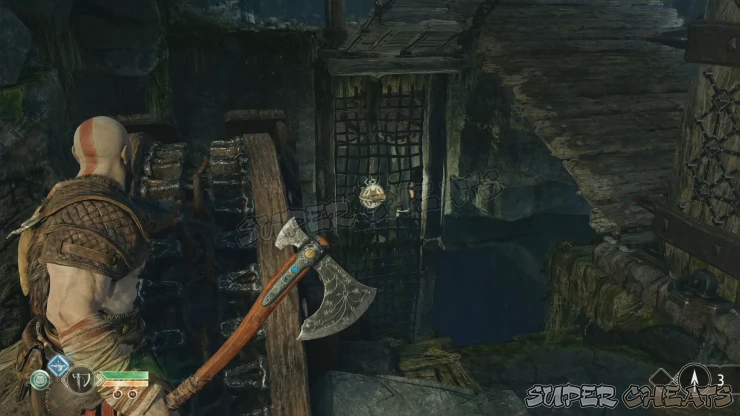
Once that batch is disposed of, you’ll have to deal with ranged draugrs as well. Make sure to pick up the healthstones the previous enemies dropped in case you need to heal up. After defeating them, pick up the runestones you need to get your HP and rage meter filled up, then operate the gear wheel beside the drawbridge and turn it slowly until the weight holder is aligned to the hole by the grates. Throw your axe into it to release the weights and permanently lower the drawbridge.
Cross the bridge and loot the coffin to the right, by the ledge, to get a Soft Svartalfheim Steel. Backtrack to the main path and pick up the hacksilver pouch by the pile of corpses. Continue along the path then open the gate to a chamber. After the scene, you’ll have to fight off your first human enemies in the journey. Kratos will instruct Arteus to stay put and handle the fight alone. The enemies are quite fragile so you shouldn’t have problems dispatching them.
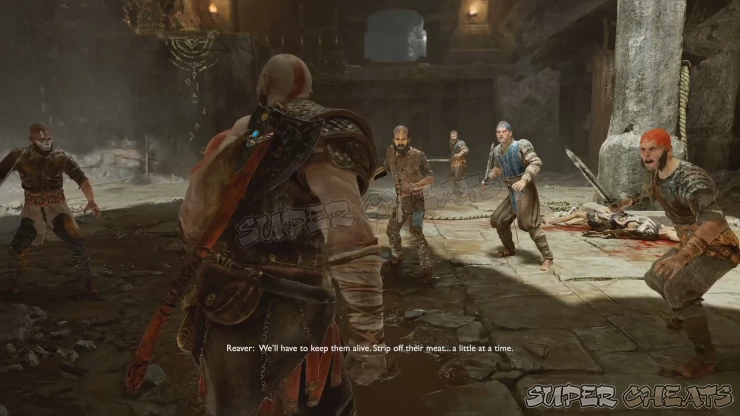
After taking them out, shadow warriors will appear from the ledges. Throw your axe at them to eliminate them. After taking out the Shadow Warriors, there will be another short cutscene. The defeated human reavers will turn into blue hel-reavers. Defeat them preferably by pummeling them with bare-handed attacks.
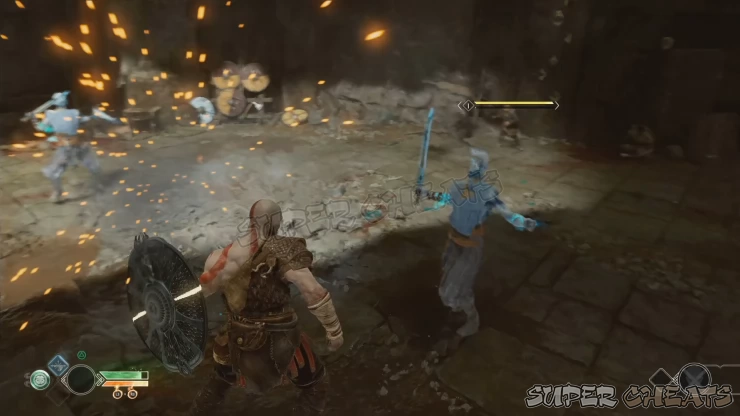
Once done, boost Atreus up the marked ledge. Keep an eye out for Atreus as the boy is still rattled from the encounter earlier. Press Square when prompted to call out to him until he collects himself and drops the chain that you can use to climb up.
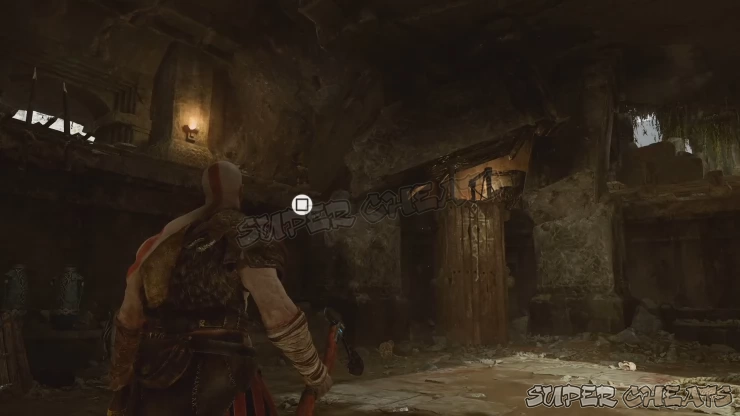
Shimmy across the wall and exit the ruins. To the immediate left is an inactive mystic gate while across it is a chain that you can use to climb down. Loot the nearby coffin to get another Soft Svartalfheim Steel. Next, climb down the chain and follow the ledge ahead to find a knight corpse with a Seior mask, the first of the nine pieces of the The Faces of Magic artifact set. (Faces of Magic 1/9).
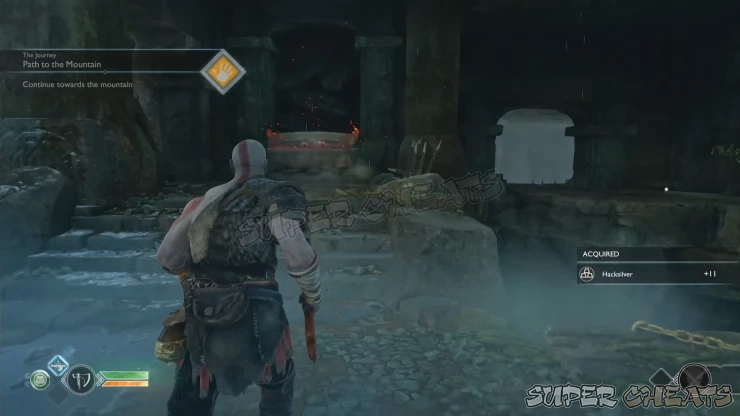
Backtrack to the main path and cross the bridge. Atreus will suggest throwing the axe on the white trunk trees in the other side of the bridge to calm the dwarf’s beast and clear the path.
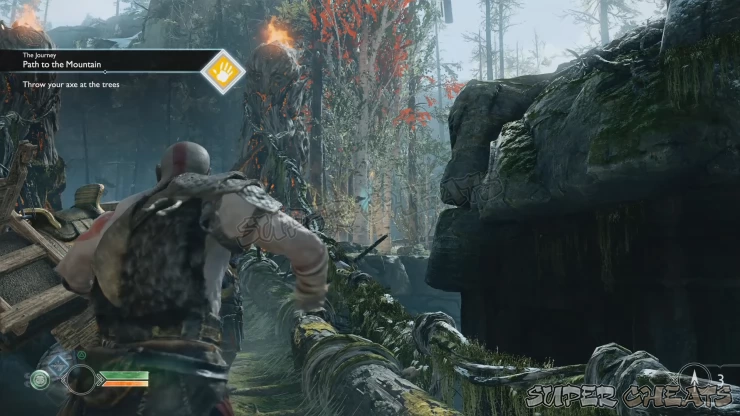
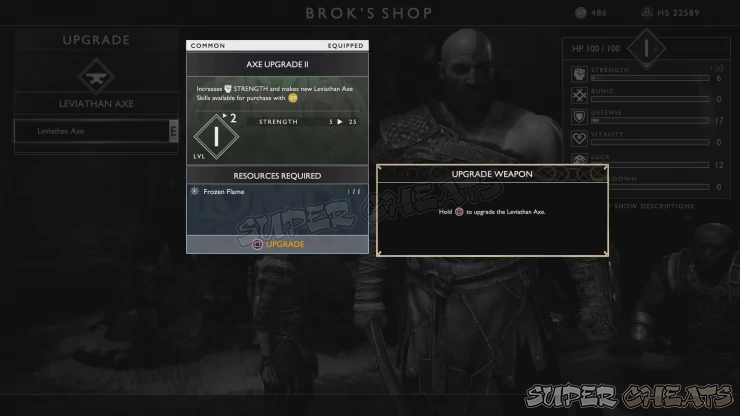
After the Introduction and Brok settles in his camp, you’ll get the chance to upgrade your weapons. Upgrade Kratos’ axe and Atreus’ bow to unlock new skills as well. You can also purchase new body armor for Kratos and Atreus. Buy one for each of them. After the transaction, you’ll get to use your new equipment against some nearby draugrs.
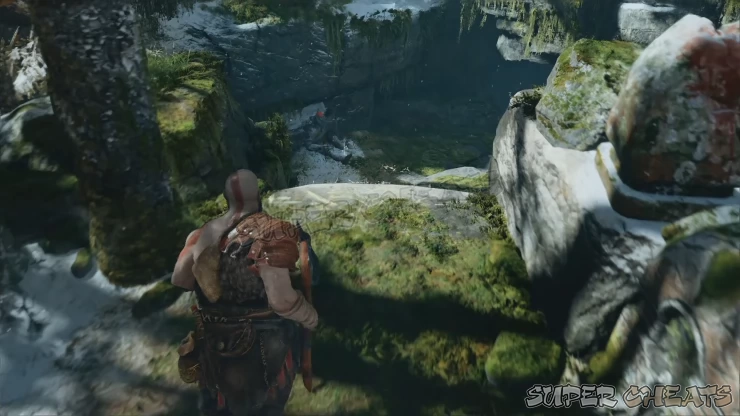
Once the area is cleared, you’ll have to enter another ruins once again. But before you do that, you’ll need to do a couple of things. First, head to the white trunk trees earlier and drop down the ledge to find another seior mask. (Faces of Magic 2/9)
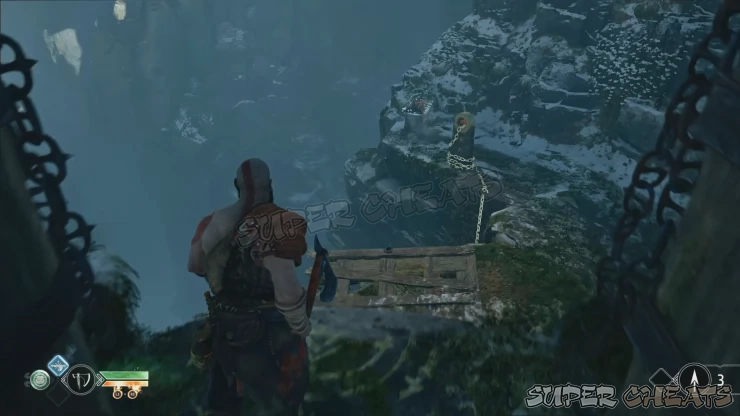
Backtrack to Brok and continue ahead to find a raised barricade. Destroy the chain holder so you can drop down and reach a wooden chest. Climb down the chain again to reach a coffin with a Soft Svartalfheim Steel. Pick up the ragestone as well if you need to replenish your rage gauge. You can also open the gate ahead permanently for easier access later on. Backtrack again to the mountain ruins entrance.

Anything missing from this guide?
ASK A QUESTION for God of War (PS4 - 2018)
Comments for Chapter 2: Path to the Mountain 2
Add a comment
Please log in above or sign up for free to post comments- Basics
- The Journey
- Favors - Dwarves
- Favors - Wayward Spirits
- Favors - Free Dragons
- Favors - Valkyries
- Labors
- Artifacts
- Nornir Chests
- Jotnar Shrines
- Treasure Maps
- Alfheim Locations
- Lake of Nine Locations
- Bosses
- Valkyries
- Muspelheim Trials
 Join us on Discord
