Chapter 15: Jotunheim in Reach
If you already collected the necessary ciphers, Atreus should be able to read the runes on the brazier to light it up. (Light of the World Labor)
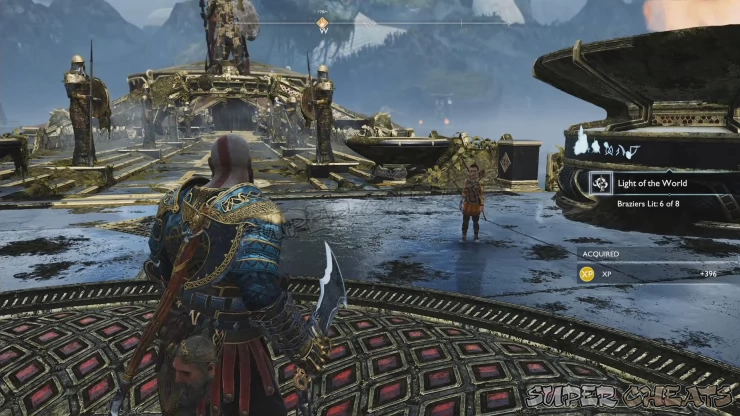
Head back to the realm travel room and select Jotunheim as your next destination. After the failed attempt, head back to the temple and talk to the dwarves to ask them about Mimir’s eye.
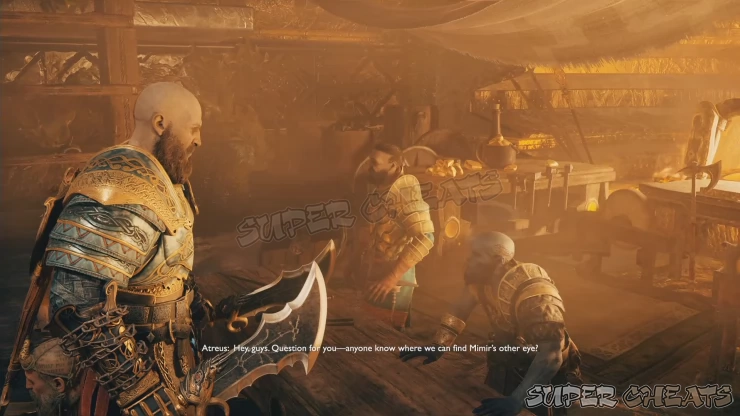
Next, exit the temple and head to the Serpent’s horn on the bridge. Once done, go down to the dock and use it to row inside the serpent’s mouth and into its belly.
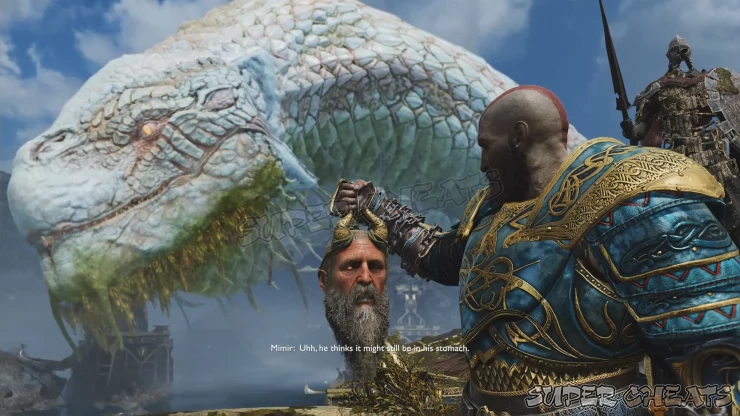
Once inside, keep rowing until you encounter large debris of structures that the serpent ate. There’s a wooden chest to the left so dock and loot it, then return to your boat and row to the dock where the hammer is found.
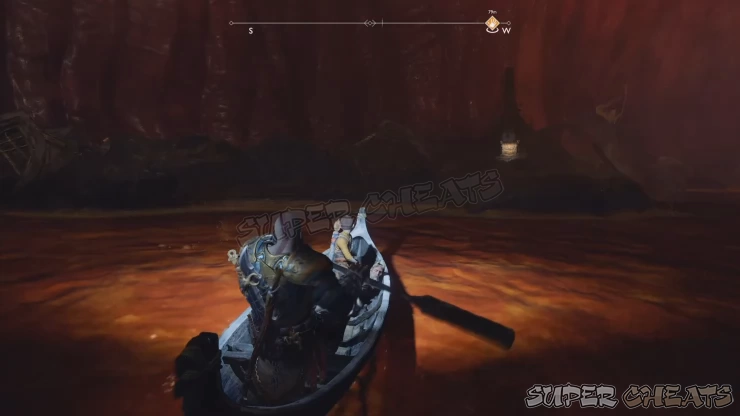
Look at the crane and throw your axe to the board to rotate the crane. Keep throwing your axe until the crane cannot rotate anymore. Freeze the gear to secure it in place then destroy the obstacles to the left. This will reveal a portion of the wall that you can climb on.
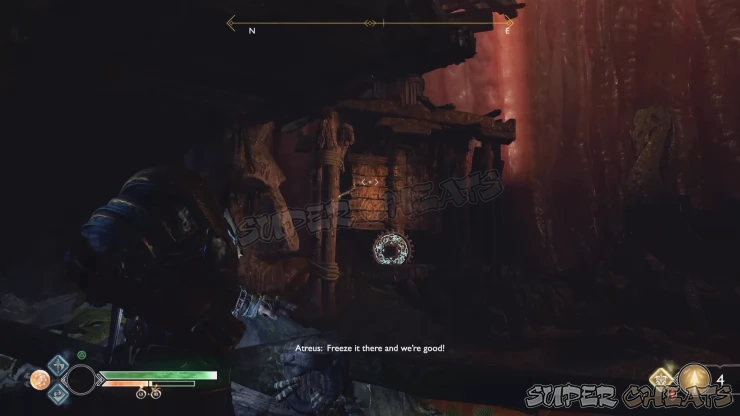
Climb up the pillar and make your way to the platform hanging by the crane. Recall your axe for the crane to return to its original position, which will allow you to grab hold of the portion of the ruins. Climb up to finally reach the legendary chest containing Mimir’s eye. Open the chest to retrieve his eye and insert it to his eye socket.
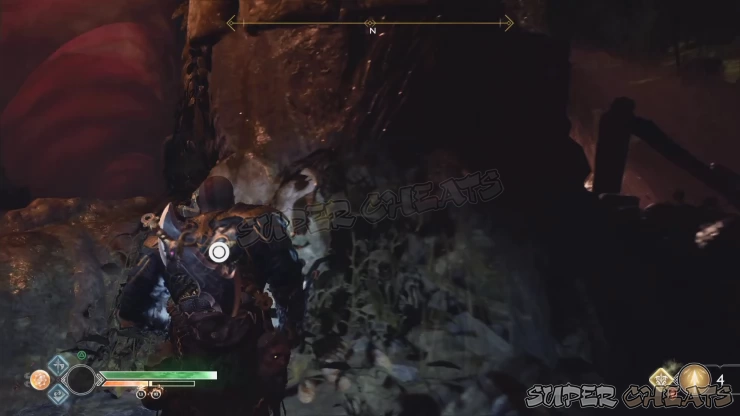
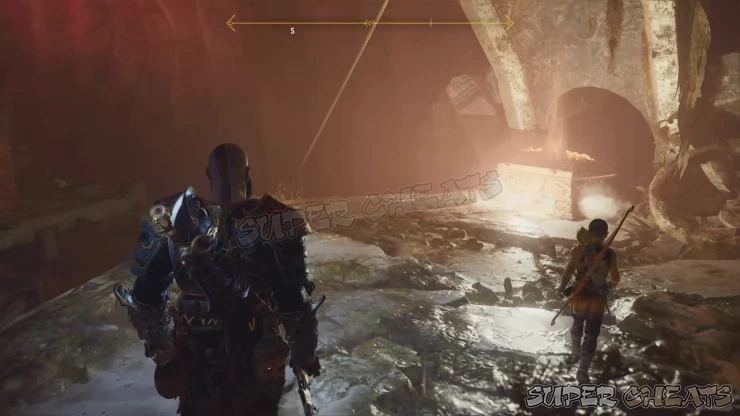
Turn around and jump across the gap to reach another legendary chest. Loot its contents then use the nearby rope to zipline back to the dock. Return to your boat and make your way out. The serpent will start moving and eventually throw you out. After a lengthy cutscene, you’ll be fighting Baldur again.
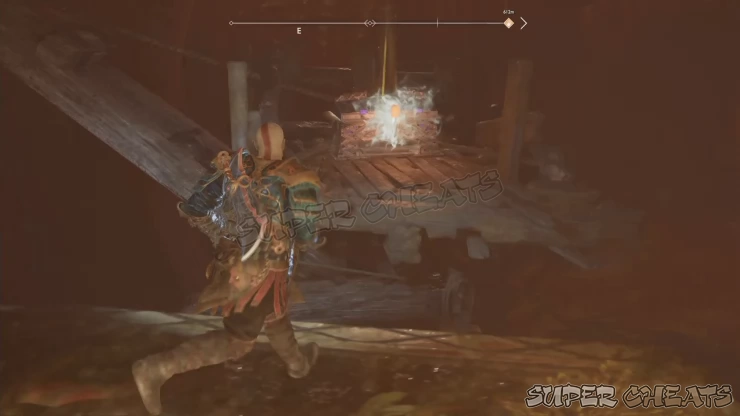
This battle will be composed of several parts. For the first phase, keep attacking Baldur and land some easy hits on him. Freya will attempt to intervene by locking both of you in vines. Mash the circle button to break free and continue the fight. Baldur will keep recovering his HP and will perform basic, easily-telegraphed attacks.
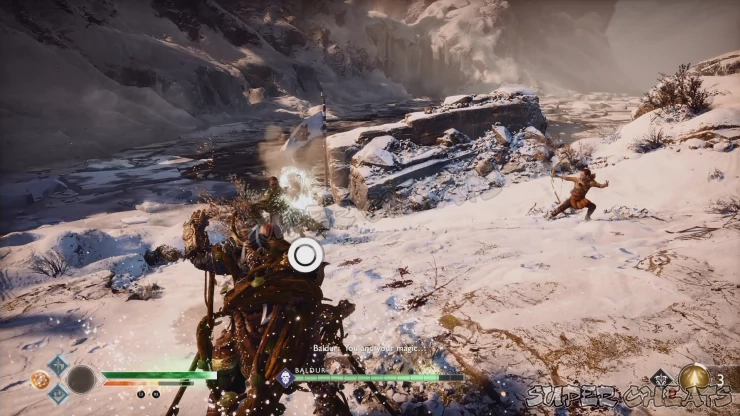
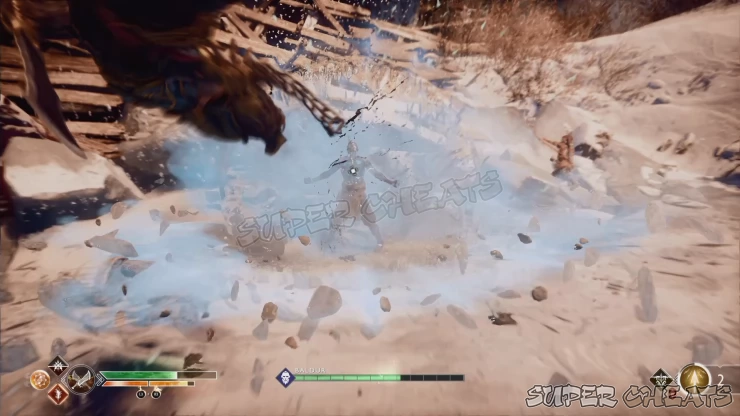
Keep doing this until a cutscene is triggered and Baldur wounds himself with Atreus’ lucky charm. Once the scene’s over, you’ll be facing Baldur again in another area with the re-animated corpse of the frost giant attacking both of you as well. This ice wave can be blocked by your shield.
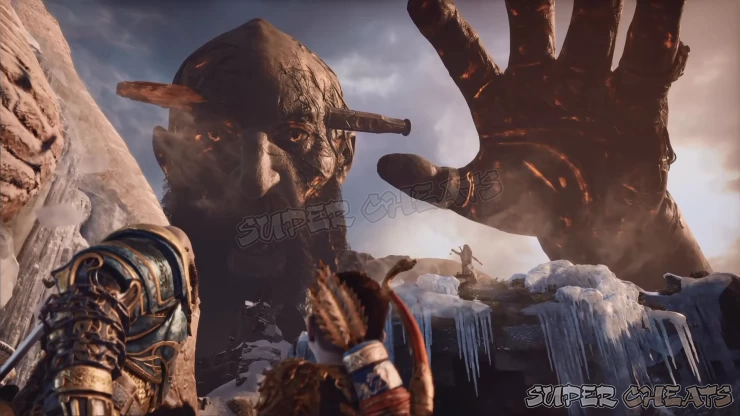
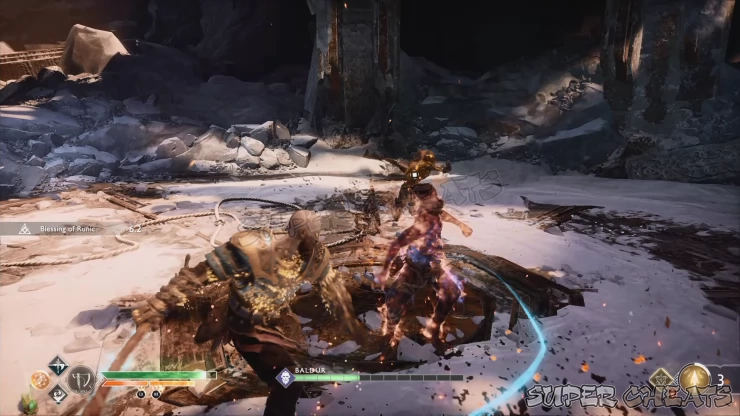
Baldur will be vulnerable now and all the damage you inflict upon him will remain. Like before, watch out for his unblockable ice spikes. Make sure to parry his blockable melee attacks so you can easily counterattack and land some free hits on him. Freya will still attempt to interrupt your fight by holding you down with vines. Break free as quick as you can so you can still land some free hits on Baldur. While trying to break free from the vines, make sure to order Atreus to shoot his arrows in quick succession. Use your axe and blades’ runic attacks whenever you can to inflict great damage and properly manage their cooldowns.
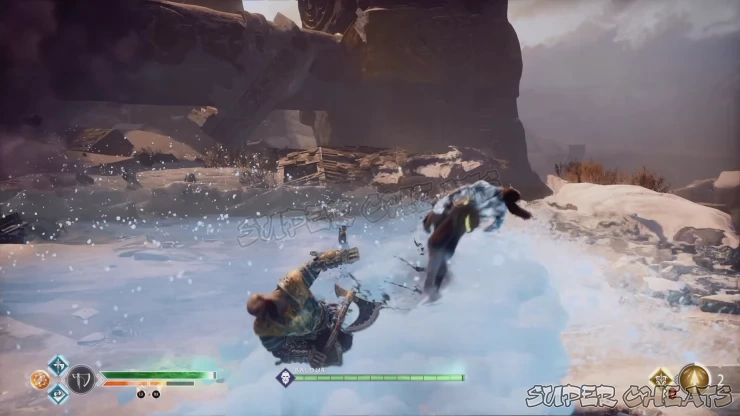
Later on, Baldur will be able to push you away with a short-ranged ice blast if you manage to corner him. This is then usually followed up by his signature sidestep-dash lunge, which can be easily parried and countered. Keep damaging him until another cutscene plays.
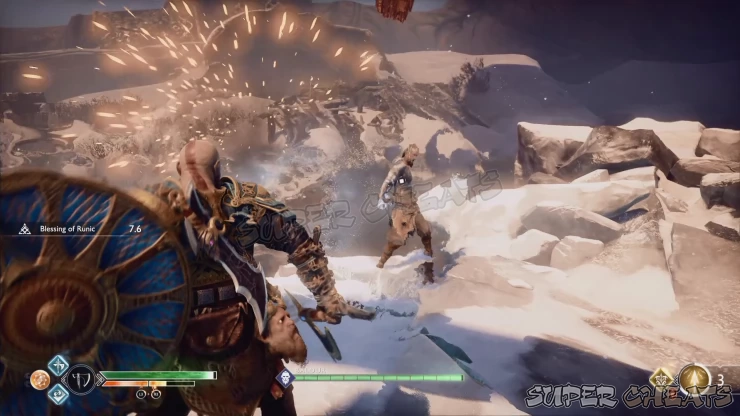
During this sequence, smash the circle button to lift the hammer then order Atreus to shoot the crystal once you see the prompt. After the scene, Baldur will switch his element to fire but his attack patterns and types will remain the same. Additionally, Freya will also summon explosive broods that will grab unto Kratos and explode unless he quickly breaks free from their grasp. Keep damaging him until another cutscene plays.
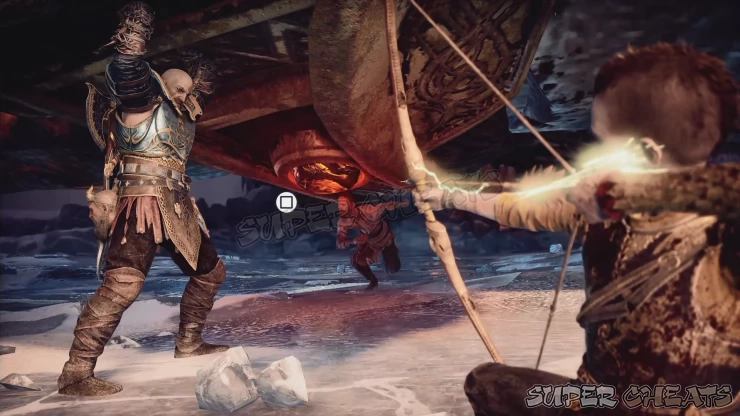
Once back in control, grab onto the chisel and continue climbing up. For this sequence, you’ll be following the same Controls when fighting Baldur on the back of the wyvern before. Hold L2 to block his flurry of punches then tilt your left stick to evade his two-handed smash. Order Atreus to fire his arrow when you see the prompt. The battle will continue with the cinematic sequence.
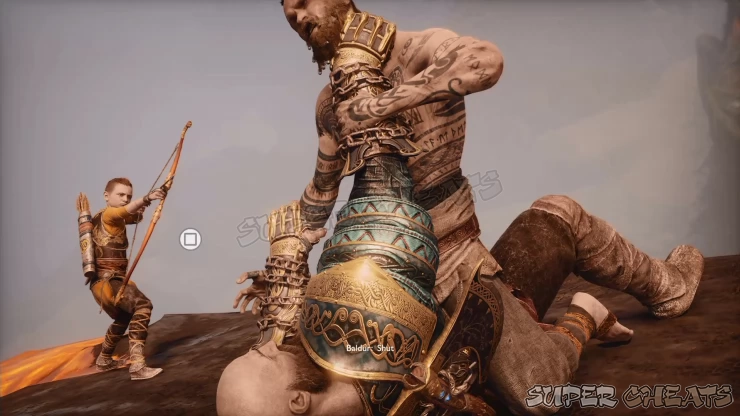
When pinned down, follow the onscreen prompt to trigger your Spartan Rage. You’re in the final phase of the battle. With your spartan rage active, keep pummeling Baldur until it runs out. Baldur will be actively switching between fire and ice as his powers but again, his attack pattern and types remain the same.
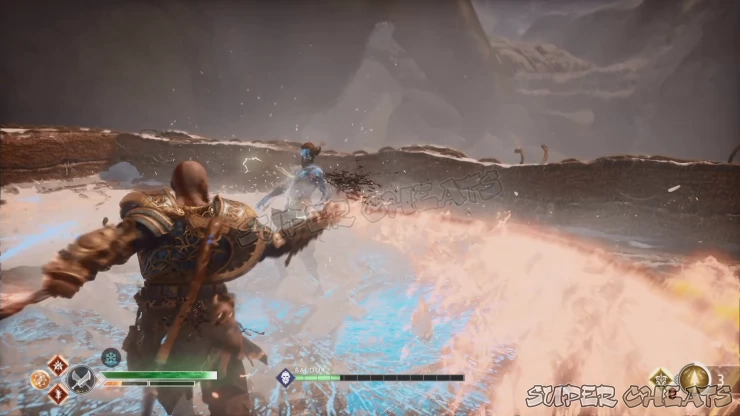
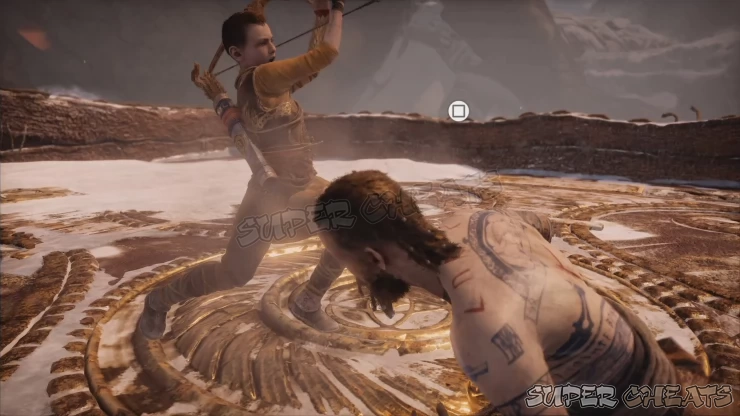
Keep damaging him until the last combat sequence is triggered. Press the square button to chain your attacks with Atreus. Once Baldur is pinned on the ground, keep pressing the attack button to deliver heavy blows at him until he’s completely defeated. After the cutscene, the chapter will be complete.

Anything missing from this guide?
ASK A QUESTION for God of War (PS4 - 2018)
Comments for Chapter 15: Jotunheim in Reach
Add a comment
Please log in above or sign up for free to post comments- Basics
- The Journey
- Favors - Dwarves
- Favors - Wayward Spirits
- Favors - Free Dragons
- Favors - Valkyries
- Labors
- Artifacts
- Nornir Chests
- Jotnar Shrines
- Treasure Maps
- Alfheim Locations
- Lake of Nine Locations
- Bosses
- Valkyries
- Muspelheim Trials
 Join us on Discord
