Chapter 4: The Light of Alfheim 3
After freeing the Ringed Temple’s light and after getting Atreus’ Light Arrow, you’ll be asked to return to the boat. However, you can still explore the trench since you can access more areas and collect more items now. Head to the dock and take the elevator down back to the trench. One thing you’ll notice immediately is that the entire place is dark. The previously locked cells are also open now. After getting off the elevator, loot the wooden chest and pick up the Elven Artifact beside a light elf’s corpse in one of the cells.
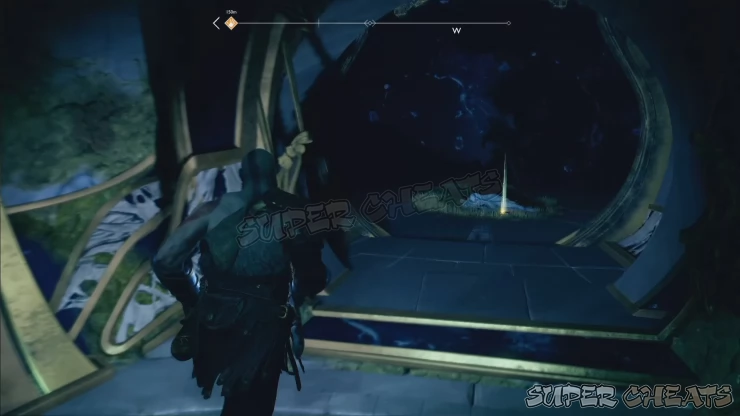
Leave the room through the door to find that the trench’s “roof” closing. As soon as darkness engulfs the area, you’ll be attacked by two revenants. Pick them off easily with Atreus’ light arrows.
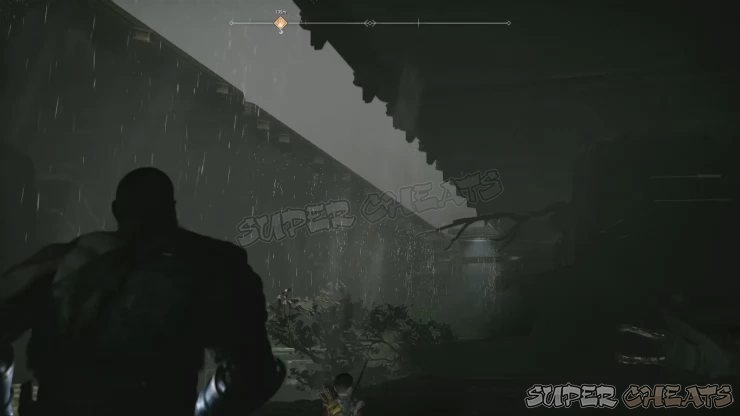
Once done, activate the light bridge leading to the room with light barriers. Enter that room to find a dangling light crystal on the ceiling. Destroy the holder and Kill off the draugrs released from the cells. You can fall back and funnel them from the doorway so you can easily pick them off.
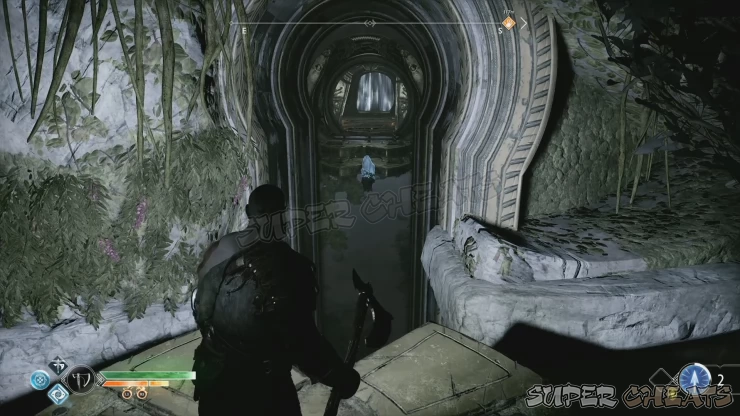
Once cleared, check the cell in the middle to find another Elven Artifact. Pick up the crystal and bring it outside the room.
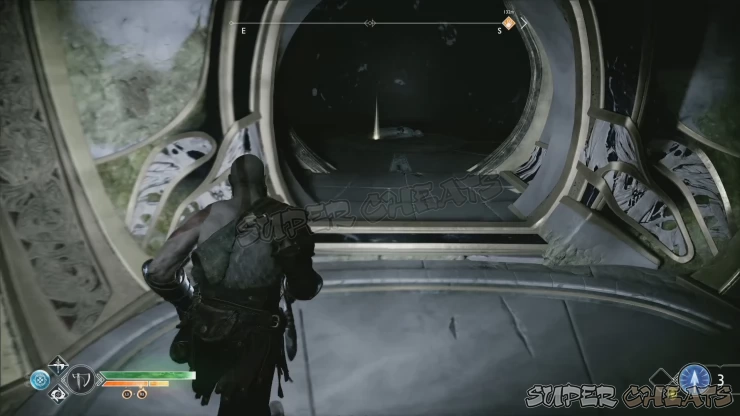
There’s a crystal slot at the end of the ramp in the middle of the platform. Don’t place the crystal there yet. Place the crystal down and go to the end of the ramp where you’ll find a couple of vine cores under the floor. There’s actually two of them and you have to aim in the specific spot as shown in the screenshot below in order to hit both of them.
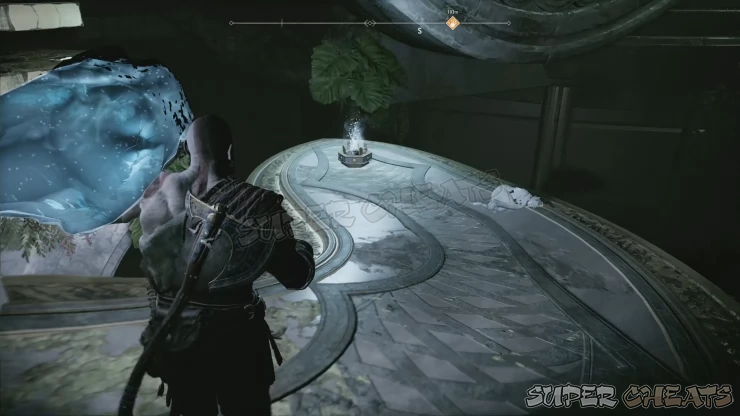
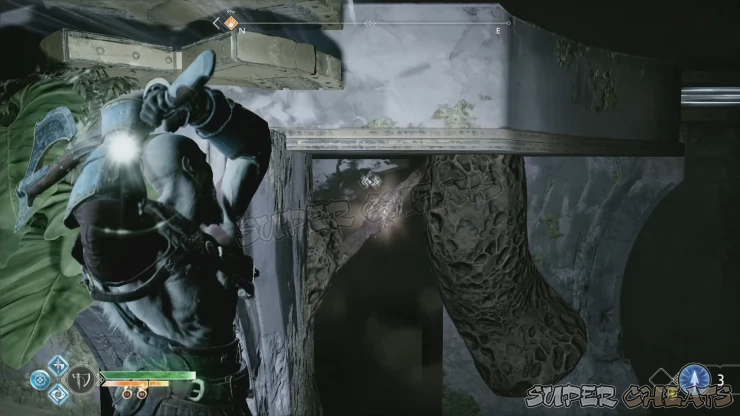
This will free up the coffin at the dead-end path. Loot the Soft Svartalfheim Steel from it.
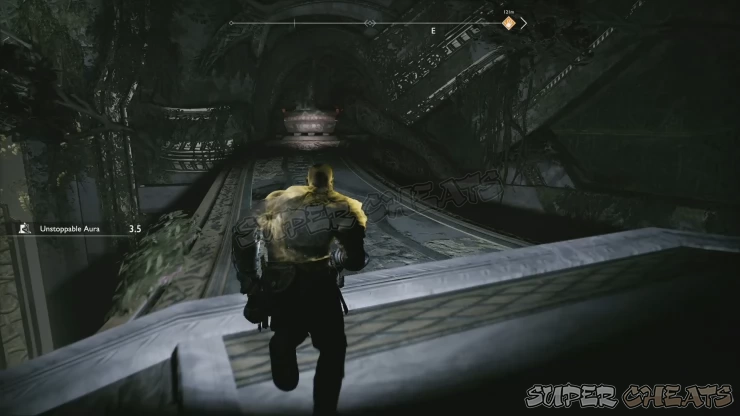
Now pick up the crystal again and bring it to a puzzle room past another light bridge. Place the light crystal in the middle of the pedestal to activate the puzzle. You have to hit the plates with your axe to change the rune symbols. Once a correct rune has been switched, a timer will start. You’ll have to spin the contraptions to display the correct symbols before the time runs out, in which the entire puzzle will reset. As a shortcut, you can use the screenshot below as guide. Loot the Runic Scaled Paulders from the coffin behind the door.
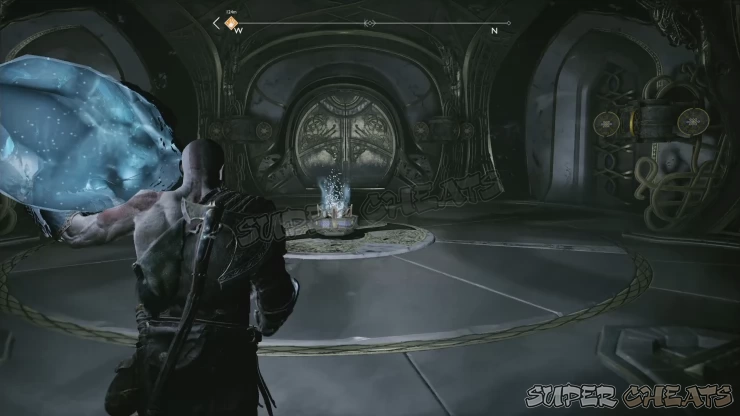
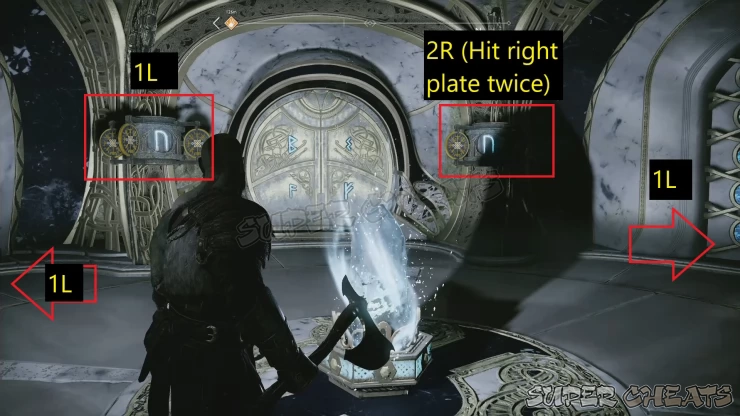
Pick the crystal again and insert it to the pedestal in the middle platform. Activate it to create a light bridge. Cross the bridge to the reach the other platform with the large gear wheel you used to lower the platforms in the middle. Interact with it again and fully lower the platforms. Freeze the small gear wheel then enter the tunnel again across.
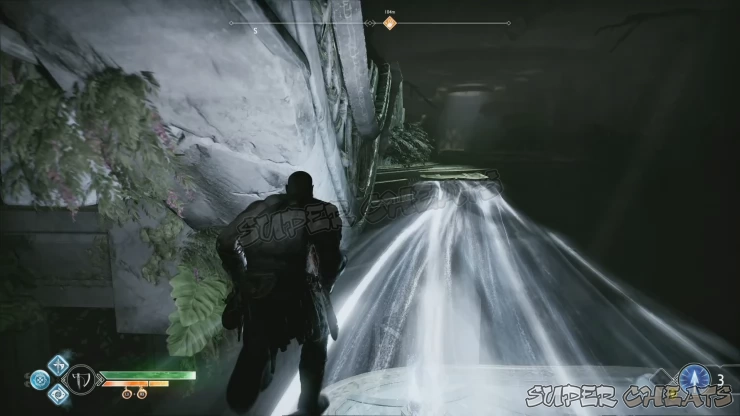
The locked cells here are now open so you can pick up another elven artifact beside a light elf’s corpse in the central cell. This is the last (fourth) elven artifact in the temple itself. The other two are found in the Light Elf Sanctuary and Light Elf Shore areas within the same realm.
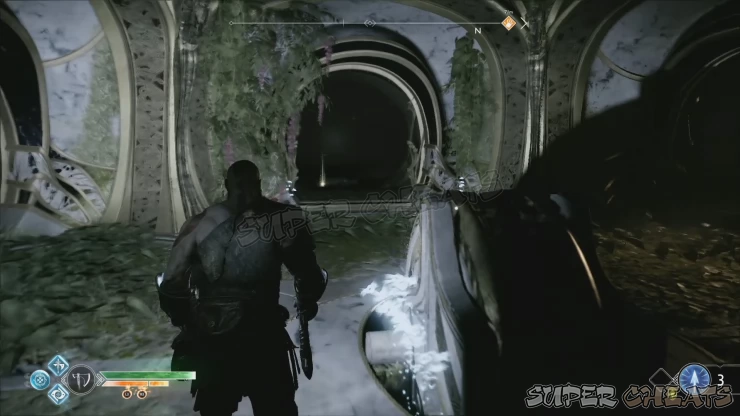
To get out of the room, operate the gear wheel again and freeze the small gear. Exit through the tunnel and recall the axe to get lifted back up. Now head back to the sand bowl elevator you used earlier. You can check one of the cells with the broken pedestal earlier to get some hacksilver as well. When ready, interact with the bowl to trigger a boss fight against the dark elf king himself, Svartaljofurr.
Keep on the defensive and watch his attacks first. Like ordinary dark elves, this boss will rely on blinding projectiles and charging attacks. When charging with his spear, you can wait until the last minute that he attempts to stab the tip before evading. Avoid chasing him since he’ll be able to leave blinding explosives before flying away. You also need to keep Atreus busy, shooting whenever he can. He’ll be able to do considerable damage with his light arrows.
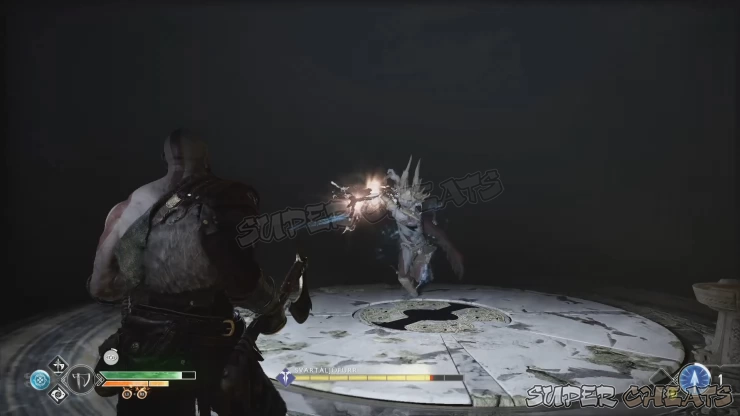
When he’s flying, you have to watch out for either a blockable aerial sweep or an unblockable triple projectile that explodes a few seconds after hitting the ground. If you ever get temporarily blinded, keep ordering Atreus to fire as he will still land his shots accurately. You can use the direction the arrows are flying to predict where the enemy will come from.
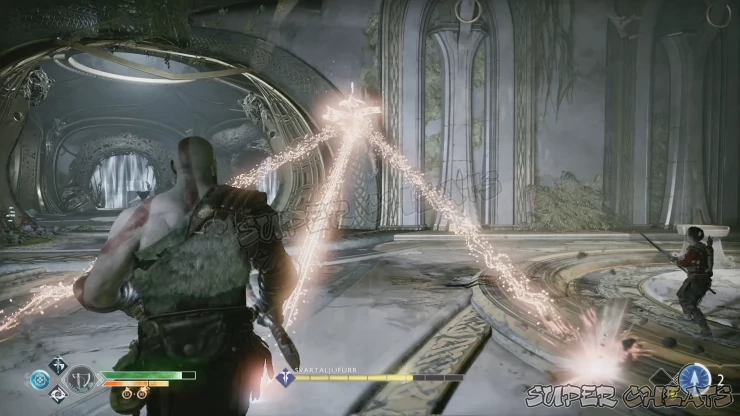
As much as possible, try to parry his blockable attacks since it will stun him temporarily, allowing you to land free hits. When his HP is almost depleted, he’ll resort to more unblockable attacks but as long as you avoid his blinding attacks, you should be able to see through his telegraphed moves and react accordingly. Once his HP gauge is depleted, he’ll be vulnerable for a grab and finisher.
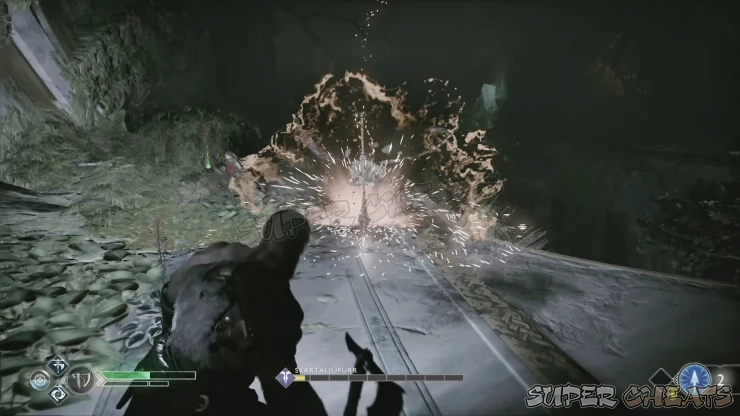
After defeating him, loot the Wrath of the Wolf Runic Summon for Atreus. Since this is probably your first runic summon for him, equip it and loot the other items nearby. When ready, interact with the sand bowl to start the elevator up. At this point, use this chance to explore the other two optional locations (Light Elf Sanctuary and Light Elf Shore). If you’ve done it already, row the boat back to the beach leading back to Tyr’s Temple.
After docking at the beach, don’t forget to talk to Sindri to receive a new favor/sidequest from him (Fafnir’s Hoard). Head back to the Temple and travel back to Midgard.
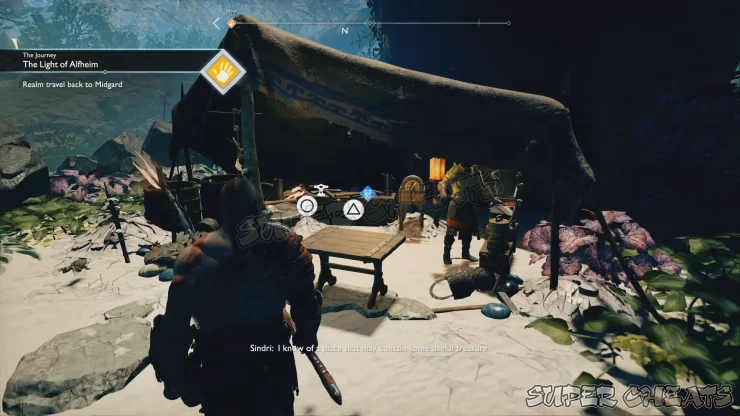
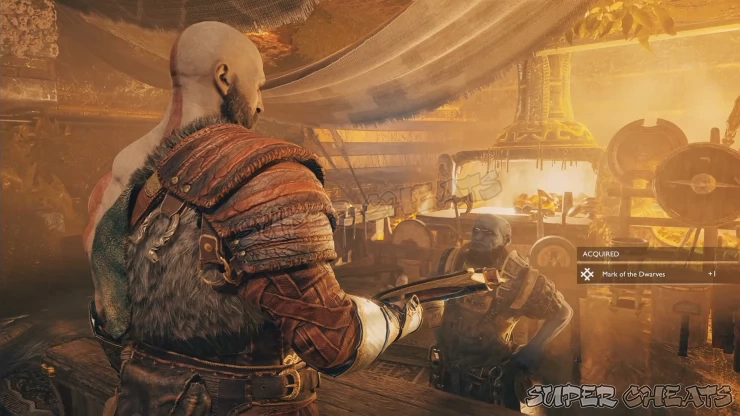
Upon returning to Midgard and entering Brok’s Shop, he will upgrade your axe once again (Mark of the Dwarves +1) He will also have new items for sale. Prioritize upgrading Atreus’ armor, especially the Sharpshooter Garb that increases his arrow recovery speed. Once done, leave Tyr’s Temple and make your way back to the mountain.
Inside the cave between the lake tower and Foothills, you should be able to read the lore marker that was previously unavailable. Pick up the light crystal that you used to cross with the witch earlier then place it in the pedestal beside the lore marker. Activate the light crystal and have Atreus read the marker to register it in your journal.
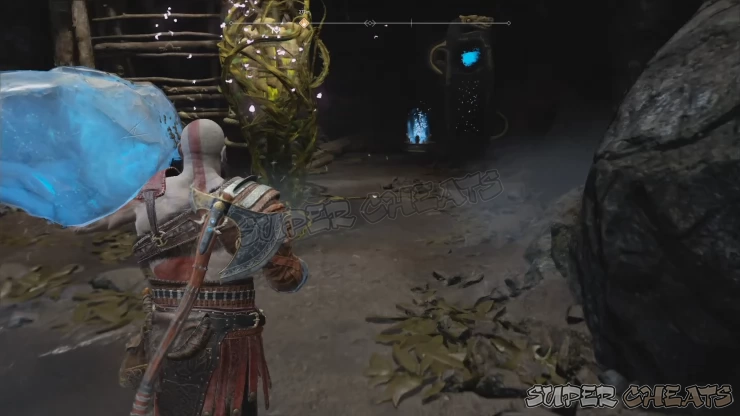
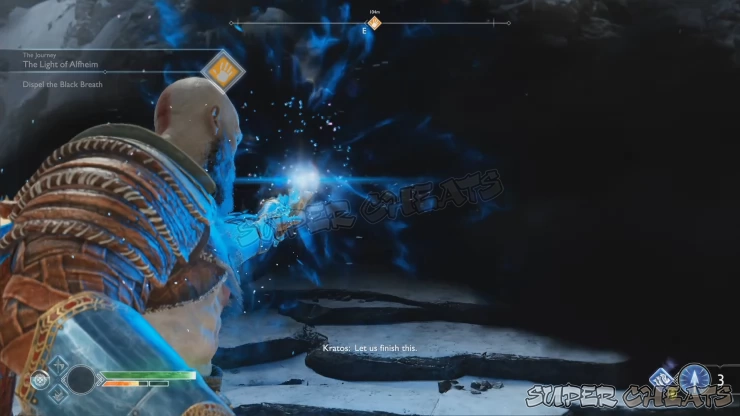
Exit to the Foothills where you’ll have to deal with the wolves. Take them out then use the Sky Mover to reach the path leading to the mountain. Approach the Black Breath and Kratos will automatically use the light of Alfheim to dispel it. Just continue forth until the cursed breath is fully dispelled. This chapter of the journey is now finally complete.

Anything missing from this guide?
ASK A QUESTION for God of War (PS4 - 2018)
Comments for Chapter 4: The Light of Alfheim 3
Add a comment
Please log in above or sign up for free to post comments- Basics
- The Journey
- Favors - Dwarves
- Favors - Wayward Spirits
- Favors - Free Dragons
- Favors - Valkyries
- Labors
- Artifacts
- Nornir Chests
- Jotnar Shrines
- Treasure Maps
- Alfheim Locations
- Lake of Nine Locations
- Bosses
- Valkyries
- Muspelheim Trials
 Join us on Discord
