Chapter 4: The Light of Alfheim 2
From where you defeated the Stone Ancient and restored the main light bridge, cross the light bridge to the left which will lead you to a light elf corpse with one Elven Artifact on the floor. Pick it up and follow the other light bridge to continue with the main story.
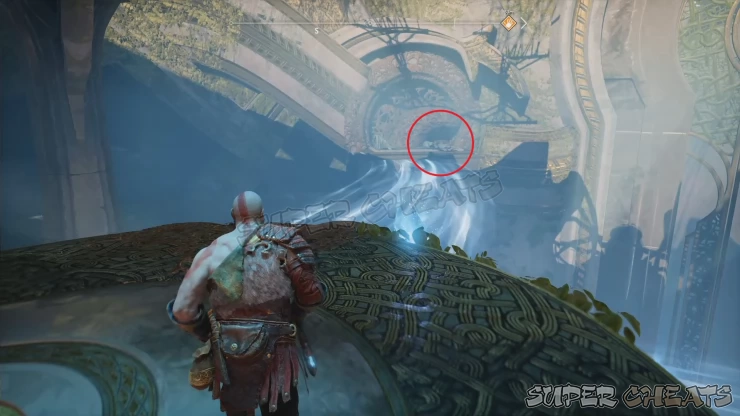
You should be able to use the newly activated lift in the next room. The cell doors are still closed at the moment so just hop on the lift and use it to return back to the surface. Cross the main light bridge and approach the blue door. You can’t enter it yet so you’ll have to find an alternate path inside.
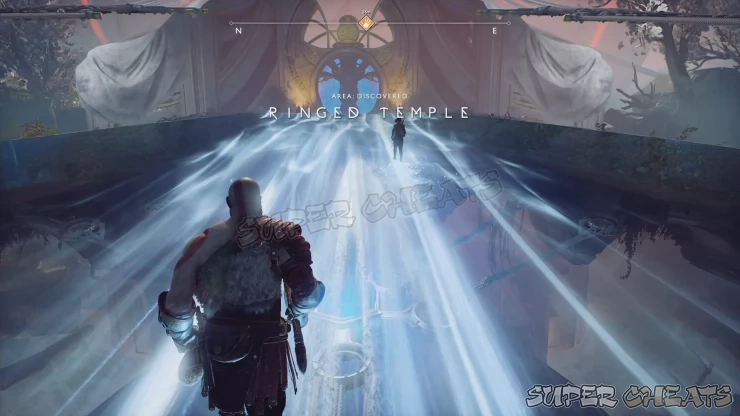
The alternate path is found by taking the stairs to the right. You’ll find Sindri’s shop there and another Jotnar shrine (Groa) Check his shop if you need to upgrade your gear or buy new resurrection stones.
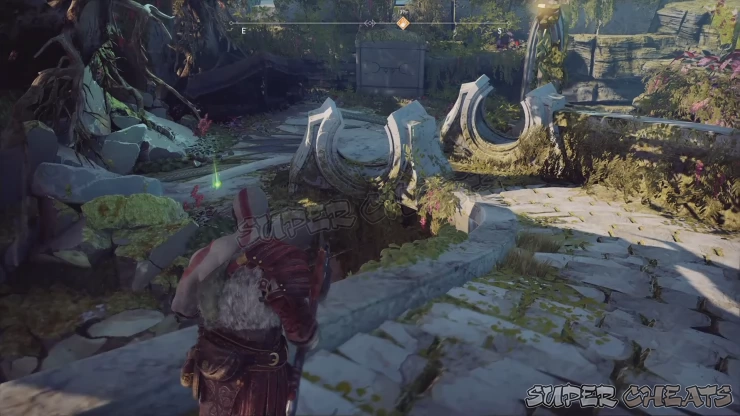
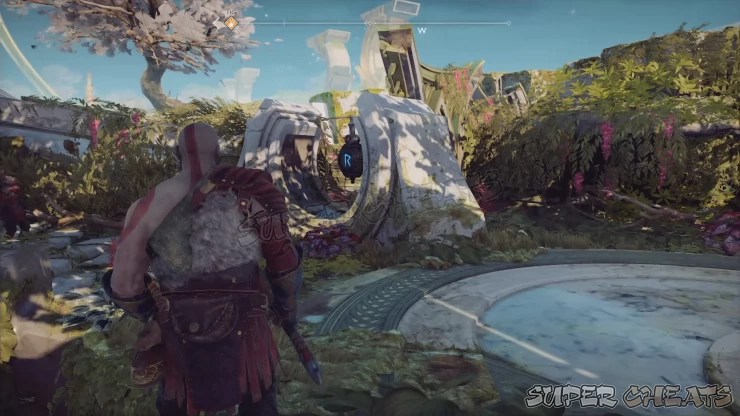
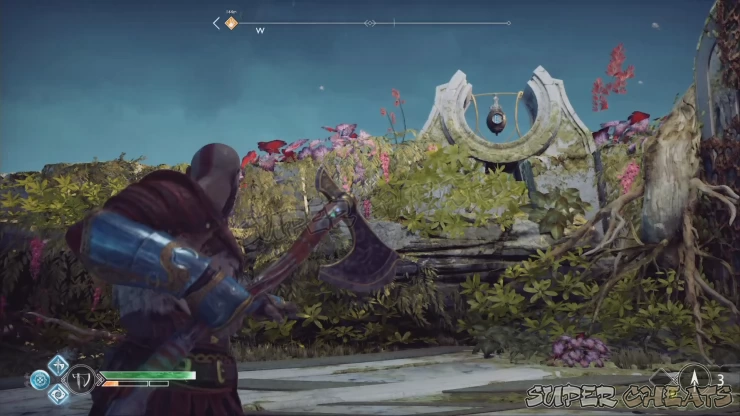
Before taking the alternate path, you can also check out the Nornir chest at the end of the other stairs, left of the Temple’s front entrance. The nornir chest is found inside a tunnel blocked by a vine. There are two vine cores you have to destroy so move to the left so you have a direct line of sight for both. Throw your axe to destroy both of them and open the tunnel.
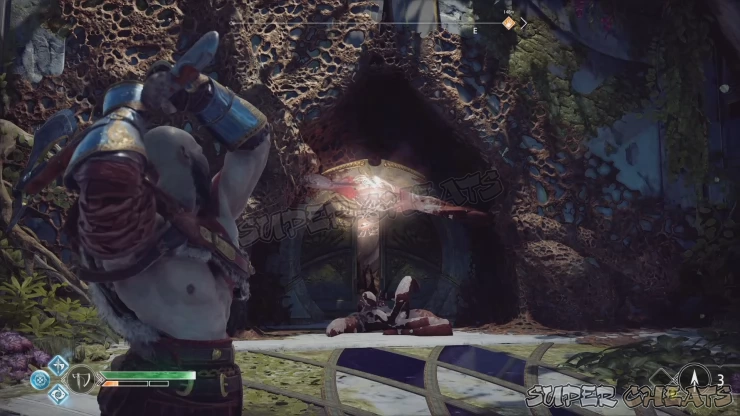
Once cleared, you have to ring the nearby bells in quick succession. The location of the three bells are quite obvious and placed near each other so they're hard to miss. Start of by ringing the bell near the stairs, then the one near the wall, and finally the last one above the nornir chest itself. Loot the Horn of Blood Mead inside.
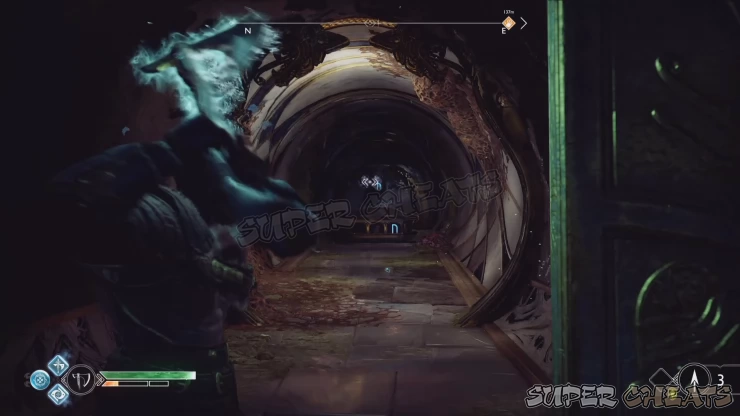
After looting the Nornir chest, you can now head inside the small tunnel to reach the temple’s interior. Drop down the ledge and take out the dark elf warrior. There’s a vine-wrapped coffin to the left side as well. To free it, you’ll have to destroy the three vine cores above. To get a clear shot of the three cores, stand in the end of the lowest core and aim from there. Loot the Soft Svartalfheim Steel from it.
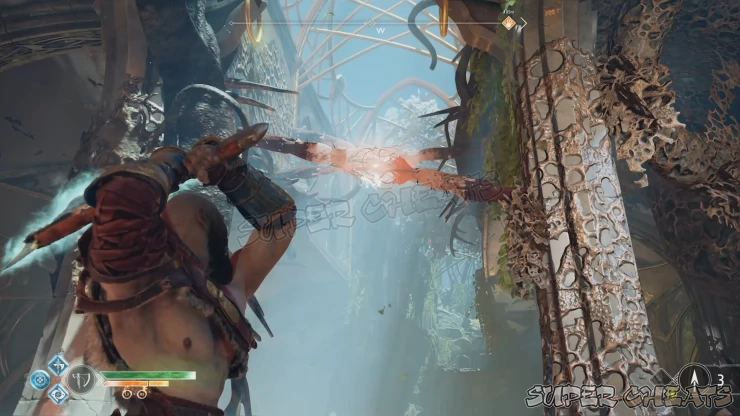
Continue ahead and you’ll encounter more nightmares and dark elves. These explosive nightmares will rush towards you and detonate upon death. After clearing the path, continue until you see an opening. There’s a lore marker in the upper left of the opening and a wrapped coffin to the right. The vine cores connected to this vine is located in the other side of the opening so pass by it for now.
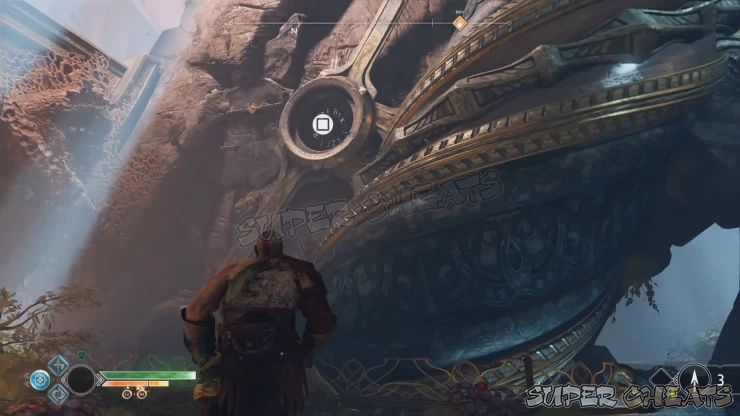
Jump across the two gaps to reach the other side. Before continuing, go around to the right to find the vine cores. Line them up and cut them to free the coffin near the lore marker. Backtrack and loot the coffin to loot the Runic War Belt.
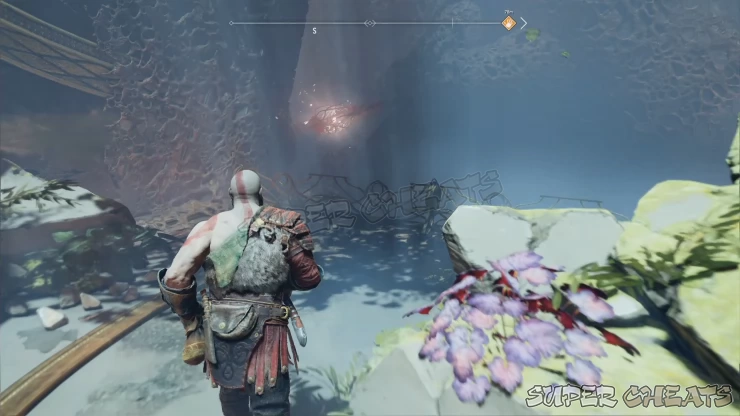
Return to the main path and continue climbing up the ledges. You’ll finally find a portion of the temple wall that you can grab onto. Follow the straightforward path which will lead further inside the temple that’s being enclosed in a dark elf hive. After climbing up the ledge, you’ll have to face off a small dark elf army. Defeat them then attack the large vine core to expose its red tissue. Like before, interact with it to freeze it and destroy it completely. This will clear the path as well.
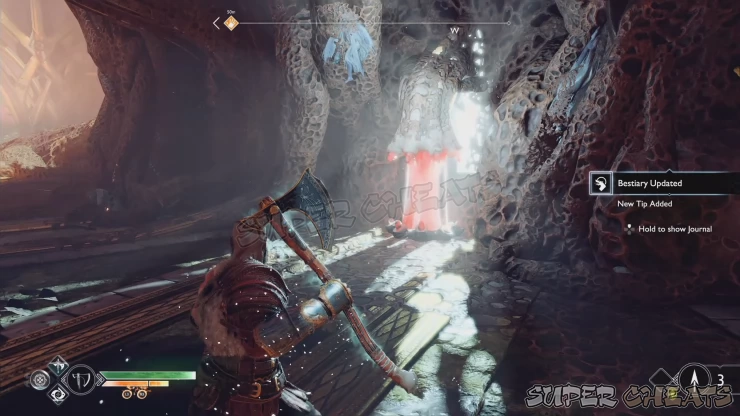
Cross the newly activated light bridge and follow the path. Destroy the explosive nightmares along the way and take out the dark elves that will appear as well. Repeat the process of exposing the vine core and flash-freezing it to destroy the obstructions. Cross the new light bridge again and continue up the gross organic ramp leading to the hive entrance.
The hive entrance is covered with large vines with quickly regenerating vine cores. In order to clear this, you have to destroy specific vines in one blow, and this will depend on the angle where you’ll be throwing your axe. One pattern is by standing near the hive’s opening as shown below.
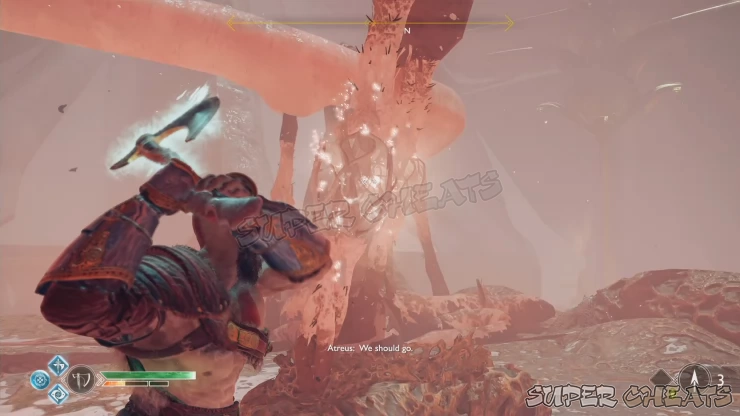
Now stand in the other core near the ramp where you came from as shown below.
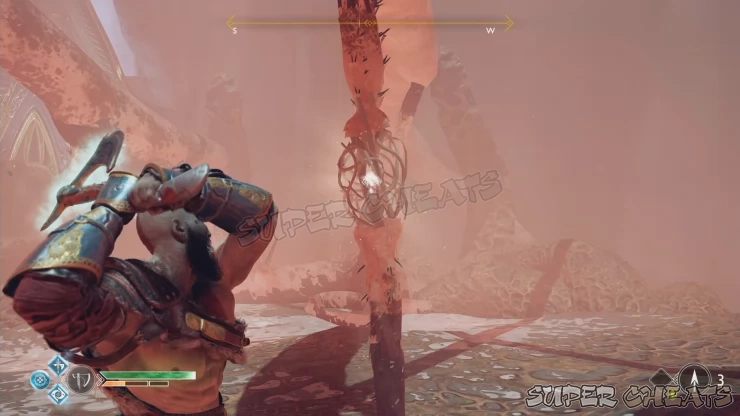
Finally, from the entrance, trace the other two cores aligned with it. This may take a handful of tries since you need to throw the axe in a specific angle to be able to hit the core inside the opening. Once done, this should open the way leading back to the hive.
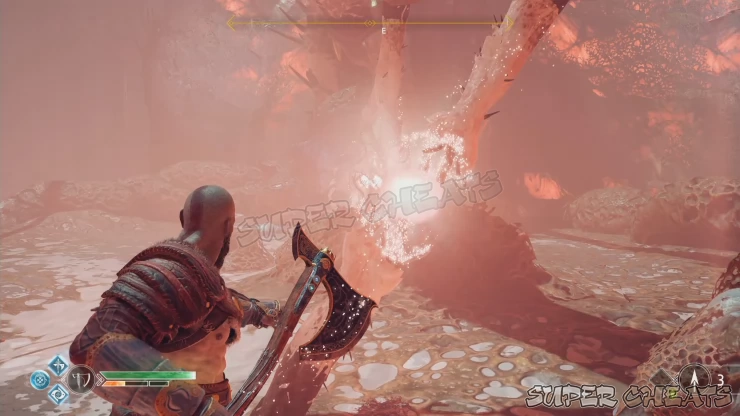
Enter the hive and squeeze through the narrow gap. Follow the straightforward path until you finally reach the Light of Alfheim itself. Continue to the first large core and destroy it to start wreaking havoc. You’ll have to break through an entire army of weak dark elves that you can easily annihilate with a few axe slashes. While pushing through, make sure that Atreus is actively shooting and you should keep your finger in the block/parry button since perfectly-timed parries can send of multiple enemies flying or Kill them instantly. Continue until you reach the large vine core. After destroying it, you’ll reach the light.
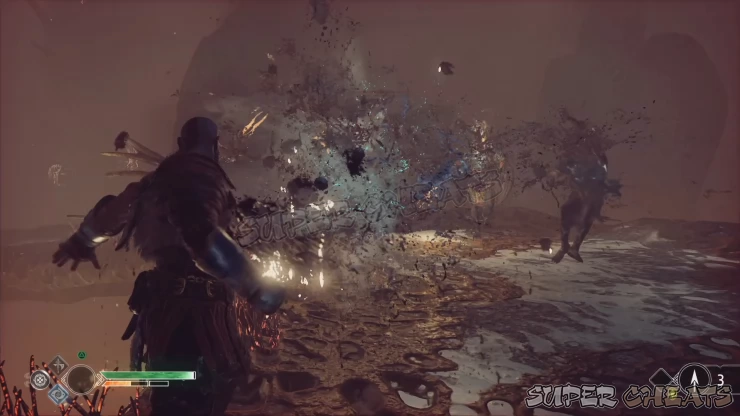
After Kratos enters the light, you just need to follow the straightforward path until Atreus pulls him back to reality. After the cutscene, join Atreus and interact with the edge of the platform to imbue Atreus’ bow with Alfheim’s light. This will allow him to reactivate light crystals to create bridges or reveal lore markers. When used in combat, these light arrows also weaken enemies and gives a large boost to their stun gauges.
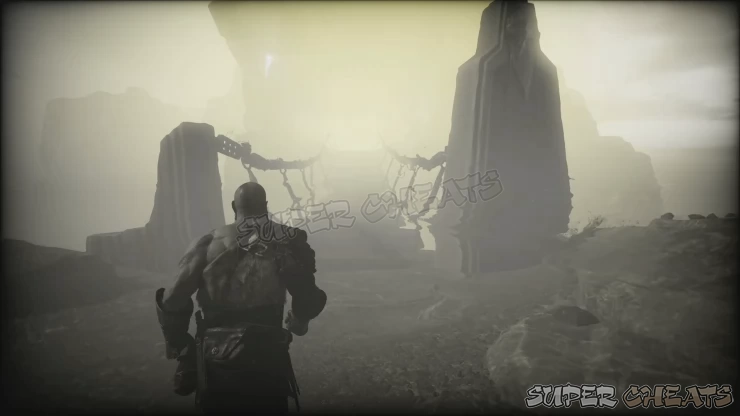
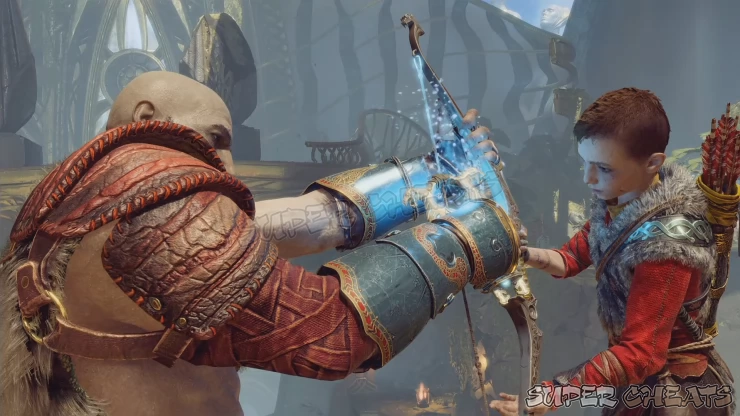
Activate the light crystal ahead to create a light bridge. Cross it and continue to the next platform. Climb down and pick up the light crystal. Place it on the slot nearby then have Atreus activate it with his arrow. Climb the ledge nearby and use the light floor to reach the coffin containing a Fragmented Heart of Alfheim. Climb down and pick up the light crystal again. This time, install it on the other slot near the edge then light it up.
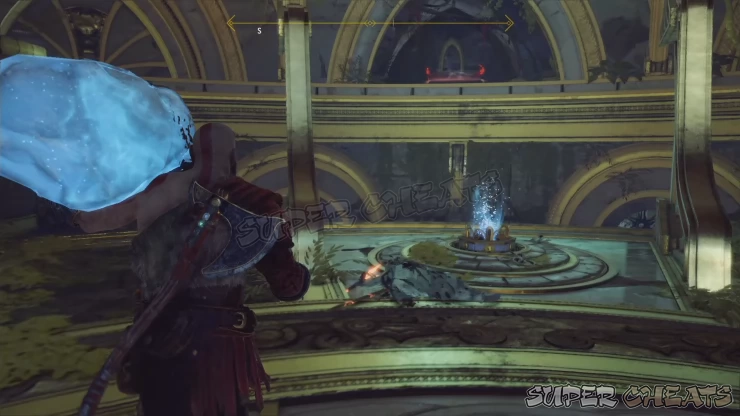
Climb the nearby ledge again and cross the light bridge. Go to the left and align your axe throw as shown below. This will free up the wooden chest nearby.
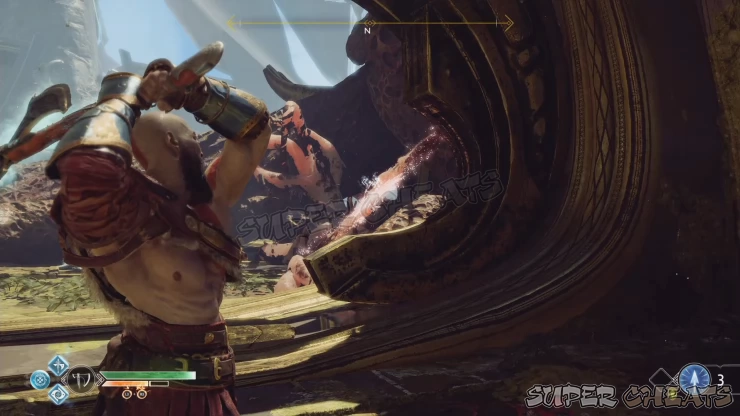
After looting it, continue forth and destroy the core covering the wall that you can climb on. Before climbing that, activate the two crystals across the chasm to create the light bridges.
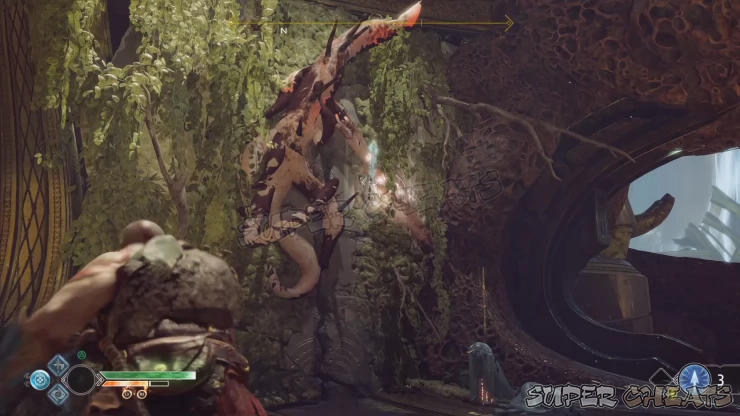
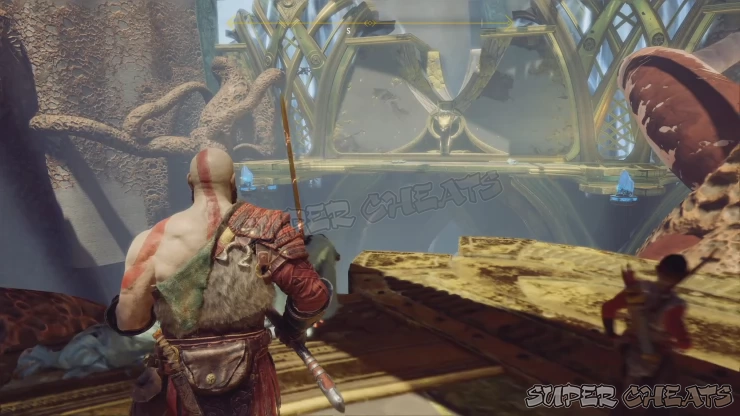
Cross the bridge to the left and defeat the two dark elves that will engage you. Circle around to the blocked light bridge where you’ll find the vine cores connected to the large vine. Align your shot as displayed below then throw your axe to remove the giant vine. Once the crystal is exposed, have Atreus shoot it to create another light bridge.
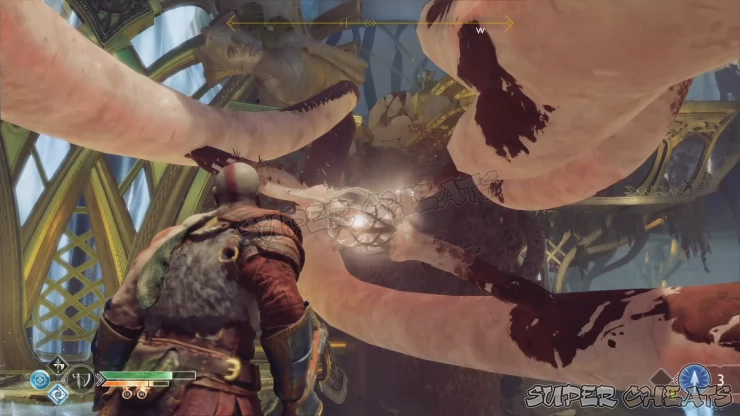
Backtrack to the wall you cleared earlier and climb back up. Defeat the dark elf remnants that will attack you then cross the newly activated bridge. Continue until you reach the blocked light doorway. Defeat another couple of dark elves. Loot the nearby legendary chest to get a Strike of the Utgard light runic attack. Next, look up and destroy the holder of the dangling light crystal.
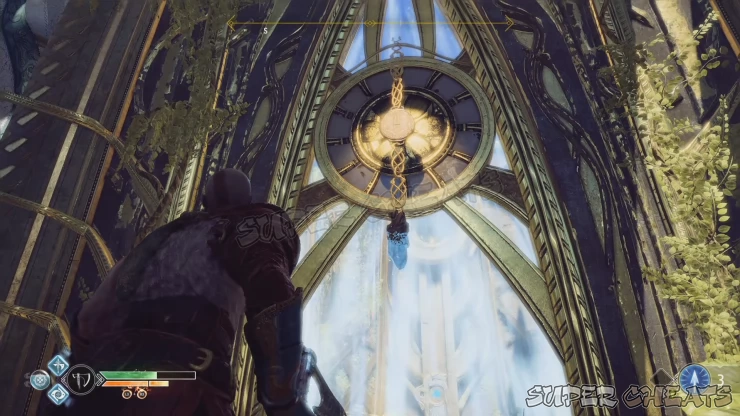
Pick up the crystal and place it on the slot. Activate it to reveal another lore marker. Have Atreus examine it then pick up the light crystal again and bring it upstairs.
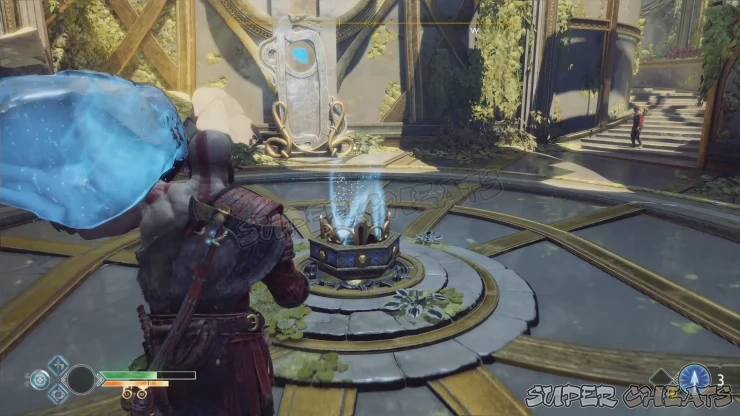
Activate it to create a light floor above. Climb up the ledges nearby to reach the light floor. There’s a nornir chest behind and you’ll also get a good axe-throwing angle to take out the three small vine cores ahead as shown below.
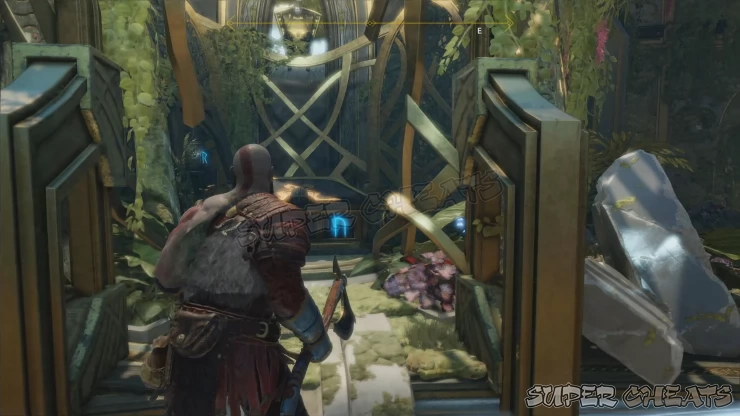
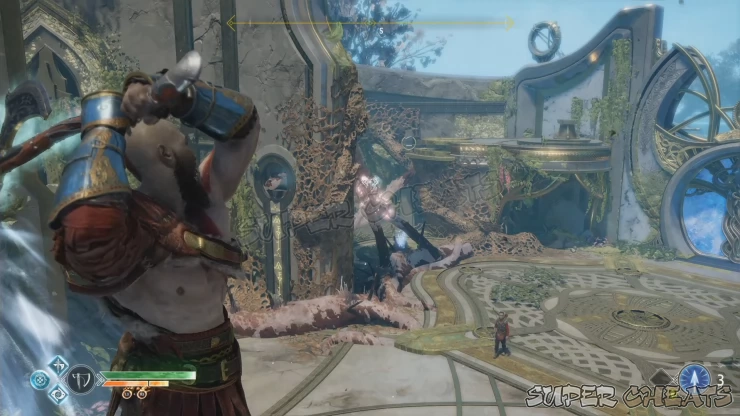
After clearing that path, you can start finding the three bells needed to unlock the nornir chest. Get into position by the opening on the right side of the chest as shown below. This is where you’ll get a clear view of the bell outside the window.
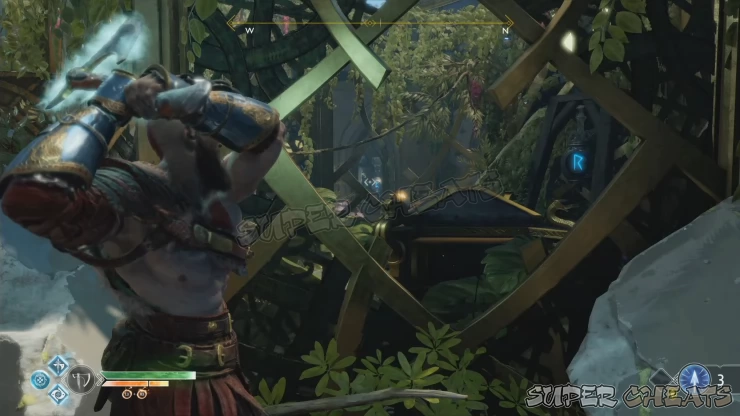
After hitting it, hit the bell on top of the nornir chest, then press the down DPAD to quickly turn around where the last bell is located. This should unlock the chest containing a Horn of Blood Mead.
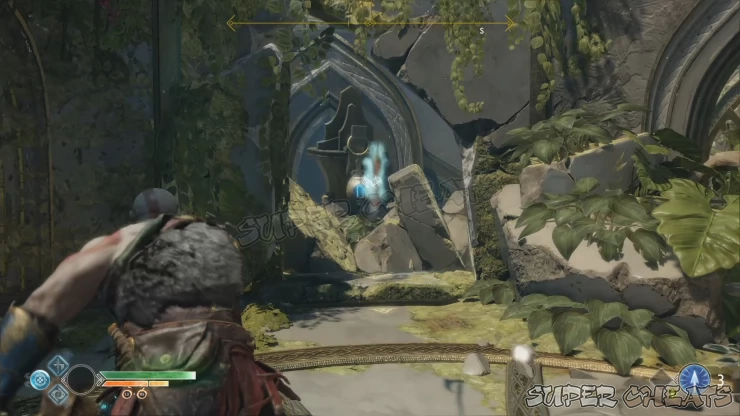
Go back down and pick up the crystal and place it on the other crystal slot near the door. Activate it then boost Atreus up through the hole beside the ledges leading to the nornir chest.
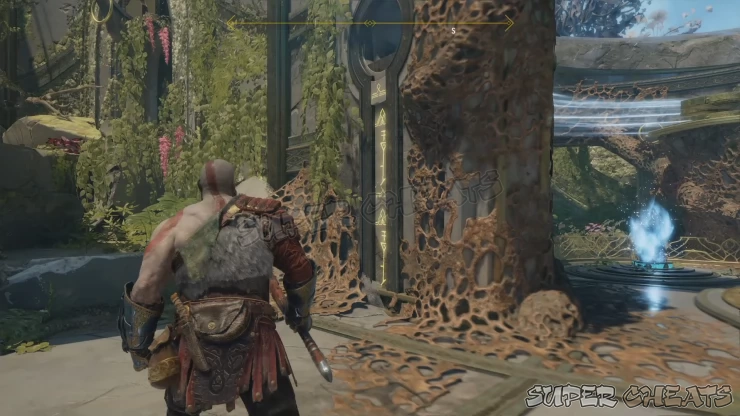
Have him examine the symbol above the door to enter the answer on the sand bowl. This will open the temple doors. Examine the door to trigger the arrival of the surviving light elves. The game will tell you to return to the boat but your business is not over yet in the temple. Head to the dock and ride the elevator down back to the trench.

Anything missing from this guide?
ASK A QUESTION for God of War (PS4 - 2018)
Comments for Chapter 4: The Light of Alfheim 2
Add a comment
Please log in above or sign up for free to post comments- Basics
- The Journey
- Favors - Dwarves
- Favors - Wayward Spirits
- Favors - Free Dragons
- Favors - Valkyries
- Labors
- Artifacts
- Nornir Chests
- Jotnar Shrines
- Treasure Maps
- Alfheim Locations
- Lake of Nine Locations
- Bosses
- Valkyries
- Muspelheim Trials
 Join us on Discord
