Chapter 10: The Black Rune
With Atreus back in shape, head back to the lift. The lake has undergone another water level change so all remaining locations around the lake should be accessible now and the previous locations will have more of them to be revealed. You can explore them now or continue with the story. Leave the lift and pick up the boat that was washed ashore. From there, head back to Tyr’s Temple.
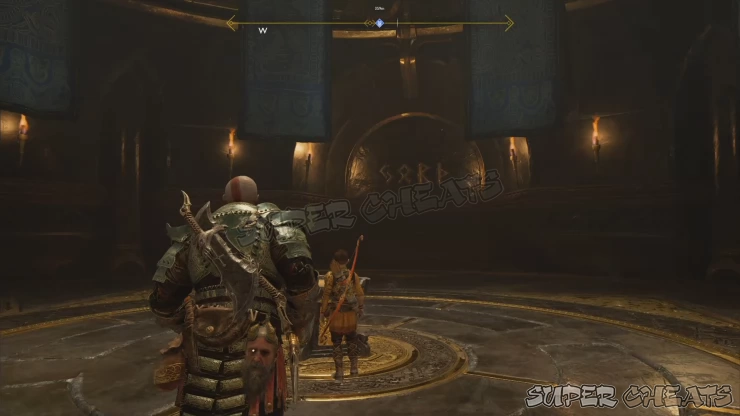
Once inside, have Atreus read the sand bowl to activate it. Have him read the runes inscribed on the wall in front of the bowl. The platform will start its slow descent to the bottom of the temple. Once it stops, open the door ahead and approach the center of the vault where the rune is located it. It is protected by three rings that you have to deactivate by capturing the winds of Hel trapped in the rings and transferring them to three separate locations in the vault.
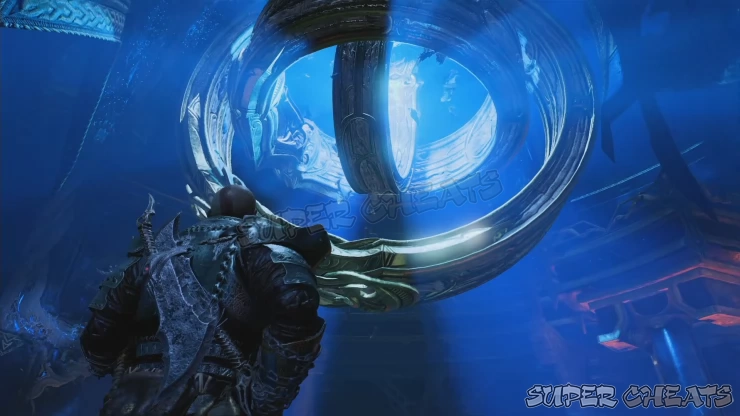
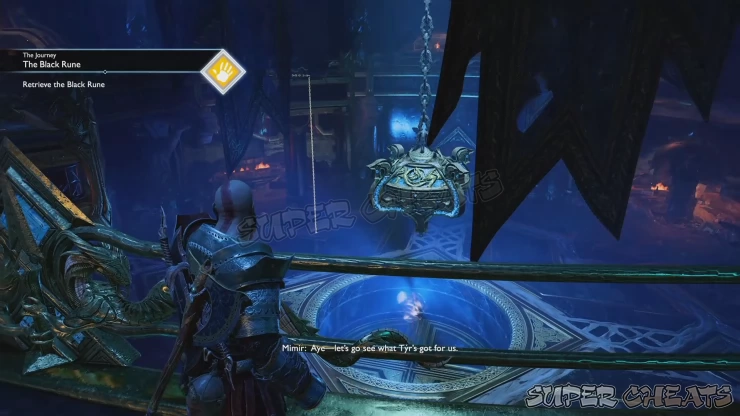
Start off by finding the cracked wall that you can grab unto. Climb up make your way to the balcony. From there, head towards the rune on the wall and have Atreus read it. Continue to the other end of the balcony where you can kick off a chain that you can use to get down.
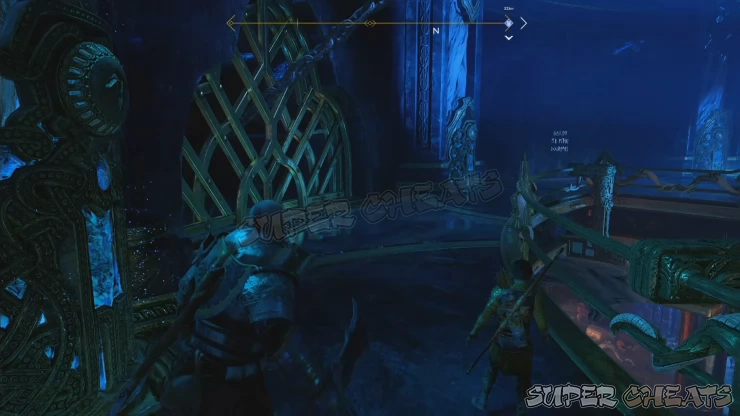
From there, you should see a tunnel that leads to a room with a wind trap. Capture the wind from the outer ring and transfer it to the wind trap inside the small, circular room. This will reveal a gearwheel. Turn the gear wheel to open two gates leading to tunnels with deadly traps.
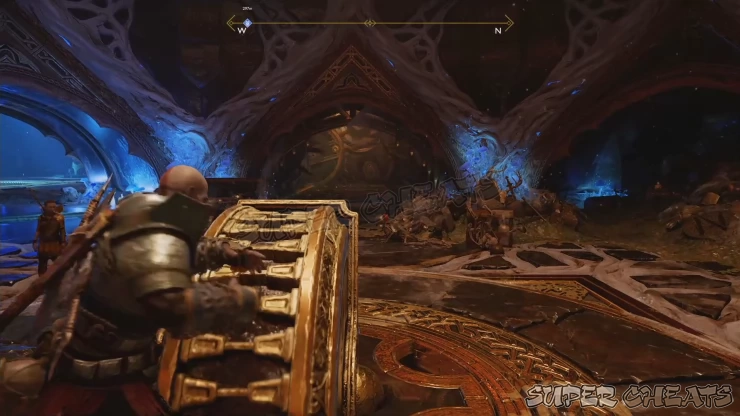
Before going straight to the tunnel in front of the gearwheel, turn around and head to the other dead-end tunnel first. Switch to your Leviathan Axe and throw it to the plates above the large spinning blade trap to change its direction. Do the same to the other one so you can access the coffin in the end. Loot the Solid Svartalfheim Steel from it. Backtrack to the previous room and take the other tunnel this time.
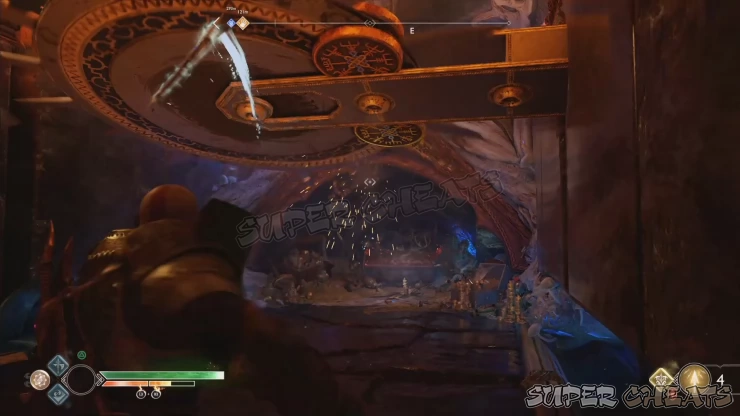
In this tunnel, the spinning blades move automatically so you have to get past them with proper timing. The last set of blades will require you to freeze one of them, preferably as it moves to one of the sides then waiting for the other blade to pass, giving you a clear passage to the next room.
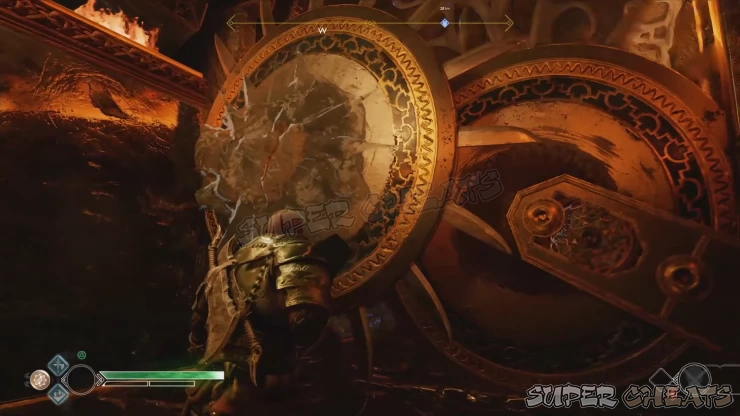
After reaching the next room, there will be a short cutscene. After the scene, you can examine the artifact in the table, then open the door leading back to the main hall of the vault. This room has another wind trap so you basically need to repeat the process. Head back to the main hall and realm tears will appear, spewing off enemies. Defeat all of them then capture the winds of Hel from the outer ring of the vault defense mechanism then transfer it to the wind trap inside the previous room you’re in.
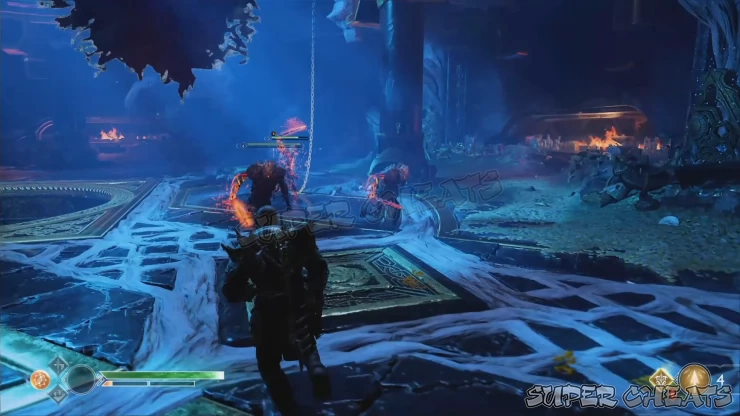
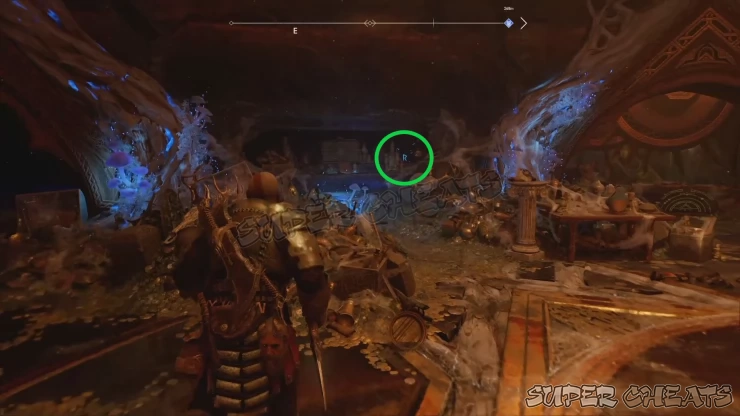
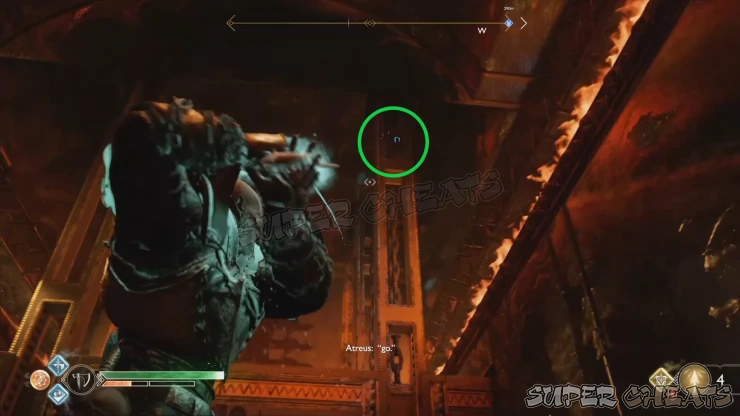
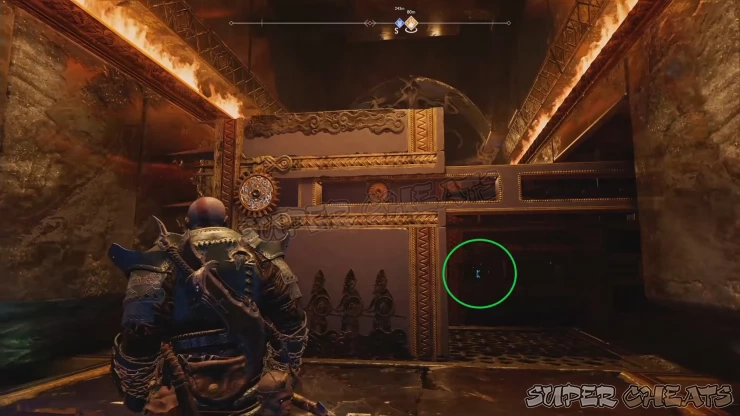
Turn the gearwheel again to open the gates to two more tunnels. Unlike the spinning blades traps, the spike traps will instantly Kill you so be very careful. Before moving to the main tunnel, we have to explore the other tunnel first to the north first. In the end of the tunnel, there’s a nornir chest. To unlock it, you’ll have to find and destroy three seal stones. The seals locations are listed below.
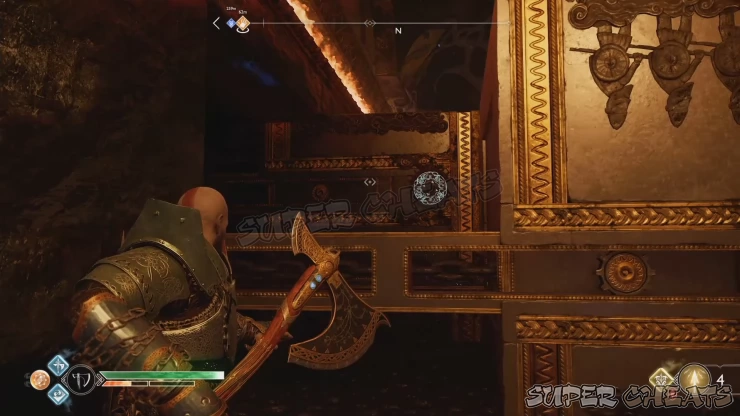
In the gearwheel room, on a shelf near the tunnel with the spinning blades:
In the main tunnel with the spike traps from the ceiling. Look at the metal beams on the upper-right side.
The last seal is near the nornir chest itself. Head inside the tunnel and peek to the left to see a gear on the side of the second spike trap. Freeze it with your axe then time your movement as you cross the spike traps. Turn around to find the last seal behind the frozen spike trap. You can use your blades’ ranged attack to destroy it.
To get out of this tunnel, freeze the nearest spike trap then carefully cross the other trap to return to the gear wheel room. Take the other tunnel this time. Freeze the nearest spike trap while it’s up then go underneath it. There’s an alcove to the right where you can roll into as soon as the second spike trap goes up. Repeat the same for the third spike trap to get past the dangerous tunnel safely and reach the next wind trap.
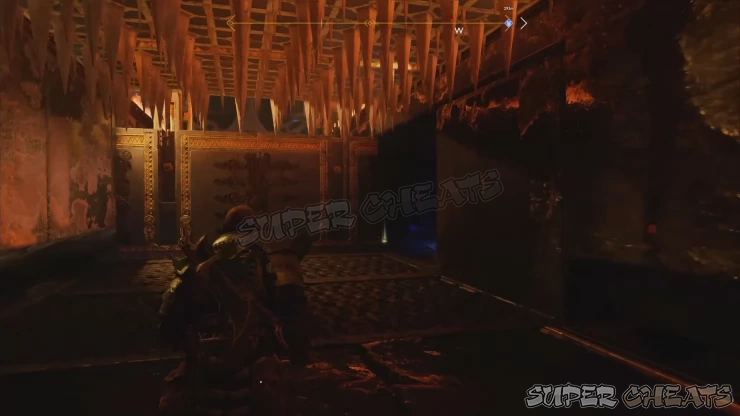
Have Atreus read the runes on the wall. Next, open the door that leads back to the main hall again. The winds of Hel in the last, inner ring can’t be captured from below. For the meantime, find the chain that you kicked off earlier and use it to climb back up to the balcony. More enemies will appear so get rid of them. Find the wind trap in the inner ring, capture it, then transfer it immediately to the outer ring’s wind trap. This will allow you to reach it from below this time.
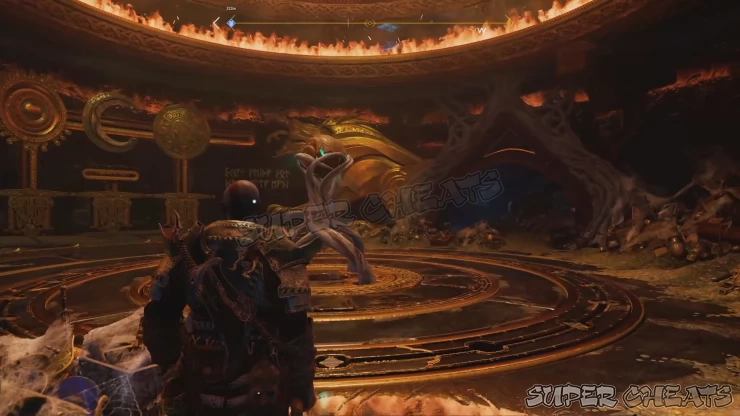
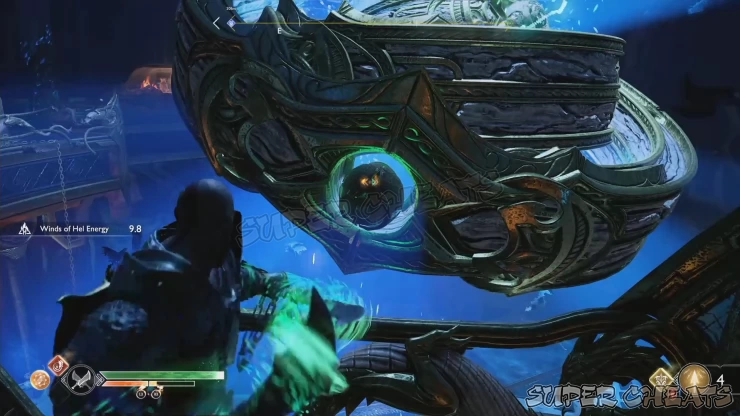
Go back down, capture the wind and transfer it to the last wind trap in the other room. Operate the gear wheel to lower the rune stone in the main hall. However, Kratos will be ensnared by a trap. To free him, you have to order Atreus to solve the puzzle on the wall. You have to arrange it to this order: Moon, Midgard, Sun. To do this, do the following:
Pull the right. (lower midgard)
Pull the middle (sun, moon, moves to the left)
Pull the left (moon goes down)
Pull the middle (sun goes all the way to the right)
Pull the right. (midgard goes up)
Pull the left (moon goes up)
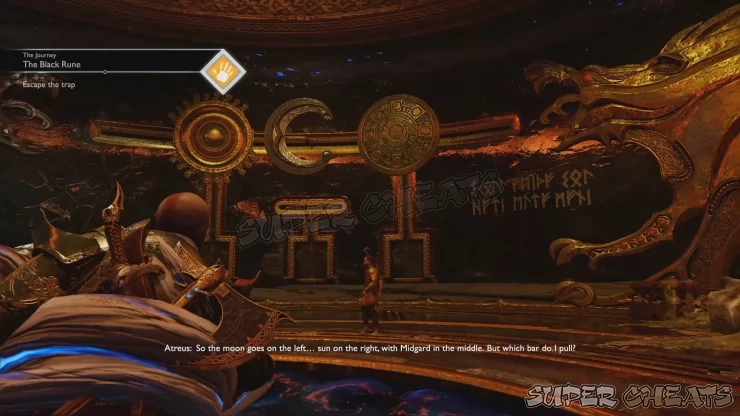
Doing this in order will move the symbols in order and deactivating the trap. However, the ordeal is still not over. As the platform moves up to the spiked ceiling, order Atreus to stop the chain to complete the sequence.
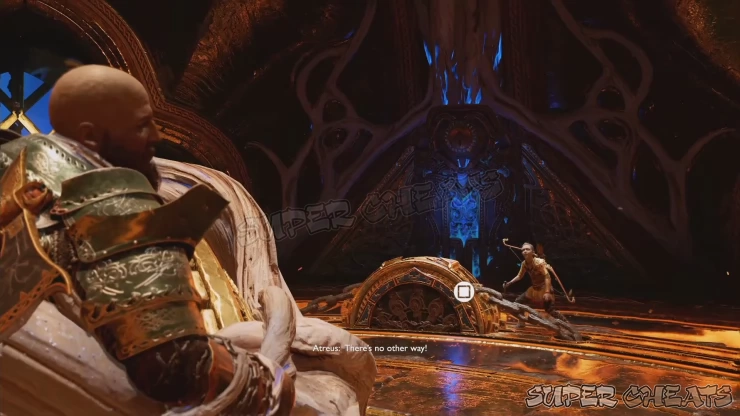
Once Kratos is freed, interact with the gate ahead and kick it open. With the black rune now within arm’s reach, head down and approach the rune. You’ll be able to successfully retrieve it after a brief cutscene. However, there’s still one more job to do: defeat the guardians of the vault.
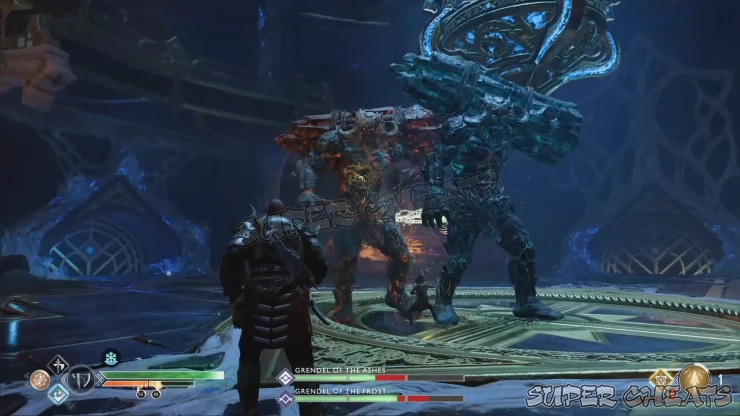
Grendel of the Ashes and the Frost will come alive at the same time. Don’t be intimidated by them since they’re quite manageable or even weak at this point of the game, especially if you kept your gears regularly upgraded. Their attacks can also hurt each other so it will be easier to lure them so their attacks hit the other. Atreus’ shock arrows can also deal significant damage especially when the two are together. Either way, this battle shouldn’t be a hard challenge. Defeat them to reveal a legendary chest. Don’t forget to pick up the loot they’ll drop. (Tartarus Rage heavy runic attack, Chaos Flame, Hardened Svartalfheim Steel x3). Loot the Weightless Grips of Protection from the legendary chest.
At this point, you’re done in this location so make your way back to the sand bowl and activate it to get out of the vault. After the scene, this chapter will be complete.

Anything missing from this guide?
ASK A QUESTION for God of War (PS4 - 2018)
Comments for Chapter 10: The Black Rune
Add a comment
Please log in above or sign up for free to post comments- Basics
- The Journey
- Favors - Dwarves
- Favors - Wayward Spirits
- Favors - Free Dragons
- Favors - Valkyries
- Labors
- Artifacts
- Nornir Chests
- Jotnar Shrines
- Treasure Maps
- Alfheim Locations
- Lake of Nine Locations
- Bosses
- Valkyries
- Muspelheim Trials
 Join us on Discord
