Chapter 9: The Sickness 3
To start off, capture the winds from the nearby wind trap and quickly transfer it to the wind trap by the large gate to open it. From the gate, capture the wind and transfer it to the smaller gate along the bridge. Continue forth and take out the ice nightmares and a reaver that will appear. The ledge nearby leads to the hidden chamber of Odin but you can only access it later once you have Atreus with you. For now, take note of its location then transfer the winds to the nearby gate in order to proceed.
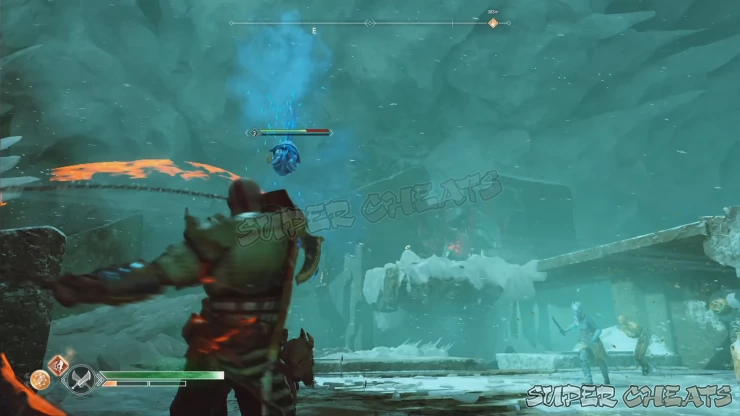
Next, head to the next portion of the bridge and take out more enemies. There’s another stone door with a wind trap but getting the wind from the other side of the previous gate will be tricky since the gate will close as soon as you capture the wind. To do this, climb the nearby ledge and head towards the shatter crystal. Peek over the edge of the bridge until you get a clear view of the active wind trap as shown below. Quickly bring it to the other stone gate in the other side of the bridge to open it and reveal the coffin inside. Loot its contents then crawl through the tunnel ahead.
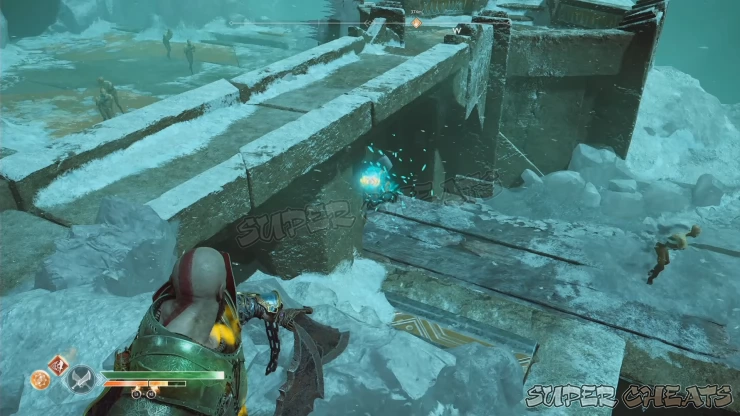
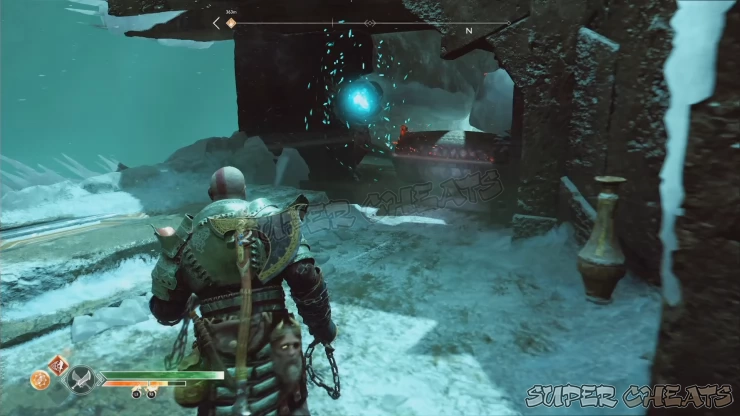
After exiting the tunnel, loot the wooden chest nearby. The large gate ahead requires another wind trap to be activated. Turn around to find the active wind trap in the ice. Capture the wind and transfer it to the inactive wind trap on the gate to unlock it. Open the gate and continue forth.
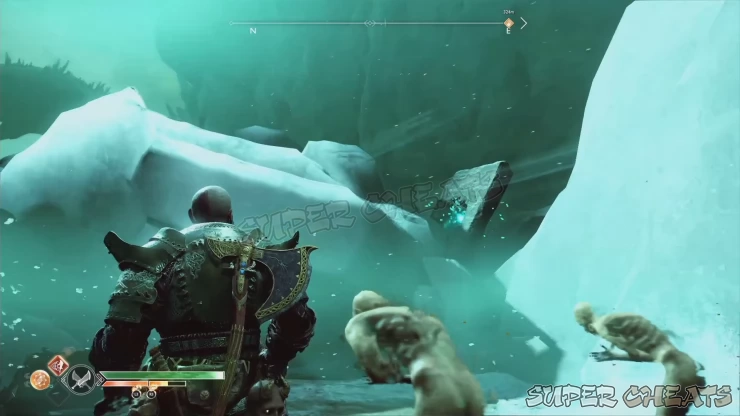
A hel-traveler will be waiting along the path. Take him out then turn around to find an enclosure with a wind trap near the gate. Capture the wind on the gate you opened earlier and transfer it to the enclosure to reveal the coffin inside. Loot the Solid Svartalfheim Steel from it.
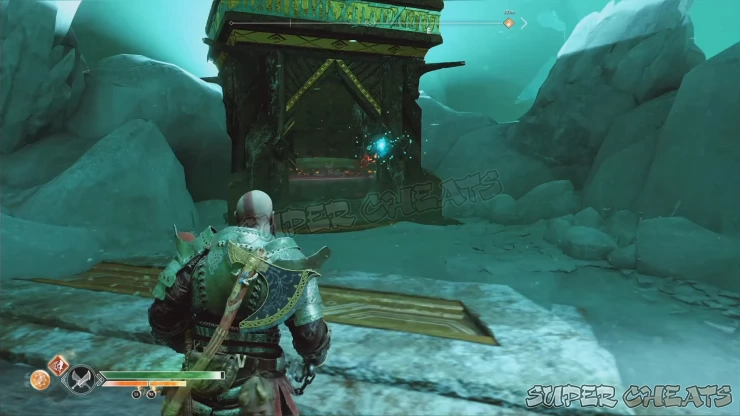
Next, capture the wind from the enclosure and transfer it to the next wind trap to the right. Next, capture it again and transfer the wind to the next wind trap near the arch, to the left.
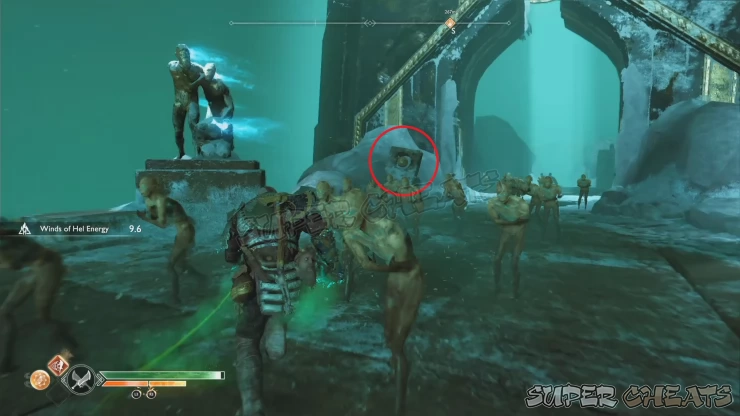
Once ready, capture the wind and transfer it to the wind trap by the frozen statue past the arch. Defeat any enemies you encounter along the way.
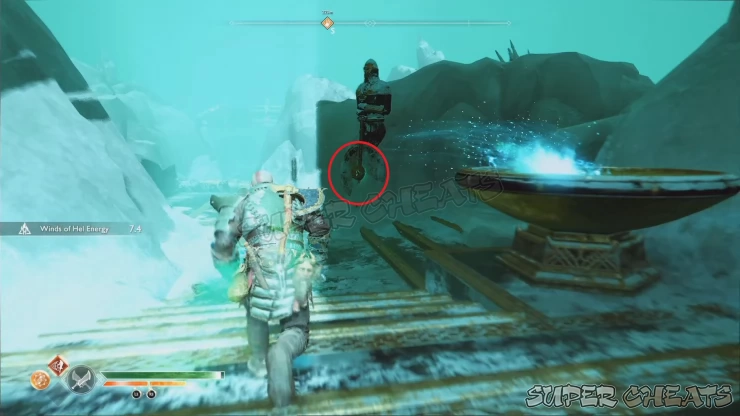
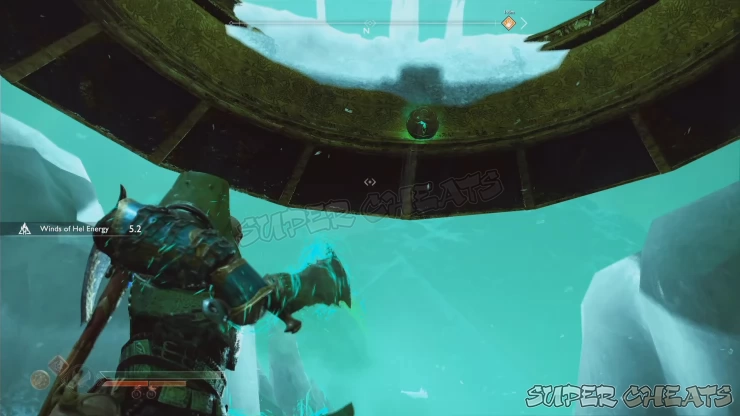
Capture the wind again then vault over the fallen pillar along the way. Transfer the wind to the wind trap at the back of the next statue as shown below. The next wind trap is located in the ringed part of the bridge. Just look up to find it. Transfer the wind from the back of the statue to that wind trap.
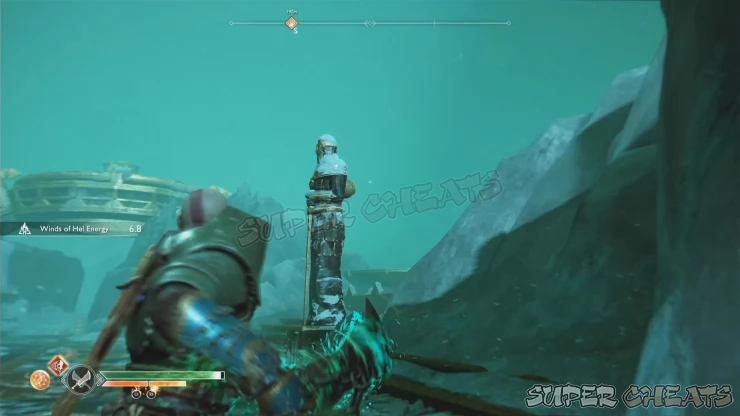
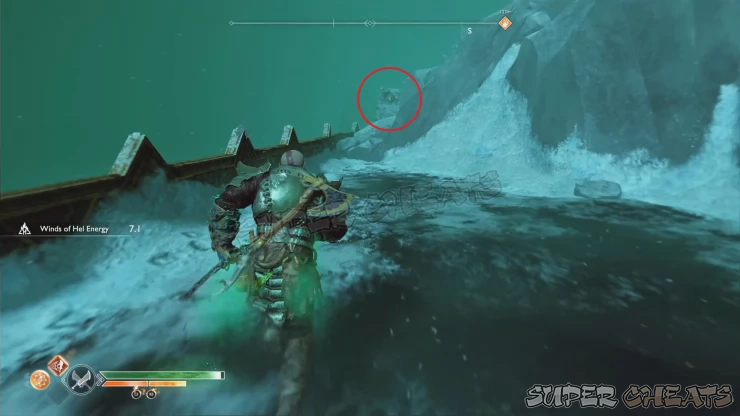
From the ring wind trap, capture the wind again and stick to the left side of the bridge. You’ll find the hidden wind trap near the edge of the bridge as shown below. Transfer the wind there.
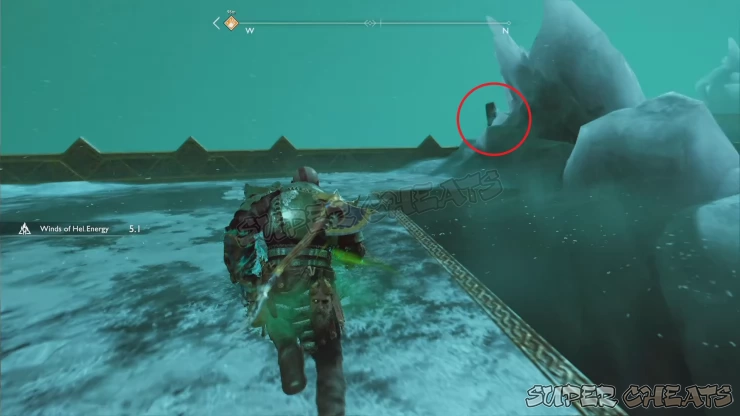
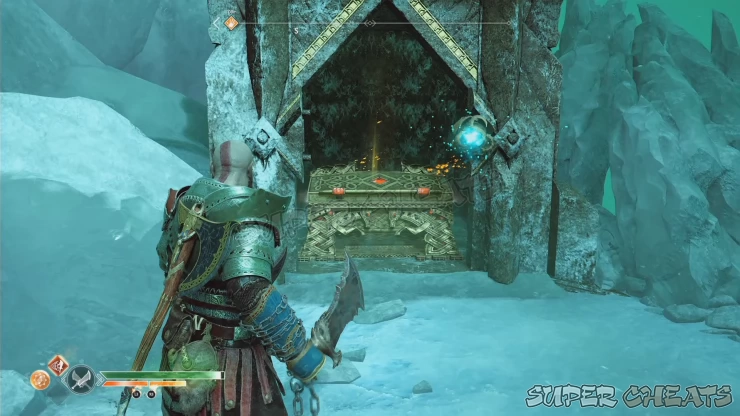
Go around the ice mound and capture the wind from that wind trap. From there, run straight to the other side of the bridge to the west to find another hidden wind trap, past the stairs you encountered earlier. Now go downstairs and capture the wind so you can transfer it to the locked enclosure to reveal the legendary chest inside. Loot the Cyclone of Chaos light runic attack from it.
Finally, head back to the temple and travel back to Midgard. At this point, Brok will tell you that he upgraded the Mystic Gates so now you’ll have the capability to travel to any unlocked mystic gate (except for some locations). For now, use the mystic gate to travel back to the Witch’s Cave Upper Level.
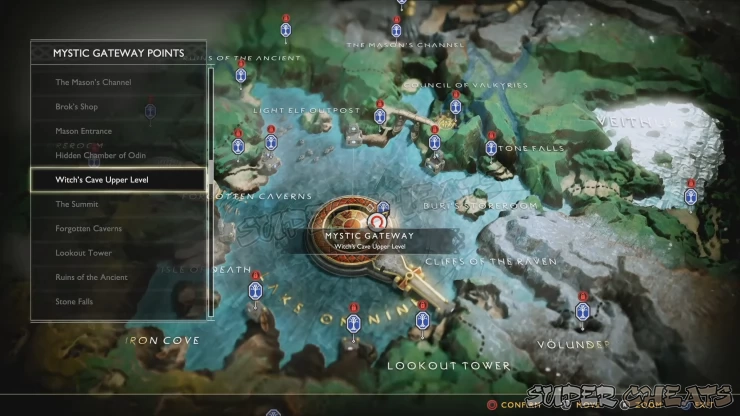
Head back to the witch’s hut and Freya will brew the medicine needed to cure Atreus. After the cutscene, the quest will be complete.

Anything missing from this guide?
ASK A QUESTION for God of War (PS4 - 2018)
Comments for Chapter 9: The Sickness 3
Add a comment
Please log in above or sign up for free to post comments- Basics
- The Journey
- Favors - Dwarves
- Favors - Wayward Spirits
- Favors - Free Dragons
- Favors - Valkyries
- Labors
- Artifacts
- Nornir Chests
- Jotnar Shrines
- Treasure Maps
- Alfheim Locations
- Lake of Nine Locations
- Bosses
- Valkyries
- Muspelheim Trials
 Join us on Discord
