Crimson Blaze Mountain -Caldera-
In Sakuna: Of Rice and Ruin, you have reached the peak of the Volcano, and you’ll want to discover the source of evil that you have seen so far. You are wondering what caused the Specters to rise, and to why they attack demons as well. Once you have reached the peak, you’ll be entering the Volcano itself to find your answers.
Since there are different parts in this location, you will realize that this area will be Home to a Boss as well. The Crimson Blaze Mountain will require multiple days for you in order to complete, so you’ll have to use the gates to come in and out in order to get some rest. Let’s check what you can expect from this dungeon. On this page we shall see the objectives that you'll need to clear, as well as Tips on how to finish them.
Unlock Requirements: Reach the exit in Path to Perdition
Dungeon Stats
| Location | Enemy Strength |
|---|---|
| Peak | Day 0 / Night 0 |
| Part 1 | Day 21+ / Night 39+ |
| Part 2 | Day 22+ / Night 39+ |
| Part 3 | Day 0 / Night 0 |
| Part 4 | Day 23+ / Night 40+ |
| Part 5 | Day 23+ / Night 40+ |
| Part 6 | Day 23+ / Night 40+ |
| Caldera | Day 24 / Night 27+ |
Exploration Objectives
| Exploration Objective (s) | Star Rating |
|---|---|
| Defeat the volcano’s master 1/1 | 5 Stars |
Crimson Blaze Mountain - Peak
The Crimson Blaze Mountain Peak is simply an entrance for Sakuna in order to get inside the Volcano, so thankfully there aren’t any enemies once you go there. It would be best for you to come to the volcano at the start of your day however and try to make sure that you have enough fullness.
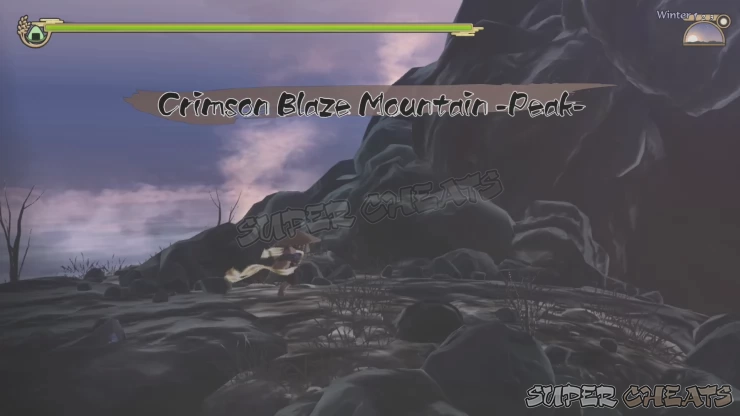
Having Fire Resistance will help you with this dungeon since there is lava spouting here and there. Once you have the buffs from the food, you can go ahead and enter the volcano, there will be different parts ahead so be careful.
Crimson Blaze Mountain -Part 1-
Upon entering the volcano, you’ll start going to the right side and jump across the rocks on the ground in order to keep your footing safe. You’ll get damaged considerably if you get hit by the lava. There will be some enemies up ahead, so you’re free to knock them over to the lava as well since they will also get hurt.
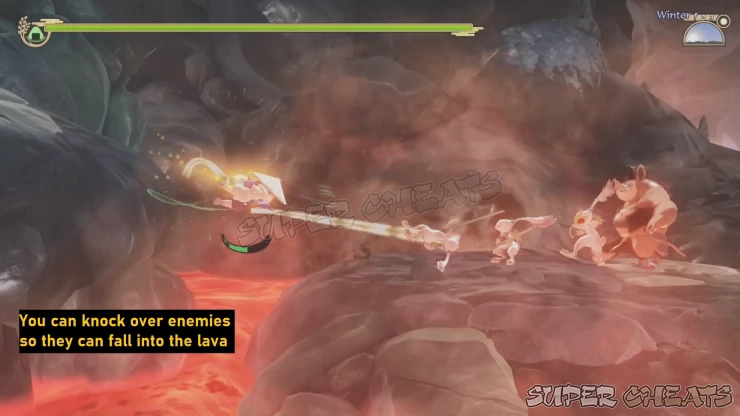
After defeating them, you can go the right and jump down a bit to the lower left in order to get a box that has a Powder of Transformation. There’s also a mining spot there, then you can go to the very right most area and find another box on the upper right which contains Enchantment of True Strength: Pierce resistance.
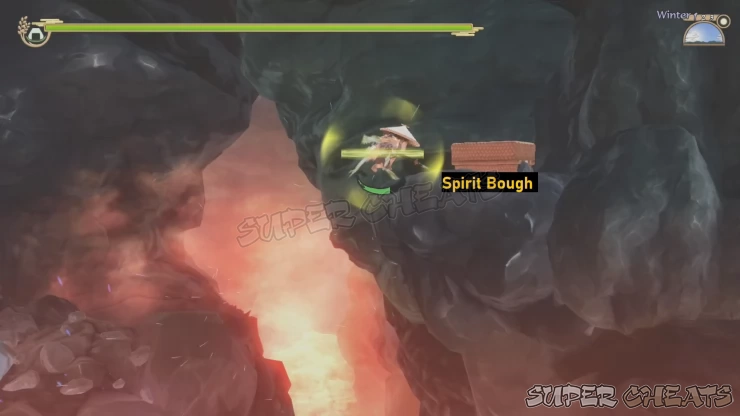
As you go down, you’ll find another mining spot along your way, then you’ll head to the left side. You’ll find flowing lava from the ceiling; this new obstacle will require you to use your Raiment to latch on to a wall on the other side to get around it. Continue to the left an you’ll get to fight some Specters, you’ll continue going to the left until you find a second batch of Specters that you can fight. You can launch them towards the lava in order for them to get hurt.
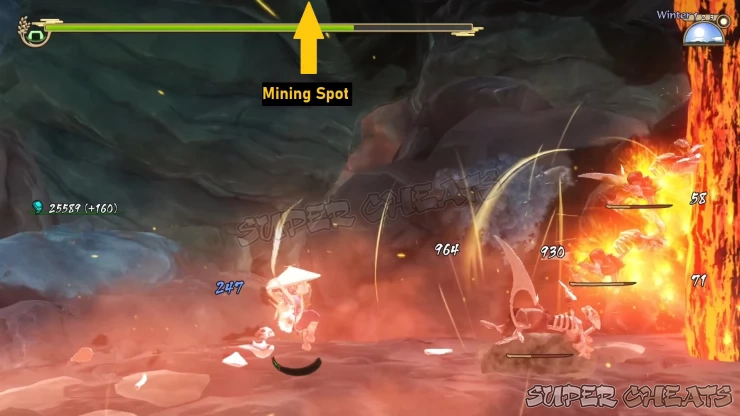
There’s also a mining spot on the platform above them if you need. Once all of them have been defeated, you can go to the next area by going through the cave on the left side.
Crimson Blaze Mountain -Part 2-
Once you arrive at the second part, you can jump down the platforms and destroy the pile of bones at the bottom. There will be falling lava from the ceiling on the right side, so you can go across it in order to reach a box at the very end. You’ll be able to get a Tengu Mask there, then you will need to go back to the left side in order to continue, clear out the enemies that you’ll encounter along the way.
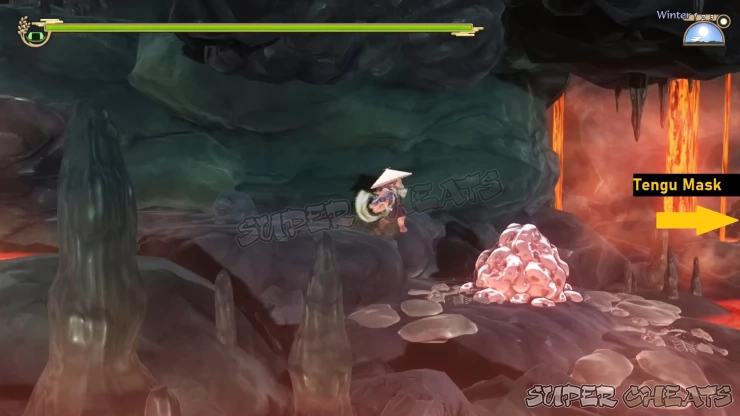
There’s a mining spot on the left side, so you can get that before jumping down on the platforms going down. Be careful since there’s lava at the very bottom, you might jump into it by accident. You will get to fight some Specters along the way, and then go down another series of platforms on the left side with lava at the bottom once more.
As you head down, you’ll find yourself in an open area with Specters waiting for you. There’s lava on the edges, so you can toss them there in order to damage them. There will be two waves here so try your best to take them all out. You can lead them to the side and push them to the lava for extra damage.
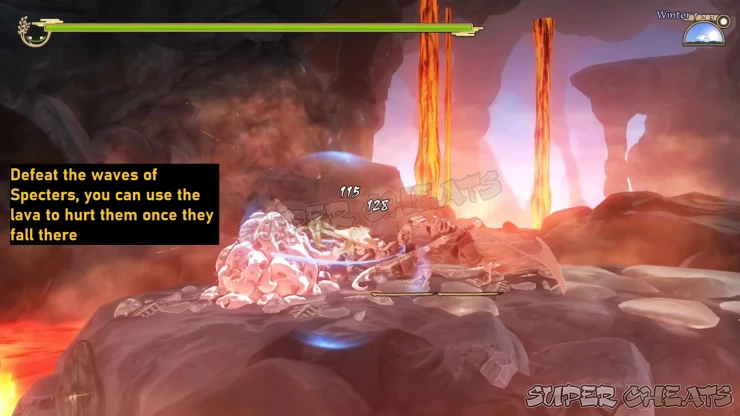
There’s going to be a box with a medicinal base on the upper right side, as well as a mining spot. Be careful if your HP is low since there’s spouting lava that’s blocking it. Once you have the items, you can exit through the cave on the lower right side.
Crimson Blaze Mountain -Part 3-
You might be out of energy by now and it’s nearing night time. Thankfully, the third area of the dungeon will provide you with a gate in order for you to go Home and rest up. From here, you’ll be able to enter three areas in the cave that have different entrances each, and they will require you to destroy specific objects.
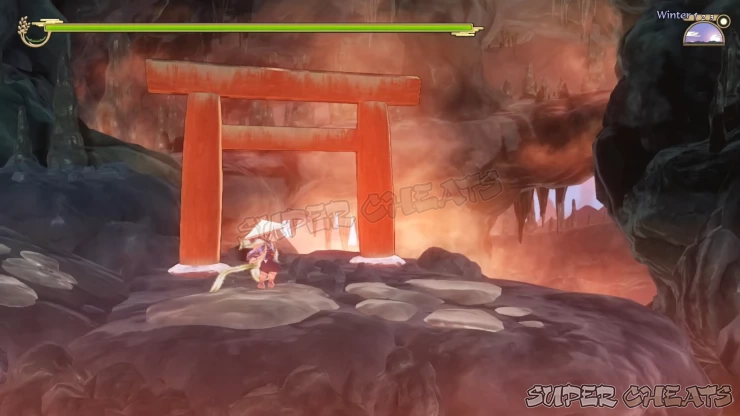
The cave entrances will surround you at the upper right, lower right, and lower left. All of which are Parts 4, 5, and 6 respectively. If you’re about to enter Part 4, it would be best for you to go Home first and have some Fish Mint Tea from Myrthe before you head back.
Crimson Blaze Mountain -Part 4-
Once you return to the gate, you can head to the entrance on the upper right side of the area in order to enter Part 4. Similar to the Noxious Dale, this area can be filled with toxic gases so it would be best for you to take some Fish Mint Tea in order to get Poison Resistance. Upon entering, you should head to the right side and avoid the fumes from the ground.
You’ll be heading to the very right side through the gas, and there can be Specters on the way to slow you down. It would be best for you to avoid them instead and use your Raiment to swing across them. You should end up in an area that has a mining spot that you can gather from, and then you’ll continue your way to the upper left side.
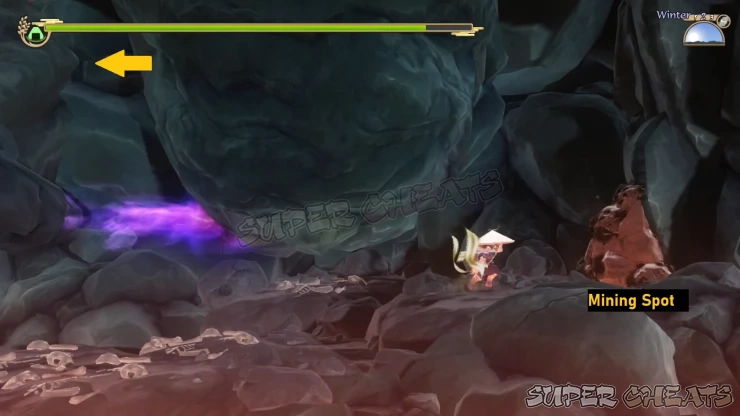
There will be more toxic gases ahead as well as Specters, you can avoid them and follow the path of the cave and go through the gas. You should eventually reach an area with lava, as well as fumes on the rocks. There’s also a box on the upper platform that will contain Magic Flakes.
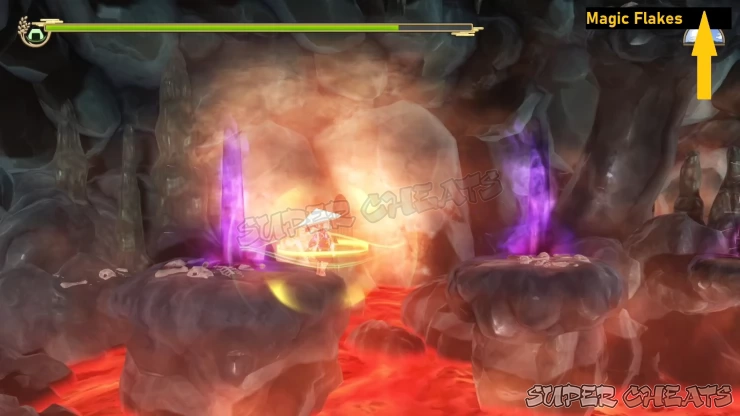
Specters will be waiting on the right side, and there will be fumes spouting from the ground. In order for you to continue forward, you’ll have to defeat all of them first. You’ll then find a Mining spot along the way as you continue to the upper left side. Before you go uphill, get the box on the upper right that contains a Fullness Powder.
Towards the end, you’ll find more Specters waiting for you, you’ll have to defeat them all before you can continue to the let side. You’ll find a Barrier Stone there that you will need to destroy in order for you to progress. You will now have to find the other Barrier Stones from the other parts.
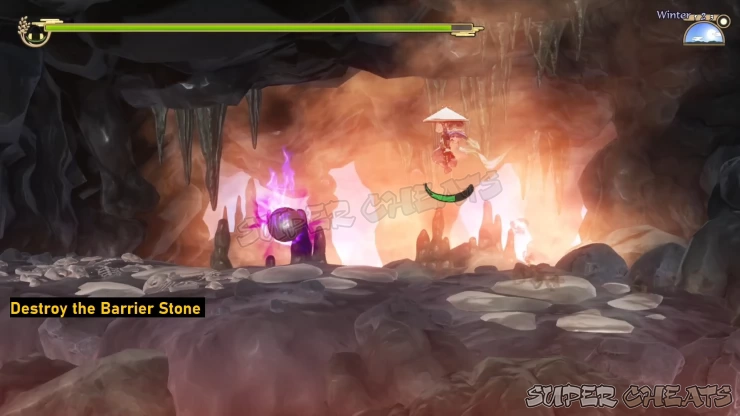
You can jump down on the left side to get back to the entrance. There’s a Health Powder on a box on the very left so try to get that before falling all the way down. You can check in Part 3 if the barrier has been removed as well. For now, you can exit and go Home in order to rest and get your fullness back.
Crimson Blaze Mountain -Part 5-
Once your energy is back full, you can head back to Part 3 and go to the cave entrance on the lower right. This will lead you to Part 5 of the mountain, and it has elements similar to Rockslide Passage where boulders can fall from the sky. There’s a lot of lava here as well, so it would help if you have fire resistance buffs active just in case you get knocked by the rocks.
Upon entering, you can head to the very right side, there should be a mining spot on the upper right near a platform that has lava falling from the ceiling. You’ll then continue to the lower right until you find your first batch of Specters that you can fight.
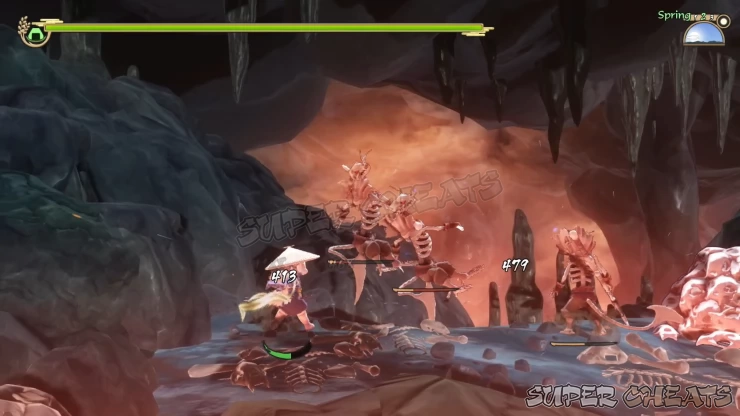
You’ll make your way on an upward slope, and there will be a series of rocks falling from the ceiling. Before you reach the top, you can jump up and use your Raiment to go to a hidden area on the upper right. This will contain a box that has a Skill Powder that you can use.
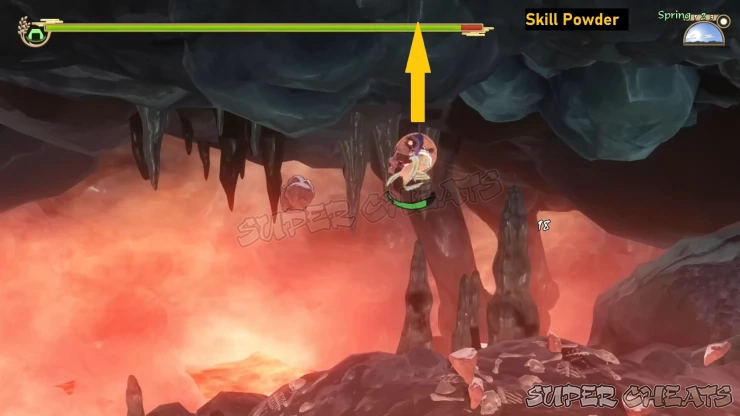
Head to the very right until you find a long trail of lava falling from the ceiling, you’ll have to jump down and use your Raiment to stick to the right side. You should be able to land on rock before the bottom, and there’s a mining spot on the lower right that you can get before continuing.
After passing through more lava, you should find more Specters that you can fight. One you have defeated them, you’ll find platforms of rock on lava, as well as falling rocks from the ceiling. Jump to the second rock and then jump up and use your Raiment to attach yourself to the ceiling. There’s a box there with an Enchantment of True Strength: Luck Boost.
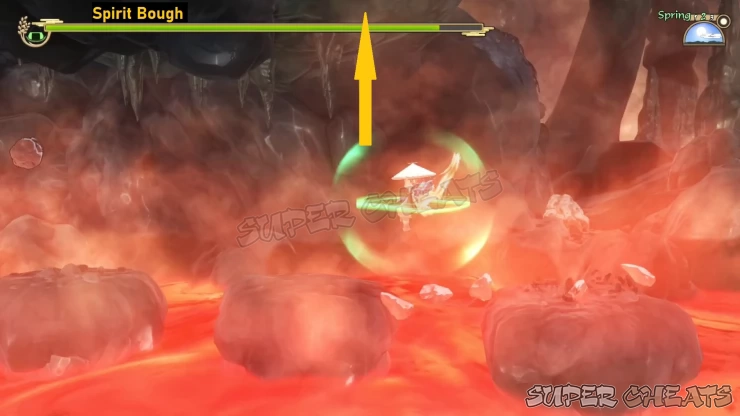
You’ll find more Specters on the left, and they’ll be the last batch of enemies you’ll have to face. Continue your way and you should be able to find the Barrier Stone that you will need to destroy. From there you can go to the upper left side to find another mining spot.
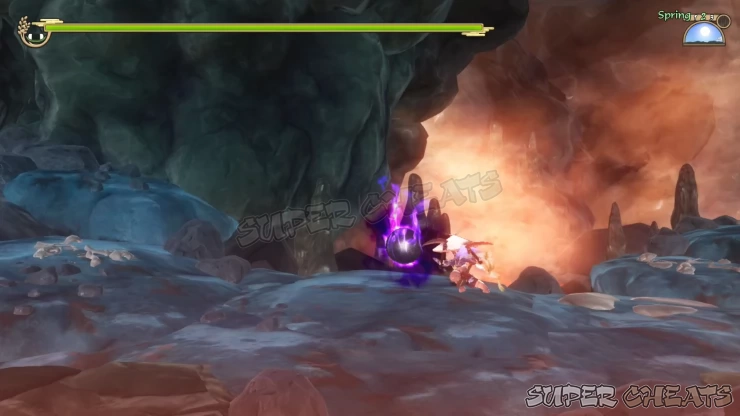
A shortcut to the entrance will appear as you head to the upper left side, you can go back to part 3 and check if the barrier has been removed. You can go Home now and rest up, but if you still have energy left, you can head to the lower left side in order to go straight to part 6.
Crimson Blaze Mountain -Part 6-
From the gate, you can jump down and enter the cave entrance on the lower left in order to reach part 6. Once you start, you’ll make your way to the left side and then fight waves of different enemies already. Clear them out, and you’ll need to continue your way to the left side. There should be a mining spot that you can gather from before you head down the slope, and then a second batch of enemy wave will wait for you.
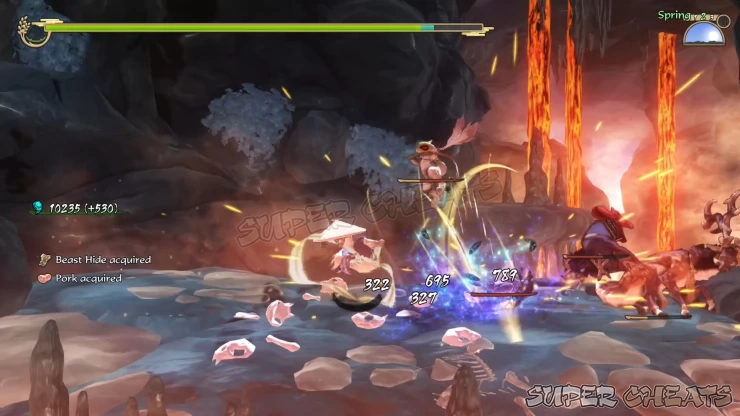
You will see a third batch of enemies below, but you can jump on the upper left to find another mining spot. You’ll notice that this part of the dungeon is all about enemy waves, so you’ll have to defeat all of them before you can continue to the left side.
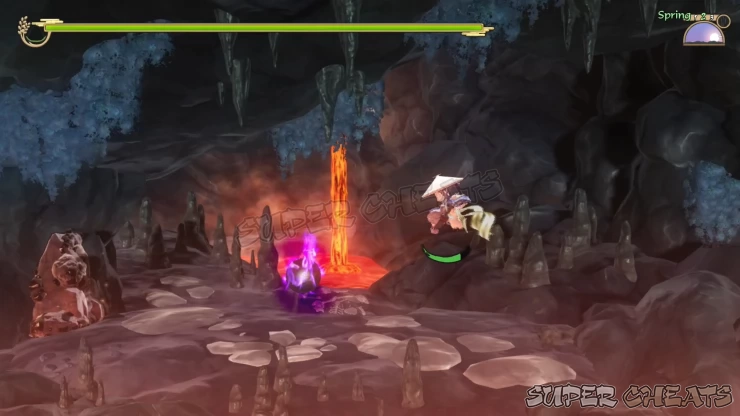
You’ll find the Barrier stone at the end, and there’s a bonus mining spot there. Once you destroy this, you should be able to remove all barriers from part 3. You can head Home now to rest up in preparation for the Caldera area.
Crimson Blaze Mountain -Caldera-
Once your energy is full, you can go to Part 3 and enter the area where the barriers have been removed. Sakuna and Tama will talk about the location, and then suddenly you’ll be face to face with the dungeon’s boss, the Homusubi Specter. You’ll learn about Ashigumo’s tribe and why this creature is out for revenge. The Homusubi Specter can shoot out purple orbs and it can land on the ground as toxic fumes so be careful.
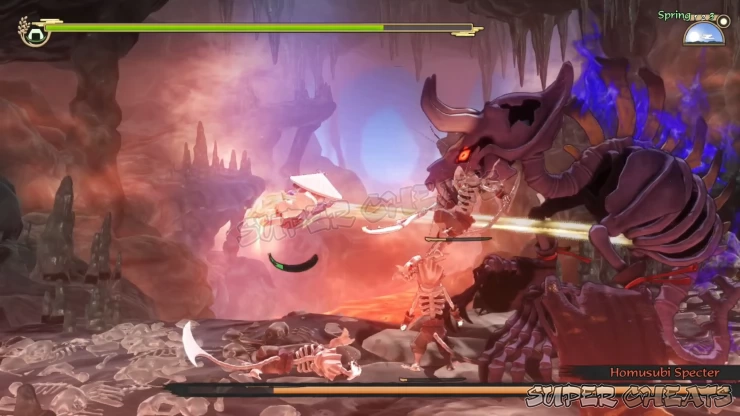
There will be instances as well where it will glow red, so it means its about to burst some energy that can hurt you. You can keep your distance by using your Raiment and swinging around by attaching yourself to other Specters.
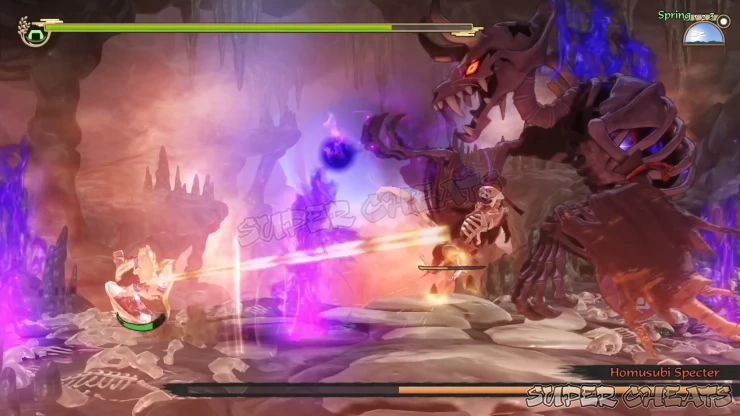
Once you have defeated it, it will fall on the lava. You can then watch the cutscene, and then go Home in order to talk to Ashigumo. You can then have dinner at home after and then you’ll have access to Tiger’s Jaws Pass once the next day arrives.
Anything missing from this guide?
ASK A QUESTION for Sakuna: Of Rice and Ruin
Comments for Crimson Blaze Mountain -Caldera-
Add a comment
Please log in above or sign up for free to post comments- Basics
- Game Walkthrough
- Chapter 1
- Chapter 2
- Chapter 3
- Chapter 4
- Chapter 5
- Chapter 6
- Chapter 7
- Chapter 8
- Gathering Areas
 Join us on Discord
