Alcatraz
Rank 1 Difficulty
The package in this expedition is always inside the main prison building. It’s actual location will just be shuffled in any one of the locked cells in the upper floor. That’s why the recommended entry point is always the roof since you can easily bypass a lot of enemies and you can easily locate the flare pointing to the package. That said, in this expedition, the best exit point is also the roof since there’s a zipline that you can use to quickly and easily reach any of the possible extraction points in the mission.
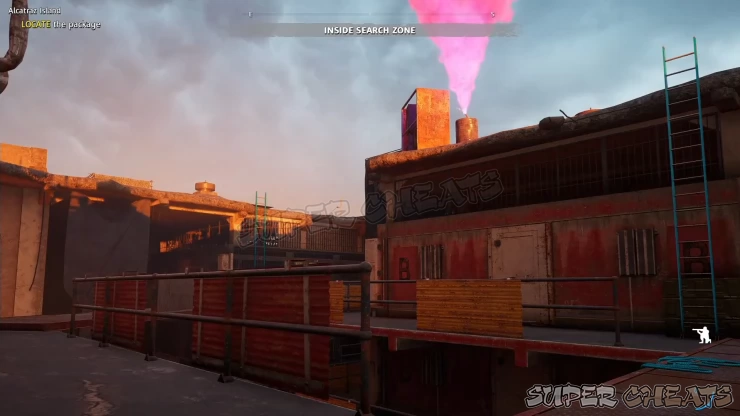
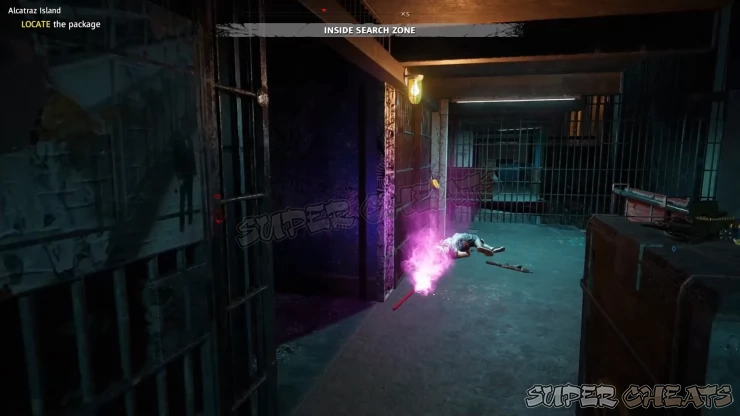
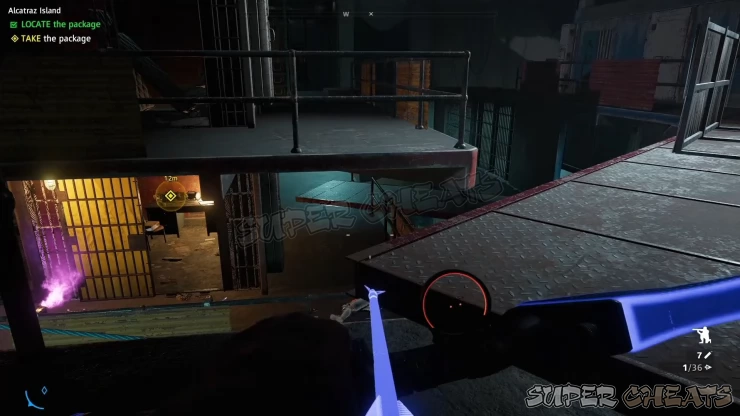
Some of the locked cells may contain corpses, safes, or even skunks. The real cell with the package will always have a flare near it as shown below. To destroy the locks silently, use suppressed or stealth weapons like bows. The enemies won’t detect you even if the actual opening of the cell gate is somewhat loud already.
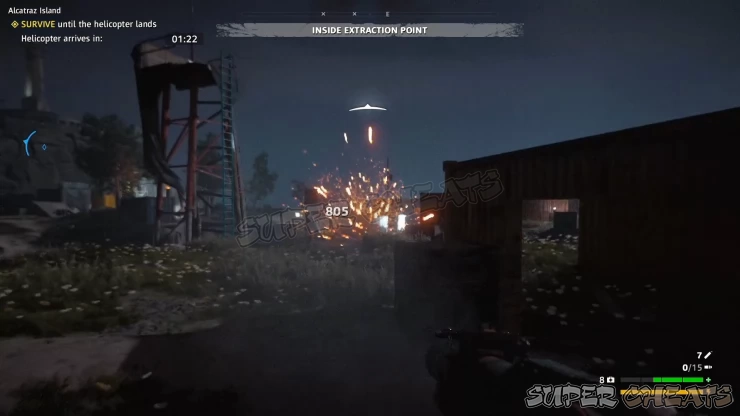
After picking up the package, you can climb up the roof and just use the zipline nearest to the designated extraction point. If you managed to kill most of the enemies inside, you can just jump down and run. While in the extraction point, you have to watch out for enemies coming in all direction. Watch out for snipers as well.
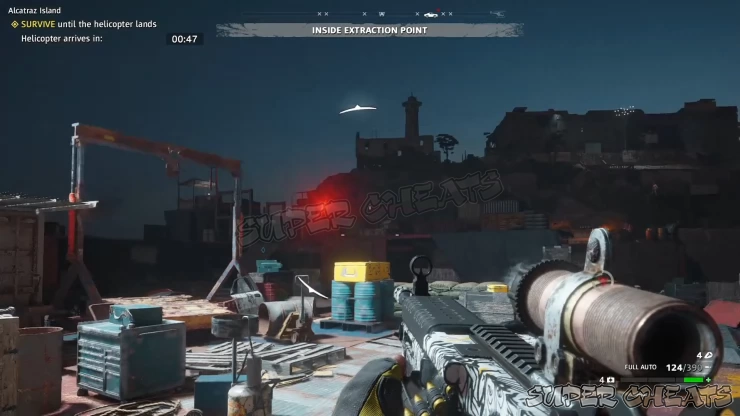
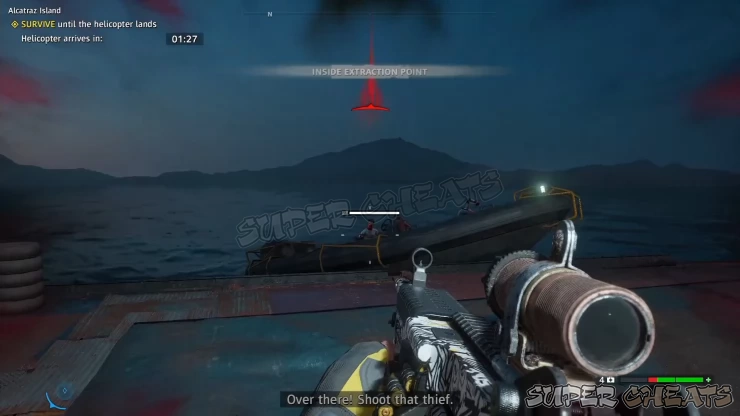
Some of them will arrive by boat, while some via para drop. There’s a lot of cover available so use that to buy time. Don’t hesitate to use explosives to deter them from getting close to you and flush you out.

Rank 2 Difficulty
Same as before, find a way to reach the rooftop via grappling hook. This time, the roof will have at least one sniper guarding the opening. You can safely pick him off from a distance.
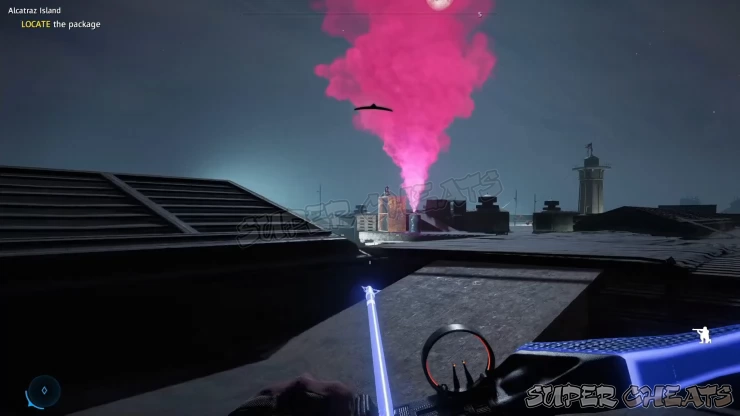
Peek from the opening and watch where the flare could be located. Once you find it, expect at least two guards patrolling nearby. You need to deal with them quickly and silently. They won’t be staying close together so to avoid alerting either of them, wait for them to walk away from each other, far enough for you to kill one without alerting the other.
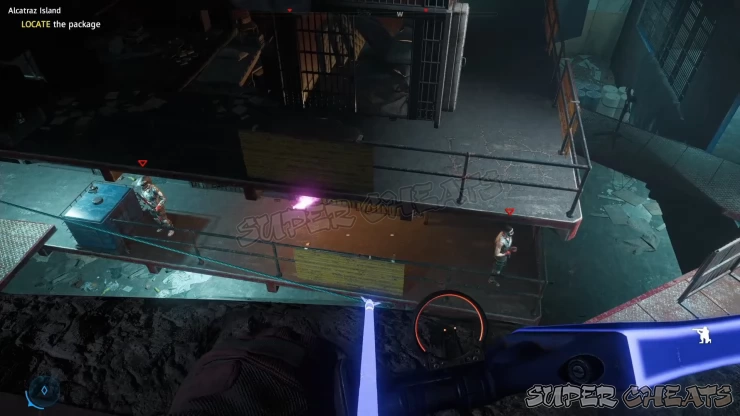
After killing the guards, carefully drop down and keep an eye out of other patrols. If you have a clear shot, you can even open the cell before getting near it. After making sure that there’s no one nearby to intercept you, look around again and plan your escape. Since there’s more enemies now, the rooftop is the recommended escape point for this mission.
Depending on the extraction zone, you may have to deal with a sniper from a nest on the EZ itself. Just keep running and once you reach the EZ, deal with the sniper. Don’t use that nest since you’ll just be limiting your movement.
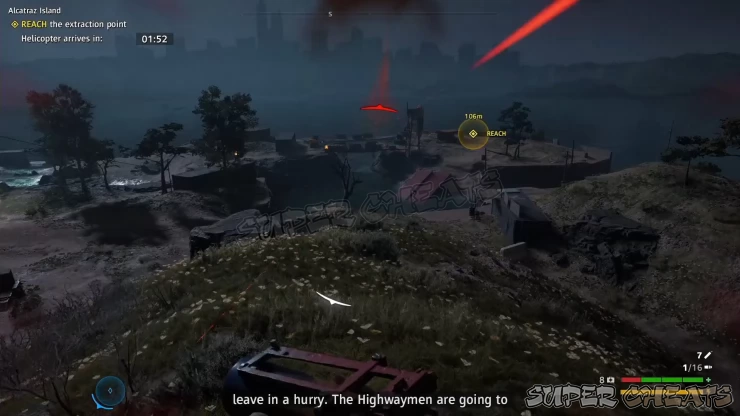
Keep moving and lobbing explosives, especially against enemy groups or those with shields. Keep an eye out for gunboats that will attempt to flank you as well. Always ensure that you take out enemies and vehicles with powerful weapons to keep your chopper safe as it lands.

Rank 3 Difficulty
Same as before, find a way to reach the rooftop via grappling hook. This time, the roof will have one sniper and a patroling enforcer around the opening. Carefully plan your approach; you can take out the sniper first while the enforcer is looking away then sneak carefully and perform a takedown on the enforcer. If you have a bow that can one-shot the enforcer, the lesser the risk.
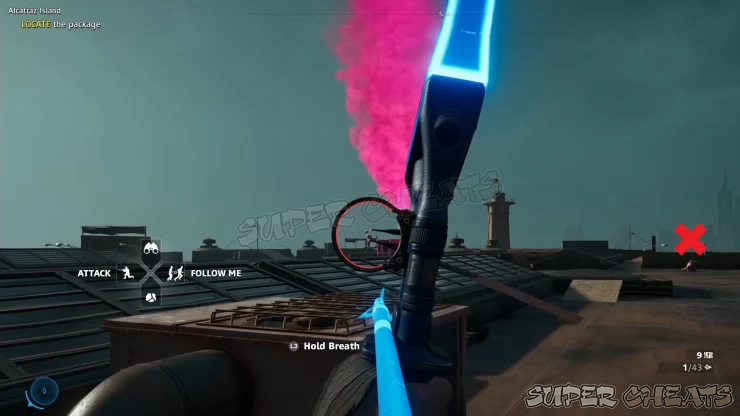
There should be another enforcer guarding the upper walkways so peek on the edges of the rooftop’s opening and circle around until you find the enforcer. You can either perform an aerial takedown by jumping while you’re above him or just kill him with your one-shot arrow.
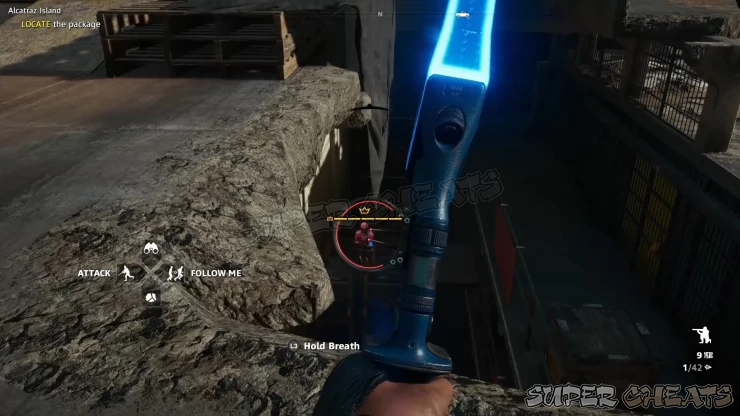
Once the second enforcer is down, then you can breath easy and repeat the steps you did from the lower difficulties. Scout and find the flare, take out the guards, open the cell, and carefully descend to reach the package. Before retrieving the package, plan your route on how to get back to the roof immediately. When ready, pick up the package and head back up. By the time you get to the roof, you should already know where the extraction point is.
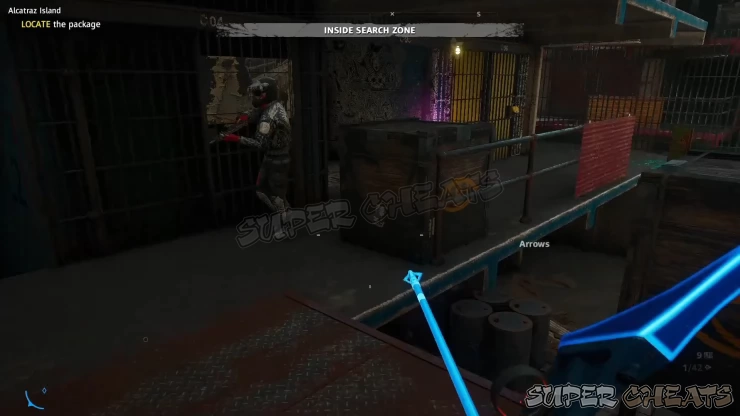
Head to the extraction point. This time, you’ll need to do everything to prevent enemies from closing in, especially the enforcer reinforcements. Surround the EZ’s entry points with explosives, and keep your grenade launcher ready. Companions should be ordered to stick close to you or at least behind cover.
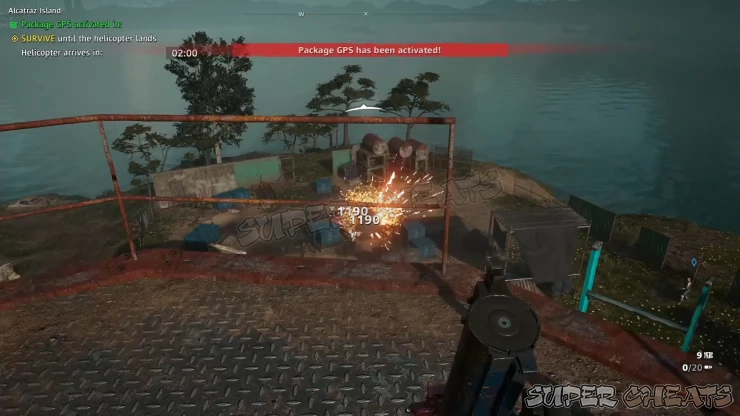
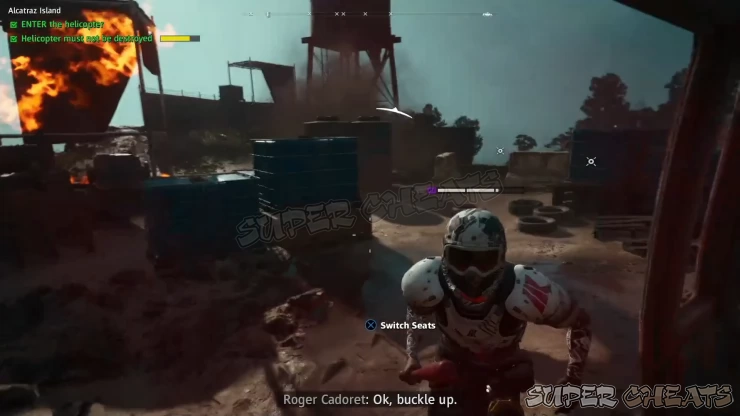
There will always be a sniper that will annoy you with potshots so try moving behind cover whenever you can. You should be actively repelling the highwaymen’s attempt to overrun the EZ. The critical moments are always the time when your chopper lands since it’s the most vulnerable. Always clear out all immediate threats to protect your only way out.

Comments for Alcatraz
- Basics - Gameplay
- Basics - Combat
- Basics - Character Build
- Story Missions
- Specialist Missions
- Companion Missions
- Outposts
- Expeditions
- Treasure Hunts
- Extras and Collectibles
 Join us on Discord
