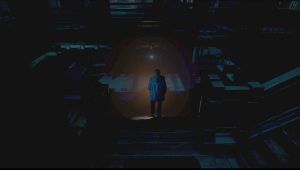
The Twins
Thank you for printing this page from www.SuperCheats.com.
Remember to come back to check for updates to this guide and much more content for Until Dawn
Follow this guide to hear about updates
Last Updated:
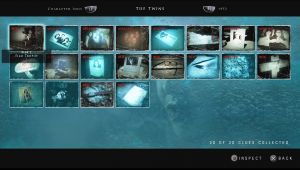
These clues will be listed in the order you'll find them. There is a total of 20 The Twins clues to find in the game. Collecting them all will unlock the trophy “The Tale of the Two Sisters”.
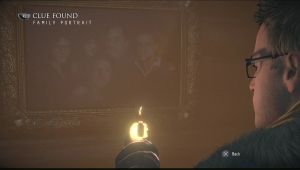
Twins Clue #4
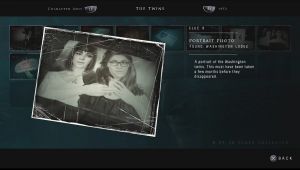
[Chapter 2] After breaking inside the cabin as Chris, take the door to the right and follow the hallway. Shortly you'll find Josh's family portrait. Examine it to get another clue.

Twins Clue #3
[Chapter 2] After breaking inside the cabin as Chris and reaching the main lobby of the cabin, stick to the left side of the stairs to find the Prom Night Photo on top of a small cabinet.
Twins Clue #2
[Chapter 2] After breaking inside the cabin as Chris and reaching the main lobby of the cabin, you can go downstairs and you'll find yet another glimmer on top of another cabinet beside the door. Examine the photo to unlock another clue.
Twins Clue #1
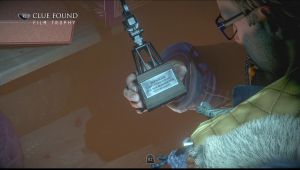
[Chapter 2] After breaking inside the cabin as Chris and reaching the main lobby of the cabin, go upstairs this time and go to the left. There's a bookshelf at the end of the hallway. There's no obvious glimmer for this collectible so it's quite easy to miss. Stand in front of the bookshelf to get a prompt to interact. Pick up the film trophy and examine it to get this clue.
Twins Clue #5
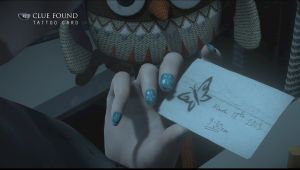
[Chapter 2] After the event with Mike and Jess, the control will switch to Sam. From the bathroom, head to the right and enter the open room there. Across the bed is a table. Pick up the tattoo card there and examine it to get a clue.

Twins Clue #6
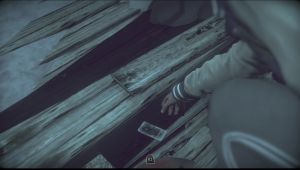
[Chapter 2] In the same room where you found Twins Clue #5, go around the bed enter the closet room. Pick up the torn compatibility test sheet from a magazine on the floor and examine it to get another clue.
Twins Clue #7
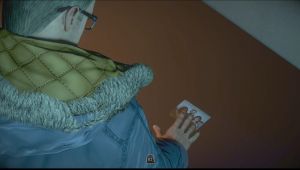
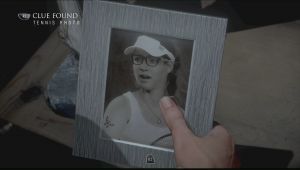
[Chapter 3] Once Mike and Jessica reaches the cabin, go to the kitchen and at the end of the hallway before the bedroom lies another clue. Pick up Hannah's Tennis Photo and examine it to register the clue.
Twins Clue #9
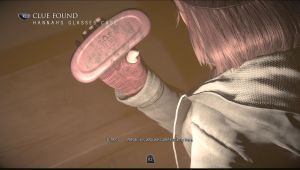
[Chapter 3] Once the control switches over to Ashley. Don't follow Chris downstairs. Instead, turn around and check out the drawer in the end of the corridor to find Hannah's Glasses Case.

Twins Clue #8
[Chapter 3] This is found in the secret room in the library. Just pick up the lone photo in that small room to register this as a clue.
Twins Clue #10
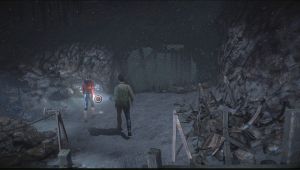
[Chapter 5] After successfully shimmying around the cable car station, follow Emily once again, until you get past some wooden stairs and wooden walkway. Once she moves to the right towards the cliff, stop and go the other way instead. The camera will switch angle and you'll find the shed where Beth's phone fell on the ground in the prologue. Walk inside and Matt will step on a protruding flooring. Open that flooring to find Beth's phone.


Twins Clue #11
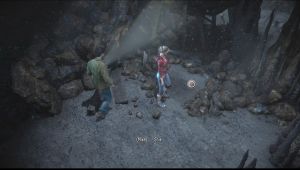
[Chapter 6] Open the locker found at the top the fire tower when controlling Emily.
Twins Clue #12
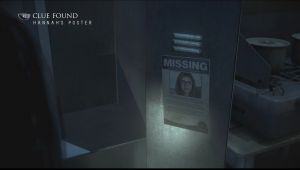
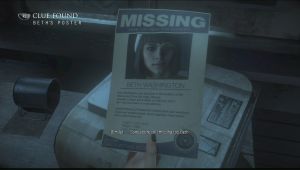
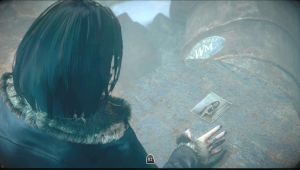
[Chapter 6] After activating the fusebox outside the tower and restoring power, touch the printer to print this poster.

Twins Clue #17
[Chapter 7] Once Emily reaches the open cavern with the steep slope, after the short scene, approach the barrels in the foreground to find a tattoo photo. Pick it up to find another Twins clue.

Twins Clue #13
[Chapter 7] In the same cavern where you found Twins Clue #17 (tattoo photo), check the wooden floor across the barrels to find another shining object. Pick up Hannah's glasses to register it as clue.

Twins Clue #15
[Chapter 7] In the same cavern where you found Twins Clue #17 (tattoo photo) and #13 (Hannah's glasses), go to the left and interact with the wooden planks on the rock wall. Shove them to the side to find markings on the wall. This will be registered as another clue.

Twins Clue #16
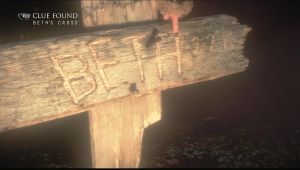
[Chapter 7] From where you found the markings, (Twins Clue #15) continue walking to the left and you'll find a forked path. Go to the right this time and examine the object on the ground to find Beth's Cross.
Twins Clue #14
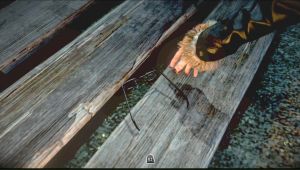
[Chapter 7] From where you found Beth's Cross (Twins Clue #16) Continue to the left past the door and pick up the locket on top of the barrel. You have to move it side to side to flip it open and register it as a clue.
Twins Clue #18
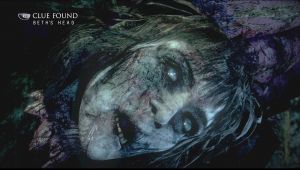
[Chapter 7] After finding the locket (Twins Clue #14) and opening the gate, walk towards the camera until you see an obvious clue in the foreground. Examine it to register Beth's Head as the clue.
Twins Clue #19
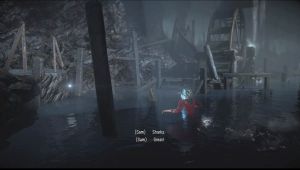
[Chapter 10] At the start of the chapter when Mike and Sam are exploring the cave, don't drop down to the water from the ledge yet. Head to the right to and examine in glimmer on the shallow grave to get Beth's watch. Examine it to register the clue.


Twins Clue #20
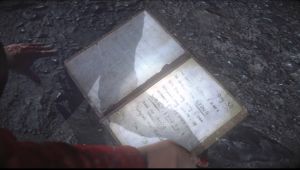
[Chapter 10] Shortly after starting the chapter with Sam and Mike, drop off from the ledge and down to the water. Keep moving to the left and climb up the ledge left of the water wheel. You’ll find Hannah’s Journal there. This is a very important piece of clue and the last one in The Twins series of clues. If you didn’t miss any in the previous chapters, you’ll unlock the trophy “The Tale of the Two Sisters” after flipping through the pages and unlock the new Butterfly Effect. (Important Discovery)
Anything missing from this guide?
ASK A QUESTION for Until Dawn
Comments for The Twins
Add a comment
Please log in above or sign up for free to post commentsNo comments yet. Tell us what you think to be the first.
Table of ContentsClose
Guide Updates
Get notified of updates to this guide
Many of our guides get updated with additional information. To get an email when this guide is updated click below.
 Join us on Discord
Click to close