Chapter 5: Six Hours Until Dawn (Mike)
Thank you for printing this page from www.SuperCheats.com.
Remember to come back to check for updates to this guide and much more content for Until Dawn
Follow this guide to hear about updates
Last Updated:
This chapter is fairly long and since we're also tracking down all collectibles along the walkthrough, we'll be dividing this to three sub-chapters for easier tracking and reading.
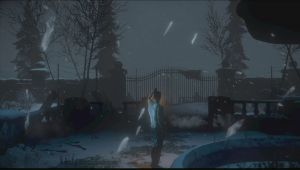
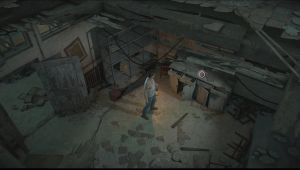
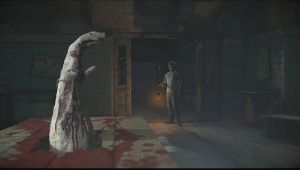
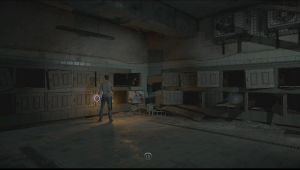
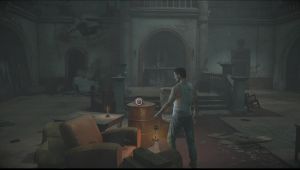
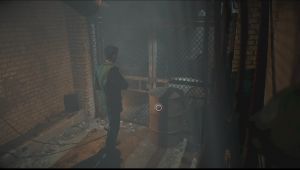
Once you're in control, walk toward the fountain then go to the left. There's a Fortune Totem #2 by the gate. Pick it up. Next, head to the entrance of the Sanatorium but go left this time. There's a small vent there where you can sneak in. Interact with it so Mike gets inside.
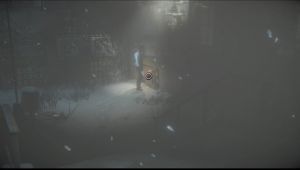
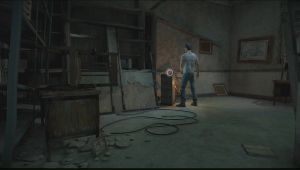
From where you landed, turn around and enter the fenced off area with a barrel you can interact. Before pushing the barrel, check out the wall northeast of it to find a Loss Totem# 4.
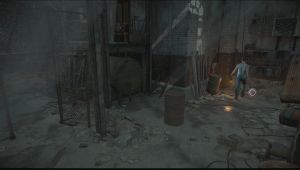
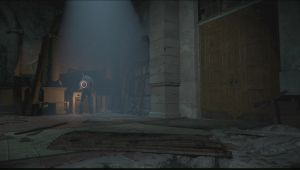
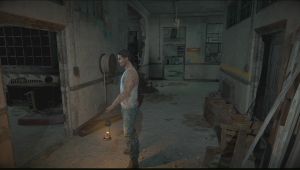
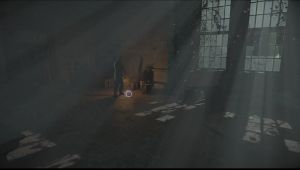
Now interact with the barrel and push it. After Mike climbs up the walkway, continue to the end and interact with the object there to enter the sanatorium. After the scene, walk back to the hole where you came from and continue to the sanatorium's main door. To the left is a small table where a clue is found. Get near and pick up the Administrator Notes (1952 Clue #3)

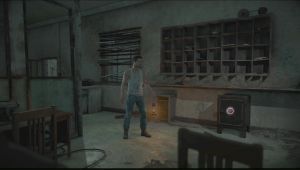
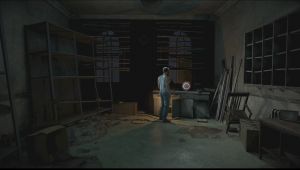
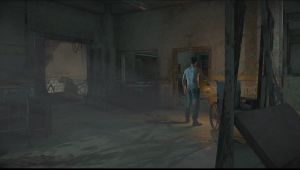
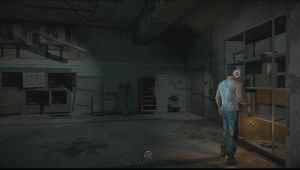
Backtrack once again then enter the room marked “Admin” then turn left. There's a safe there that you can open. Inside, you'll get the Clocking Cards. (1952 Clue #6) Leave the small office then head to the area to the left. In the corner of the room, on top of a filing cabinet, you can pick up a broken camera which counts as 1952 Clue #4.
Now exit the admin office through the other doorway. There are two corridors here; one leads to the morgue downstairs and the other leads to a dead-end room. Continue to the right until the camera angle changes, then enter the only room to the left. Pick up the newspaper on the table to get another clue. (1952 Clue #8)
Backtrack to the admin room entrance then this time, take the other corridor then enter the only room to the immediate right. There's a medical note on the table. Examine it to get another clue. (1952 Clue #5)
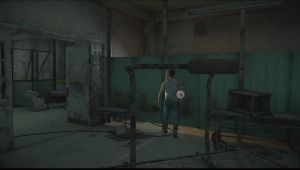
Exit the room then go downstairs. Interact with the table blocking the door to get a machete. Once done, go to the right and continue towards the camera to enter the operating room. Open the curtain in the middle to find a restraining chair that will count as another clue.(1952 Clue #9)
Move along and in the end of the room, there's a doorway leading to another corridor and another that seems to be an office. There's a telegram on the table inside that room that also counts as a clue. (1952 Clue #10)
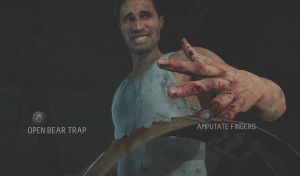
Leave the room and take the corridor leading to the morgue. Now see that contraption that you can interact with? DO NOT TOUCH IT. You don't need to interact with this contraption as it doesn't affect the storyline at all. Sure there's a trophy that you can unlock by deliberately touching it but I suggest doing that when you're done with your main playthrough and have the feature to replay specific chapters. If you happen to interact with the trap, you'll have to choose whether to open the trap or amputate your fingers.
| At What Price |
| Open Bear Trap: Mike no longer had a useable machete |
| Amputate Fingers: Mike still had a useable machete |
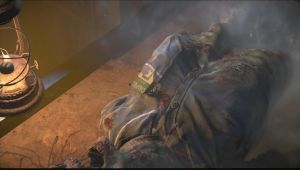
After ignoring the contraption and head to the actual morgue. From there, examine the preserved head on the shelf to the right to get another clue. (1952 Clue #12) In the same room, go to the left this time and open the corpse freezer there to find a name tag which will count as a clue as well. (1952 Clue #11)
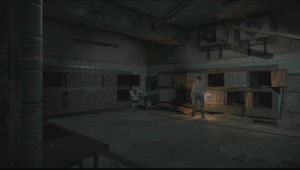
Now open the next freezer door and pull up the body tray. Examine the Death certificate inside to get another clue. (1952 Clue #13) Finally, open the last freezer to find a body there. Pick up the security card then use it at the door. Continue upstairs and on the second level, you'll be chased by the black wolf. There's no QTE buttons for this scene. After that, you'll be back in the sanatorium's lobby. Head to the chapel this time and open the door using the security card you got.
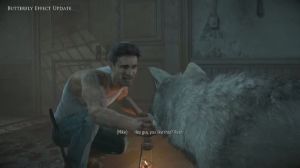
| Butterfly Effect: Man's Best Friend |
| Perform the action prompt and kick the wolf |
| Don't do anything |
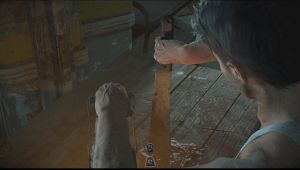
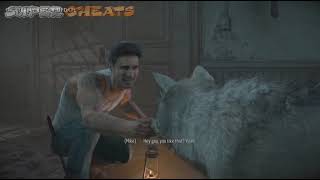
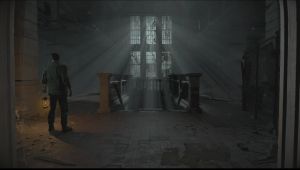
Upon entering the chapel, you'll find another wolf. DON'T DO ANYTHING. Let the action button expire then approach the wolf so you can pet it. If you happened to kick it, make sure to open the chest in the middle of the chapel and use the bone inside to feed the wolf. The wolf is part of a butterfly effect and your encounter with it is also shown from one of the totems you've found so far.
AftAfter befriending the wolf, let's look for the clues in this room. First, head to the left to find a barrel beside some couches. There's a cigar box there. Examine it to get another clue. (Mystery Man #12)
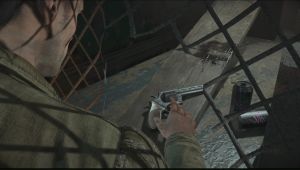
Go to the fence where a jacket is hanging and interact with it. After getting the jacket, grab the block and pull it to make the gun slide down towards you. Grab it and check out the adjacent room. Examine the clippings on the wall to find another clue. (Mystery Man #13)

Now head to the door in the other end of the chapel and shoot the lock. Go to the large room to the left but don't go downstairs yet. Go around the staircase and look for a glimmer on the ground when you get near. Flip over the overturned frame to view the Mine Rescue Photo and unlock another clue. (1952 Clue #7)

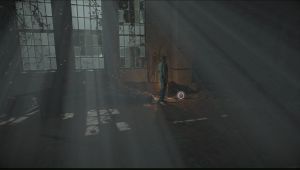
Go to the left of the picture to find a Death Totem (Death Totem #3). Go downstairs this time and go through the corridor. Interact with the barrel and shoot the lock to trigger a scene. After that, the control switches over to Matt and Emily.
Next Page
Chapter 5: Six Hours Until Dawn (Matt and Emily)Previous Page
Chapter 4: Session 5
Chapter 5: Six Hours Until Dawn (Matt and Emily)Previous Page
Chapter 4: Session 5
Guide Menu
Anything missing from this guide?
ASK A QUESTION for Until Dawn
Comments for Chapter 5: Six Hours Until Dawn (Mike)
Add a comment
Please log in above or sign up for free to post commentsNo comments yet. Tell us what you think to be the first.
Table of ContentsClose
Guide Updates
Get notified of updates to this guide
Many of our guides get updated with additional information. To get an email when this guide is updated click below.
 Join us on Discord
Click to close