Chapter 2: Nine Hours Until Dawn
Thank you for printing this page from www.SuperCheats.com.
Remember to come back to check for updates to this guide and much more content for Until Dawn
Follow this guide to hear about updates
Last Updated:
First you'll have to choose whether to Gossip or Worry. As you walk down the stairs, you'll have to choose between being Unsettled or Confident in front of Ashley. Once you're in control of Chris, walk towards the screen to find a totem (Guidance Totem #2). You can go ahead and talk to Matt and Sam downhill if you want.
Backtrack a bit then go to the right. Josh will engage you in a conversation and you have to choose whether you'll agree or protest. Continue forth to reach the side of the cabin. Stick to the wall and examine the Axe Holder to unlock a clue. (Mystery Man Clue # 4)
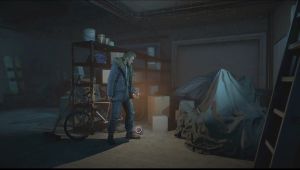
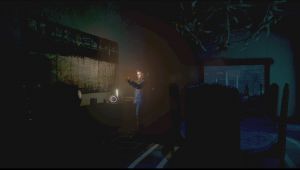
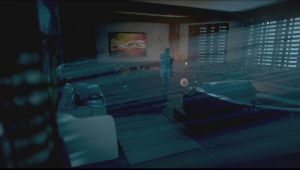
After getting the clue, examine the large tool box and help Josh push it to the window. After the cutscene, you'll be controlling Chris. The cabin has a lot of collectibles to be found so let's take our time exploring the area. Starting off from the garage, approach the bike to find a totem on the floor. (Loss Totem #1)
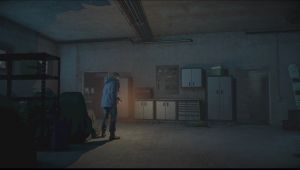
Go to the left and you'll find two doors. Enter the door to the left and examine the piece of paper on the shelf to find another clue. (Mystery Man Clue #2) Take the door to the right this time and follow the hallway. Shortly you'll find Josh's family portrait. Examine it to get another clue (Twins Clue #4). Enter the door at the end of the hallway to reach the cabin's entrance.

You can interact with the door to scare Sam and Ashley outside the door. After that, enter the main lobby of the cabin. Head to the left to find a doorway there. Enter that small room and examine the answering machine to the left. Play the recorded message to get another clue. (Mystery Man Clue #3)
Now backtrack and head to the stairs in the middle of the lobby. Stick to the left side to find the Prom Night Photo on top of a small cabinet. This is another clue. (Twins Clue #3) From there, you can go downstairs and you'll find yet another glimmer on top of another cabinet beside the door. Examine the photo to unlock another clue. (Twins Clue #2)
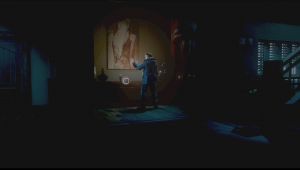
Go upstairs this time and go to the left. There's a bookshelf at the end of the hallway. There's no obvious glimmer for this collectible so it's quite easy to miss. Stand in front of the bookshelf to get a prompt to interact. Pick up the film trophy and examine it to get this clue. (Twins Clue #1)
After getting the clue, enter the doorway nearby and continue along. You'll find closed door you can interact. Open it up and continue to the bathroom. There's only one closet you can interact (jumpscare warning!) so open it to get the deodorant. Watch the following scenes.
Butterfly Effect Update
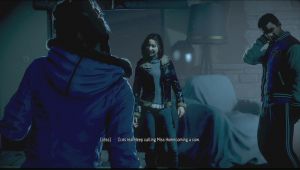
If you encouraged Matt to look at the telescope in Chapter 1, this particular scene will play. You have the option to challenge Mike or warn him. You can confront him first and ask tell him that you saw him and Emily on the trail. After that, you can apologize to defuse the situation.

| Butterfly Effect: Whose Side Are You On |
| Provoke: Matt sides with Emily during her argument with Jessica |
| Defuse: Matt sides Jess during her argument with Emily |
(This scene won't play if you let Matt peek through the telescope in the previous chapter or if you did let Matt use the telescope, confronted Mike, and becoming hostile instead of backing off)
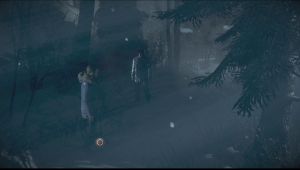
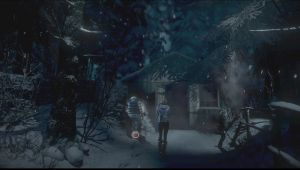
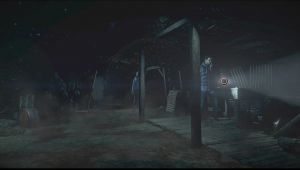
After selecting your choices and the cutscene, you'll be controlling Mike this time. Go along the straightforward path and you'll have the chance to talk with Jessica. Doing this will bring up a couple of choices. Agreeing with Jessica will improve your relationship level with her. Once you've reached the gate, turn to the right towards the generator shed and pick up a totem along the way. (Danger Totem #1) Interact with the generator and follow the prompts to power it back on. Backtrack to the gate and open it.
Continue along the trail until Jess stops at tree with some police tape. You have the option to be respectful or ask. Continue upstairs and enter the mining tunnel to the right. After Jessica falls down to the tracks below, a butterfly effect flag will become available.

| Butterfly Effect: Be Her Hero |
| Cautious: Jessica got annoyed by Mike's reluctance |
| Heroic: Jessica appreciate's Mike's gallantry |
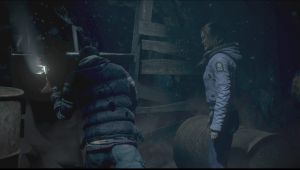
If you selected to be Cautious, Jessica will squeeze through the cart. If you chose to be Heroic, Mike will jump down. Approach the cart and push it together with Jessica.
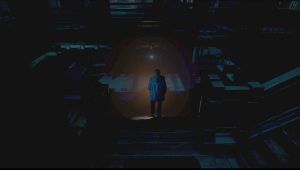
Continue along the tracks (QTE warning!). Continue to the end of the tracks to find another totem. (Fortune Totem #1) After examining it, backtrack a bit then go to the left this time to find some stairs. Continue upstairs then turn to the right to find a small alcove. There are two clues here. First, examine the cigar butt on top of the drum barrel. (Mystery Man Clue #5) Next, examine the mystical symbol on the wall to unlock another clue. (Mystery Man Clue #6)

Once done, continue forth (jumpscare warning!) and look for a desk to the right. Examine the map on it to unlock another clue. (1952 Clue #1)
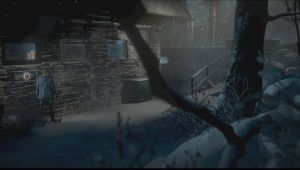
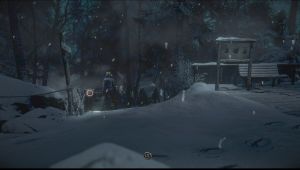
Continue along the tunnel until you reach the exit. On the trail outside, once you've reached a fork in the road (with wooden hand rails), turn to the left instead to find a totem. (Loss Totem #2) Backtrack and continue along the path. Go upstairs until you see the viewing area. Look at the telescope once (jumpscare warning!) then examine the nearby sign if you want to. To continue, go down the path to the left and open the gate.
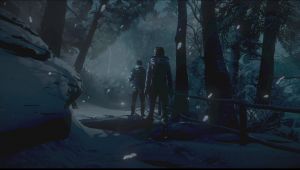
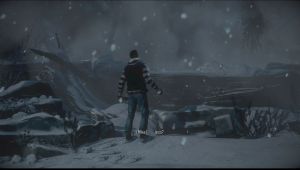
Continue down the hill and follow the path (jumpscare warning!). After the jumpscare, you'll have two dialogue options (Annoyed / Witty) Continue across the bridge and follow the path until you reach a deadend. (Safe cutscene)
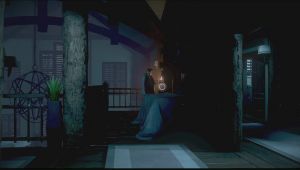
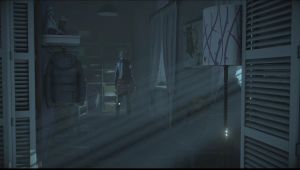
After the cutscene, the control switches over to Sam back in the cabin. After exiting the bathroom, head to the right and enter the open room there. Go to the left side of the bed to find a postcard by the lamp. Examine it to get a clue (Mystery Man Clue #8)

Across the bed is a table. Pick up the tattoo card there and examine it to get another clue. (Twins Clue #5)You can examine two more objects in the room then enter the closet room. Pick up the torn compatibility test sheet from a magazine on the floor and examine it to get another clue. (Twins Clue #6)

Once done, go downstairs and meet up with Josh. Follow Josh downstairs and you'll have two conversation options. (Mocking/Flattering) As the cutscene plays, you'll encounter yet another dialogue options (Uneasy/Reassuring) Continue following Josh to the basement. After the brief scene, pick up the baseball bat from the cabinet. This leads to another Butterfly Event option.

| Butterfly Effect: Butterfly Effect: Something for Later |
| Serious: Sam found a baseball bat and left it in the basement |
| Humorous: Sam found a baseball bat and left it in the basement |
The good thing about this butterfly effect is that you can whatever option and they'll still have the same effect. You can use during a scene in Chapter 5 so what's important is that you took the baseball bat out of the cabinet.

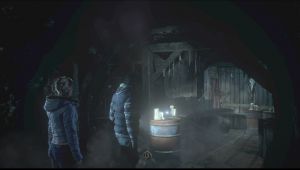
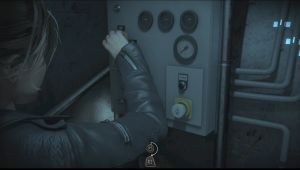
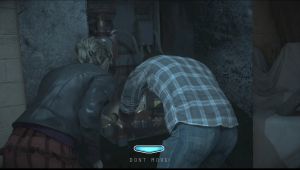
After the butterfly effect scene, you'll have to hold the light for Josh. This is another “Don't Move!” scene so stay still or put the controller on a stable surface since it will still vibrate. After that, you'll have to operate the broiler. After turning the knob, release R2 and press R2 again once the pressure's up. (QTE warning!) There's a brief window where you have to high-five Josh.
After that, you'll have dialogue options to Protest/Prank, Insist/Gloat, and be Concerned or Heroic. After that, a cutscene will play with a single QTE. Watch the remaining cutscene and the chapter will be complete.


Note: If you have the DLC pre-order content, you should be able to get an extra scene where Emily and Matt looks for her lost lingerie bag. Don't worry, you're not missing much if you don't have this DLC since there's no direct impact to the story or core gameplay.
Anything missing from this guide?
ASK A QUESTION for Until Dawn
Comments for Chapter 2: Nine Hours Until Dawn
Add a comment
Please log in above or sign up for free to post commentsNo comments yet. Tell us what you think to be the first.
Table of ContentsClose
Guide Updates
Get notified of updates to this guide
Many of our guides get updated with additional information. To get an email when this guide is updated click below.
 Join us on Discord
Click to close