1952
Thank you for printing this page from www.SuperCheats.com.
Remember to come back to check for updates to this guide and much more content for Until Dawn
Follow this guide to hear about updates
Last Updated:
These clues will be listed in the order you'll find them. There is a total of 27 1952 clues to find in the game.
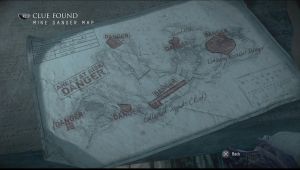
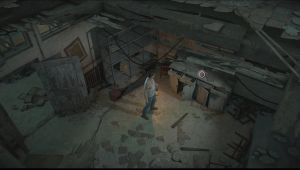
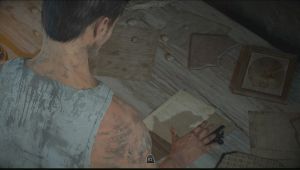
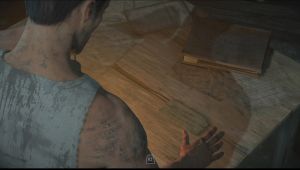
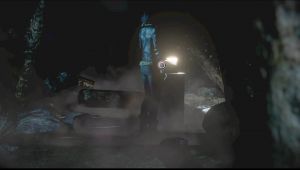
1952 Clue #1
[Chapter 2] Near the end of the mine tunnel while controlling Mike, you'll find a desk with a map on it. Examine the map to get this clue.
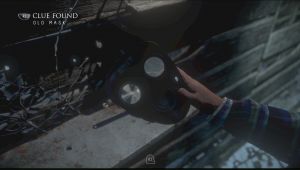
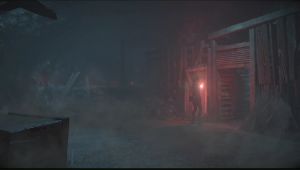
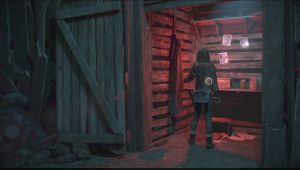
1952 Clue #2
[Chapter 3] You'll come across this shack further in the trail after Jessica scares you. Get inside and examine the object on the shelf to find an Old Mask. Furthermore, you'll then have the option to scare Jessica or show the mask to her. Just show her the mask.

1952 Clue #3
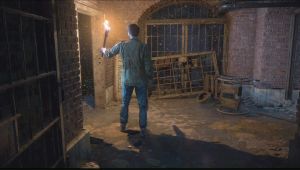
[Chapter 5] After Mike enters the sanatorium through the vent, push the barrel and climb up the walkway, continue to the end and interact with the object there to enter the sanatorium. After the scene, walk back to the hole where you came from and continue to the sanatorium's main door. To the left is a small table where a clue is found. Get near and pick up the Administrator Notes.
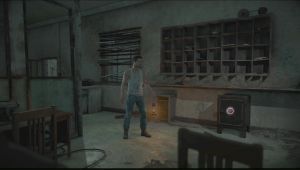
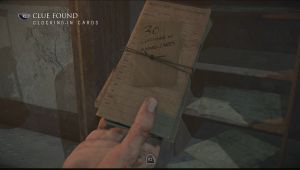
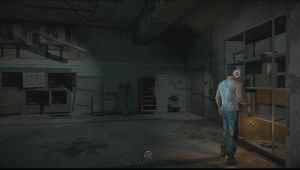
1952 Clue #6
[Chapter 5] As soon as you enter the Admin office inside the sanatorium, turn left. There's a safe there that you can open. Inside, you'll get the Clocking Cards (1952 Clue #6)

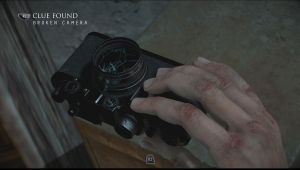
1952 Clue #4
[Chapter 5] While inside the Admin office, leave the counter where you found the safe earlier then check the corner of the room to find a broken camera on top of a cabinet.
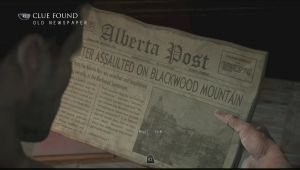
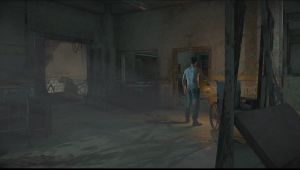
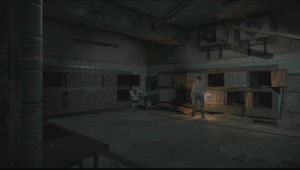
1952 Clue #8
[Chapter 5] After exiting the admin office, you'll find two corridors here; one leads to the morgue downstairs and the other leads to a dead-end room. Continue to the right until the camera angle changes, then enter the only room to the left. Pick up the newspaper on the table to get another clue.
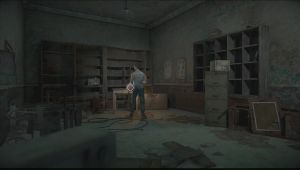
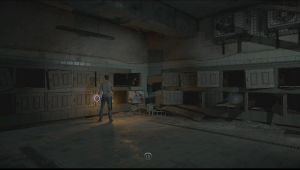
1952 Clue #5
[Chapter 5] From the admin office's corridor leading to the morgue, there's an only room to the immediate right. There's a medical note on the table. Examine it to get another clue.
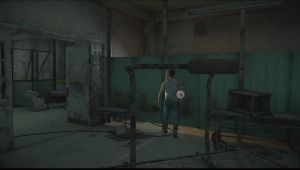
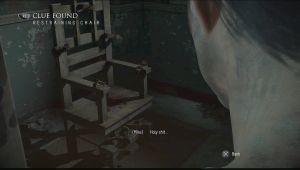
1952 Clue #9
[Chapter 5] After getting the machete in the sanatorium's lower floor, go to the right and continue towards the camera to enter the operating room. Open the curtain in the middle to find a restraining chair that will count as another clue.
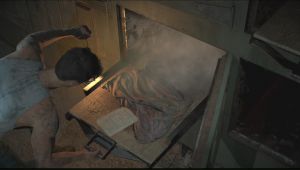
1952 Clue #10
[Chapter 5] Near the end of the operating room, you'll find a small office. Enter it to find a telegram on the table. Examine it to get the clue.
1952 Clue #12
[Chapter 5] This is located in the morgue itself, after the room with the severed hand trap. Examine the preserved head on the shelf to the right to get another clue.

1952 Clue #11
[Chapter 5] This is located in the morgue itself, after the room with the severed hand trap. Open the corpse freezer in the middle of the room there to find a name tag. Examine it to register the clue.
1952 Clue #13
[Chapter 5] This is located in the morgue itself, after the room with the severed hand trap. Open the corpse freezer to the left side of the room and pull up the body tray. Examine the Death certificate inside to get another clue.
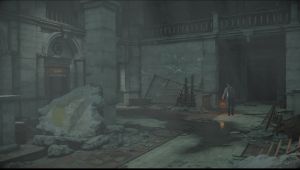
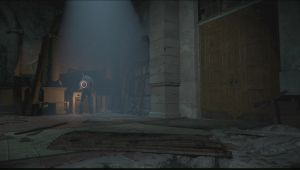
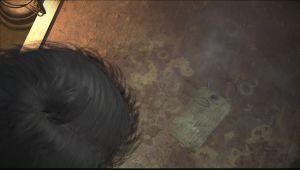
1952 Clue #7
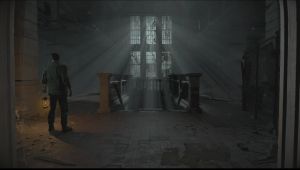
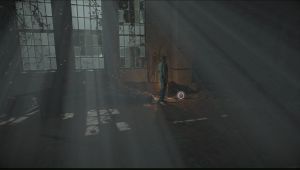
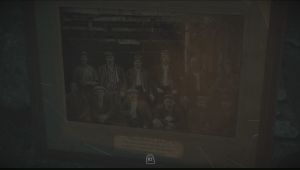
[Chapter 5] After shooting the lock on the chapel, you'll encounter a large room with a staircase in the middle. Don't go there yet; go around the staircase and look for a glimmer on the ground when you get near. Flip over the overturned frame to view the Mine Rescue Photo and unlock another clue.
[Chapter 9] In case you missed this in Chapter 5, you'll have another chance in getting it in the same location at the start of Chapter 9, when Mike returns to the Sanatorium.
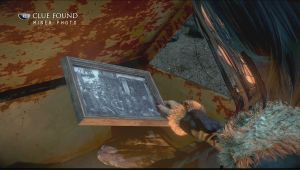
1952 Clue #15
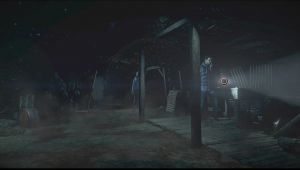
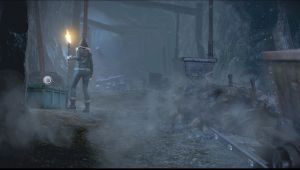
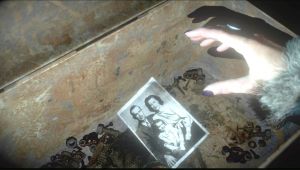
[Chapter 7] As Emily, you'll come across a mine cart shortly after swinging to safety from the falling tower. Go to the left but don't interact with the cart yet. Head to the glowing object to the left to find a green metal chest. Open it to find a miner photo. Pick it up to register the clue.
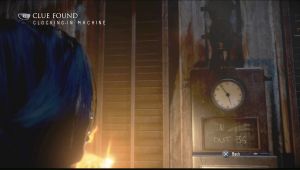
1952 Clue #14
[Chapter 7] After breaking through the wooden gate with the mine cart, you'll find yourself in a large cavern with the lift. Approach the clock-in machine on the wall a bit to the right. Examine it to get another clue.
1952 Clue #16
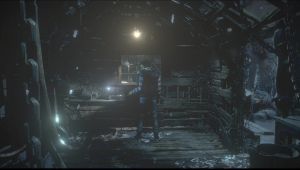
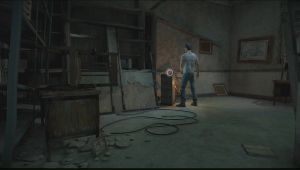
[Chapter 7] After falling deeper in the mine, (jumpscare warning) turn your cellphone's flashlight on. Walk along the tunnel until you find a wooden barricade. Bust through it to reach a cavern. From there, there should be an alcove to the upper right. Go there and open the toolbox on top of a barrel. Pick up the photo there and examine it to get another clue.
1952 Clue #17
[Chapter 8] This clue will only be accessible if Emily chose to hide in the previous chapter's QTE sequence. After meeting the Stranger and sliding off another slope in the tunnel, turn around and check the shed to the right. Examine the postcard to get this clue.
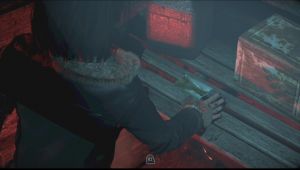
1952 Clue #18
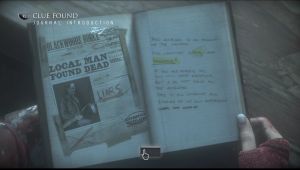
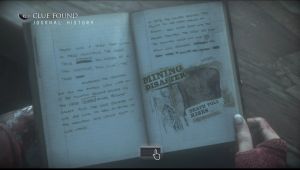
[Chapter 8] As part of the story, Ashley will read the Stranger's journal with the others in the basement. Turn the page to the left to find the Introduction of the journal. This is missable since you'll most likely turn the pages from the right.
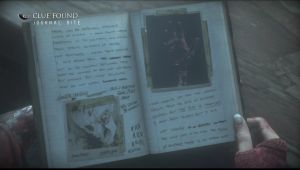
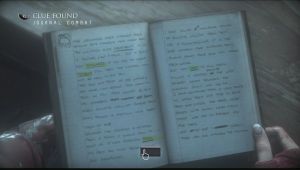
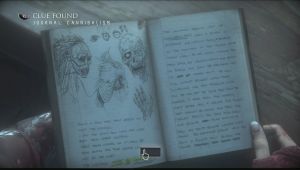
1952 Clue #19-22
[Chapter 8] As part of the story, Ashley will read the Stranger's journal with the others in the basement. Just keep flipping the pages to get these clues.
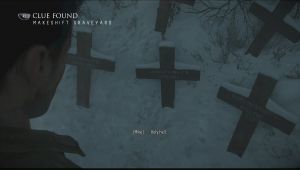
1952 Clue #23
[Chapter 9] Once you're back in the chapel, go to the left of the altar and open the gate there. Continue to the last room with the broken wall. Examine the grave markers outside to register the clue.
1952 Clue #24
[Chapter 9] Once you've reached the Sanatorium's psychiatric wing, turn to the left after going down the first set of stairs. Examine the piece of paper on the small table in the corner of the room to get this clue.

1952 Clue #25
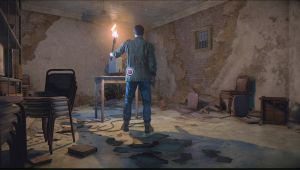
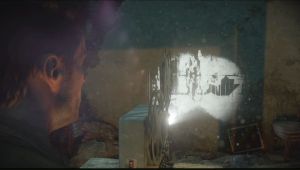
[Chapter 9] After finding the freshly disemboweled black wolf, continue along the straightforward path until you reach the corridor with the sign “B-Wing” on the arch. Instead of going straight, turn around and head towards the camera. The camera will pan out so keep walking until you see an open room to the right. There’s a vintage video camera here so play it back to register the Old Film Reel clue. You don’t have to watch the entire thing (though it’s really short anyway) so leave the room once you’re done with it.
1952 Clue #27
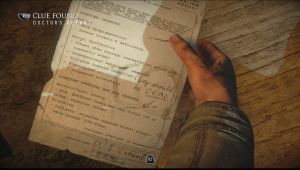
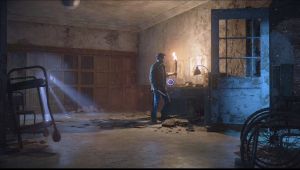
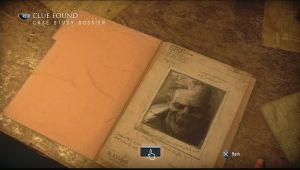
[Chapter 9] In the room where 1952 Clue #25 (Old Film Reel) is located, go further down the corridor to find the doctor's office. Pick up the Case Study Dossier from the drawer and examine it to register the clue.

1952 Clue #26
[Chapter 9] After picking up 1952 Clue #27Now head to the left and break through the secret wall. Shoot the gate open then pick up the Suicide Note from the sitting corpse. Examine it to get the clue.

Anything missing from this guide?
ASK A QUESTION for Until Dawn
Comments for 1952
Add a comment
Please log in above or sign up for free to post commentsNo comments yet. Tell us what you think to be the first.
Table of ContentsClose
Guide Updates
Get notified of updates to this guide
Many of our guides get updated with additional information. To get an email when this guide is updated click below.
 Join us on Discord
Click to close