Chapter 3: Eight Hours Until Dawn
Thank you for printing this page from www.SuperCheats.com.
Remember to come back to check for updates to this guide and much more content for Until Dawn
Follow this guide to hear about updates
Last Updated:
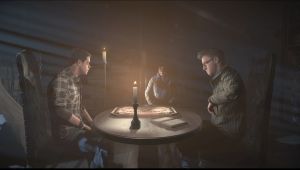
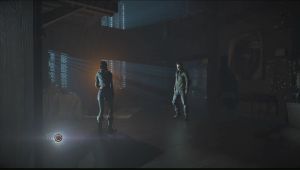
Ash, Chris, and Josh will be playing with a spirit board. You'll have to select several choices (Probe on the last two options) until the control switches back to Mike.
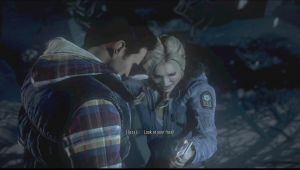
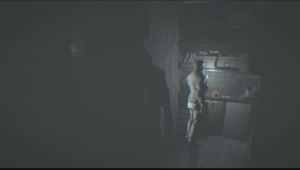
As Mike, walk forward until you reach the abandoned tractor. Before inspecting it, turn to the left and continue forth to find Danger Totem #2. Backtrack and inspect the abandoned truck (jumpscare warning!). Once done, continue to the right and follow the path (jumpscare warning!) until you reach Jessica. During the conversation, you have to select either to be Grumpy or Witty.

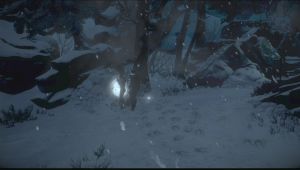
Shortly after getting jumped on by Jessica, walk a bit and you'll find a Guidance Totem #3 by the tree. Cross the bridge and continue up the stairs. During the cutscene, you'll have the option to hit the tree or not. Hitting it will increase some stats while lowering your Charitable stat.
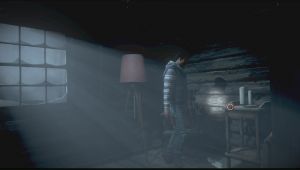
Continue forth until you reach a shack. Get inside and examine the object on the shelf to find an Old Mask (1952 clue #2). You'll then have the option to scare Jessica or show the mask to her. Just show her the mask.


Continue up the trail until you trigger a cutscene. (QTE warning!) The decisions here are timed but the good options so far is Comfort Deer, , and Help Jessica.


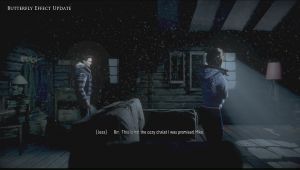
Once inside, you can explore the cabin for more clues. (If you didn't scare her with the old mask earlier and you selected the Heroic option when she fell in the mine in the previous chapter, you can light the fire immediately. This will make her make out with you in her underwear but you'll miss the chance of getting the other clues.)
Start from the fireplace. To the left of it is a book. Pick it up and flip through the pages to get the clue. (Mystery Man Clue #7) Beside the door is a hunting rifle. Interacting with it will trigger a cutscene that will affect your current status. Next, go to the kitchen and at the end of the hallway before the bedroom lies another clue. Pick up Hannah's Tennis Photo and examine it to register the clue. (Twins Clue #7)
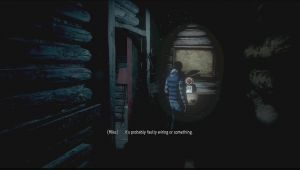
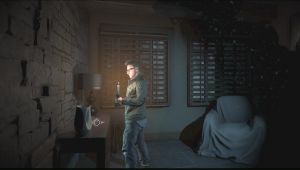
If you continue to the bathroom, you can have a self-inflicted jumpscare by examining the curtain. Once done, go back to the fireplace and turn on the lamp. Next, interact with the hearth and put some wood. The match is located on the table behind the couch. Approach it to trigger a cutscene about Jessica losing her phone. Pick up the match and light up the fireplace.
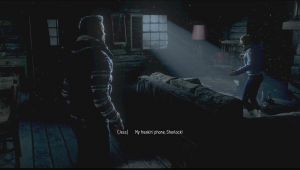
While you're getting it on, you'll hear broken glass so investigate it to find Jessica's phone. Watch the following scenes until the control switches to your other friends.


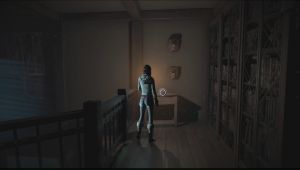
Back in the lodge, you'll be controlling Ashley. Don't follow Chris downstairs. Instead, turn around and check out the drawer in the end of the corridor to find Hannah's Glasses Case (Twins Clue #9) . Next, go downstairs with Chris, then look for an opening on the floor to the left with a bit of light escaping from it. Examine it to find another clue. (Mystery Man Clue #10-)
Go to the library and push the button to reveal a secret room. Push it and the entrance will open. The control will switch to Chris. Enter the secret room and pick up the photo. This will count as a clue. (Twins Clue #8) Now flip it over to find a threatening letter inside. This also counts as another clue. (Mystery Man Clue #9)

Leave the library and the door nearby will open by itself. Continue forth but don't open the door ahead yet. Turn to the left to find a piece of paper on the table. Pick it up and flip it over to get yet another clue. (Mystery Man Clue #11)
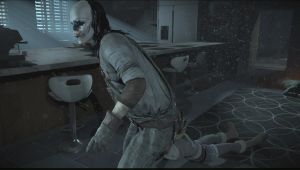
Continue to the door and walk to the main lobby to trigger a cutscene. Once Ashley is pulled inside the room, break in and continue watching the cutscene. The chapter is over and you'll be with Dr. Hill once again.
Anything missing from this guide?
ASK A QUESTION for Until Dawn
Comments for Chapter 3: Eight Hours Until Dawn
Add a comment
Please log in above or sign up for free to post commentsNo comments yet. Tell us what you think to be the first.
Table of ContentsClose
Guide Updates
Get notified of updates to this guide
Many of our guides get updated with additional information. To get an email when this guide is updated click below.
 Join us on Discord
Click to close