Mystery Man
Thank you for printing this page from www.SuperCheats.com.
Remember to come back to check for updates to this guide and much more content for Until Dawn
Follow this guide to hear about updates
Last Updated:

These clues will be listed in the order you'll find them. There is a total of 30 Mystery Man clues to find in the game. Collecting all clues will unlock the “You Opened Their Eyes” Trophy at this point. All Mystery Man clues can be collected up until Chapter 7.
Mystery Man #1
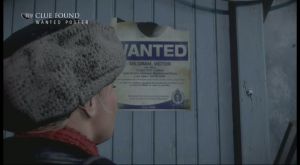
[Chapter 1] After meeting up with Chris, he'll lead you to the back of the station. On the way there, there's a glint on the wall. Examine that the find a wanted poster to register the clue.

Mystery Man #4
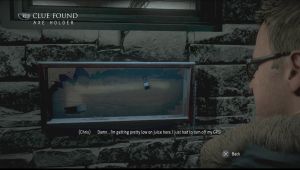
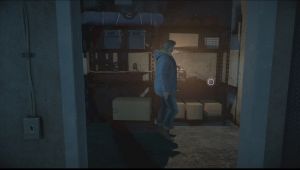
[Chapter 2] While attempting to break in to the cabin near the start of Chapter 2 as Chris, examine the broken axe holder along the wall of the cabin to unlock this clue.
Mystery Man #2
[Chapter 2] After breaking in the cabin from the garage as Chris, go to the left and you'll find two doors. Enter the door to the left and examine the piece of paper on the shelf to find another clue.
Mystery Man #3
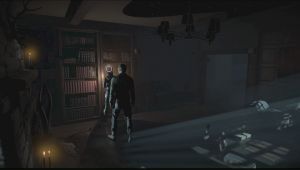
[Chapter 2] After breaking in the cabin from the garage as Chris and reaching the main lobby of the cabin, head to the left to find a doorway there. Enter that small room and examine the answering machine to the left. Play the recorded message to get another clue.
Mystery Man #5
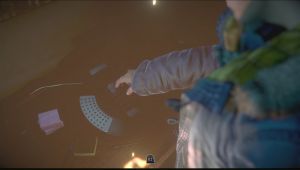
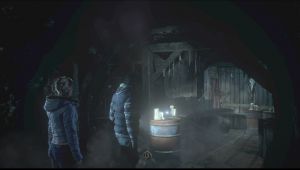
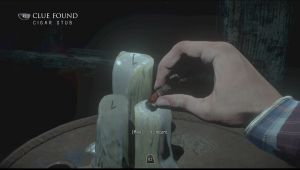
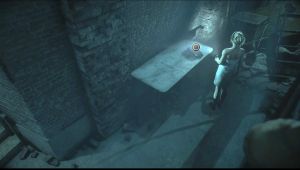
[Chapter 2] While controlling Mike and when inside the abandoned mine, you'll need to go up a flight of stairs with a small alcove to the right. Examine the cigar butt on top of the barrel to unlock this clue.
Mystery Man #6
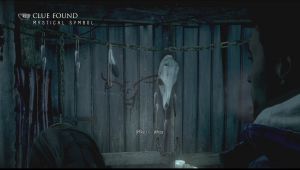
[Chapter 2] In the same place where you found Mystery Man Clue #5 in the mines, examine the mystic symbol on the wall nearby.

Mystery Man #8
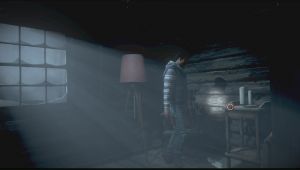
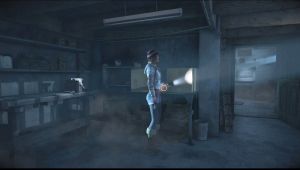
[Chapter 2] When controlling Sam, exit the bathroom, head to the right and enter the open room there. Go to the left side of the bed to find a postcard by the lamp. Examine it to get a clue


Mystery Man #7
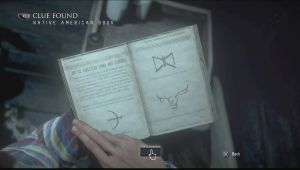
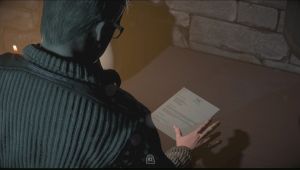
[Chapter 3] Inside the cabin, go to the left of the fireplace to find a book on a table. Pick it up and flip through the pages to get the clue.
Mystery Man #10
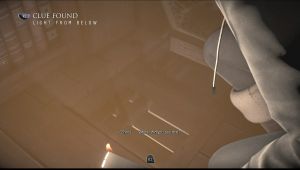
[Chapter 3] When controlling Ashley back in the lodge, go downstairs with Chris, then look for an opening on the floor to the left with a bit of light escaping from it. Examine it to find another clue.
Mystery Man #09
[Chapter 3] This is found inside the secret room in the library. After picking up the lone photo (Twins Clue #8), flip it to the back to register this clue as well.

Mystery Man #11
[Chapter 3] After leaving the library, the door nearby will open by itself. Continue forth but don't open the door ahead yet. Turn to the left to find a piece of paper on the table. Pick it up and flip it over to get yet another clue.
Mystery Man #15
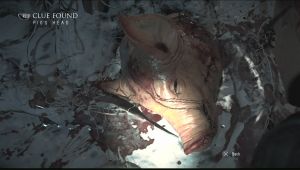
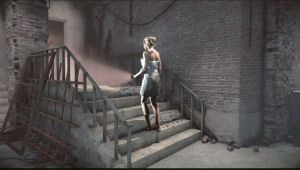
[Chapter 4] Once you're in control of Chris, continue until you exit the lodge. Follow the trail until you reach a wooden fence. Turn left instead to find another path leading to a a clue and totem. Examine the pig's head on the ground to register this clue.


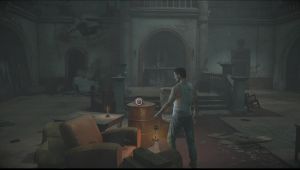
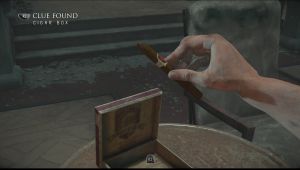
Mystery Man #12
[Chapter 5] When you reach the chapel and encountered the friendly wolf, head to the left to find a barrel beside some couches. There's a cigar box there. Examine it to get another clue.
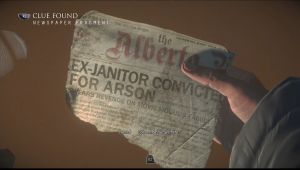
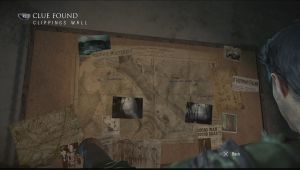
Mystery Man #13
[Chapter 5] When you reach the chapel and encountered the friendly wolf, check the small alcove beside the alcove where you got the jacket and the gun. Examine the newspaper clippings on the wall to get this clue.

Mystery Man #16
[Chapter 5] You'll find this while controlling Matt on the door of the cable car station. This clue can't be missed.

Mystery Man #14
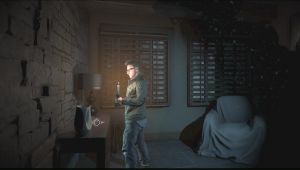
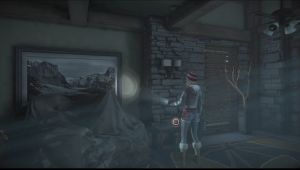
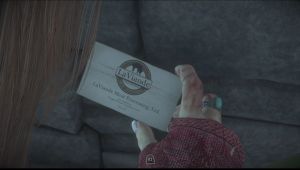
[Chapter 6] As soon as the control switches to Ashely, don't follow Chris downstairs yet. From main staircase, turn around and enter the doorway beside the fireplace. Turn to the right and approach the small table near the door to find a business card.
Mystery Man #19
[Chapter 6] After checking out the dollhouse and opening the new door in the broiler room with Ashley and Chris, check the Light Bulb Catalog on the shelf to the right. Examine it to get another clue.
Mystery Man #17
[Chapter 6] This is found just beside the Light Bulb Catalog clue (Mystery Man #19) and scissors. Go to the right of the shelf towards some boxes. The camera angle will change and you'll be able to interact with the boxes. Shove them over to find another clue.
Mystery Man #18
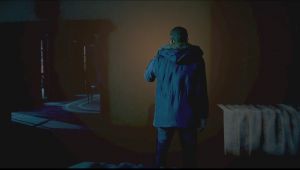
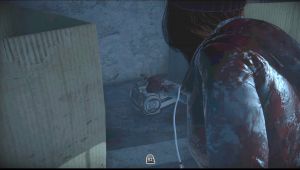
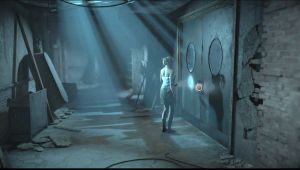
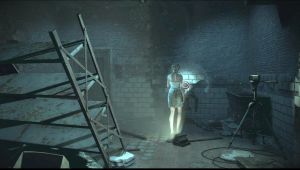
[Chapter 6] While exploring the abandoned hallways, you'll finally reach a room with a faint light in the corner. In that same illuminated spot, you'll find a package in the corner. Examine it to get another clue.
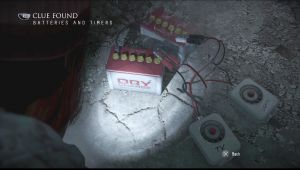
Mystery Man #20
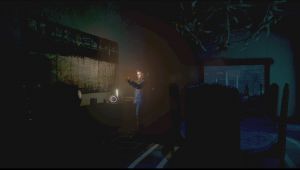
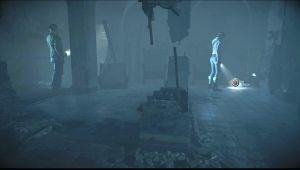
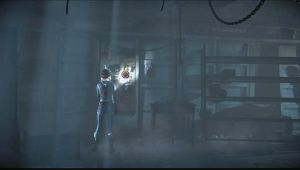
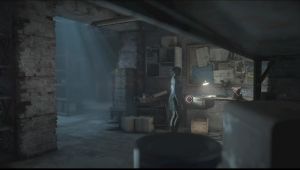
[Chapter 6] While exploring further deeper in the ruins, you'll find a smoking battery and timer in the foreground. The camera angle will switch conveniently to them so it'll be hard to miss them. Examine the objects to get another clue.
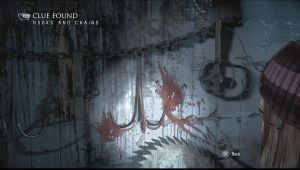
Mystery Man #23
[Chapter 6] Continue following the only path and you'll reach what seems to be a slaughterhouse where the door will close behind you. There are several clues here to be found as well. To the left wall is a sink with a giant sawblade and hanging hook. Get near the hook and examine it to get a clue.

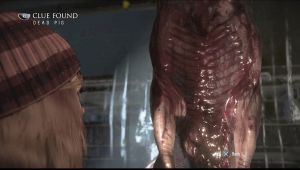
Mystery Man #22
[Chapter 6] In the same room and across where you found the hooks and chains, go to the right to find a pig carcass. This will trigger a brief scene and will register as a clue.

Mystery Man #21
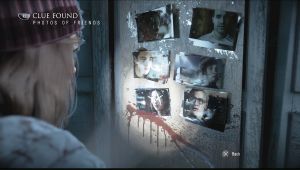
[Chapter 6] In the same room with the hooks and chains and dead pig clues, you'll find another obvious clue. Examine your photos clipped on the wall to register another clue.
Note: The collectibles listed below can be acquired only when Sam escaped the Psycho in Chapter 5 since she'll have the chance to explore the area. If she was captured, Chapter 7 will start with Sam tied up on the chair and Mike helping her.
Mystery Man #26
[Chapter 7] After kicking the vent shaft cover open, Sam will emerge in the psycho's workshop. Once Sam's out, turn around and check the sheet of paper on the wall to the right. Flip the page open to find a clue.

Mystery Man #30
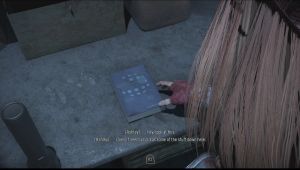
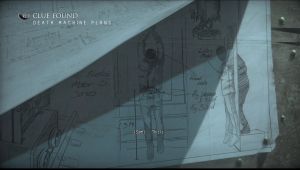
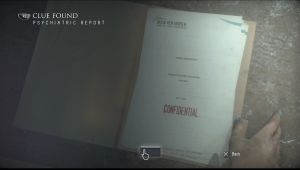
[Chapter 7] After kicking the vent shaft cover open, Sam will emerge in the psycho's workshop. Examine the drawer in the nearby desk to find a folder containing Josh's Psychiatric Report. Flip the pages open to unlock another clue.
Mystery Man #27
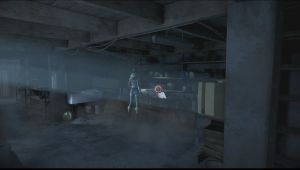
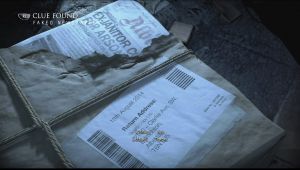
[Chapter 7] In the psycho's workshop after getting the psychiatric report from the table drawer, go to the left towards the camera and you should find a glimmer on the shelf. Examine it to find a cellphone. Pick it up, unlock it, and browse through the text messages to unlock another clue.


Mystery Man #28
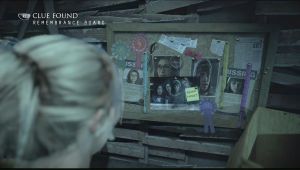
[Chapter 7] Go past the workbench where you'll find the psychiatric report from the drawer and the cellphone on the shelf. You'll find some kind of pressing machine in the middle. Move the boxes to the left to find the Remembrance Board, which will be registered as another clue.
Mystery Man #29
[Chapter 7] Leave the room where you snuck into and follow the corridor. Once you reach a short set of stairs with a door ahead, go to the left instead. You'll find a voice recording to the left on the table. Play it to register another clue.
Mystery Man #25
[Chapter 7] From where you found the voice recorder, go upstairs to the left. Turn to the right and you'll find a blue double-door. Open it to find a dummy dressed in Sam's clothes. Examine the dummy to register this clue.
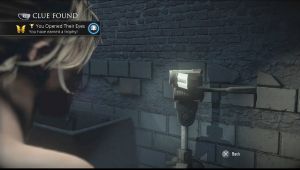
Mystery Man #24
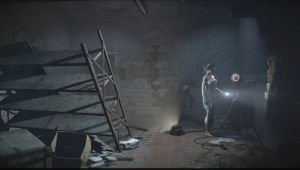
[Chapter 7] In the same room where you found the dressed-up dummy, examine the video camera to get this clue.
Anything missing from this guide?
ASK A QUESTION for Until Dawn
Comments for Mystery Man
Add a comment
Please log in above or sign up for free to post commentsNo comments yet. Tell us what you think to be the first.
Table of ContentsClose
Guide Updates
Get notified of updates to this guide
Many of our guides get updated with additional information. To get an email when this guide is updated click below.
 Join us on Discord
Click to close