Basics - Combat
Supply Crates
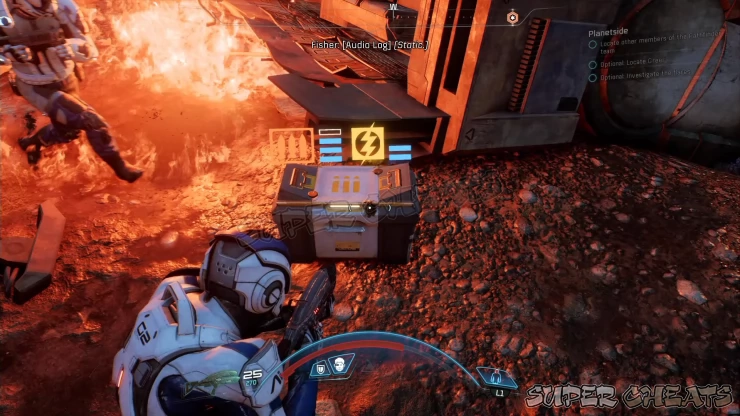
Supply crates are scattered in different locations, usually around wreckages, outposts, forward stations, etc. Simply approach the crate and “touch” it to replenish your weapon’s ammo and health as well as consumables like power cells. Take note that supply crates do not replenish their contents over time in single-player.
Shooting
Press the trigger button to fire your weapon. If done when you’re not in combat stance, this action will make Ryder pull up the last equipped weapon and fire away from the hip. Pressing the left trigger button will zoom in the reticule, enabling you to land more precise shots. Controlled bursts are still recommended, especially for automatic Weapons.
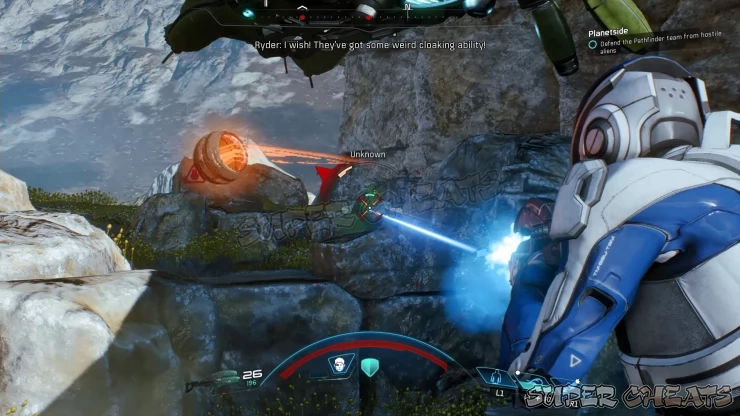
You can fire your Weapons while standing or from behind cover. When sitting behind a cover, you can blind-fire by simply pressing the fire button. If you want to peek out of the cover and shoot more precisely, hold aim before shooting. Blind-fire is recommended for point-blank or very close enemies trying to flush you out of cover.
Weapon Wheel
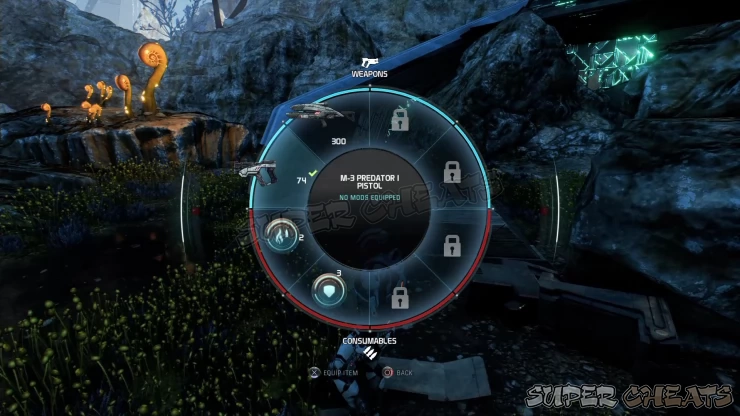
Change Weapons by pressing the touchpad (PS4) which will bring up the weapon wheel. This also gives you access to equip elemental ammo like Cryo and Incendiary. Take note that equipping elemental weapons will fully replenish the ammo of the current clip while also adding the limited number of elemental ammo.
Shields
Shields act as a protective layer that can absorb almost all kinds of damage that recharges over time. Once the shield is broken, any succeeding damage will lower your “red” HP. There are several skills that boosts the max shields and recharge rate while some Powers drain enemy shields or consume shield energy to be activated.
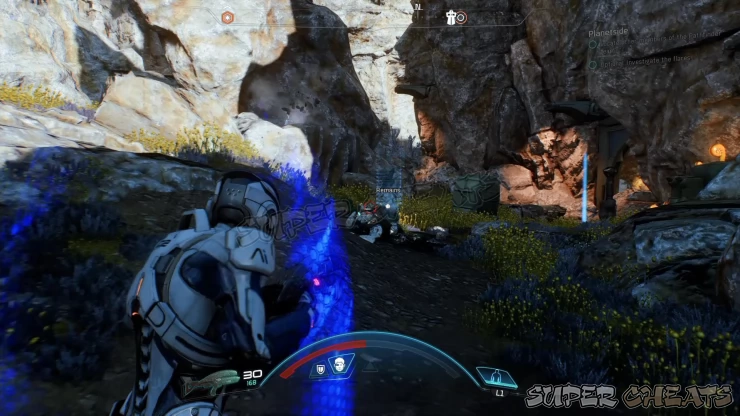
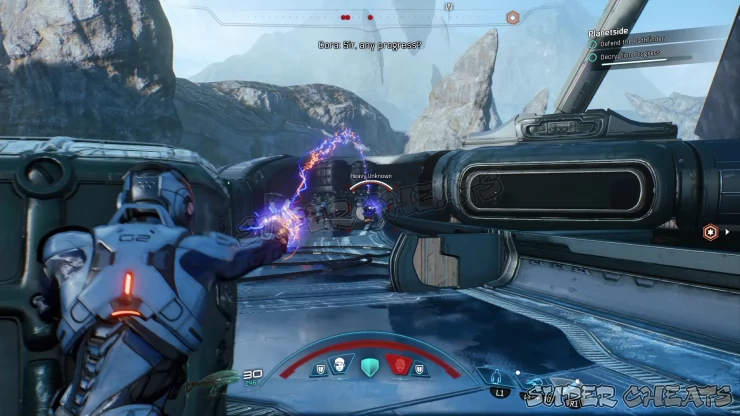
Enemies utilize shields as well, especially in the higher difficulties. Their shields recharge as well and sometimes some enemies are smart enough to fall back behind cover when their shields are critically low or stripped. To kill these enemies, you normally need to bring down their shields before you can damage their health and kill them. Specific Powers like Overload can deal bonus damage to enemy shields, allowing you to destroy or kill them quickly before they can react.
Tactical Covers
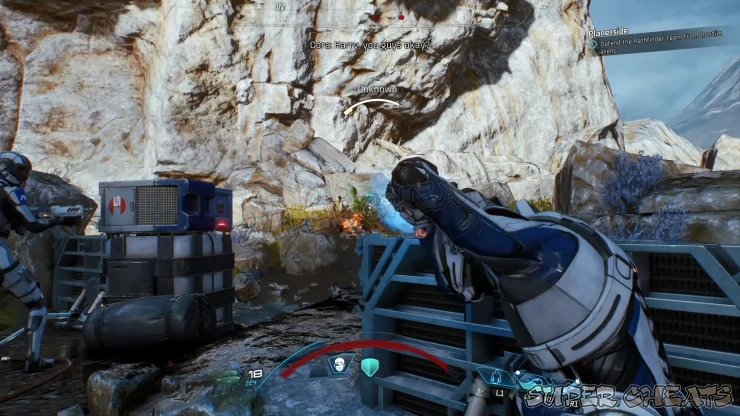
This is an essential part of any engagement, even if your character is built for tanking and charging towards enemy positions. Covers provide ample protection against enemy gunfire and will give you the necessary breathing space in case you need to wait for your Powers to cool down, your shields to regenerate, reload your Weapons, assess the situation, or conceal your approach to take the enemy by surprise.
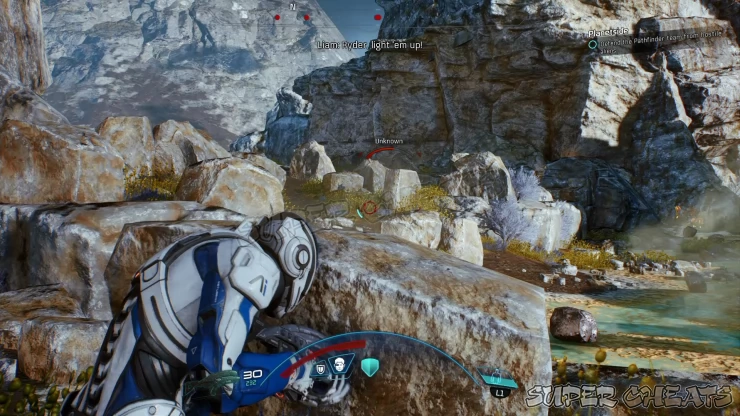
The combat in the game is dynamic, thanks to the destructible covers. While some objects are sturdier than the others (like a boulder or thick metal sheet), you’ll be encouraged to move around to maintain the offensive and prevent the enemies from flanking your team. Thanks to the jump-jet’s evade, aerial evasion, and hover mechanics, you can quickly move from cover to cover with ease. In case you have to charge forward, you can lean up to vault or climb over the cover.
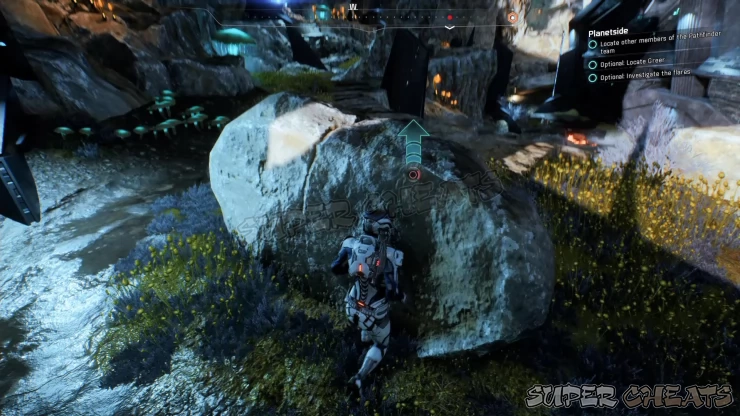
To take out enemies behind cover, you can use Powers or Weapons with splash damage, like the Omni-grenade. Most powers will home in on the enemy and with the right angle, you can even hit them behind cover. The aerial drop (press Melee shortly after jumping) attack also produces a small shockwave surrounding Ryder, damaging enemies even those behind cover.
Melee Attacks
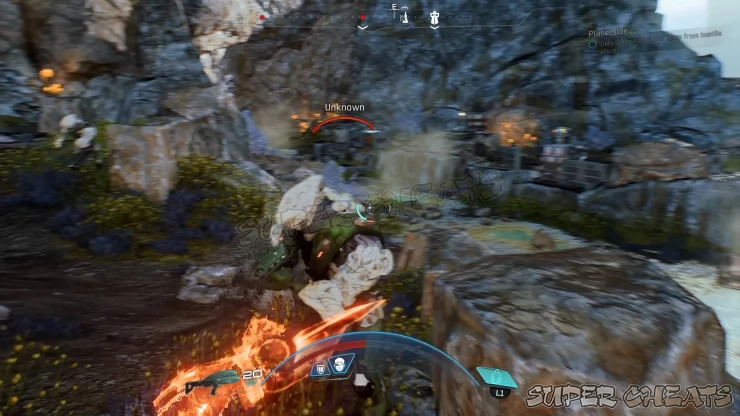
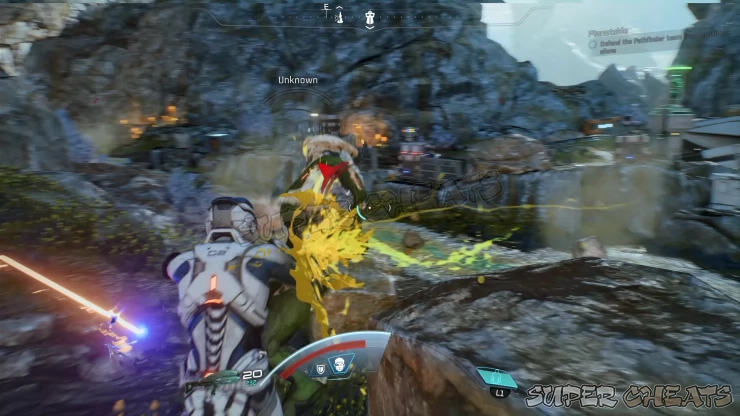
You’ll start with the trusty omni-blade, which deals decent damage early in the game. As you gain access to more melee weapon types, you may consider what to bring depending on your playstyle. Melee attacks in the game is assigned to single button only so don’t expect flashy slashes, save some Powers and skills that allow you to do just that. The Vanguard is a melee-oriented profile that can make the most of melee Weapons due to the profile’s passive bonuses to melee damage and force, on top of having access to Siphoning Strikes - ability to restore a considerably percentage of shields per successful hit.
Anything missing from this guide?
ASK A QUESTION for Mass Effect: Andromeda
Comments for Basics - Combat
Add a comment
Please log in above or sign up for free to post comments- Basics
- Priority Ops (Main Story)
- Heleus Assignments (Nexus)
- Heleus Assignments (Tempest)
- Heleus Assignments (Eos)
- Heleus Assignments (Aya)
- Heleus Assignments (Havarl)
- Heleus Assignments (Voeld)
- Additional Tasks (Nexus)
- Additional Tasks (Eos)
- Additional Tasks (Aya)
- Additional Tasks (Havarl)
- Allies and Relationships
- Trophies
 Join us on Discord
