Space-Time Laboratory
From the entrance, take the path under the walkway first to reach the next screen. Head west to another screen again then follow the path and exit the screen to the southwest (past the stairs) to get an Elven Cap and Amulet of Freedom. Exit the treasure room then go upstairs to the left and exit to the next screen. Follow the path to reach a room with Rainbow Diamond. Backtrack to the entrance.
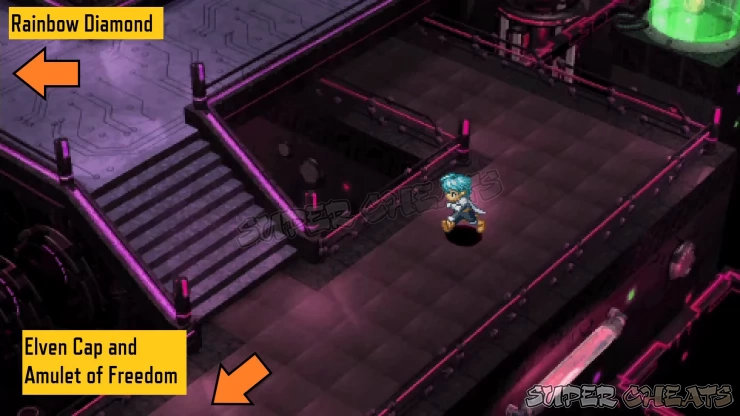
From the entrance, head to the next screen to the right. Follow the straightforward walkways until you reach a stairs and chest to the north with a Medicine Bottle. Go downstairs left afterward.
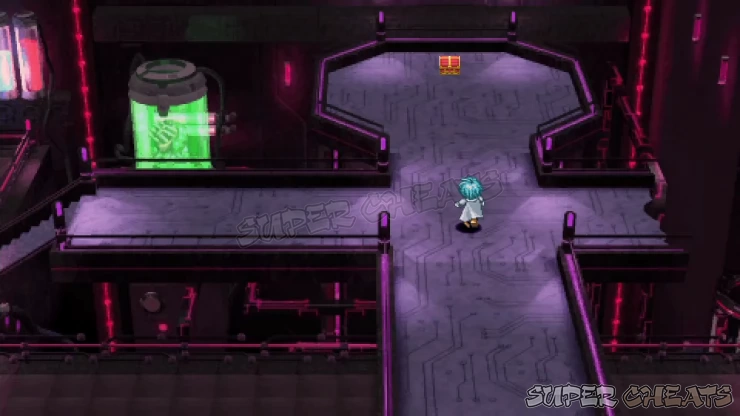
In the next screen, you’ll find two paths. Take note of this location since you’ll backtrack here later. Take the upper left path first. In the next area, enter the door and follow the walkway through several screens until you reach a chest containing a Star Ruby. Walk past the broken capsule to the right.
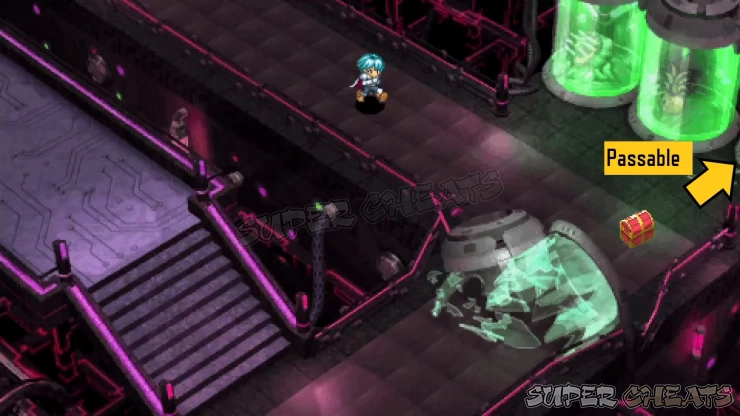
In the next screen, go upstairs north. Follow the walkways again to reach a room with ?Armor (Kitty Hairband) and Medicine Bottle.
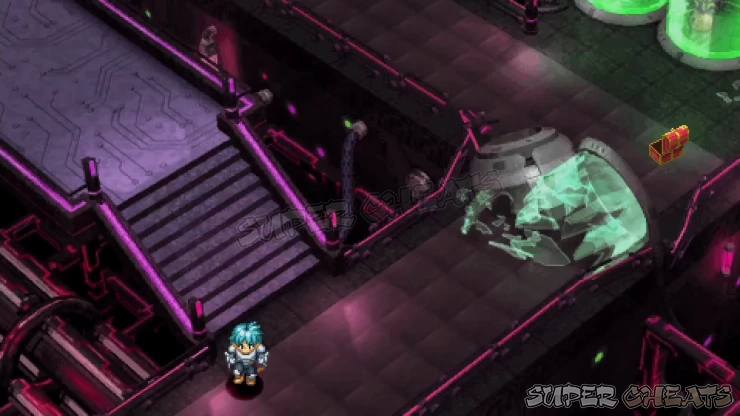
Backtrack to the stairs with the split path then take the lower right path this time.
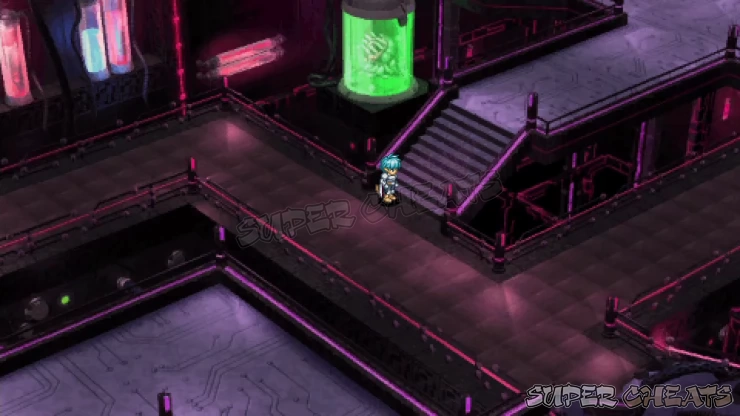
Follow the walkway east then enter the first door you’ll come across. Grab the Mithril and Robe of Deception inside. Leave the room then go down south next then exit to the east.
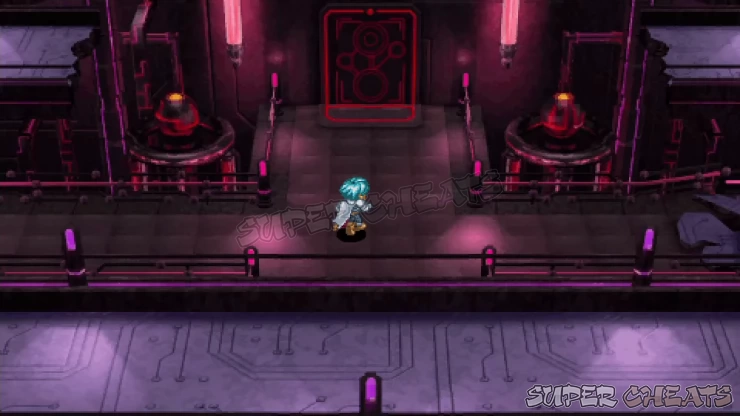
Continue until you reach another split. Take the lower left path first then continue to the lower-right, past the stairs to reach a room with Star Necklace. Exit the room and take the stairs nearby. Follow the path until you reach another room with Long Spear and Ring of Insanity. Backtrack to the main walkway (split) then head north this time.
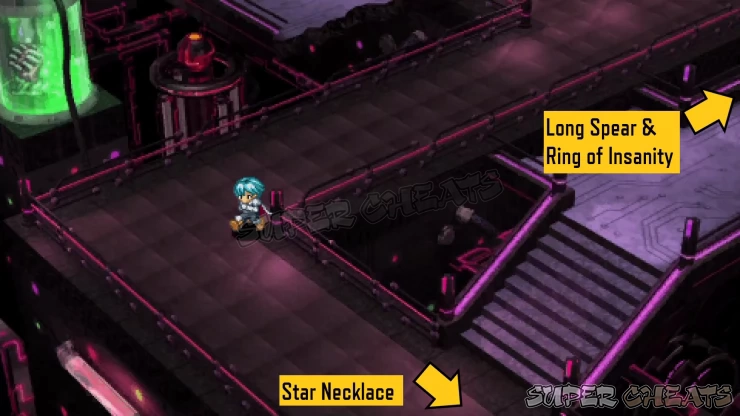
In this screen, you’ll find three paths. Take the stairs to the left first to get Cinderella Glass then return to main path. The other path going left only leads to a dead end so ignore that. Exit east this time.

One you reach a split, go down to the southwest and continue to the lower right to find ?Jewelry and Ravenous Fiend spell for Ronyx. Appraise the ?Jewelry to get a Star Guard; which releases stars that damage the enemy when blocking. Equip it to one of your frontline fighters. Then leave the room and take the nearby stairs to get Orichalcum.
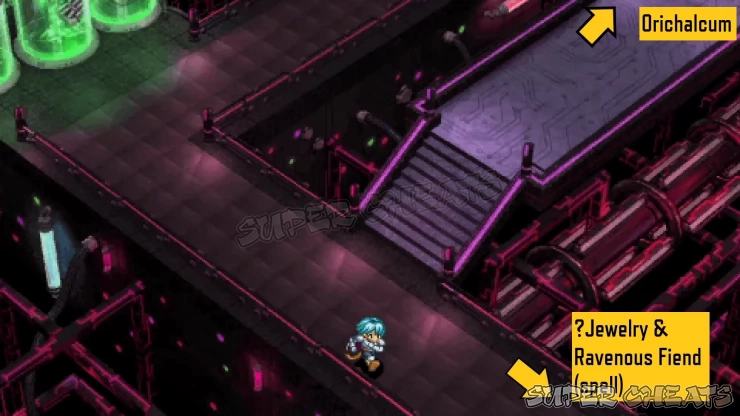
Return to the previous screen then take the path west this time. Use the savepoint in the following screen then head to the west twice to reach a chest with Hammer Charm. Go back to the previous screen then head north to trigger a cutscene. You’ll be thrown to a battle afterward.
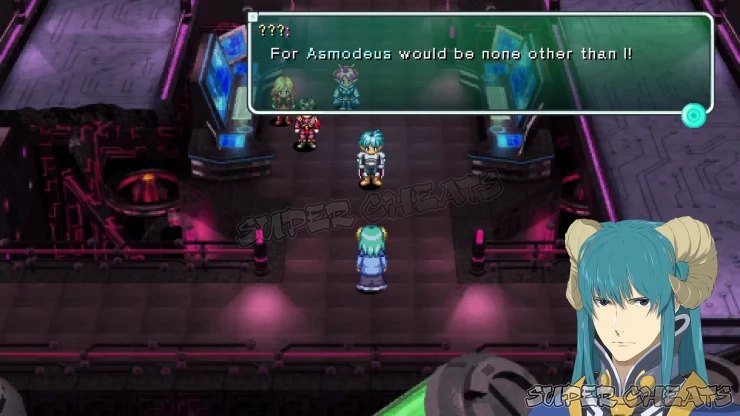
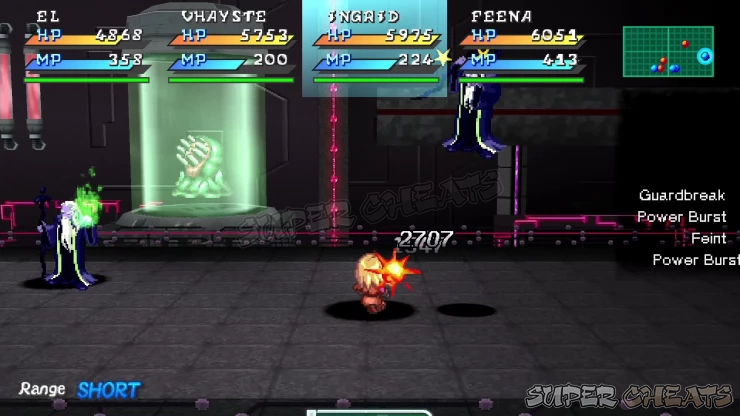
Don’t attack the Dark Eyes at melee range since they can easily petrify your characters. Burn MP and have your fighters use mid or long-range attacks. Also, avoid using dark-based attacks (including dark-element weapons) since they can absorb it.
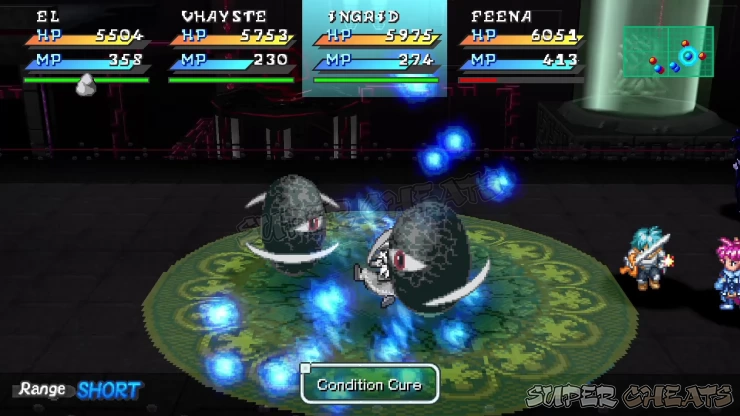
After the battle, return to the savepoint to save your progress. Once done, return to the previous boss battle area then continue north. In the following screen, you’ll see another split in the path. Take path to the west first then follow the path to reach a room with the ?Jewelry and Elemental Blade from the chests. Appraise the jewelry to get a Faerie Ring, capable of halving the MP cost of Spells and arts. Equip it to one of your spellcasters. Backtrack to the split then exit east to the next screen this time.
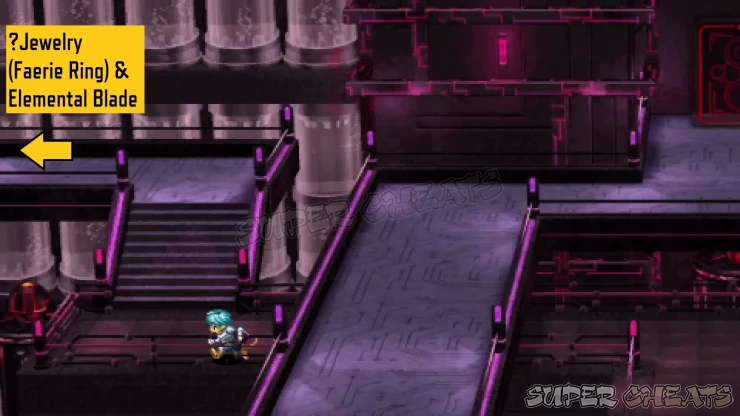
There will be two paths again. Head east first to find a room with chests. Loot the Elven Slippers and Tedious Handy Stick then backtrack and take the southwest path this time.
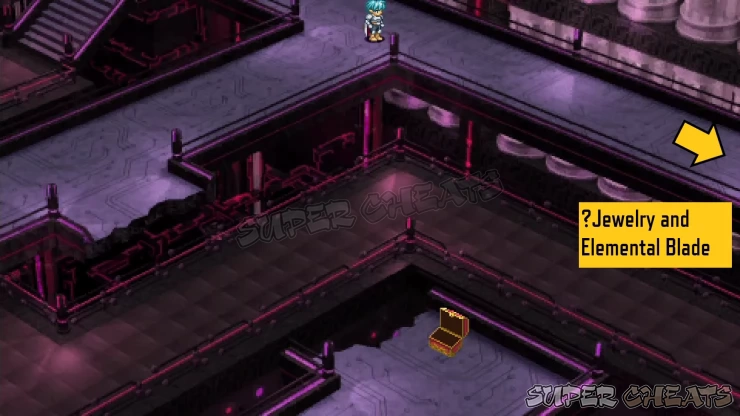
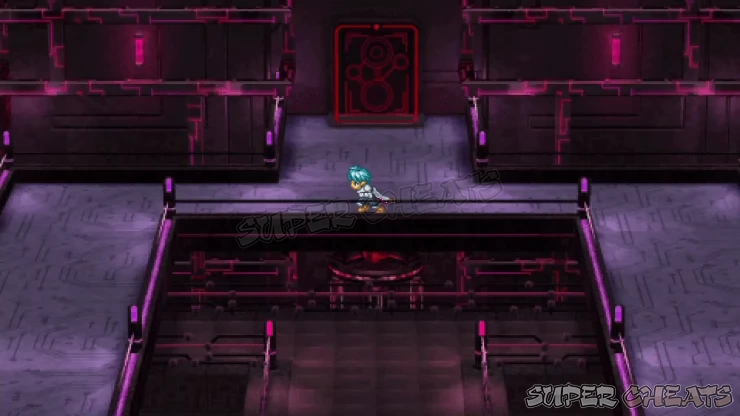
Follow the straightforward path across several screens until you reach a door to the north. The path to the west will just lead to a dead end so you can ignore it. There will be no returning past this point so if you haven’t completed the tasks you need while in Planet Roak, you shouldn’t enter. Create a backup save if you want to be sure. When ready, enter it and watch the scenes. Boss battle ensues.
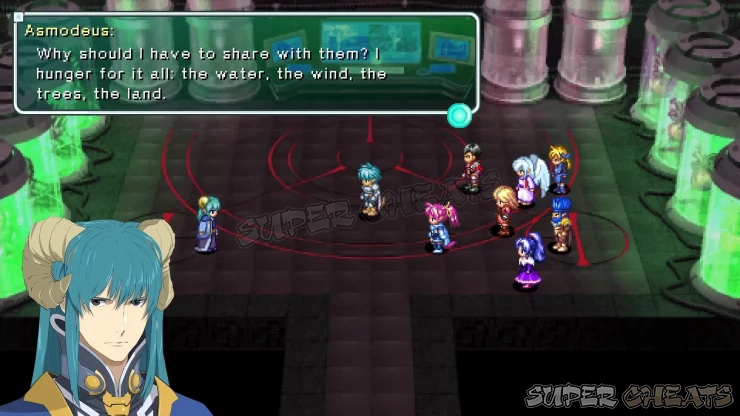
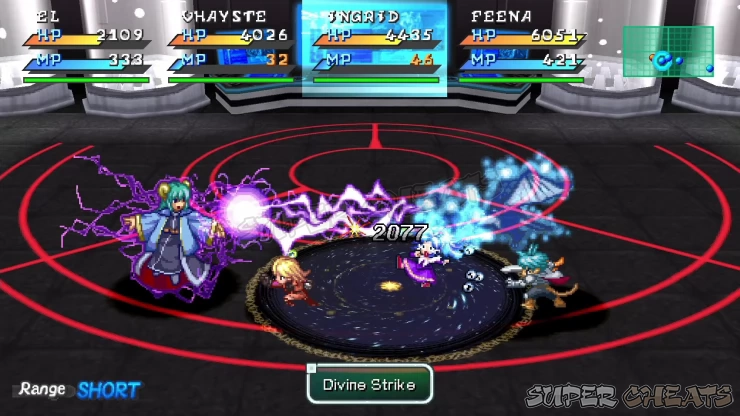
He can also cast powerful spells rather quickly so make sure to interrupt him by having your fighters attack from both sides or use attack items. If you’re able to produce some powerful Blacksmith armors or Craft accessories that can absorb or nullify his spells (usually light, fire, and wind) at this point, then you don’t have to worry about his spells that much. If his spells are giving you trouble, manually take control of your healer then use buffs such as Reflection and mitigate the damage by healing regularly.
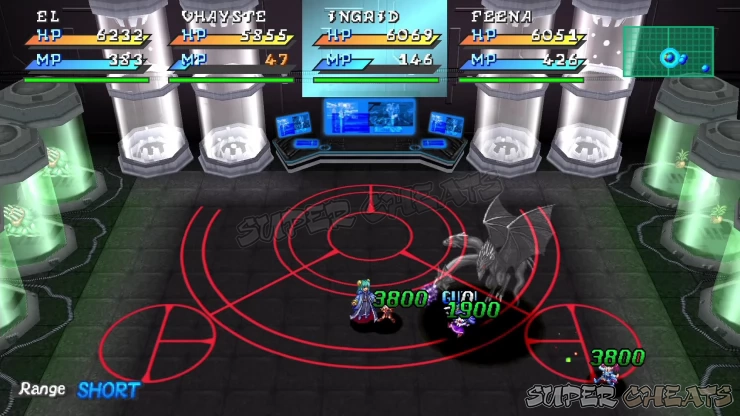
After the battle, watch through a few more scenes and you’ll be back in Van y Ille to report to the King.

 Join us on Discord
