Pirate’s Hideout
From the entrance, you can go back to Portmith if you want by approaching the shore.
1F: From the entrance, take the eastern path first. Grab the Antidote along the way then exit to the next screen. Follow the only path to reach a dead end with two chests containing Blueberries and Resurrection Elixir. Backtrack to the entrance then head west this time.
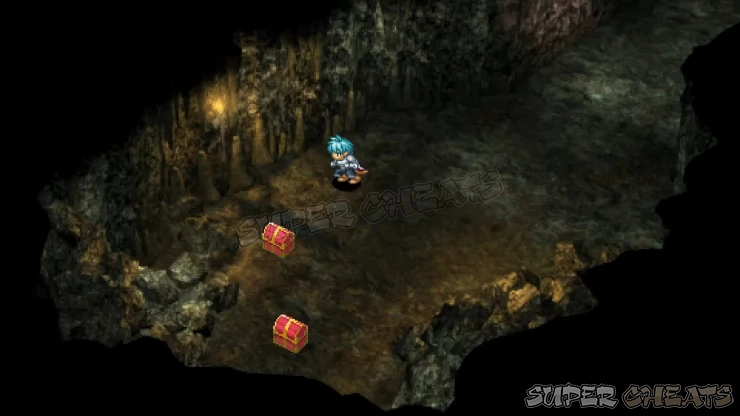
You’ll encounter a slippery floor along the way. Just press and hold B to walk slowly without sliding. Take the northern path first, then take the stairs down.
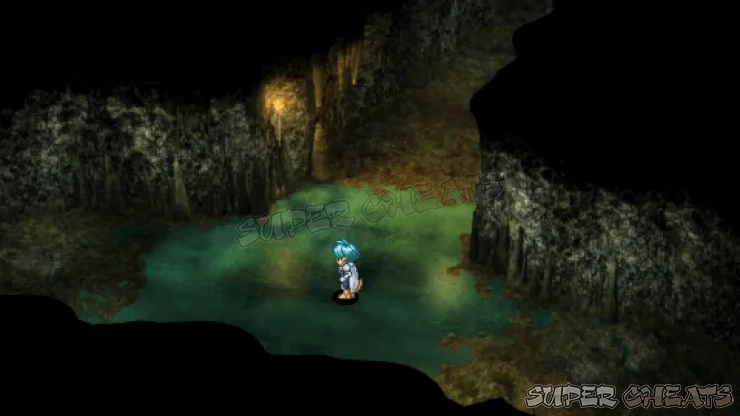
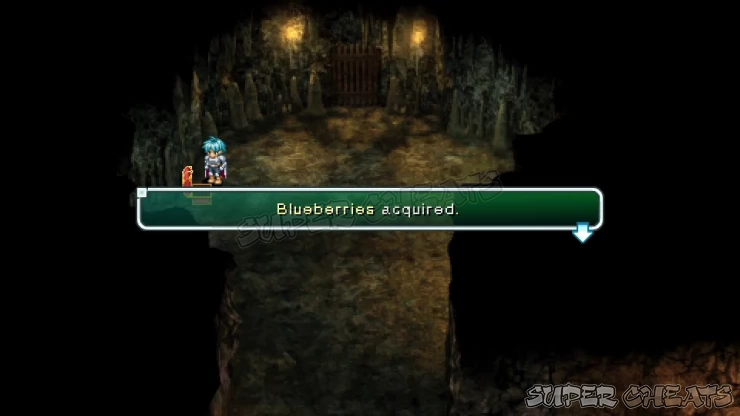
B1: Ignore the gas vents to the east for the meantime then head south. Once you reach a split in the path, take the path to the right to reach a narrow corridor with a slippery floor. Walk there and enter the doorway to the north to find three chests. Loot the Blueberries, Sapphire and Lavender from them.
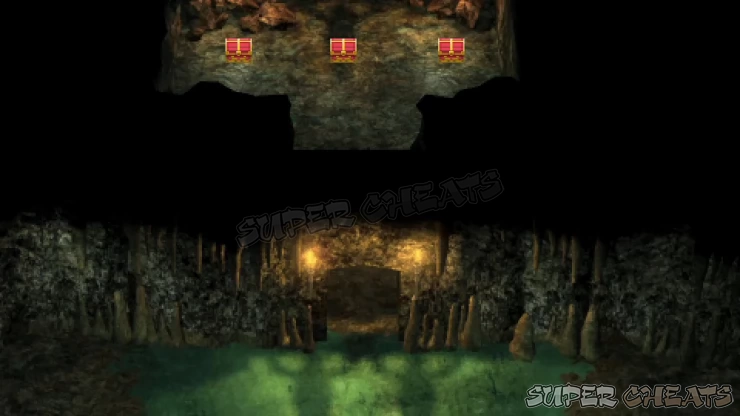
Return to main path and continue to the right to reach a dead end with a chest containing Blackberries. Backtrack two screens west to return to the split earlier then head south this time. In the next screen, you’ll find a closed gate to the south. Head to the right first to find a chest (contains Necklace) and a lever. Pull it down to open the gate in the previous screen. Enter the gate, then head to the right. Go downstairs to the right again.
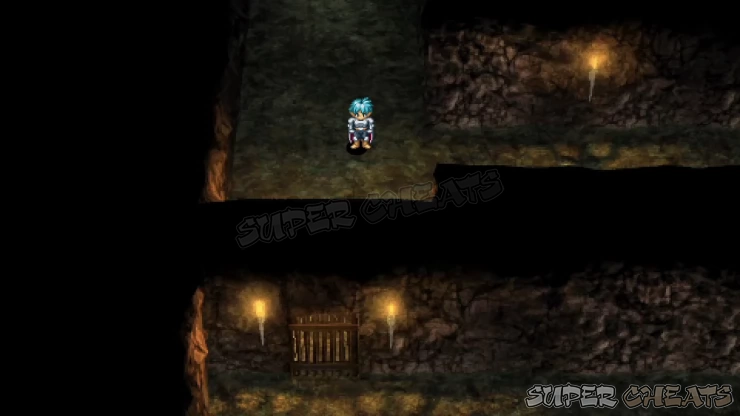
B2: Use the savepoint to the south. After that, go to the next screen north. In that screen, you’ll find another slippery floor and a wooden gate. Ignore the gate for now then head to the screen to the right first to grab the Resurrection Elixir.
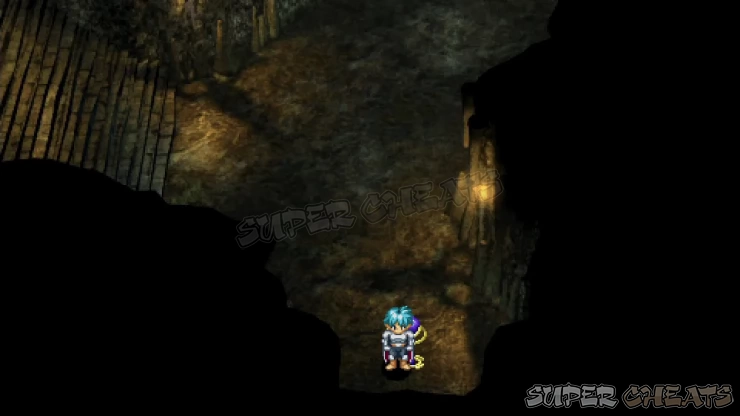
Return to the next screen. There’s a mini-boss battle behind that gate so check your party’s HP and Heal as needed using cooked food. Don’t forget to upgrade some Combat Skills (consider upgrading only the ones costing 1SP, after applying Determination to lower their cost) When ready, head to the corridor and enter through the northern door.
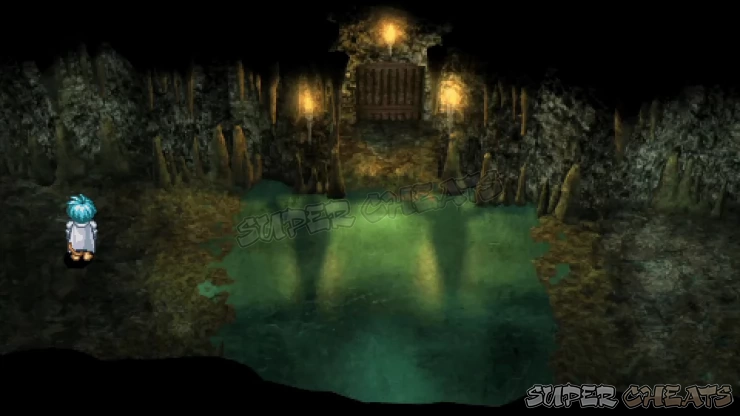
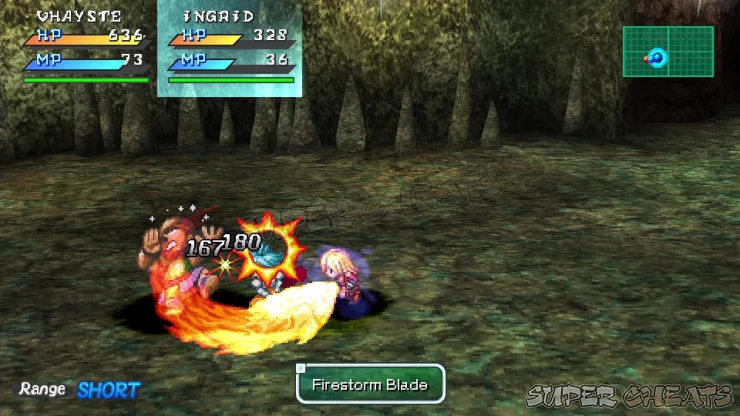
The Flint can be equipped in your accessory slot to trigger explosions on gas vents in this dungeon, to open new paths (or accidentally block existing ones). After the battle, leave the room then return to the save point and save your game.
Head back to the first floor, down to the split where the slippery floor was and head west. With the Flint (Accsy) equipped, examine the gas vents to blow it up. Grab the Resurrection Elixir from the chest. Since you’re near the entrance of the hideout, you can return to Portmith to rest and spend some of the money you’ve earned to replenish your supply and/or get better Equipment.
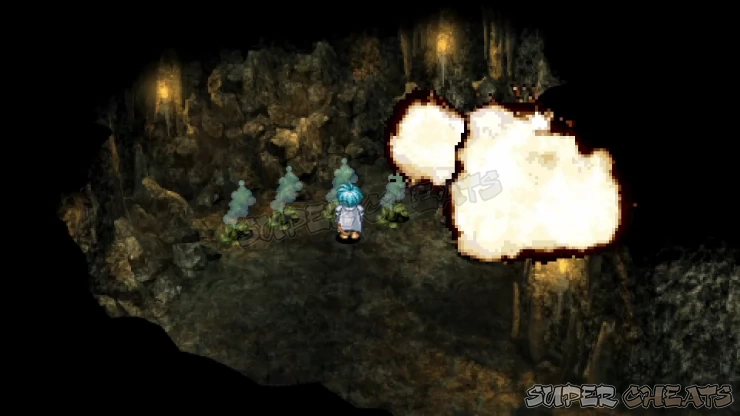
To continue exploring the hideout, backtrack to B1 and blow up the gas vents to the right, revealing a new set of tunnels. Head to the next screen.
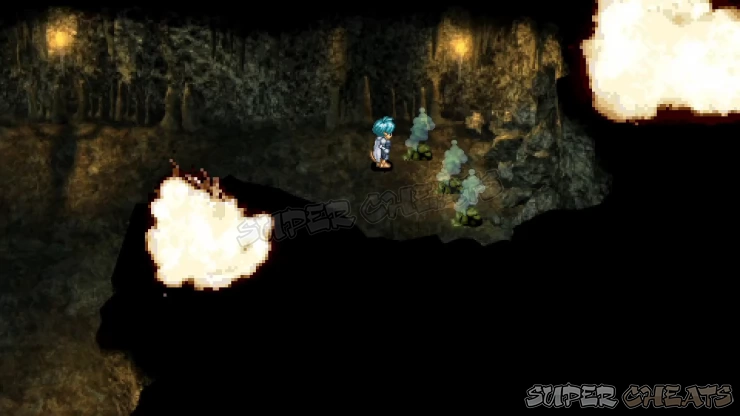
Take the path to the lower-left and grab the Blueberries from the chest. Return to the previous corridor and continue down to find three vents.
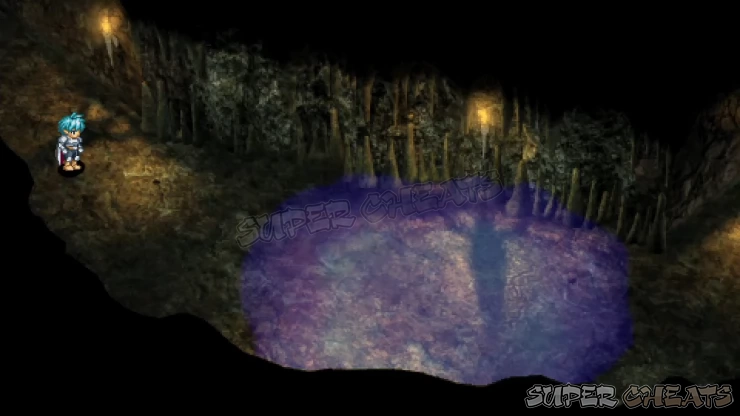
Don’t ignite the vents since it will block the path and you’ll be forced to pass through a poisonous cloud on another tunnel nearby to the south. If you happen to ignite it, don’t worry since the cloud will not inflict poison. However, your HP will be reduced the longer you stay within the cloud.
From the three gas vents, continue north to find two chests. Loot the Sweet Syrup and Sacrificial Doll from them then return to the previous screen.
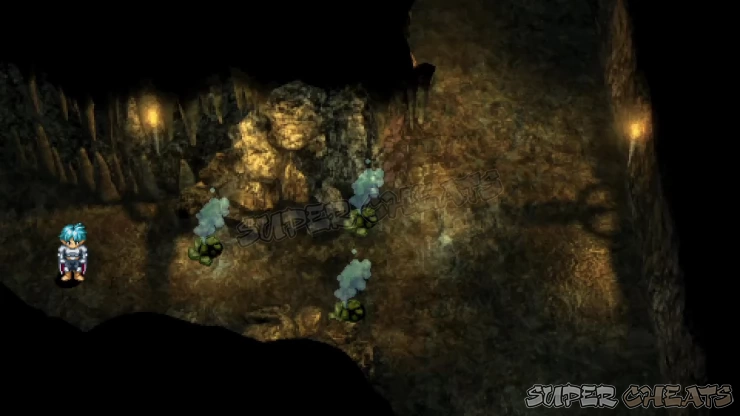
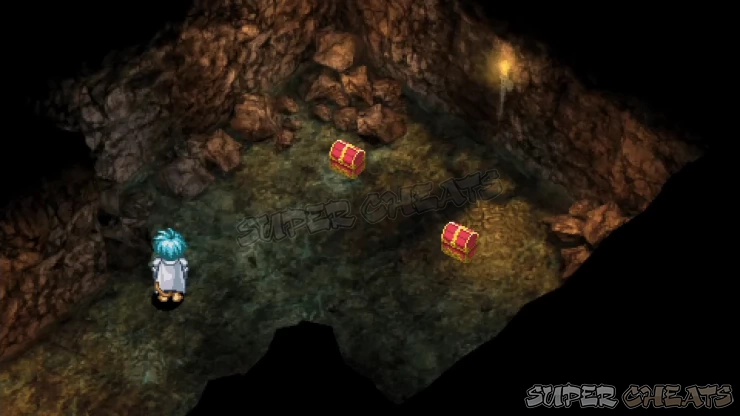
Follow the path south and around to the west, then continue down and right to find the stairs going down to the next floor.
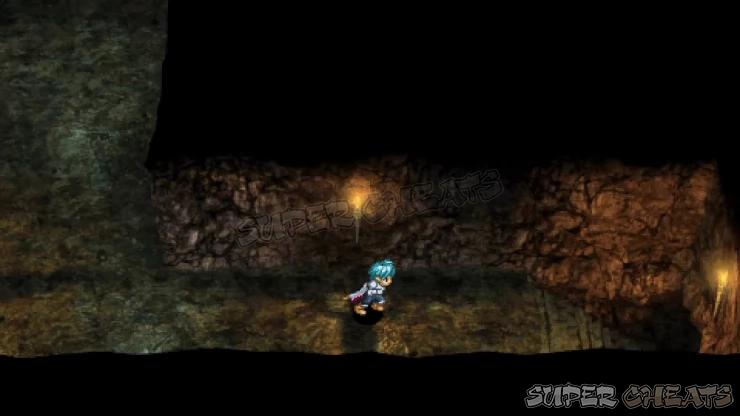
B3. Continue to the next screen then run past the wooden gate, exiting to the southwest. In the next screen, ignite the vents to open a chamber with a chest. Grab the Sweet Syrup then return to the previous corridor.
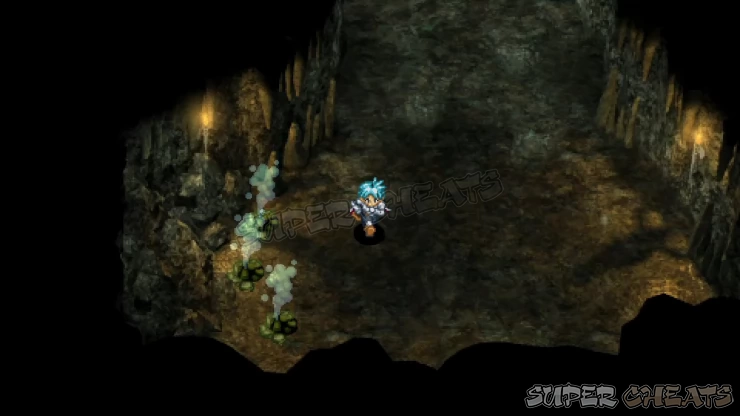
Enter the door to the left then grab the Resurrection Elixir along the way. Continue left to the next screen. Go down, then right to get Magic Canvas.
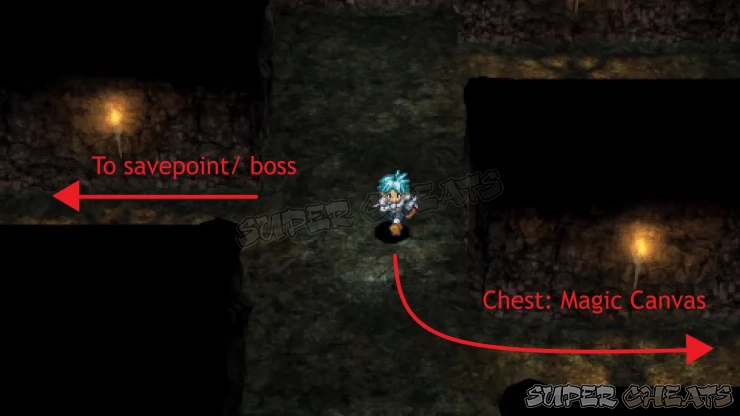
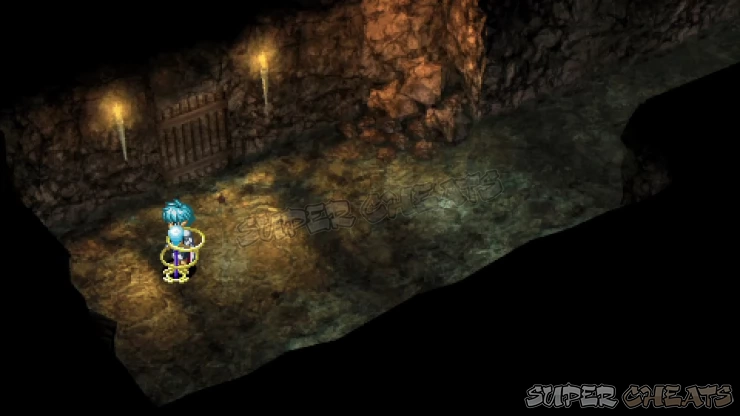
Backtrack to the previous screen then continue to the left to find a savepoint. Prepare your party, save them game, then enter the door to find the treasure room and the pirate captain.
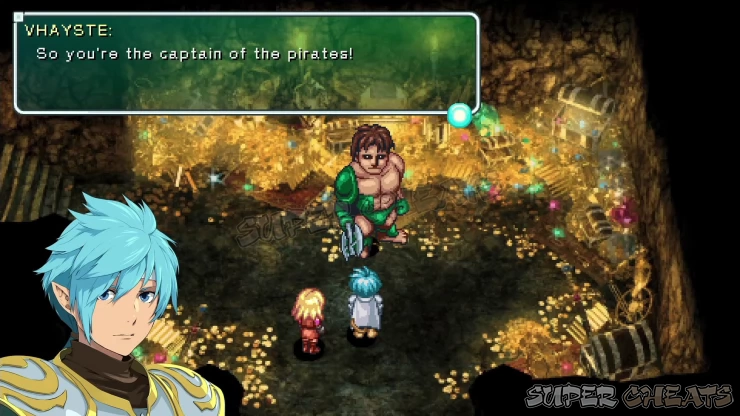
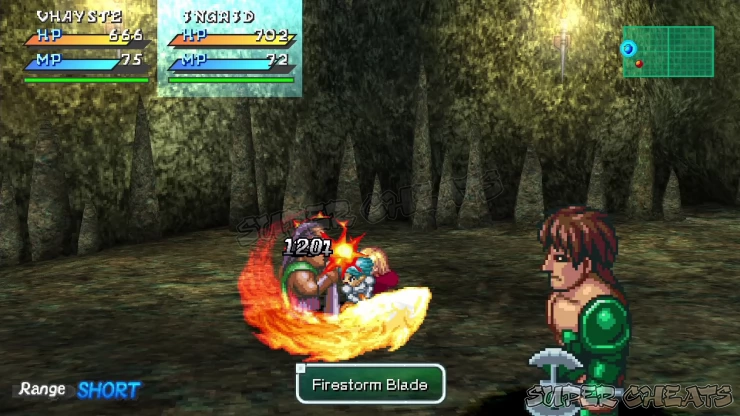
Watch your party’s HP; switch between characters to manually check who can use an item immediately. Once the Velkhent is down, the Chief is pretty much an easy prey to your characters.
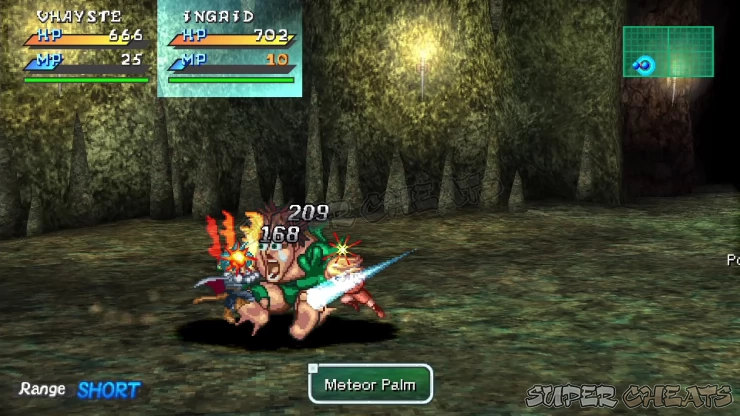
After the battle, take the stairs to the left. Grab the Ruby and Rainbow Diamond from the chests inside the prison cells. After looting the chests, talk to the mysterious cat girl.
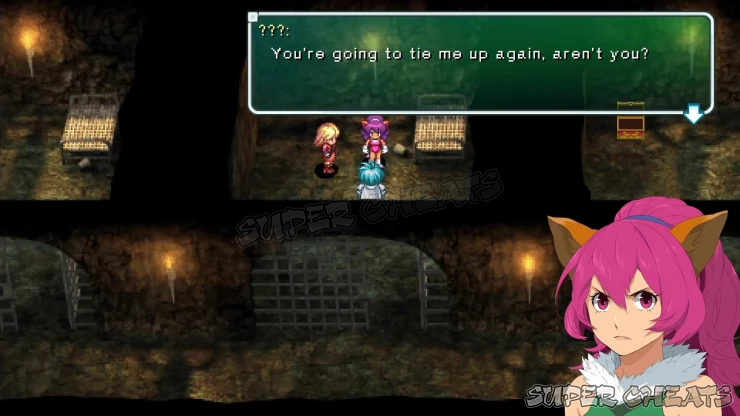
Your party will be back in Portmith automatically. Once in control, look closely at the ground where she stumbled to find a shining object. Pick it up to obtain the Ocarina. This is required if you’re planning to recruit her later on.
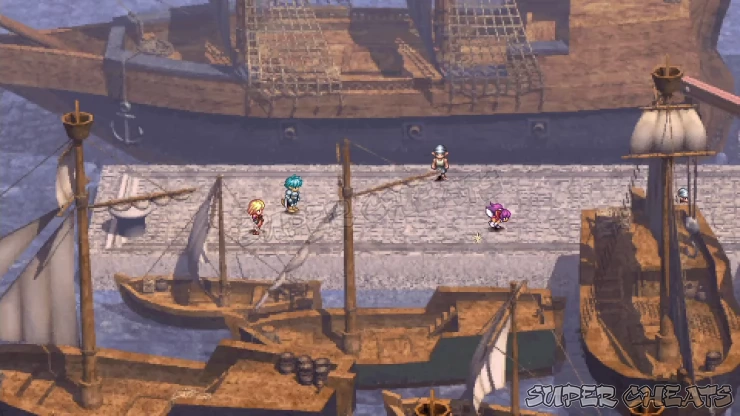
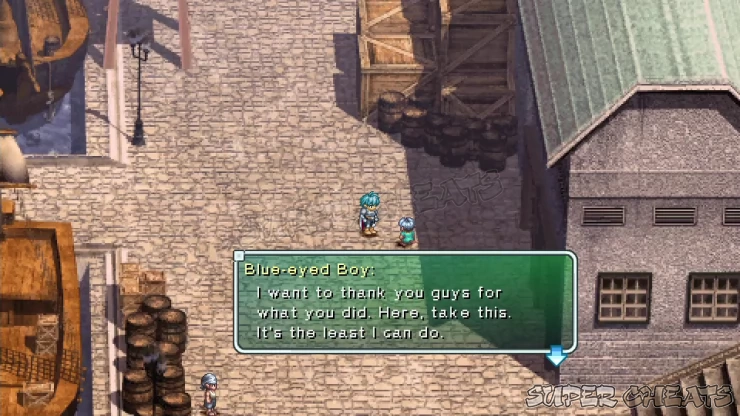
Don’t forget to talk to the kid walking around the docks to receive St. Elmo’s Charm as well. Once ready, talk to the same sailor in the upper left to sail to Autanim for free.
 Join us on Discord
