Revorse Tower
Bio-Lab / Underground Tunnel
After the conversation, prepare your party then exit the safe house. In the world map, make your way to the northern part of the map. Continue past the tower until you find a building covered by a purple dome. Head there to enter the Bio-Lab.
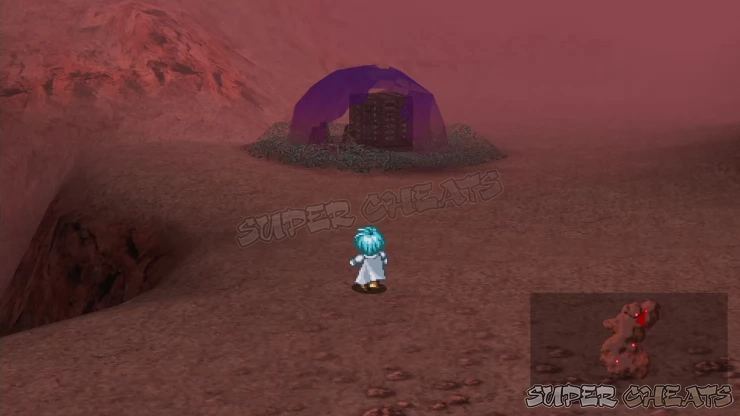
Head north to the statue for a cutscene. After the scene, climb down the ladder to the lower left corner of the room. Follow the underground tunnel and watch the scene along the way. Continue to the end of the tunnel then climb up the stairs to reach the tower.
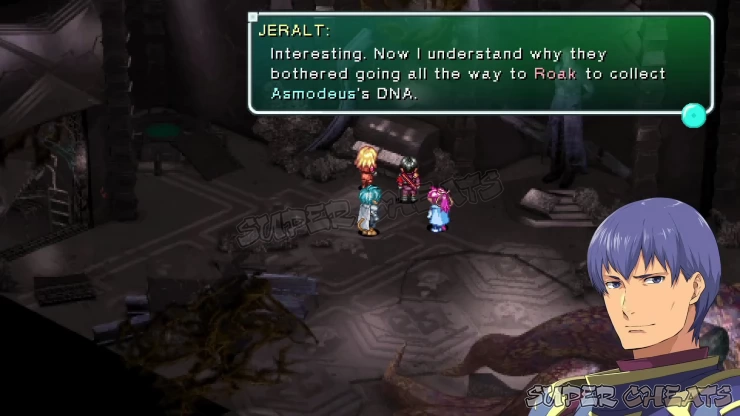
Revorse Tower
1F: There’s a teleporter up north that you can use to be transported back to the Bio-Lab. To start exploring, head south to the next room then to the right. Continue through the tunnel to reach the teleporter. Step on it.
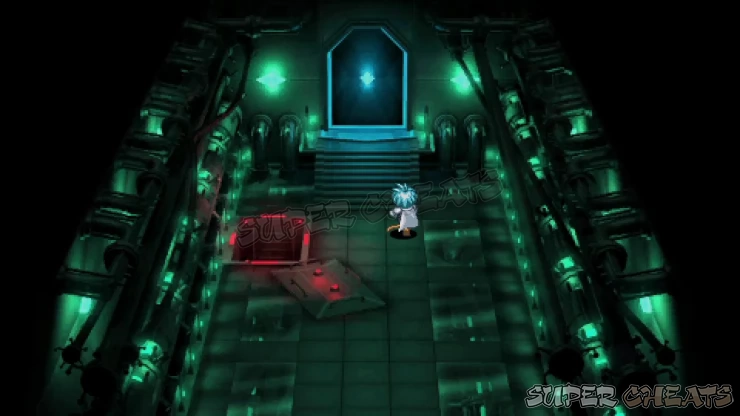
After using it, head to the left you’ll find doors along the corridor. Enter the second door to the left to get the Demon’s Gate spell for Ronyx.
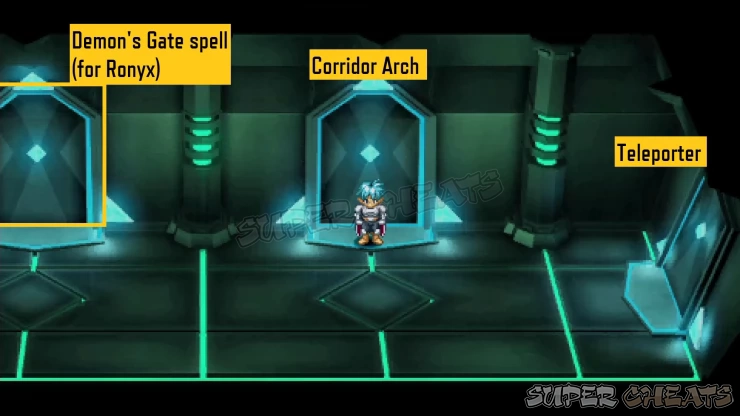
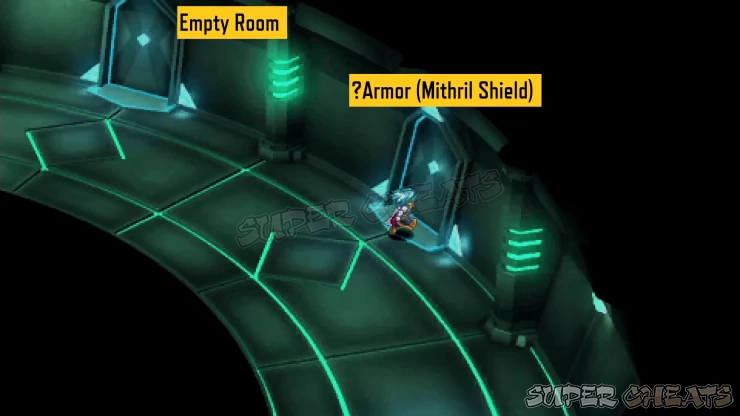
Take the door to the right next to reach an arcing corridor. Check the first room to the right to get a ?Armor (Mithril Shield) from the chest. Leave the room. The next room is empty so exit the corridor to the upper left.
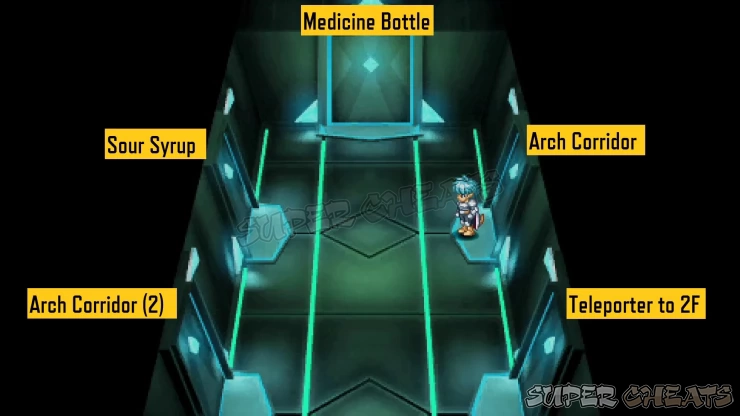
In the next corridor, you’ll find more doors. Check the northern door to get Medicine Bottle. The upper left room has Sour Syrup. The teleporter on the lower-right room will take you to the next floor so ignore it for now. Take the lower left door to reach another arcing corridor.
Examine the nearest room to get Mithril Greaves. Exit to the next corridor.
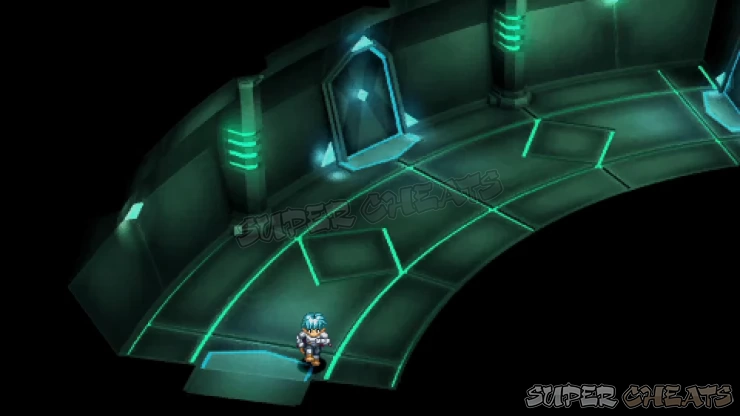
Enter the room to the left to get Star Guard. Enter the other room further to the left to get An Assault Bomb. Leave the room then exit the corridor to the right this time.
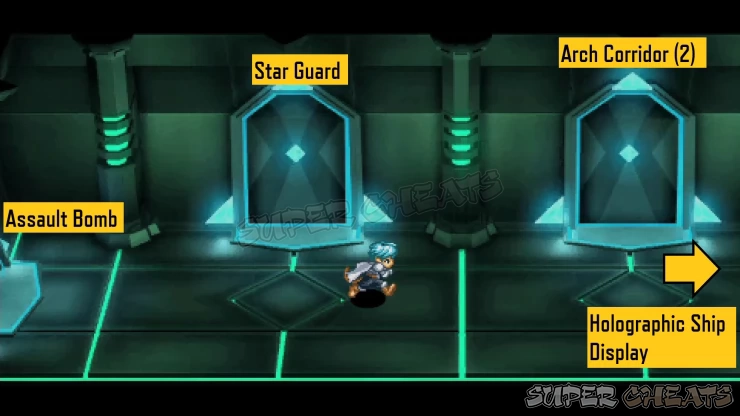
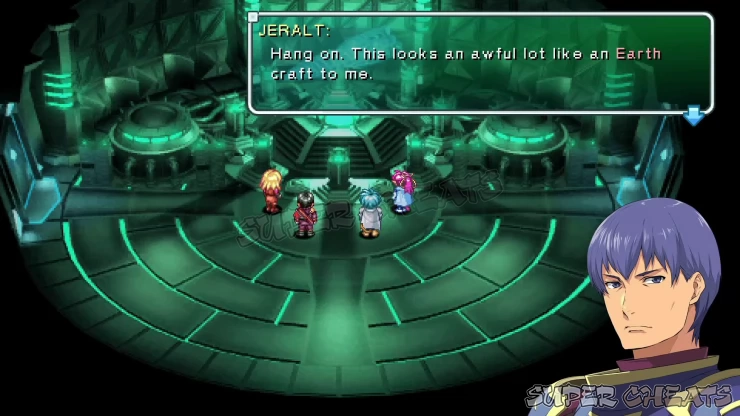
Approach the holographic display in the middle for a cutscene. The holographic room is connected to the first corridor you just visited earlier. For now, we need to return to the teleporter that will take us to 2F. To do this, backtrack to the left, then enter the first door north. Go through the arching corridor and exit northeast. In the large corridor, take the lower right door to find the teleporter. Use it to get to the next floor.
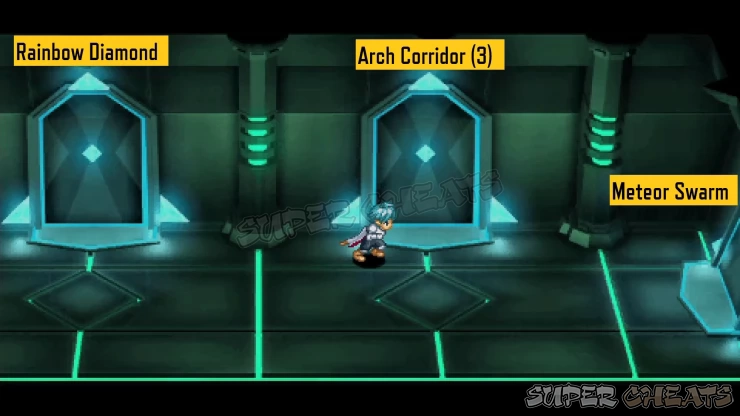
2F: Continue following the straightforward path until you reach another corridor with multiple doors. Check the left room to get Rainbow Diamond and the easternmost room to learn the Meteor Swarm spell for Ronyx again. Leave the room then enter the next door to reach the arching hallway.
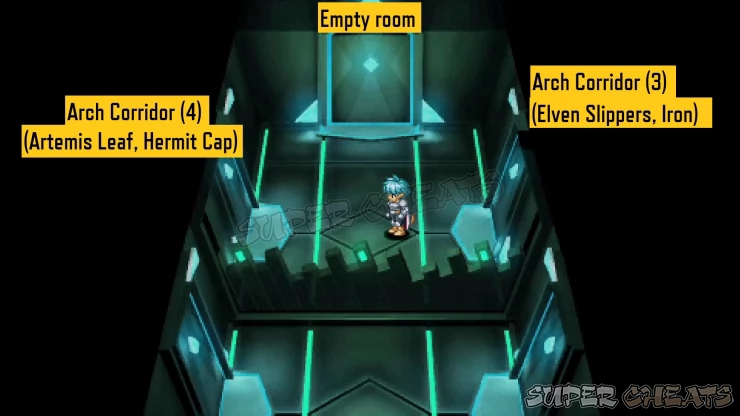
In the arcing hallway, check out both rooms to get Elven Slippers and Iron. Exit to the upper left. In the next corridor, the room to the north is empty so continue to the left to reach another arcing hallway. Examine the rooms again to get an Artemis Leaf and ?Armor (Hermit’s Cap). Exit south, then left to reach the teleporter that will take you to the next floor.
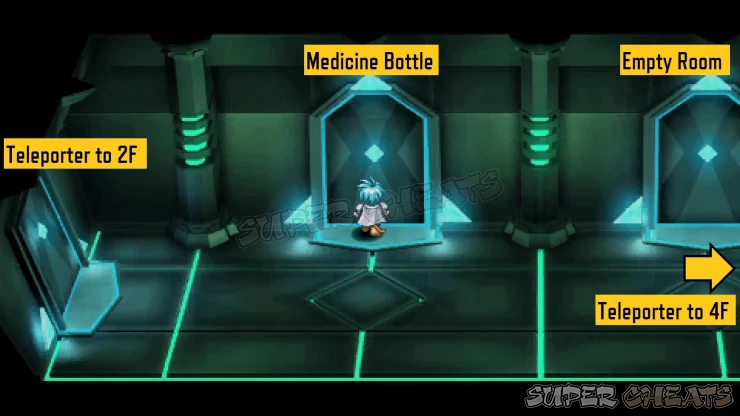
3F: Check the first room north to get Medicine Bottle. The second room is empty so keep heading right and follow the straightforward set of corridors until you reach the next teleporter.
4F: Continue following the path until you reach the savepoint. Head to the left and enter the first door to get Mithril Helmet. Continue to the leftmost room to get Orichalcum. Return to the previous room then go through the other door north.
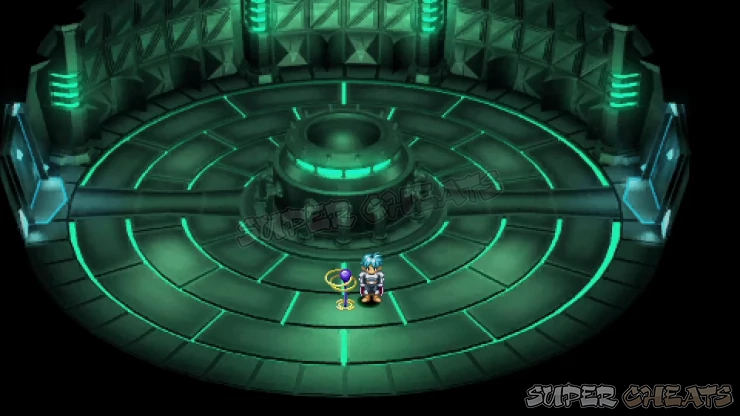
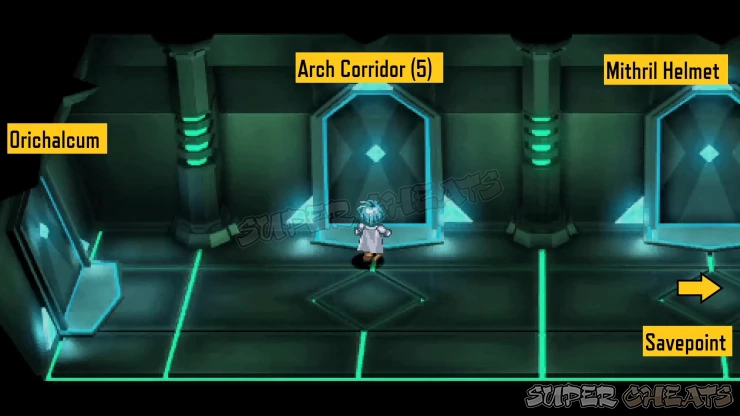
Examine the first room along the arch corridor to get Defense Bomb. The next room is empty so exit to the northeast. Head north to find another teleporter. To takes you back to another section of 3F.
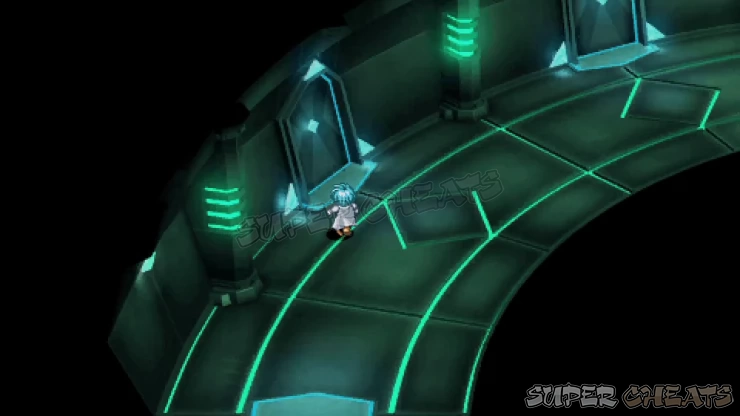
3F: Go down then left to get a Sour Syrup. Backtrack to the previous screen then head right to enter the arching corridor. Check out the rooms to get ?Armor (Mithril Mesh) and Resurrection Mist. Follow the path again to reach teleporter that will take you back to 4F.
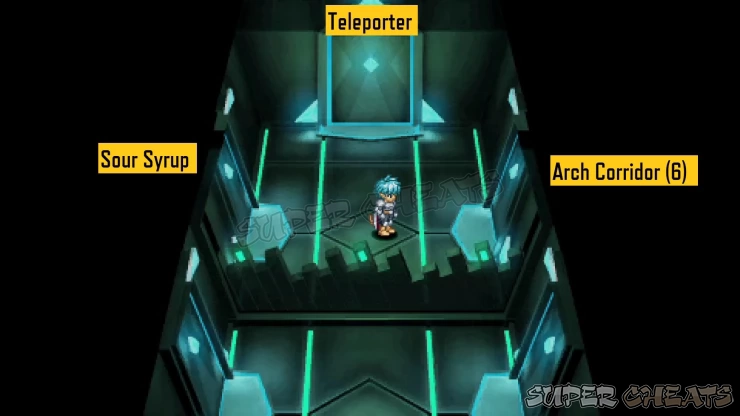
4F: Follow path again to reach arcing hallway. Check the northernmost room for Mithril then take the teleporter in the lower right room.
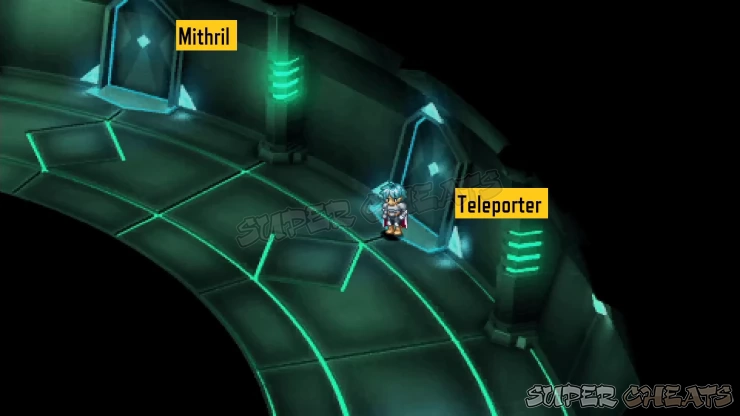
5F: Enter the next door north in the arching corridor to get Spectacles. Exit to the south first and enter the next room to the right to loot the ?Armor (Sylvain Mail). Backtrack to the arching corridor and exit to the upper left door.
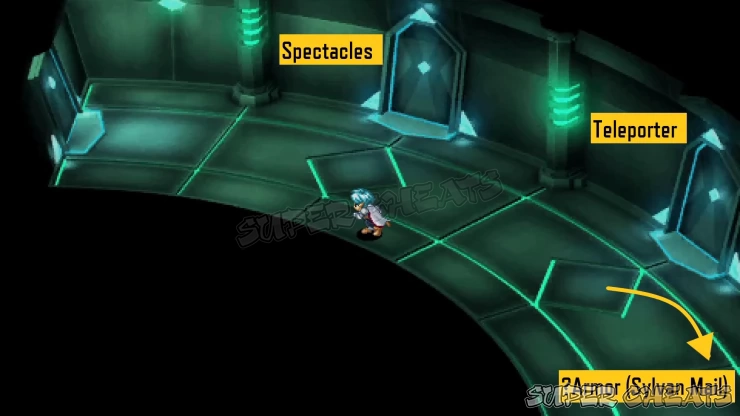
Head north to get the ?Weapon (Berserk Sword). Leave the room then exit to the left. In the arch corridor, check out the rooms to get ?Herb (Rose Hip) and Sour Syrup. Exit south and then enter the door to the left to reach teleporter.
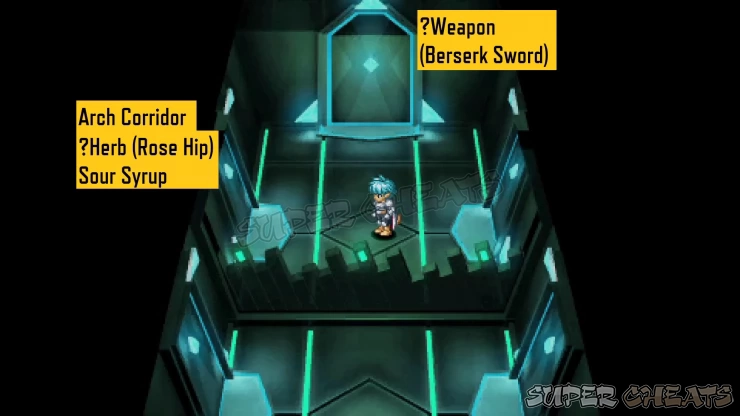
6F: Follow the path and grab the ?Herb (Artemis Leaf) and Refreshing Syrup inside the rooms along the arching hallway. Exit to the next screen then take the northern door to get Elven Slippers. Continue east to the next arching hallway.
Examine the rooms again to get Resurrection Mist and Dream Crown. Exit south then go to the right to find Sour Syrup. The leftmost room is blocked so ignore it. Take the upper left door and follow the path until you reach the teleporter.
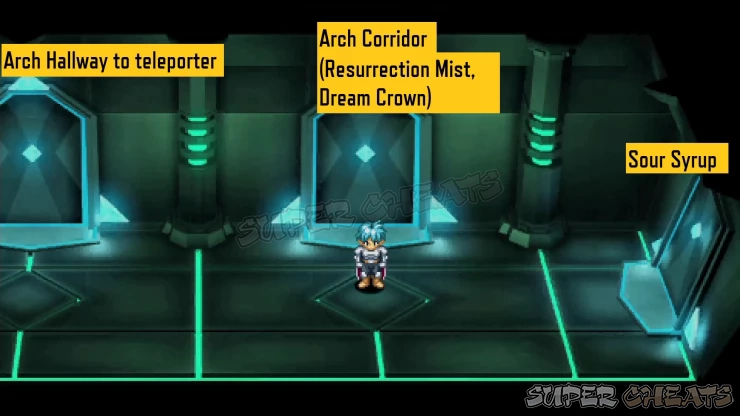
5F: Follow the path to reach another teleporter.
6F: Continue following the path to the next teleporter.
7F: If you head north, you’ll reach the final save point of the game. The teleporter to the south will conveniently take you back to 1F. At this point, you’ll also be able to access The Oracle Room that leads to a challenging end-game dungeon called the Cave of the Seven Stars. You can follow the link for more information.
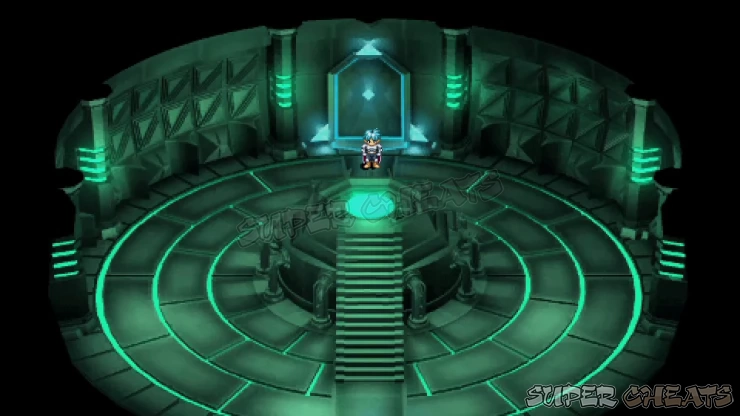
The Voice Gallery option will be unlocked in the main menu and if you still haven’t created a backup save, I suggest doing it now in case you want to do something else (like Publishing books that you can use to alter the support levels of characters and change their endings). Prepare your best party for the final boss fight. When ready, continue north of the savepoint to meet Jie Revorse himself.
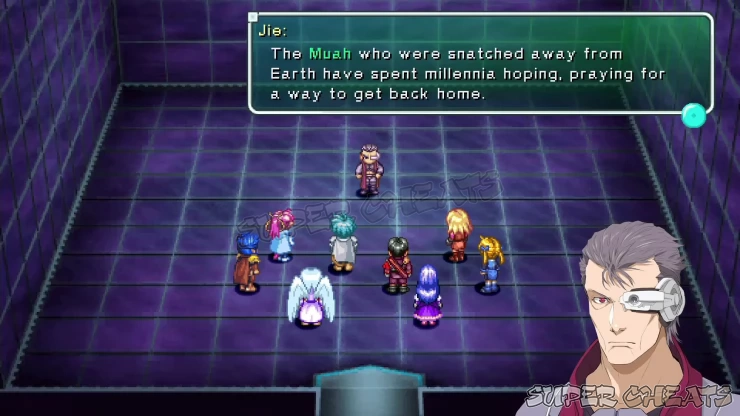
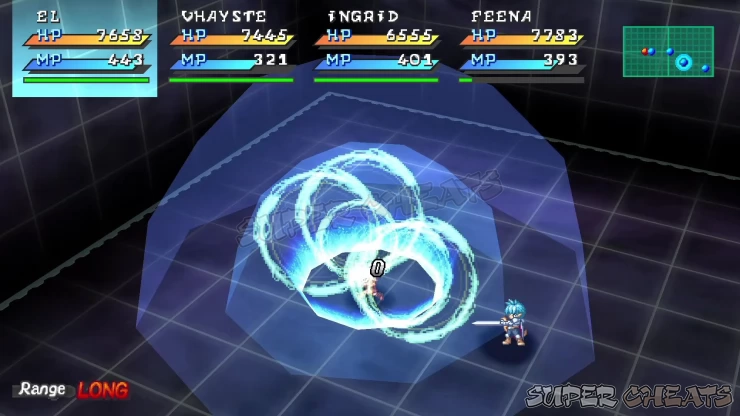
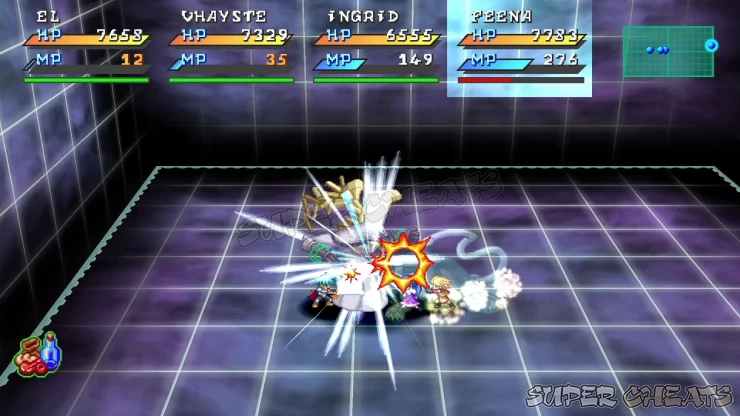
Don't hesitate to control your healer and cast quick Spells that can interrupt Jie's spellcasting attempts. You can also use items in quick succession, especially when you need backup healing and buffs. A cheap way to pummel Jie easily is by using three fighters with multi-hit arts. With the Guard Break Combat skill maxed out, simply corner Jie and spam these moves and watch him melt easily.
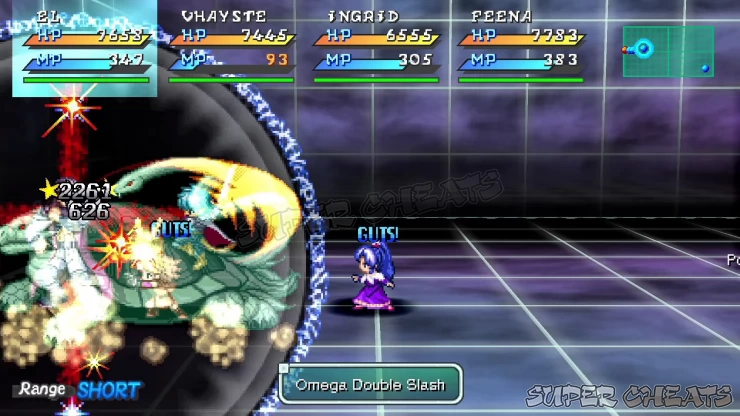
After defeating Jie, watch the cutscene as he transforms to his second form. You'll have to battle his new form, Neo Revorse afterward.
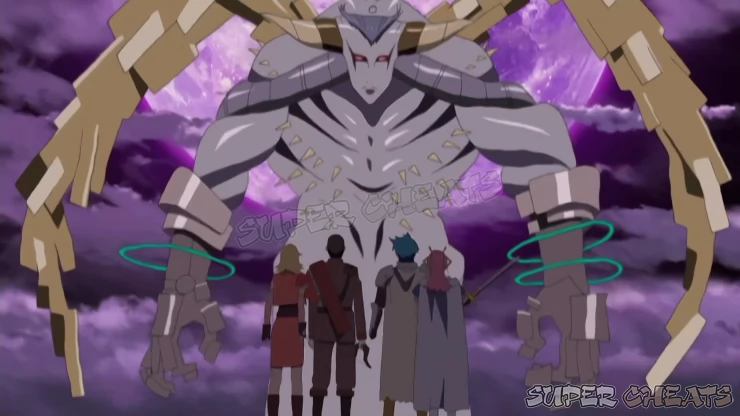
Jie is now faster, with increased resistance to Spells. His Sacred Law attack can instantly kill a single character regardless of the amount of HP or Equipment. Make sure to resurrect your character immediately, preferably with an item.
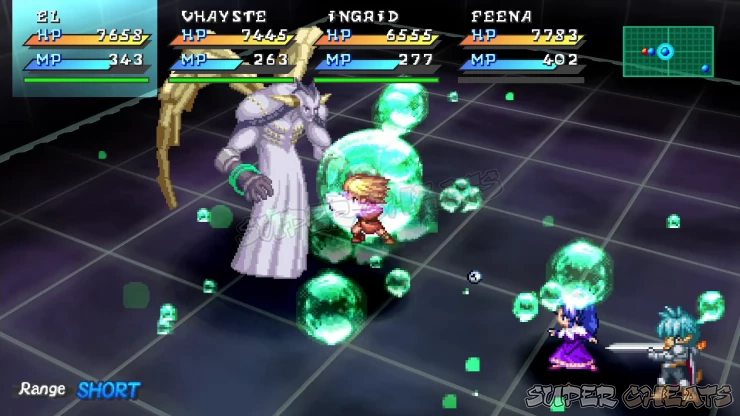
His frontal attacks can push characters back, dealing high damage, and may even daze them. That's why the best position to attack him is not by a frontal assault but by flanking him between your fighters. Unlike his first form that can be trapped by your fighters' arts and cheesed to death, Neo Revorse can snap out of your trap and move around while also being able to attack. Thankfully, he can be stopped on his tracks if your spellcaster manages to land a spell on him.
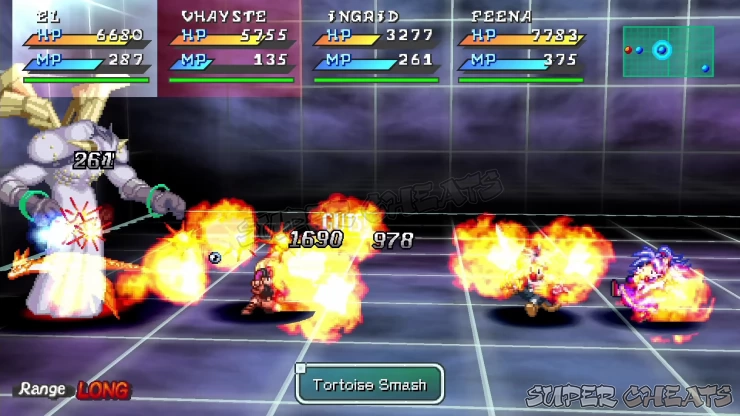
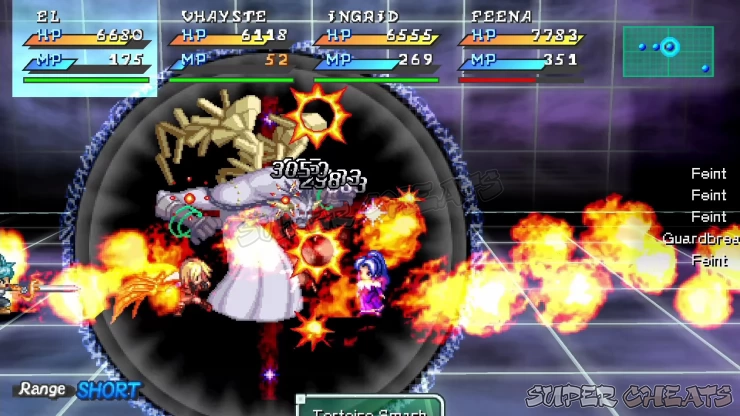
Keep your fighters' MP replenished since they'll be burning their MP rather quickly in this battle. Control your healer as necessary and don't let your allies' HP go below 50%, just to play it safe. Keep up the strategy mentioned above until he's defeated.
 Join us on Discord
