Cave of the Seven Stars Walkthrough
There are a lot of rooms here with identical layout so if you’re not sure what floor are you in, head up the stairs where you can from then down again to see the floor’s label.
B1F: Use the savepoint then go downstairs. Head all the way down to B4F.
B4F: To unlock the door, make sure to close the chests (from the left side) inside the 2nd, 3rd and 4th rooms to open the door to the south. Head to the next area afterward.
B5F: Head to the right to get Ring of Might. Return to the previous screen then take the stairs south to B6F.
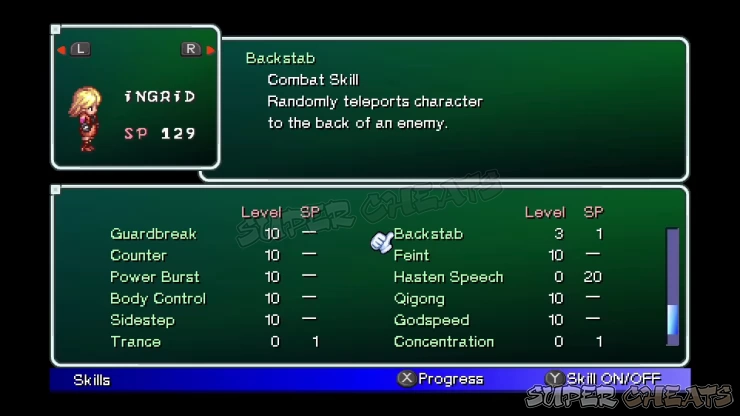
B6F: Take the upper right path then enter the door to the north. In the next hallway, enter the door to the north and open the chest for the Backstab Combat skill. Teach this immediately to your fighters.
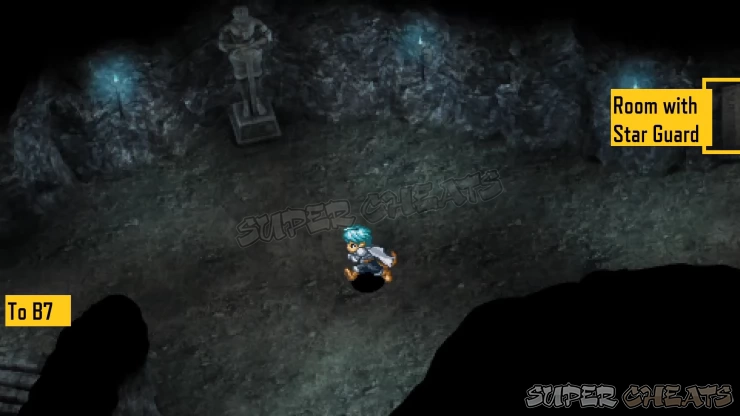
Enter the next room to the left and get the Star Guard there. From there, continue to the left until you find the stairs down. Ignore the path south beside the stairs since it will just circle you back to the upstairs going back to B5. Keep going downstairs until you reach B9F.
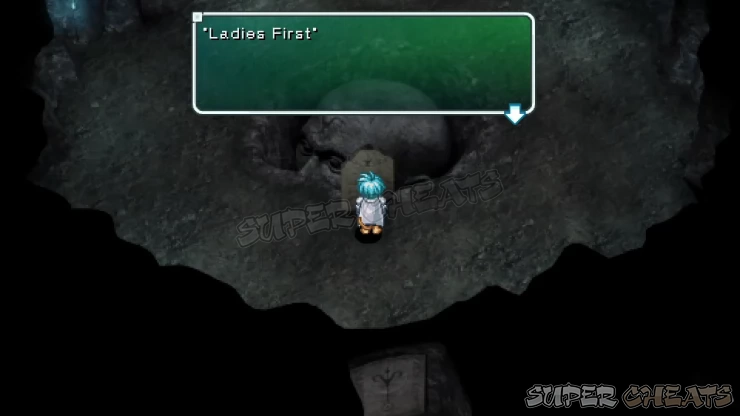
B9F: Make sure that all your female characters are set as the active party for the door to open. Open your menu then go to Tactics then select Replace to do this. Don’t forget to revert your main combatants, unless you’re already using a full-female party as your main team.
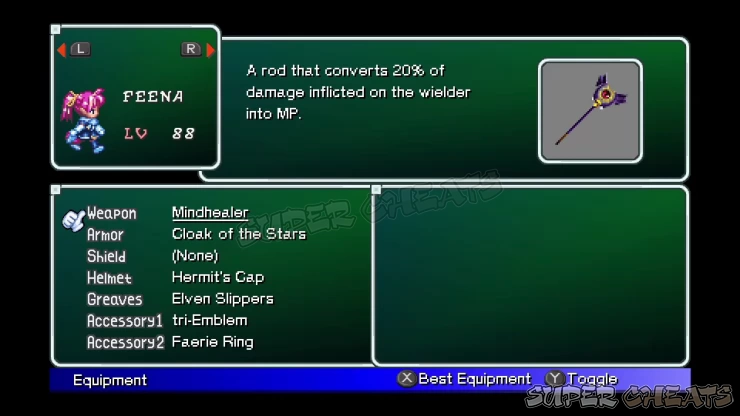
B10F: Go to the lower left to find a chest with Mindhealer, the best scepter in the game. Return to the previous screen and take the upper right path this time.
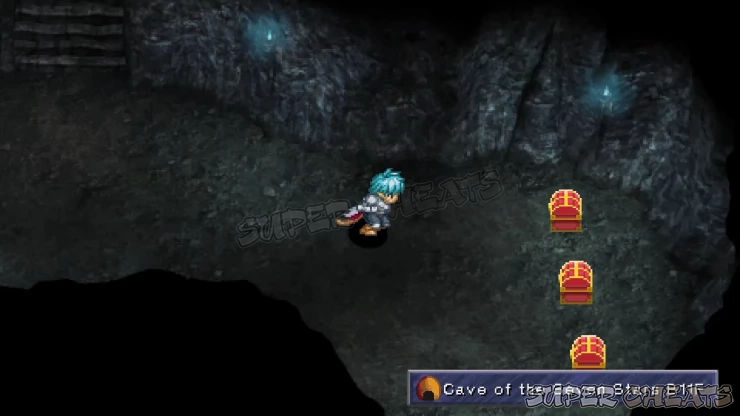
Enter the door north then go downstairs to B11F. This is just a dead end with three chests. Grab the Dragon Blade (for Phia), Gold Ring and Star Ruby. Backtrack and return to B10F. From the door you took earlier, continue south past the hole and downstairs to B12F.
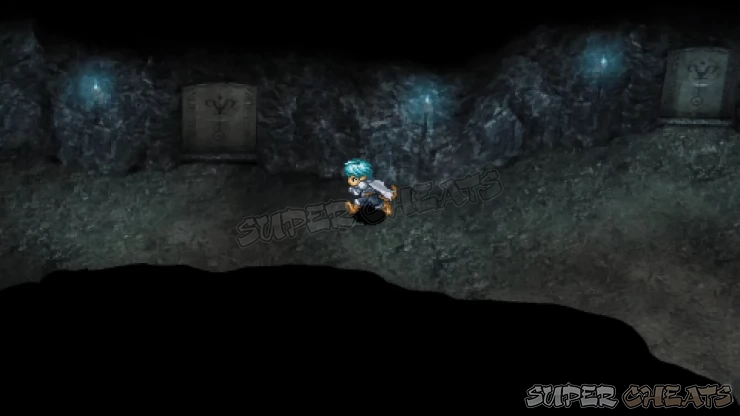
B12F: Take the upper right path then enter the northern door. Enter the rooms along this hallway to get ?Weapon and Damascus. Quickly appraise the weapon to get Ronyx’s Bow of Lightning. Continue heading west to reach the stairs to B14F. Continue heading downstairs until you reach B14F.
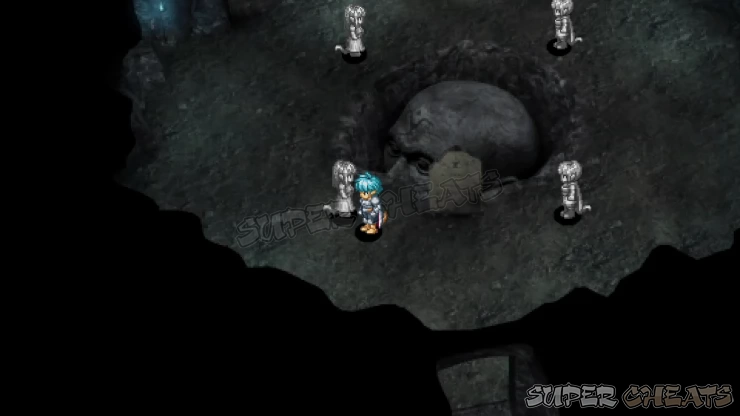
B14F: In this room with 4 statues, rotate the statues so they face each other. The path will open afterward. Continue to the next floor.
B15F: On this floor, you have to find hidden paths behind fake walls to explore the individual rooms and reach the next set of stairs. In the first area, check the walls to the south to get Ioshua’s Extinction. From there, go through the wall in the upper-left.
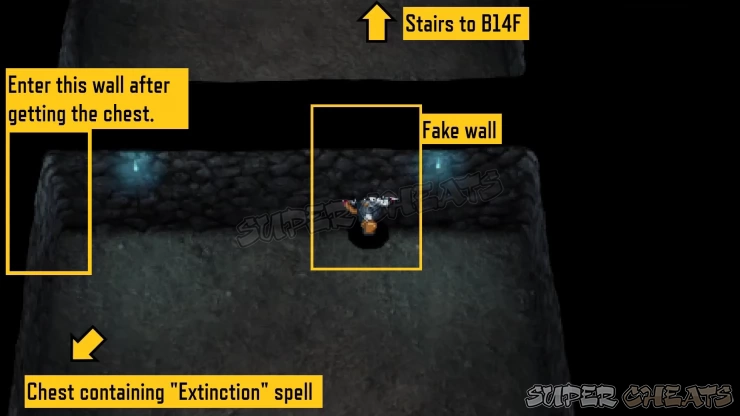
Keep heading left until you reach an empty room. Enter the wall to the lower-left and continue with the stairs.
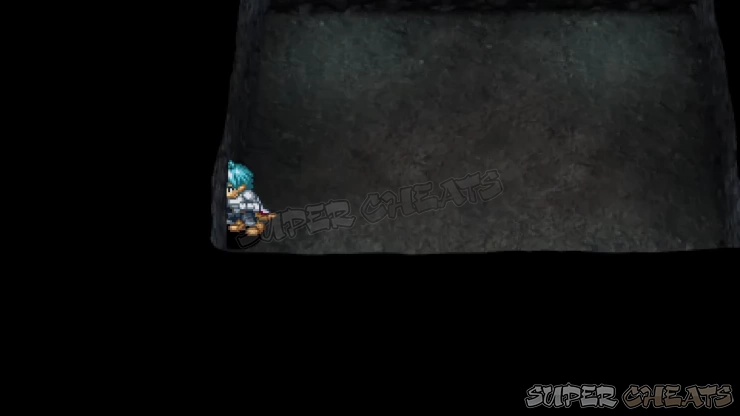
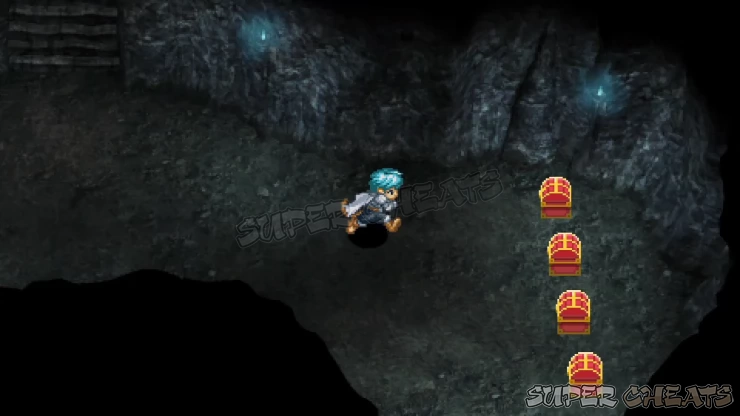
Go down to a dead end chamber in B16F to find four chests. Grab ?Mineral, Ring of Healing, Holy Orb and Xtra Knuckles which are Mavelle and Pericci’s best weapons respectively.
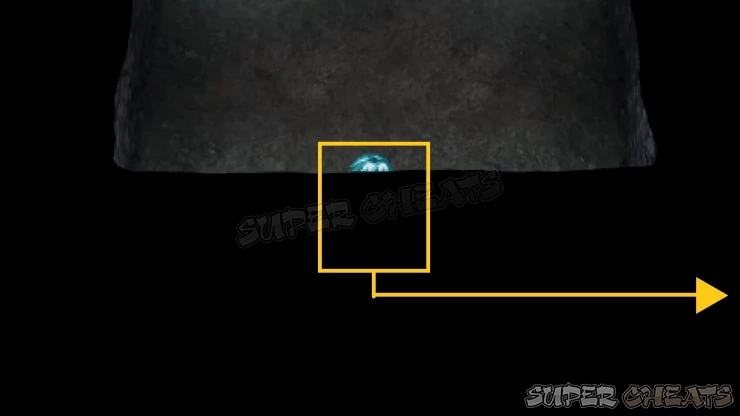
Head back to the previous floor then head east to reach the empty room. Enter the hidden path to the southern wall this time then keep walking to the right until you reach the next screen with the stairs leading to B16F.
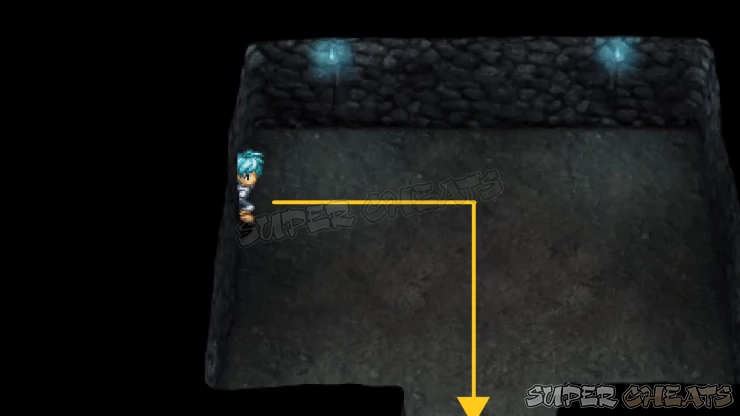
B16F: You can ignore the path to the left since they’ll just circle around to this same screen. Take the upper right path for a Star Ruby. Return to the previous screen then continue down to B18F.
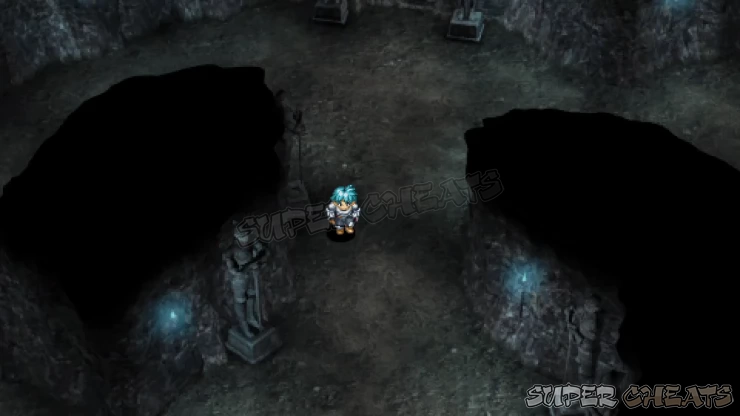
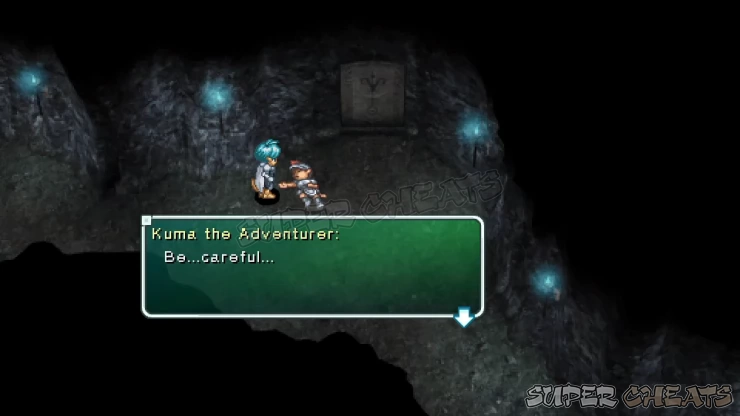
B18F: Check the path to the lower left to find a Rainbow Diamond. Go to the upper right to find a dying NPC named Kuma the adventurer. He’ll warn you about the trap inside the nearby room so don’t enter it. Instead, continue to the exit to the lower right.
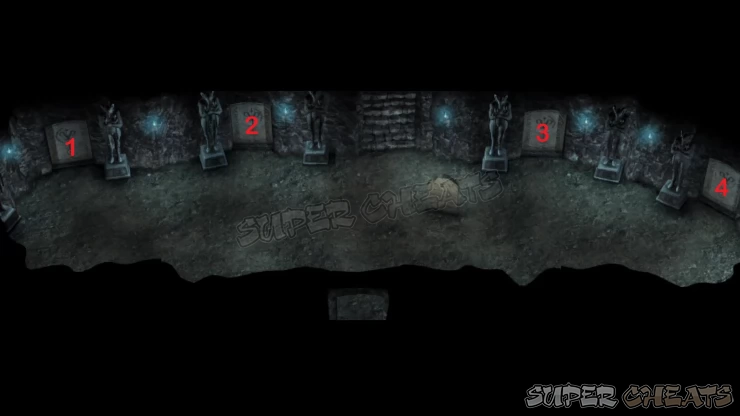
B19F: Just make sure the chests in each is open and closed alternately. (e.g. open-close-open-close) To do this, open the chest in Room 1, then close the chest in Room 2. This should open the door; no need to touch the chests in Room 3 and 4.

B20F: This will be another room with fake walls and hidden passages. Find the hidden path to the lower-right. Keep heading right to reach the next room.
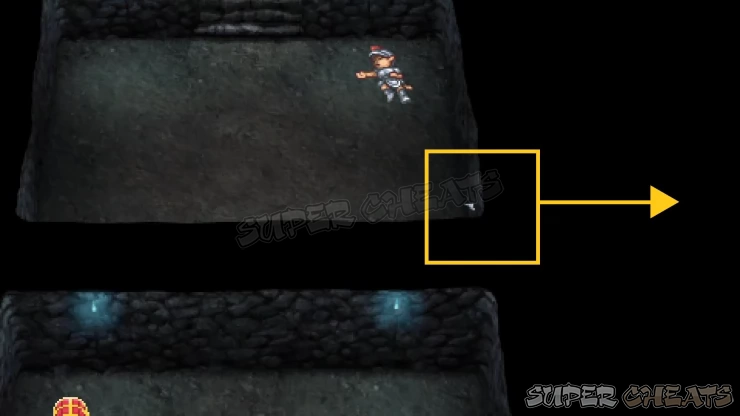
In this empty room, find another hidden path in the lower-right corner this time. Continue heading left to reach the chest containing Ilia’s best weapon, the Kaiser Knuckles.
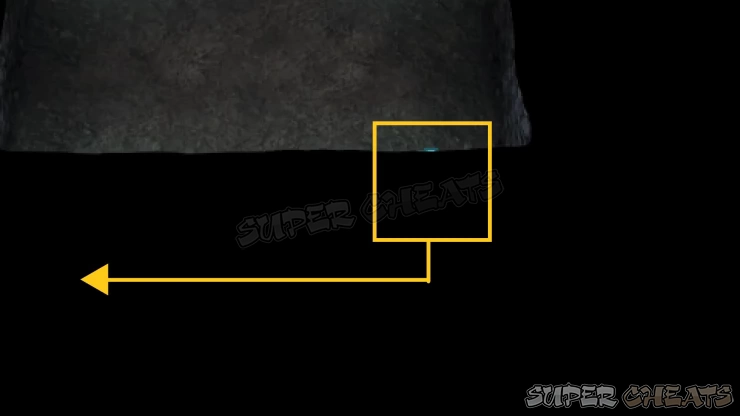
Backtrack to the first room, then enter the hidden path on the lower-left corner. Head west to the next screen then go downstairs to a dead end chamber in B21F. Grab the Orichalcum, Faerie Ring and T’nique’s best weapon, the Star Lance from the chests.
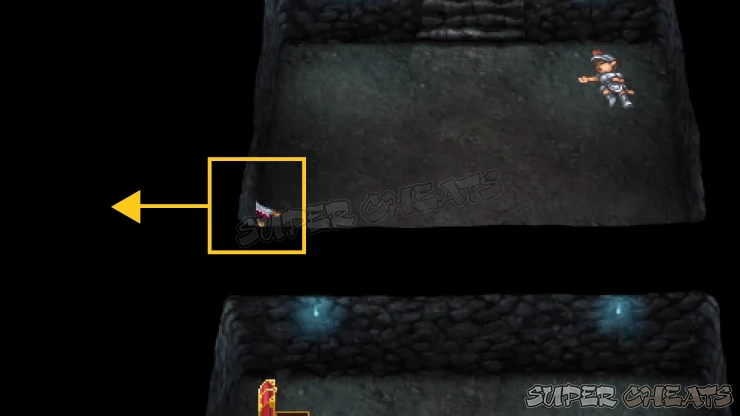
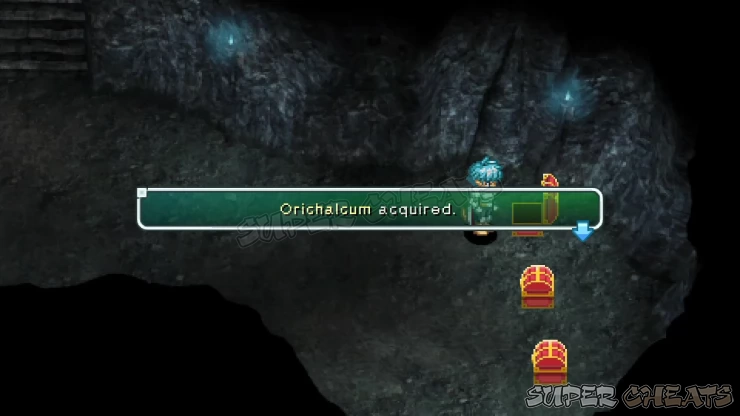
Return to the previous room and enter the path to the lower-left. In the next screen, hug the wall northward until you access the room with a chest in the middle. Loot the Ring of Infinity from it. This accessory doesn’t have any Combat benefits so equip it to a reserve party member. Take the hidden path to the south again then continue left this time until you reach the room with the stairs going down. Keep heading down until you reach B24F.
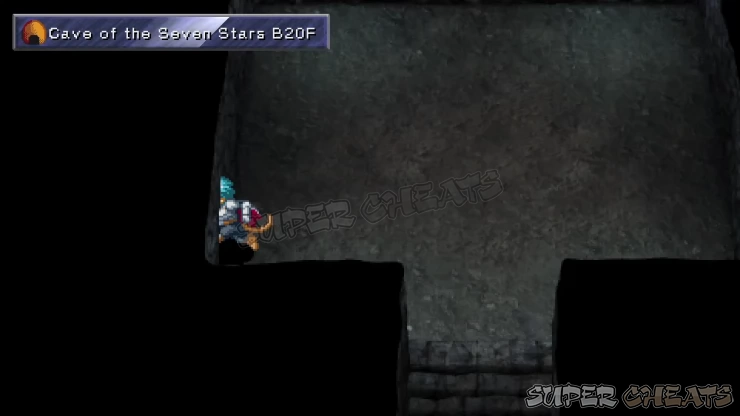
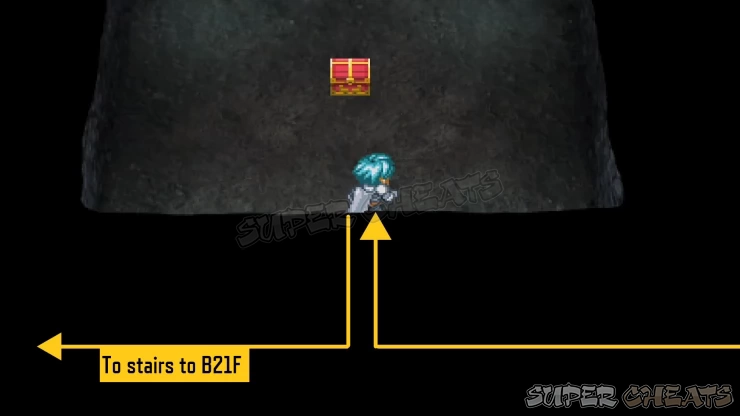
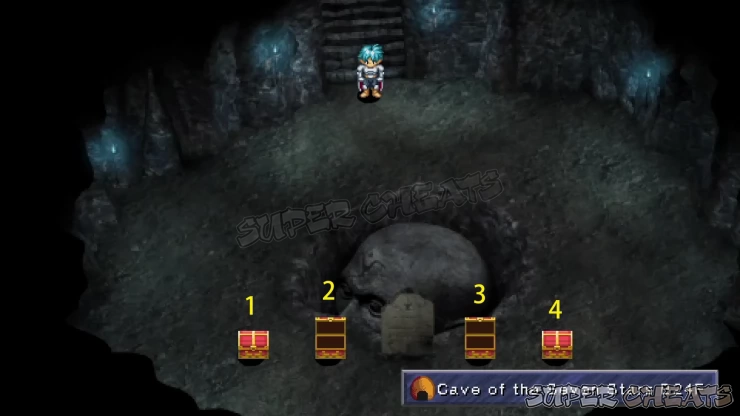
B24F: You’ll need to open all the chests to open the gate. Open the chest #2 then close #3 to open the door.
B25F: Go through the hidden path in the lower-left corner. Continue heading west in a straight line ntil you reach the room with the stairs. Take the stairs down to another treasure chamber. Collect the ?Mineral, Murasama (Ashlay’s best weapon), Ring of Wisdom and Cyuss Special (Cyuss’ best weapon) from the chests.
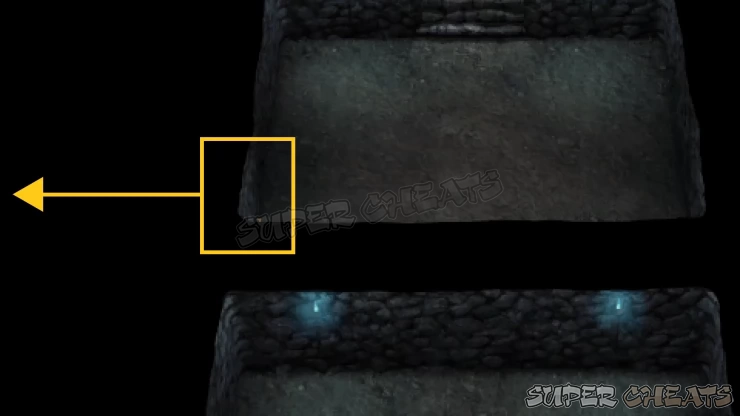
Return to the previous room then go through the fake wall in the upper right corner to get Welch’s best weapon, the Violent Handy Stick. Return to the previous room then enter the fake wall to the lower-right this time. Walk all the way to the right until you reach the first room.
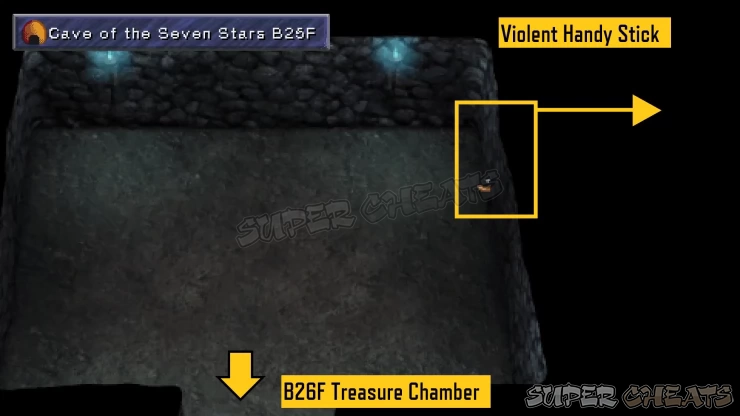
Head south to reach the next room. From that room, enter the fake wall on the lower left corner of the room. Continue left to find the stairs. Keep heading south until you reach B27F.
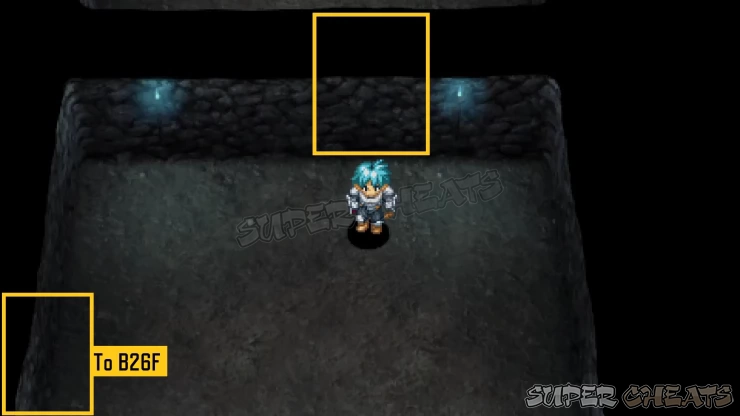
B27F: Check the upper right part to get Roddick’s best weapon, the Aurora Blade. Continue south to the next floor.
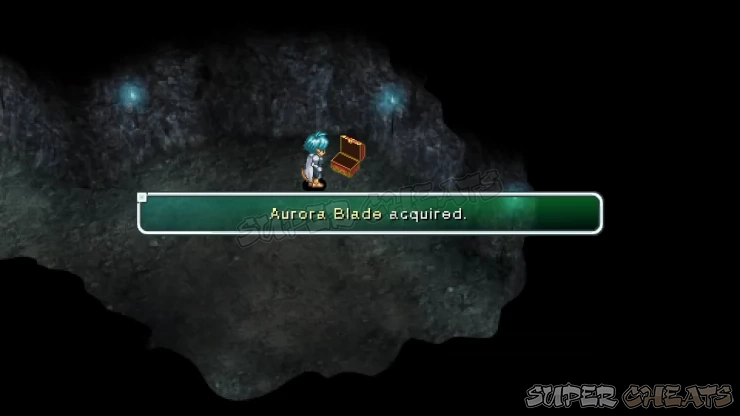
B28F: Both paths on the right and lower-left circle around to the same corridor leading to the stairs to the next floor. Ignore both rooms on this floor since they are rigged with traps. Take the stairs to the next floor.
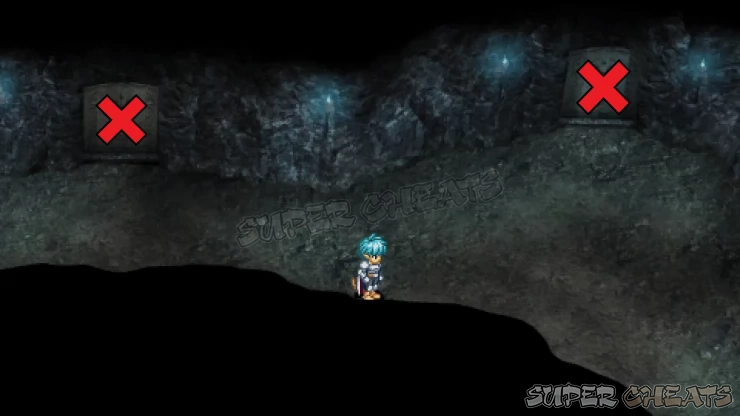
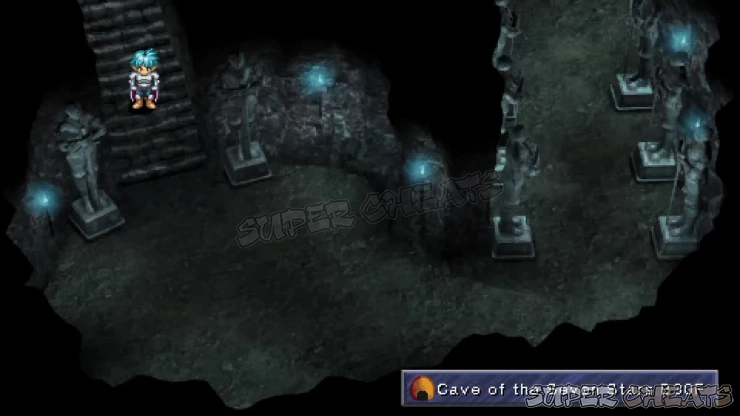
B29F: To unlock the door south, turn the statues so they don’t face each other. Simply turn the male statue on the upper-right to solve the puzzle.
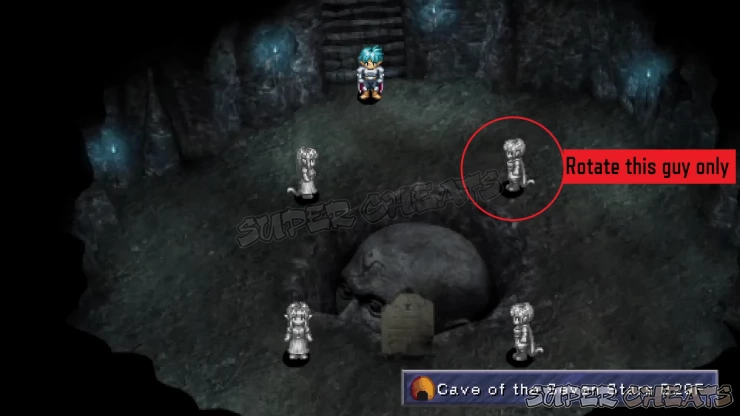
B30F: Prepare your party to face this dungeon’s boss. Heal up and make sure to have the preparations suggested in this page. When ready, continue north to the treasure room where Resphina and her minions are waiting.
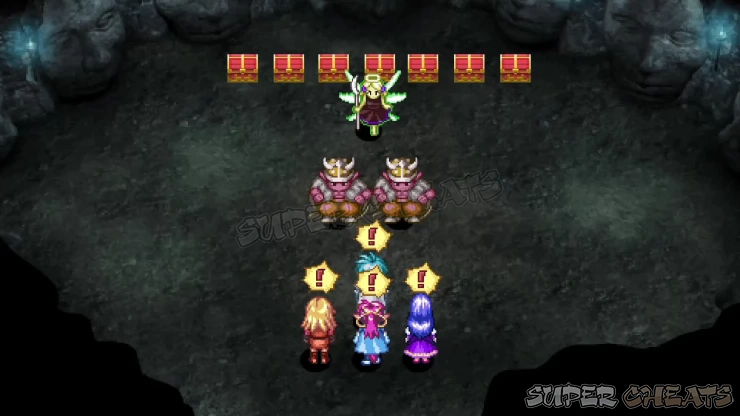
Please refer to our dedicated strategy page for the preparations and tactics on how to defeat this dungeon’s final boss, Resphina and the two bandits. After the battle, loot the following items from the chests:
* Ring of Absorption
* Mithril
* Smooth Crystal
* Archangel’s Bracelet
* Philosopher’s Stone
* Orichalcum
* Ring of Fusion
After clearing this dungeon, you're practically finished with the game!
Congratulations!!
We have questions and answers related to this topic which may also help you:
 Join us on Discord
