Mission 6: Machine of the Mantle
Project Wingman’s campaign has 21 missions in total, with each mission averaging around 10-15 minutes to complete. On a good run without restarts, accidents, or grinding, you may finish the entire campaign more or less around 5 hours. Of course, accidents will happen and you may encounter challenges but don’t worry! We’ll do our best to help you.
While we’ll offer pointers and tips, ultimately, the pilot behind the plane is still you so if you’re having problems completing a mission, try a different plane or approach, or even swallow your pride and attempt the mission on a lower difficulty. In this page, we’ll discuss how to complete Mission 6: Machine of the Mantle, including the recommended aircraft, strategies, and more.
| New Aircraft | F/D-14, MG-29 |
| Initial Objective(s) | Destroy all targets: Air-to-Ground |
| Updated Objective(s) | Escape Crimson Squadron |
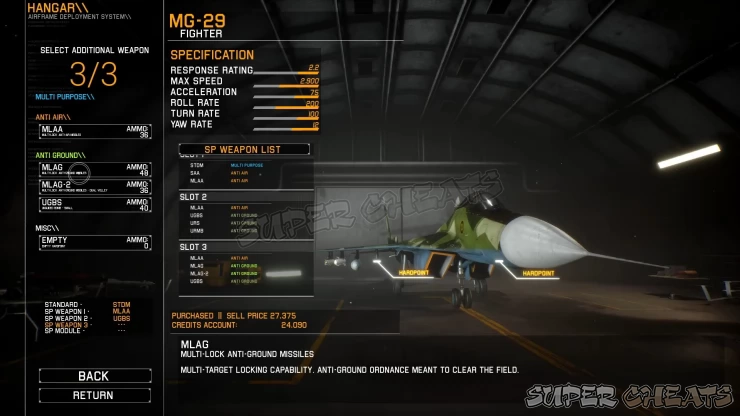
Both of the new planes will be perfect for this upcoming mission. It will just depend on the anti-ground armament that you’re comfortable with. The F/D-14 has unguided bombs and great AA SP weapons while the MG-29 has a wide variety of both dumb (unguided) and smart (guided) anti-ground weapons. I personally recommend going with the MG-29 since you can use it on the next mission as well.
The MG-29 also has a second module available that you can equip to replace the flares: AoA Limiter. This is basically Ace Combat 7’s PSM (Post Stall Maneuver) which allows your plane to do a tight, acrobatic turn to get behind pursuers and get into a favorable shooting position. It will take a while to get used to but can be very useful in dogfights.
Mission Walkthrough
There are three areas that you have to check out here. The first one (which is basically straight along your flight path) has no priority targets but several valid targets and minimal AA defenses. As soon as you reach the enemy positions, expect some fighters to be scrambled to intercept your forces. After cleaning up the outer perimeter, head to the next area.
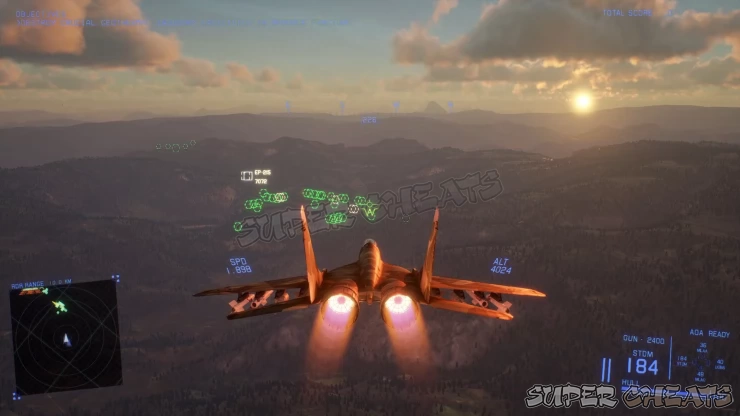
The second area has a lot of scattered targets, with some priority refineries and AA defenses like AA guns and SAMs scattered within and around the complex. More enemy aircraft will engage your forces here as you do your work laying waste to the facilities. Try your best to shoot them down quickly especially if they’re interfering with your bombing and strafing runs.
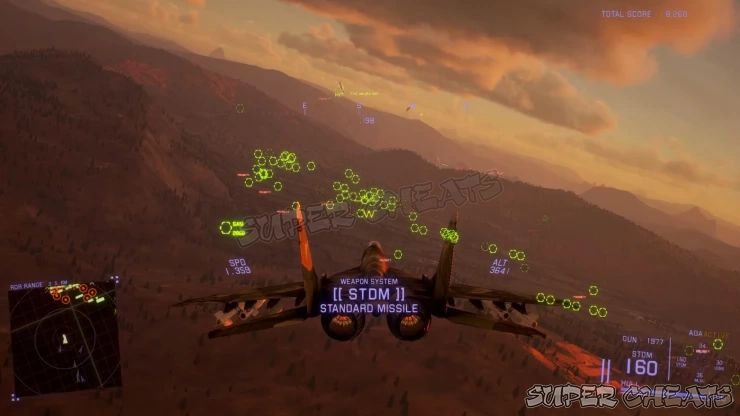
Finally, the third area is within a massive lava lake with three massive cordium extraction facilities, protected by standard AA weapons and two Anura Mk.1 air cruisers. After reaching this area, another wave of enemy interceptors will back them up. Like before, take out the interceptors first then slowly work on destroying the two air cruisers. Once the air threat has been dealt with, you can now concentrate on taking out the massive extractor facilities.
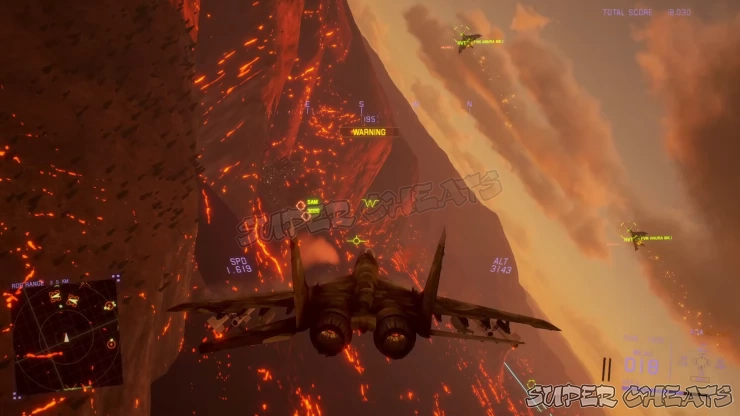
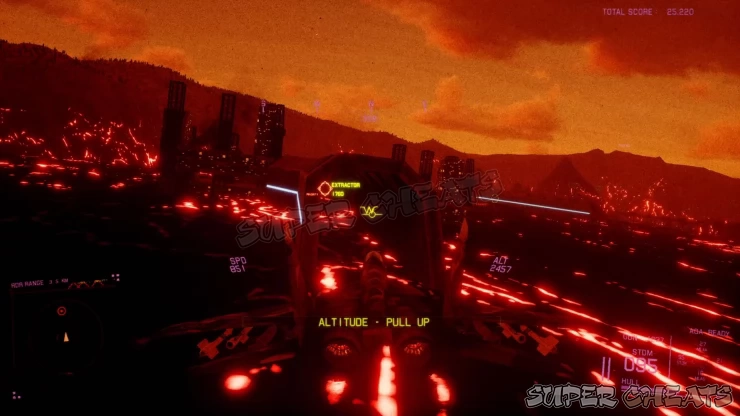
Destroying the extractor facilities is not straightforward. The “safe” and most reliable way so far is by flying low and aligning your aircraft straight to the extractor’s opening. Once you get a clean lock, release a missile to destroy the extractor inside, as shown below. There’s also vents on top of the extractor building where you can drop bombs with large blast radius (Unguided Bomb, Large) or try to shoot the extractor from the vent opening using guns or missiles. As you may have imagined it, this is quite troublesome and will require precise aim, timing, and angle of attack.
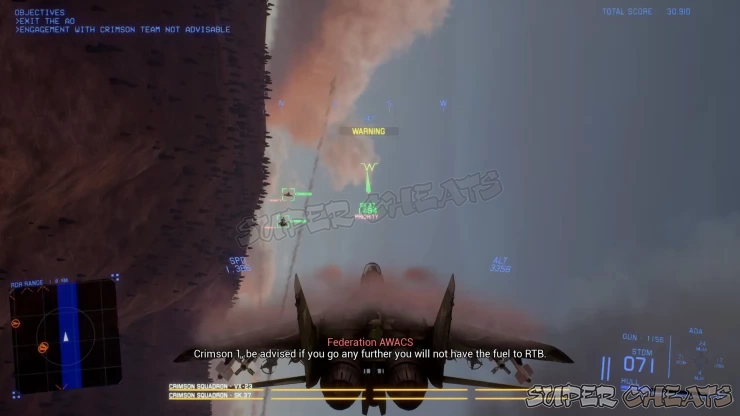
After destroying all priority targets, the mission will be updated and the Crimson Squadron will appear with their VX-23s and SK.37s. These are obviously more advanced aircraft than what you have and they’re quite dangerous so make sure to stick with your squadron and head towards the escape line when you’re told to. Engaging them is not recommended (even with AoA installed) since they’ll be swarming at you in all directions since you’ll most likely end up alone, as your allies fall back to the escape line.
If you’re skilled enough, you can push your limits and your aircraft’s capacity by engaging them. Thankfully, this is not a scripted battle where the enemies can’t be damaged. If you managed to damage ANY of the Crimson members, this will count as a kill, forcing the Crimsons to withdraw and completing the mission.
Mercenary Difficulty
The facilities’ AA defenses will have significant upgrades, which will include C-RAMs (Counter Rocket, Artillery, Missile systems) and railguns. The enemy will also send enlarged flights that include Sk.37s and named aces. Finally, a 205-class aerial battleship will join the battle.
We have questions and answers related to this topic which may also help you:
 Join us on Discord
