Mission 21: Kings
Project Wingman’s campaign has 21 missions in total, with each mission averaging around 10-15 minutes to complete. On a good run without restarts, accidents, or grinding, you may finish the entire campaign more or less around 5 hours. Of course, accidents will happen and you may encounter challenges but don’t worry! We’ll do our best to help you.
While we’ll offer pointers and tips, ultimately, the pilot behind the plane is still you so if you’re having problems completing a mission, try a different plane or approach, or even swallow your pride and attempt the mission on a lower difficulty. In this page, we’ll discuss how to complete Mission 21: Kings, including the recommended aircraft, strategies, and more.
Mission Overview
| New Aircraft | None |
| Initial Objective(s) | Defeat Crimson 1 |
| Updated Objective(s) | None |
You’ll be facing off Crimson 1 in a duel so bring the best fighter/prototype aircraft you have in your arsenal, equip it with AA SP weapons, and equip the AoA Limiter module. The Chimera is still a viable choice but if you have enough credits, the Sk.37, F/S-15, and the VX-23 will allow you to go toe-to-toe with Crimson 1’s own prototype aircraft with much ease. For this mission, I personally used the F/S-15.
Mission Walkthrough
You’ll be fighting off Crimson 1 piloting a PW-Mk.I with a variety of experimental weapons at its disposal. The enemy has three health gauges and its attack pattern and weapon deployment will change as you go through the health gauges.
First, let’s talk about his weapons:
| Weapon | Description |
|---|---|
| BML-U (Burst Missile Launcher - Universal) | This weapon fires a heavy barrage of micro-missiles with lesser tracking capability compared to standard missiles. However, their sheer number and coverage can make them function like aerial tripmines. |
| Railgun | This weapon is capable of launching a high-velocity explosive shell with almost instantaneous effect if it connects. This also leaves a trail that can damage your aircraft if you fly through it. |
| Air Burst Missiles | This ordnance doesn’t track its target but will detonate in mid-air and release an irradiated bubble of destructive energy behind. Flying through this bubble can damage your plane. |
| Beehive Railgun | Similar to the beehive weapons used in the Vietnam War or the San-shiki (anti-aircraft shell) used by the IJN in WW2, this ordnance detonates in mid-air and releases several high-velocity Railgun shells in every direction, while leaving a deadly web of damaging trails. |
For the first phase of the battle, Crimson 1 will be heavily using the BML-U. Since your last fight with him, you have to maintain a high speed and make tight turns and rolls to minimize the chances of getting hit by the micro-missiles. Keep tracking him to keep him on his toes and to force him to release the micro-missiles at a somewhat predictable pattern. Try shooting him one missile at a time to ensure that you can release a missile whenever the opportunity opens to fire one. Like before, keep up with him then “blind fire” your missile as soon as there’s a lock and right after a turn. After depleting the first health bar, the battle will move to the second phase.
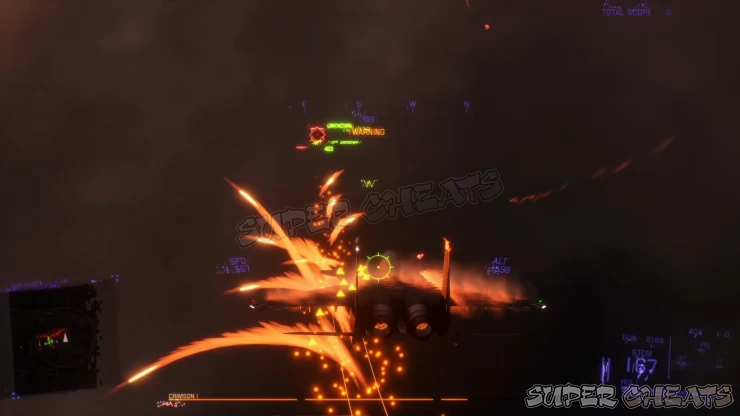
For this phase, Crimson 1 will still annoy you with his consistent micro-missile barrage while also utilizing his aircraft’s Railgun. The railgun is mounted under the cockpit in front of the aircraft so the only way he can fire this weapon against you is when you’re at a distance from him and when his plane’s nose is pointed towards you. If you’re pressuring him by maintaining close distance behind him, he won’t have too many chances in firing this weapon at all. Deplete his second HP bar to move to the 3rd phase of the battle.
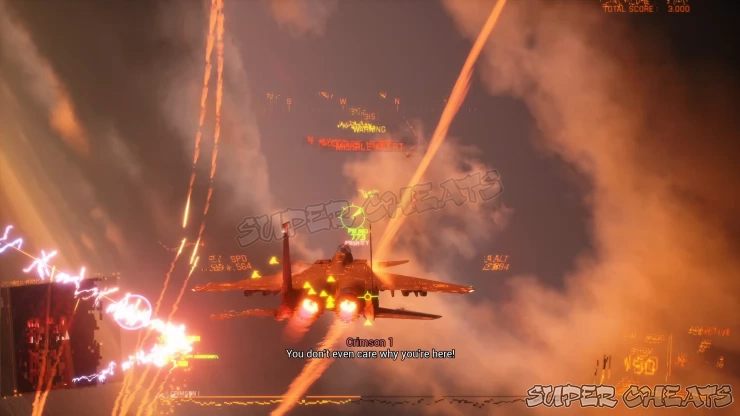
For the 3rd phase, Crimson 1 will retain the previous two weapons and yet add another annoying armament: the Air Burst Missile and another one that we’ll call a Railgun Beehive. (Please refer to the descriptions of these weapons to the table above) At this point, the battle will become even more frantic but even so, don’t let up with your aggressive chase to keep the upper hand in battle. However, you’ll also need to be prepared to break away or suddenly change your direction especially if there are railgun trails and burst missile bubbles along your path. Keep tracking him and matching his movements and use the same tactics that you allowed you to deplete his two health bars. After depleting the last health bar, we’ll finally enter the final phase.
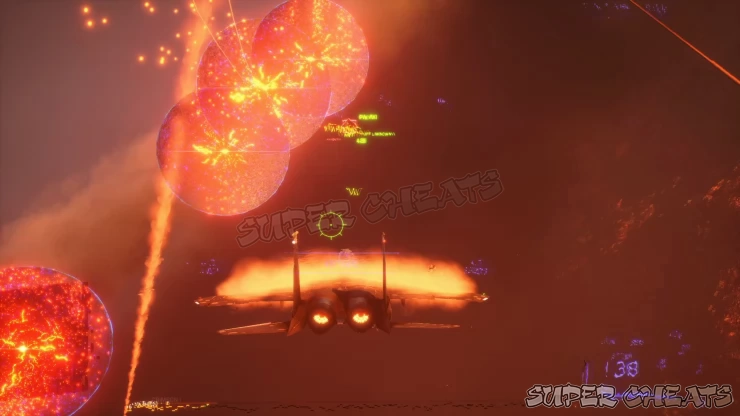
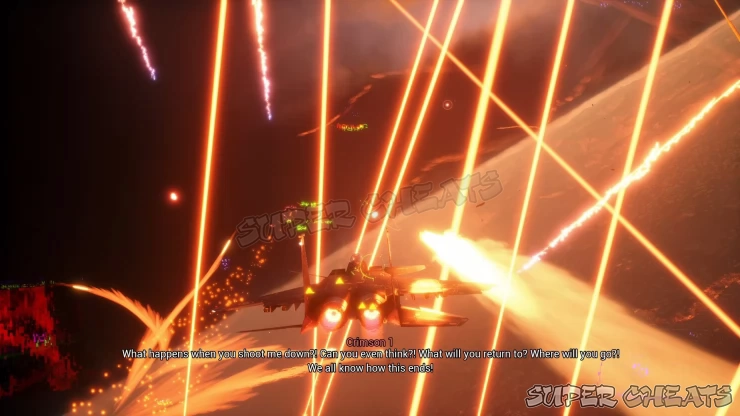
In the final phase, the usual HUD will be gone and you’ll only see the standard lock-on cursor, gun pipper, and both Crimson 1 and the player’s HP bar. You can still swap your weapons freely but you won’t be able to see your remaining ammo if you’re in 3rd-person view. (You can still switch to cockpit view to manually check your other vital information like ammo reserves and HP). Furthermore, depending on the difficulty, Crimson 1’s available weapons, recovered HP, and the player’s recovered HP will vary. (See the table below)
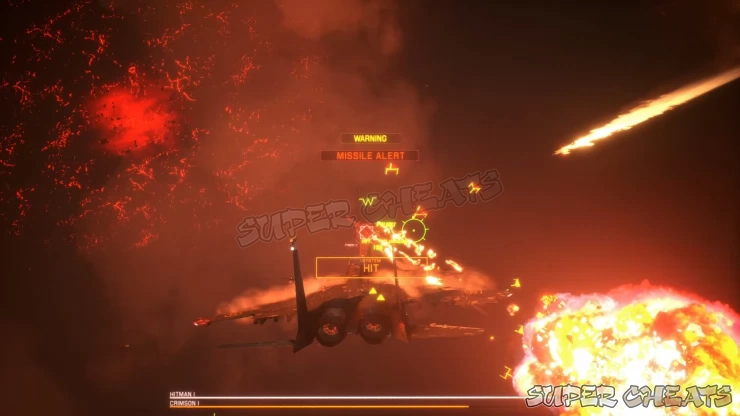
Like before, focus on keeping up the offensive. If you managed to deplete his HP gauges on the previous three phases without suffering too much damage, that’s already a good indicator that you got this! Keep up the pressure, and use the same strategies we mentioned earlier to take him down. After finally shooting down Crimson 1, the final mission will be over and the contract will be fulfilled. Congratulations for finishing the game!
Difficulty Changes
The selected difficulty in this mission will affect Crimson 1’s weapon usage, HP recovery, and Monarch’s HP recovery upon entering the final phase of this duel.
| Difficulty | Enemy (4th Phase) Behavior | Enemy HP Recovery | Player HP Recovery |
|---|---|---|---|
| Easy | Crimson 1 will using his 3rd phase weapons (air burst missiles and Railgun beehive) | Crimson 1 will only heal 50% of his health | No change |
| Normal | Crimson 1 will stop using his 3rd phase weapons (air burst missiles and Railgun beehive) | Crimson 1 will only heal 50% of his health | Player heals 50 more HP instead of 40. |
| Hard | Crimson 1 will continue using his 3rd phase weapons (air burst missiles and Railgun beehive) | Crimson 1 will heal 75% of his health | Player doesn’t heal any HP. |
| Mercenary | Crimson 1 will continue using his 3rd phase weapons (air burst missiles and Railgun beehive) | Crimson 1 will completely heal his health | Player doesn’t heal any HP. |
Mercenary Difficulty
At Mercenary difficulty, the odds will even be stacked against you. Crimson 1, who is already formidable enough alone, will be joined by four other pilots in their X-PF prototype aircrafts. You’ll need to take them out before depleting Crimson 1’s HP bars; otherwise, you’ll have to deal with them as well in the final phase of the battle.
During the final phase, both Crimson 1 and Monarch’s health bars are not visible on the screen. As a workaround, players can switch to cockpit view to see their HP and remaining ammo there.
As mentioned above, Crimson 1 will continue using both versions of his annoying aerial cluster bombs, completely healing himself while the player doesn’t replenish any HP.
 Join us on Discord
